
Constant Temperature Heater Resin\FDM Universal 220V
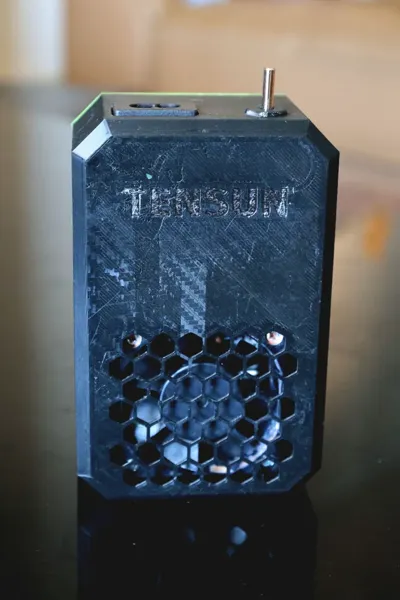
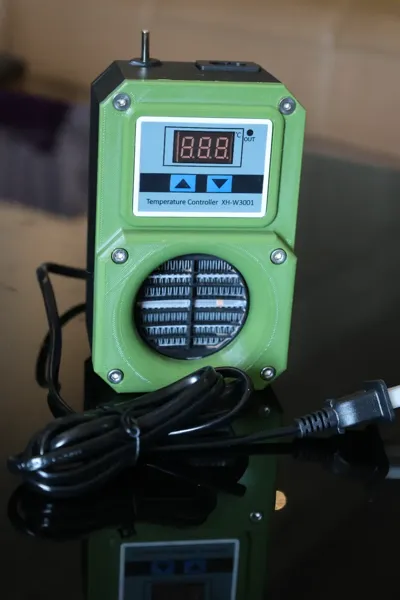
Print Profile(1)
Description
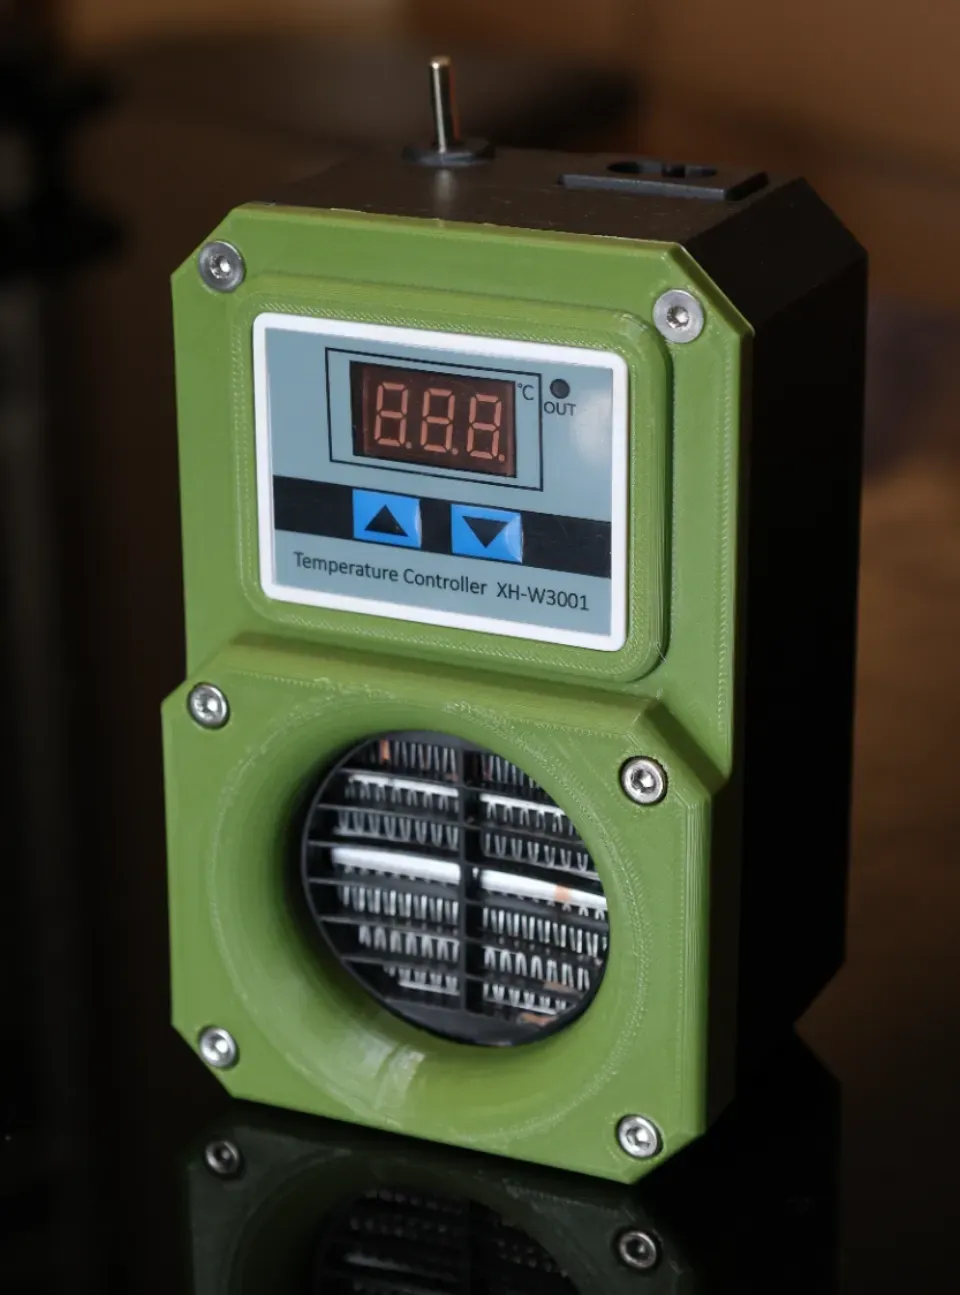
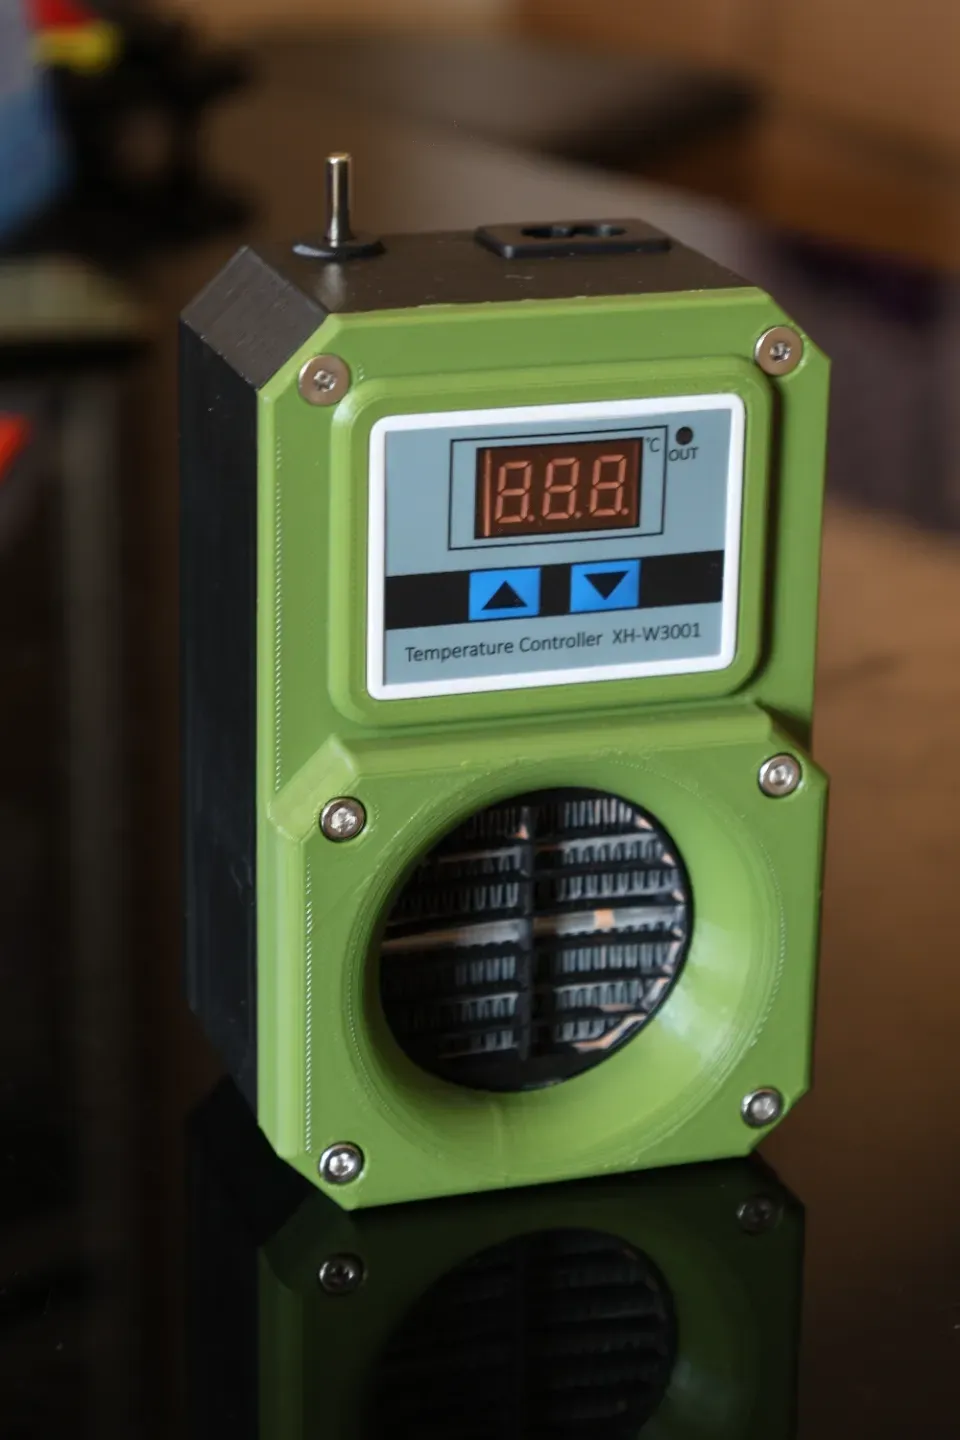
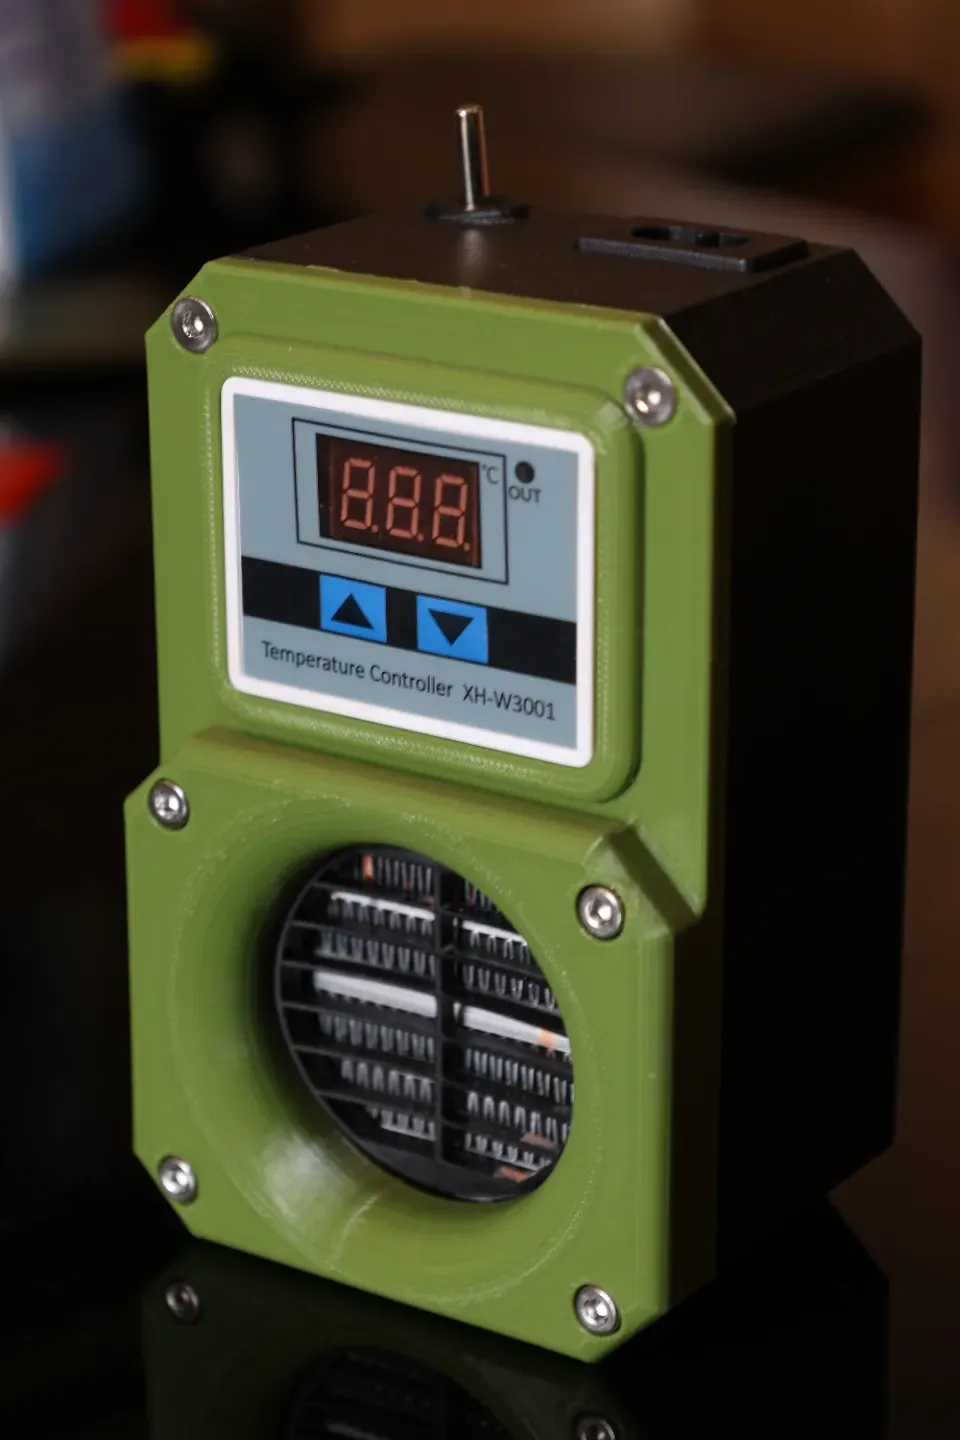
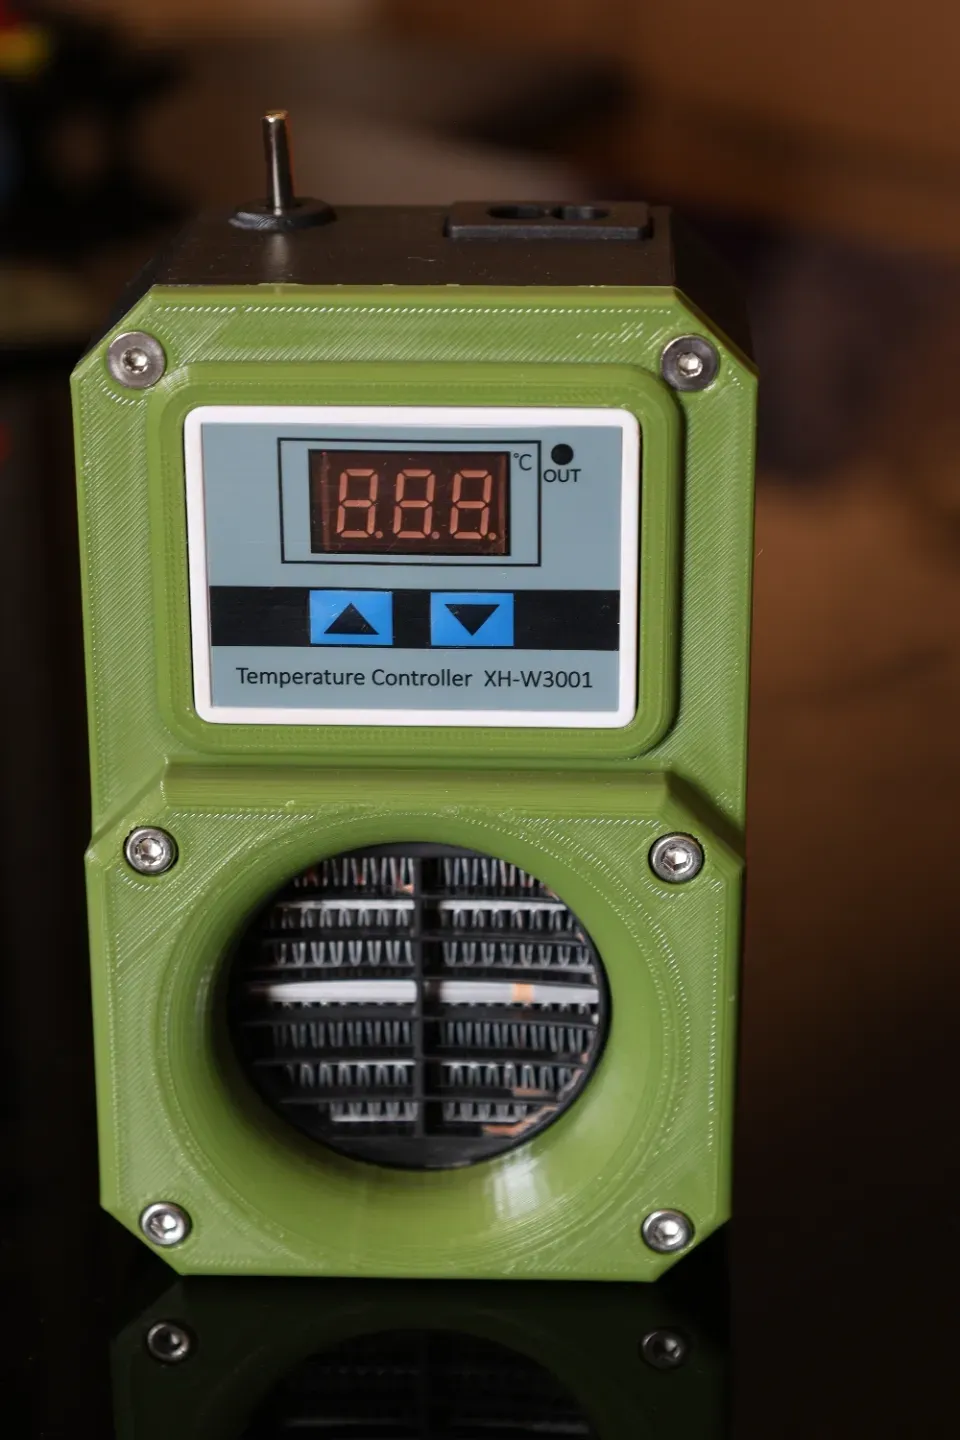
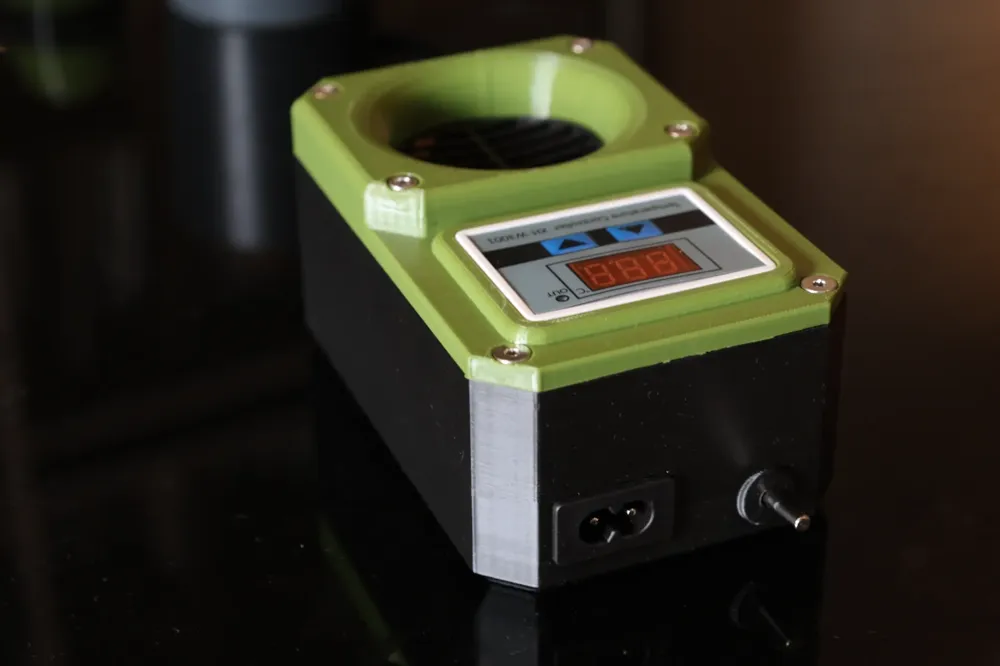
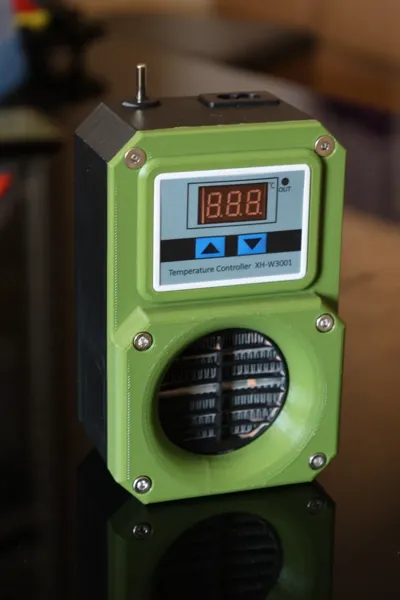
Constant Temperature Heater Resin/FDM Universal 220V
Description
Don't forget to follow! Thank you so much for your download, like and boost! |
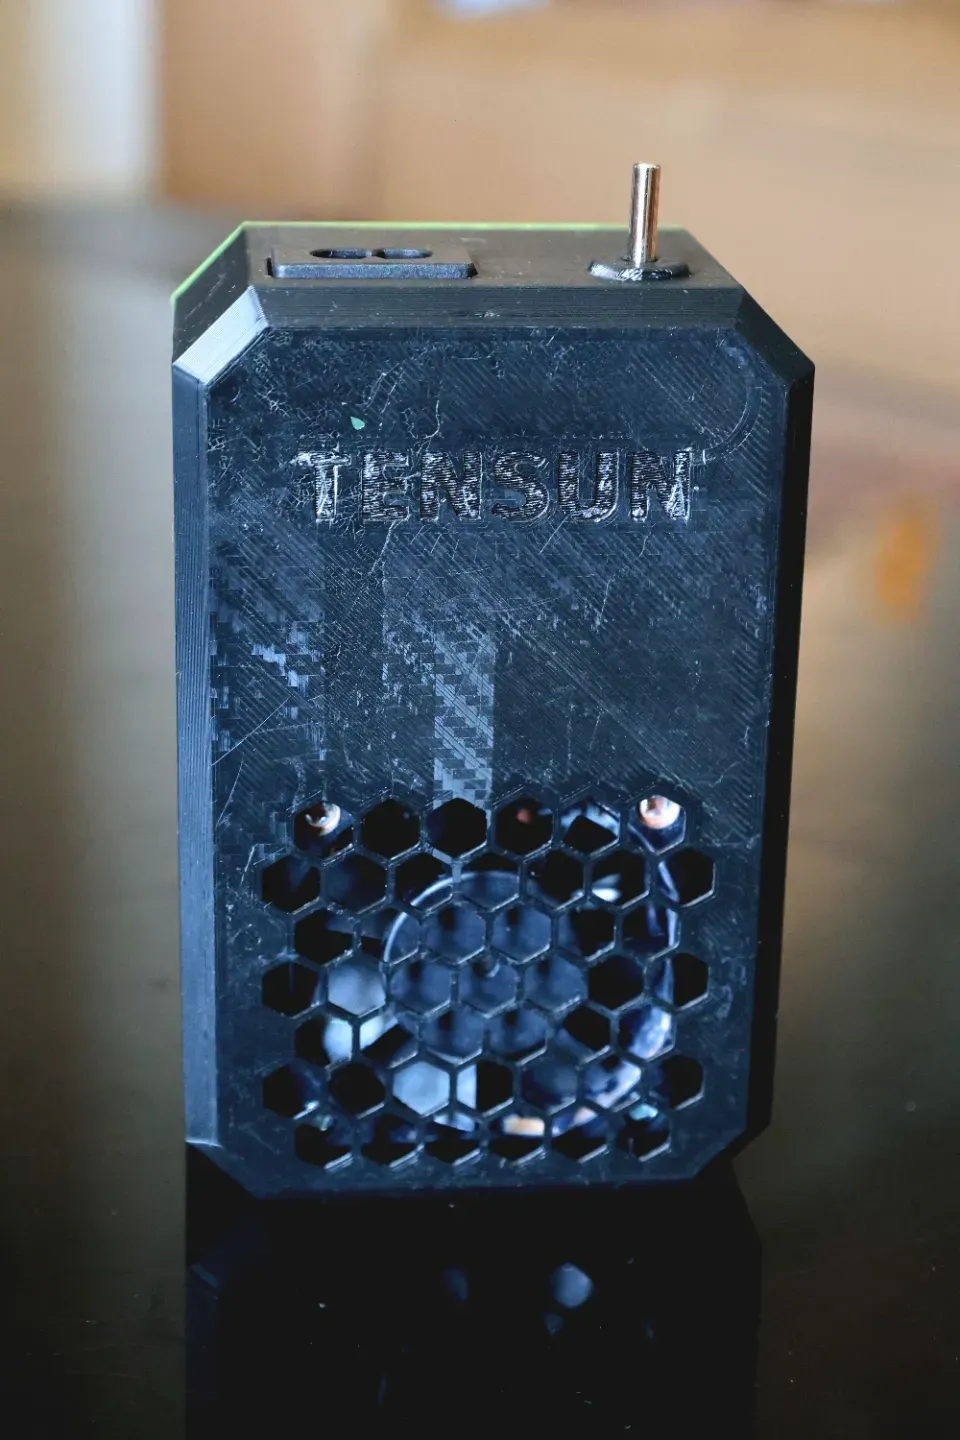
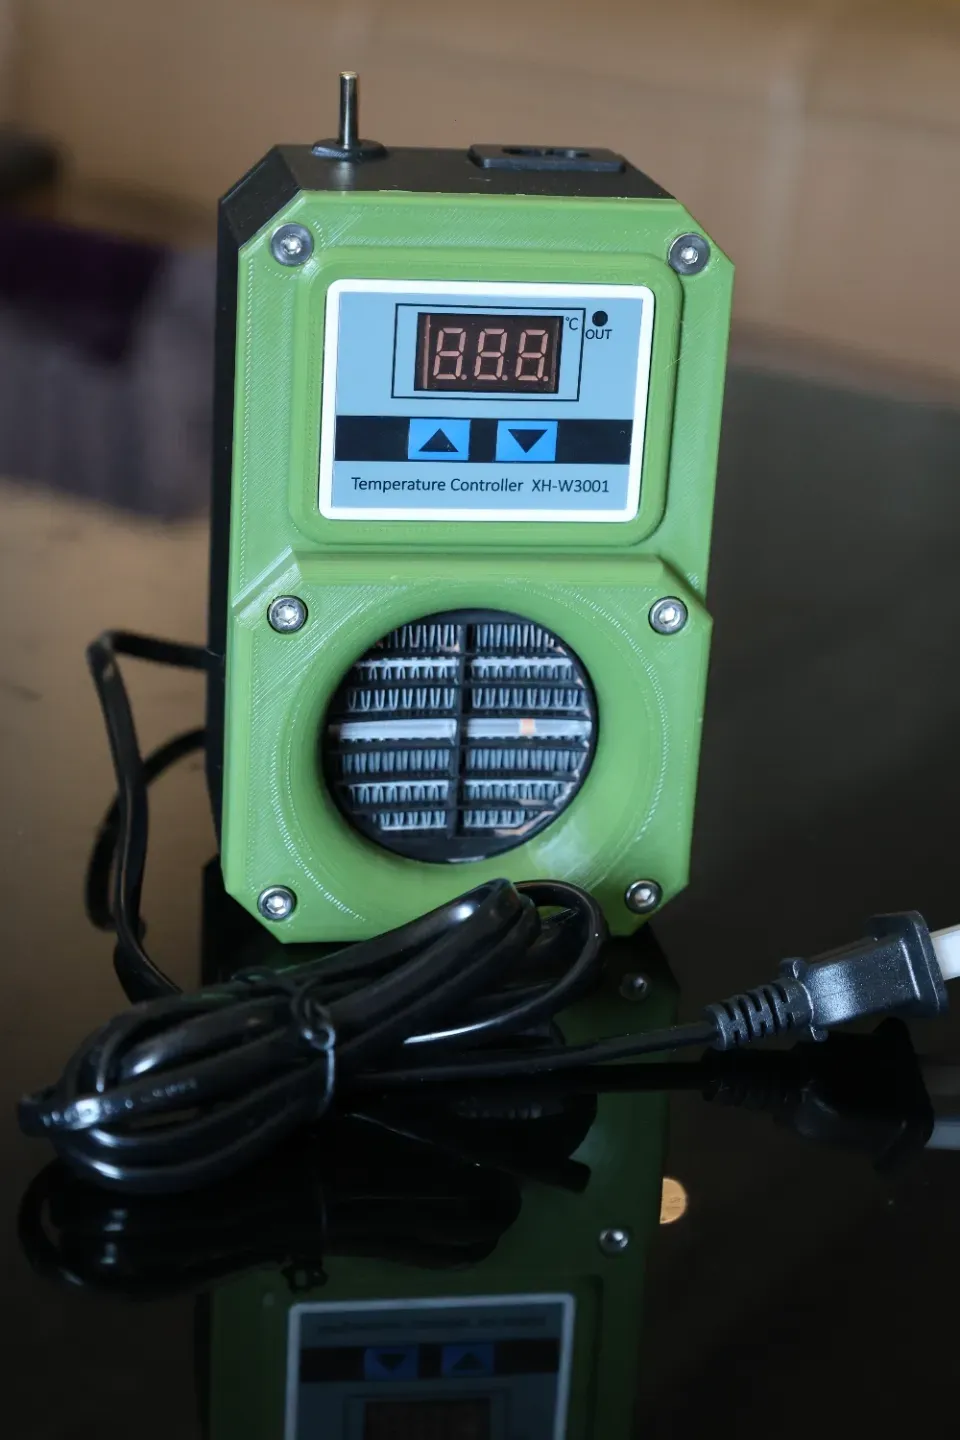
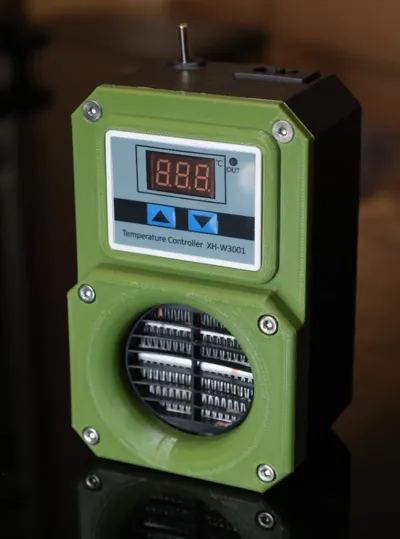
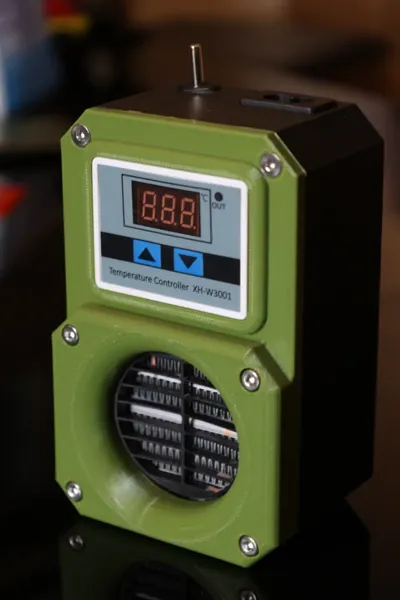
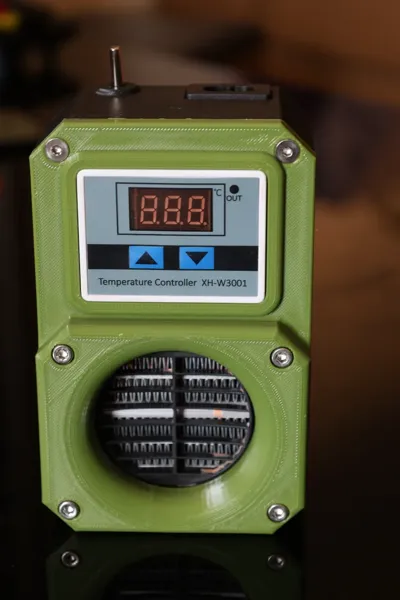
Used for constant temperature control of the chamber in resin photopolymerization printers and FDM printers. The housing design is perfectly matched to the PTC heater and temperature controller. Easy installation, stable temperature.
- Automatically ensures constant temperature in the chamber
- Can be used for FDM printers, resin photopolymerization printers
- Quick installation, long-term automatic operation
- Effectively solves the temperature problem of FDM printers using high-temperature materials such as ABS
- Effectively solves the problem of resin photopolymerization printers failing to print due to low temperatures in winter
- Powered by 220V
Installation:
PTC heating module (220V insulated fan-cooled constant temperature PTC ceramic heating element electric heater fan heater) https://item.taobao.com/item.htm?_u=ho1nkf21dc&id=673384347382&spm=a1z09.2.0.0.74632e8d1ZmTG6
Heater temperature generally choose 220V/100W heater, you can choose other power heaters according to your needs.
If you choose a higher power heater, please choose the appropriate shell material according to the temperature, such as ABS, etc.)
Constant temperature control module (XH-W3001 microcomputer digital temperature controller) https://item.taobao.com/item.htm?_u=ho1nkf464c&id=626057460741&spm=a1z09.2.0.0.74632e8d1ZmTG6
(Note: Constant temperature control module selection, need to choose 220V/10A)
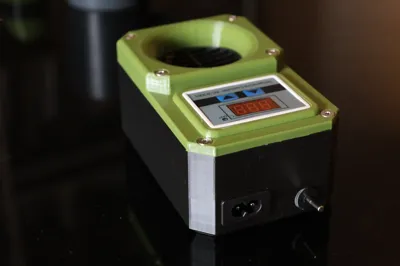
- 8-character AC power outlet/power cord https://detail.tmall.com/item.htm?_u=ho1nkf2f1c&id=628671056678&spm=a1z09.2.0.0.67002e8dbQog72
- Fasteners:
| Type | Model | Quantity |
| Hexagon socket bolt | M4*20 | 2 |
| Countersunk hexagon socket bolt | M4*12 | 2 |
| Bolt | M4*12 | 4 |
Installation Guide:
- According to the wiring requirements of the constant temperature controller, connect the PTC heating module and the power cord normally, and make sure the insulation is good.
- Fix the constant temperature controller to the bottom shell with M4 bolts, and pass the temperature control probe of the constant temperature controller through the hole at the top of the shell.
- Use M4 bolts to fix the panel to the bottom shell.
- After completing the installation, use tape to fix the entire device to the inside of the printer (Note: Keep space for the air intake at the back of the casing)
Note: I recommend using PETG or ABS/ASA, which can withstand the higher temperatures of the heater and the print chamber.
Disclaimer: This project involves high voltage open electronics. Please only install parts if you have expertise in this area. Additionally, there is currently no long-term experience to indicate how the elevated temperatures may impact the original printer components.
License

You shall not share, sub-license, sell, rent, host, transfer, or distribute in any way the digital or 3D printed versions of this object, nor any other derivative work of this object in its digital or physical format (including - but not limited to - remixes of this object, and hosting on other digital platforms). The objects may not be used without permission in any way whatsoever in which you charge money, or collect fees.


Comment & Rating (0)