
Chapel Bridge Model for Wooden Train Sets

Print Profile(3)


Description
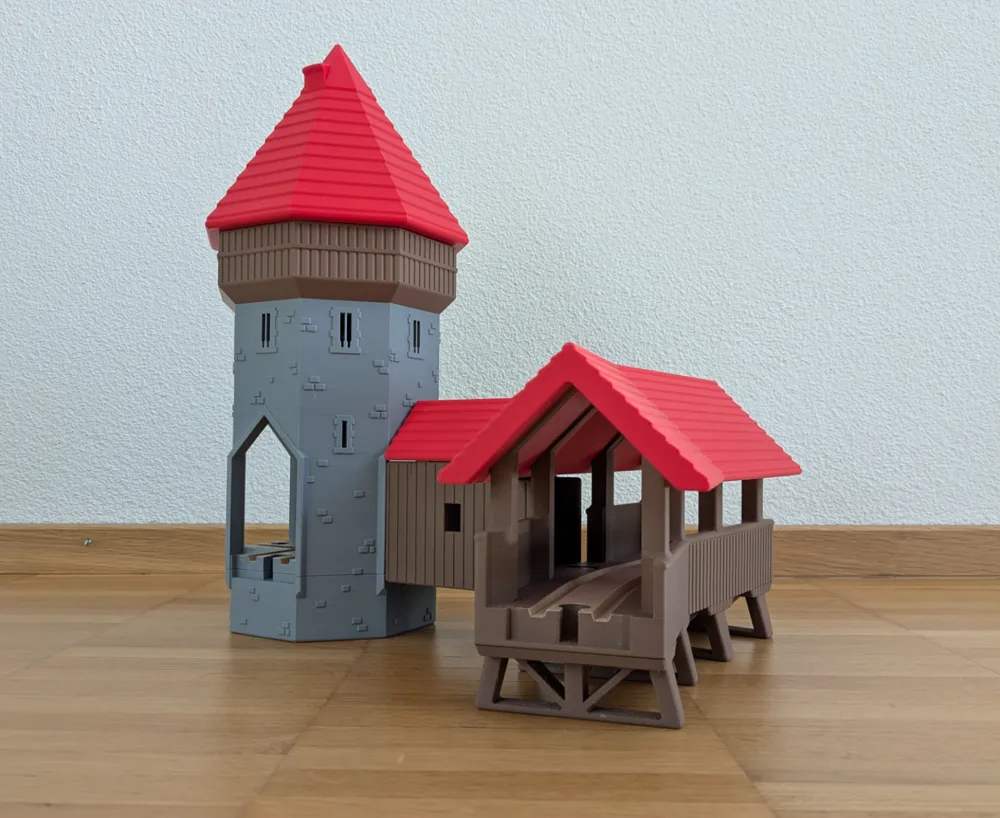
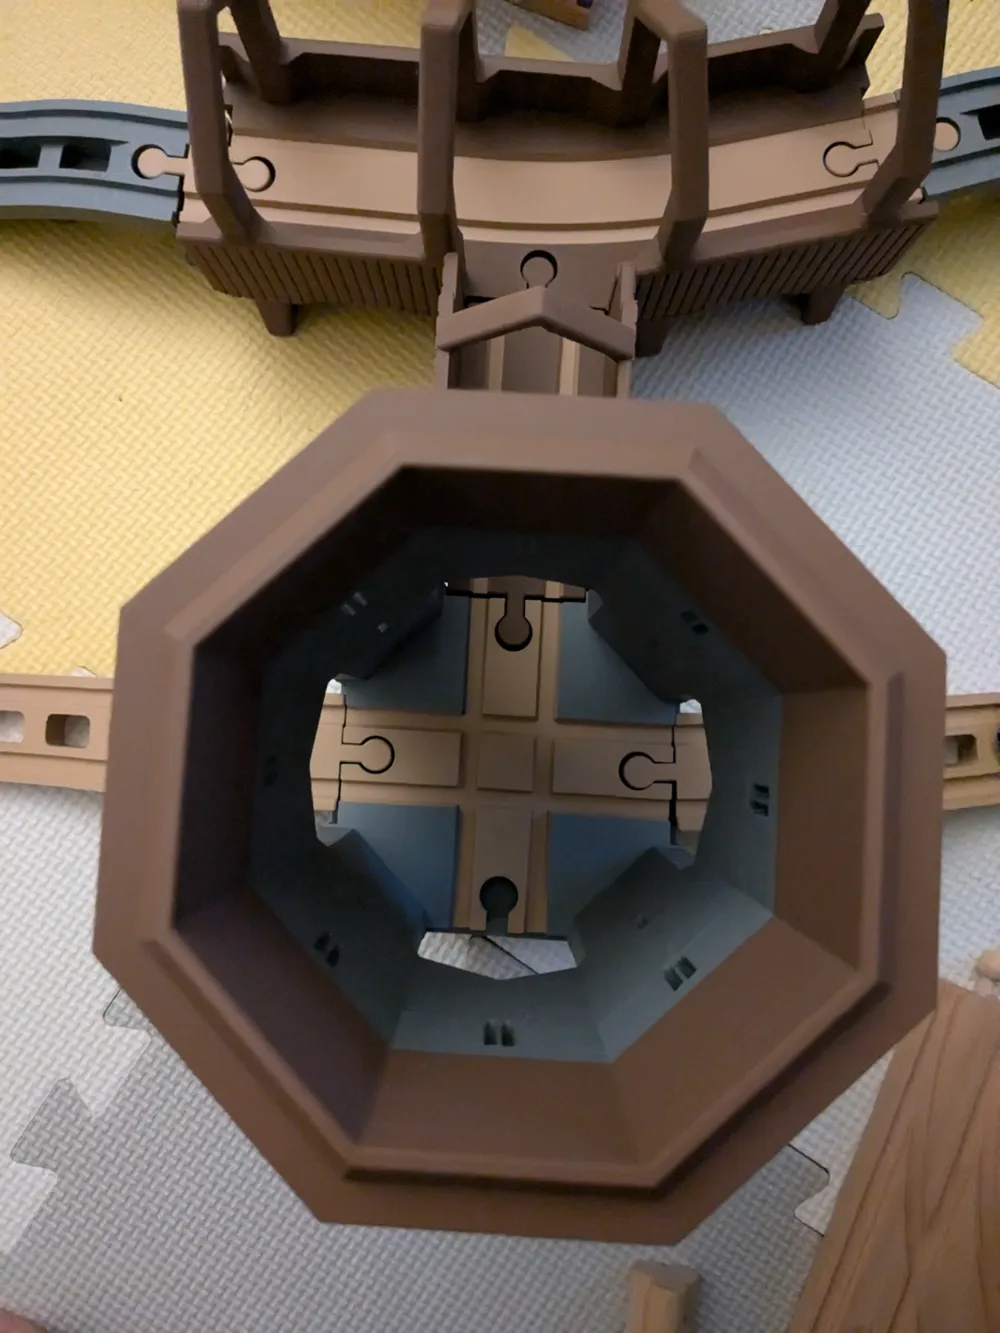
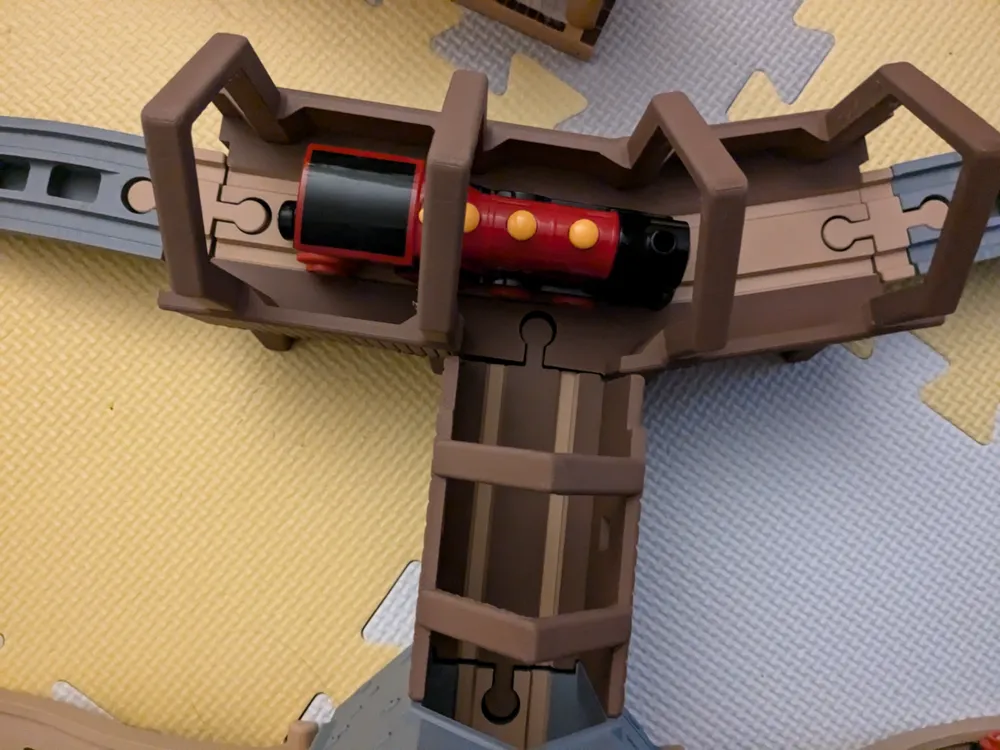
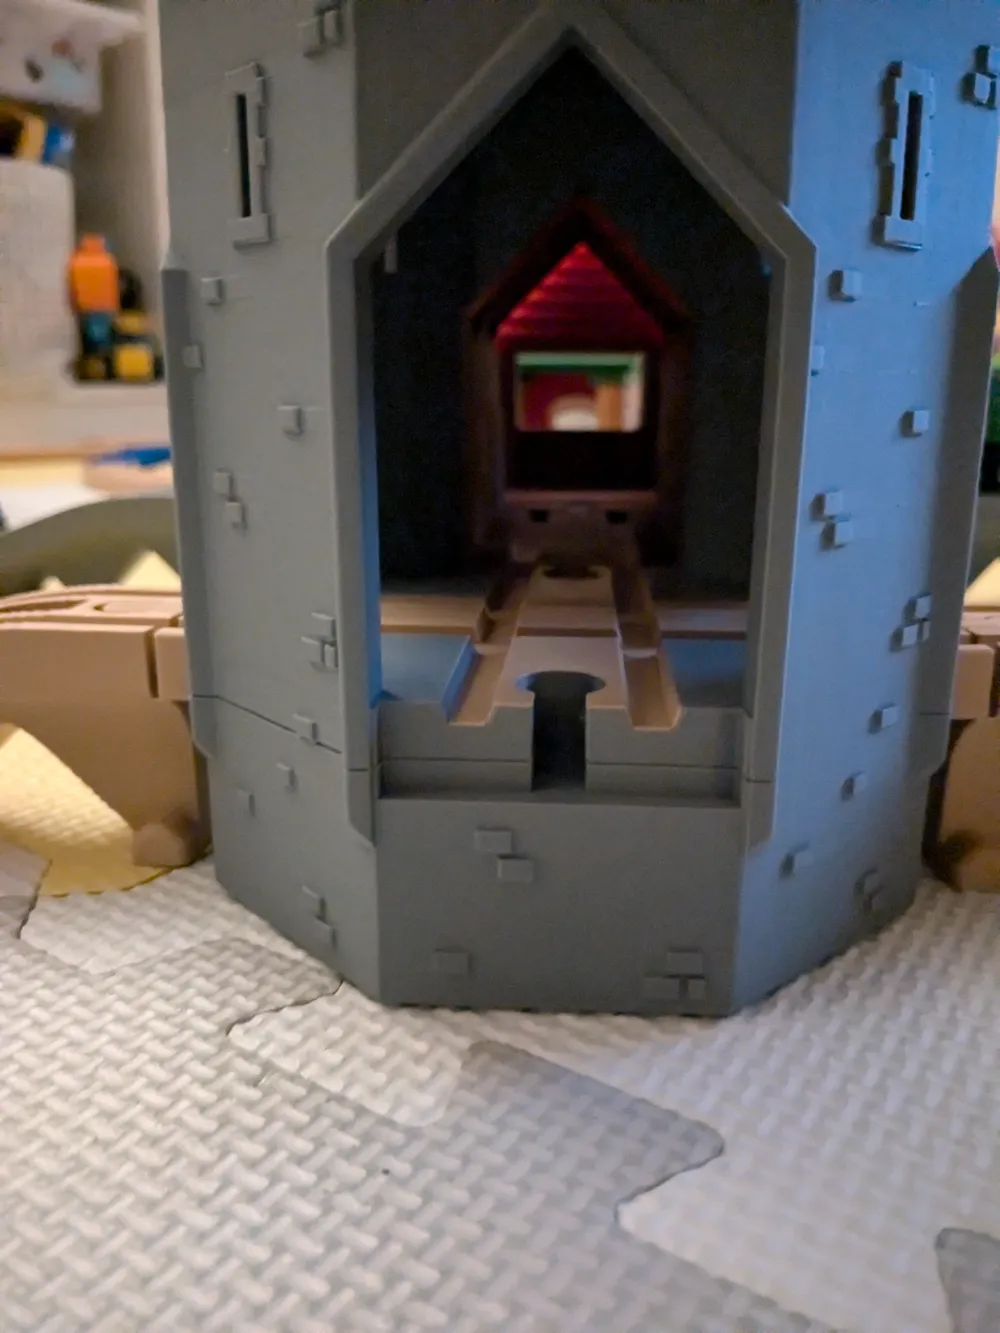
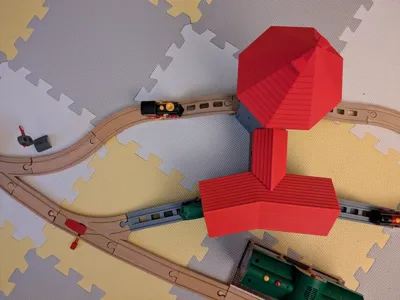
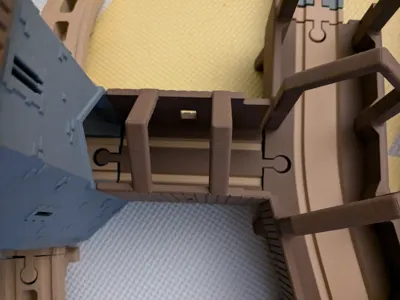
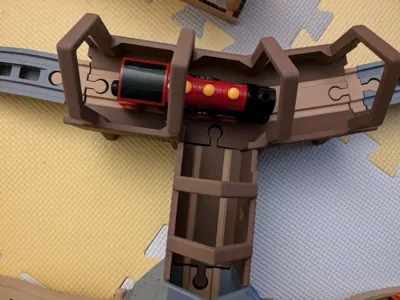
Create a stunning 3D-printed model of the iconic Chapel Bridge and Water Tower in Lucerne (Switzerland), designed specifically for Brio and compatible wooden train sets. This project prioritizes children's play safety and enjoyment over realistic representation.
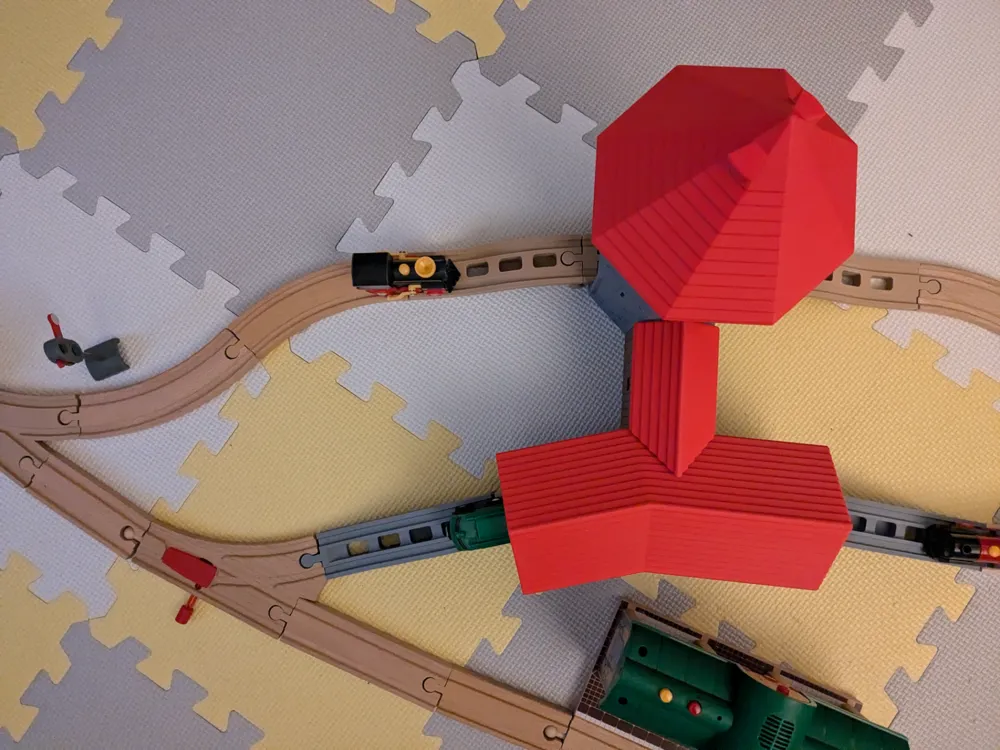
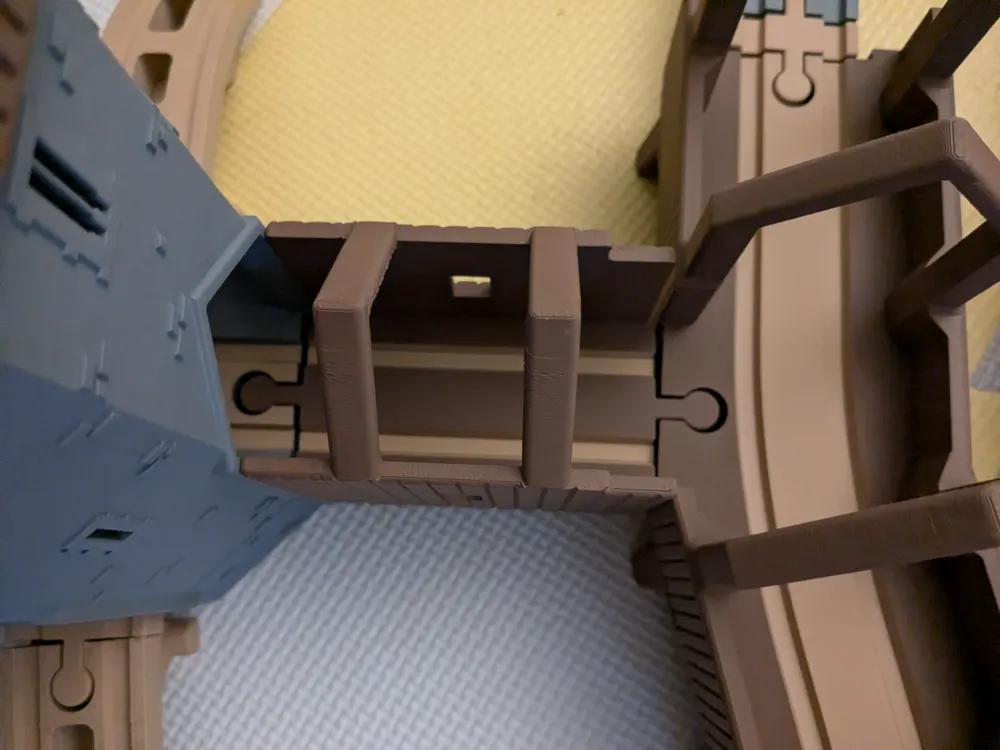
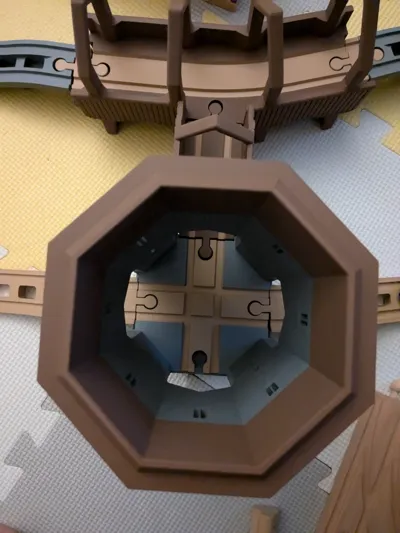
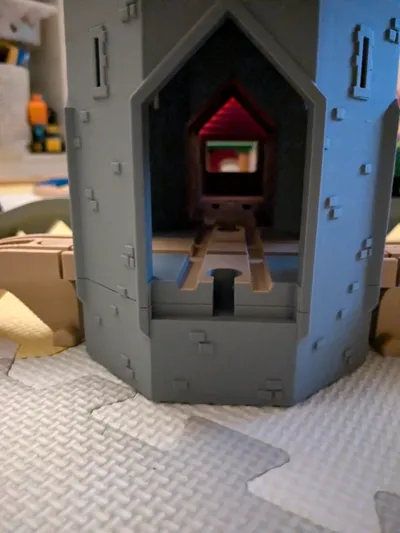
The water tower and bridge are connected by standard train track connectors.
Features:
- Child-Friendly Design: Rounded edges ensure safety, eliminating the risk of injury.
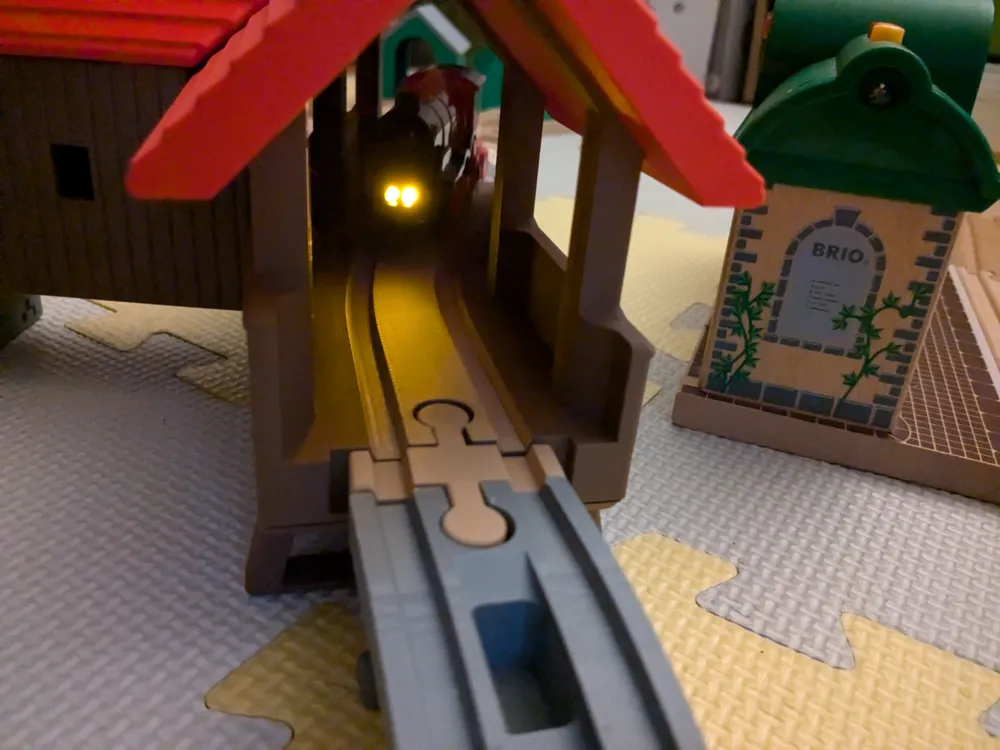
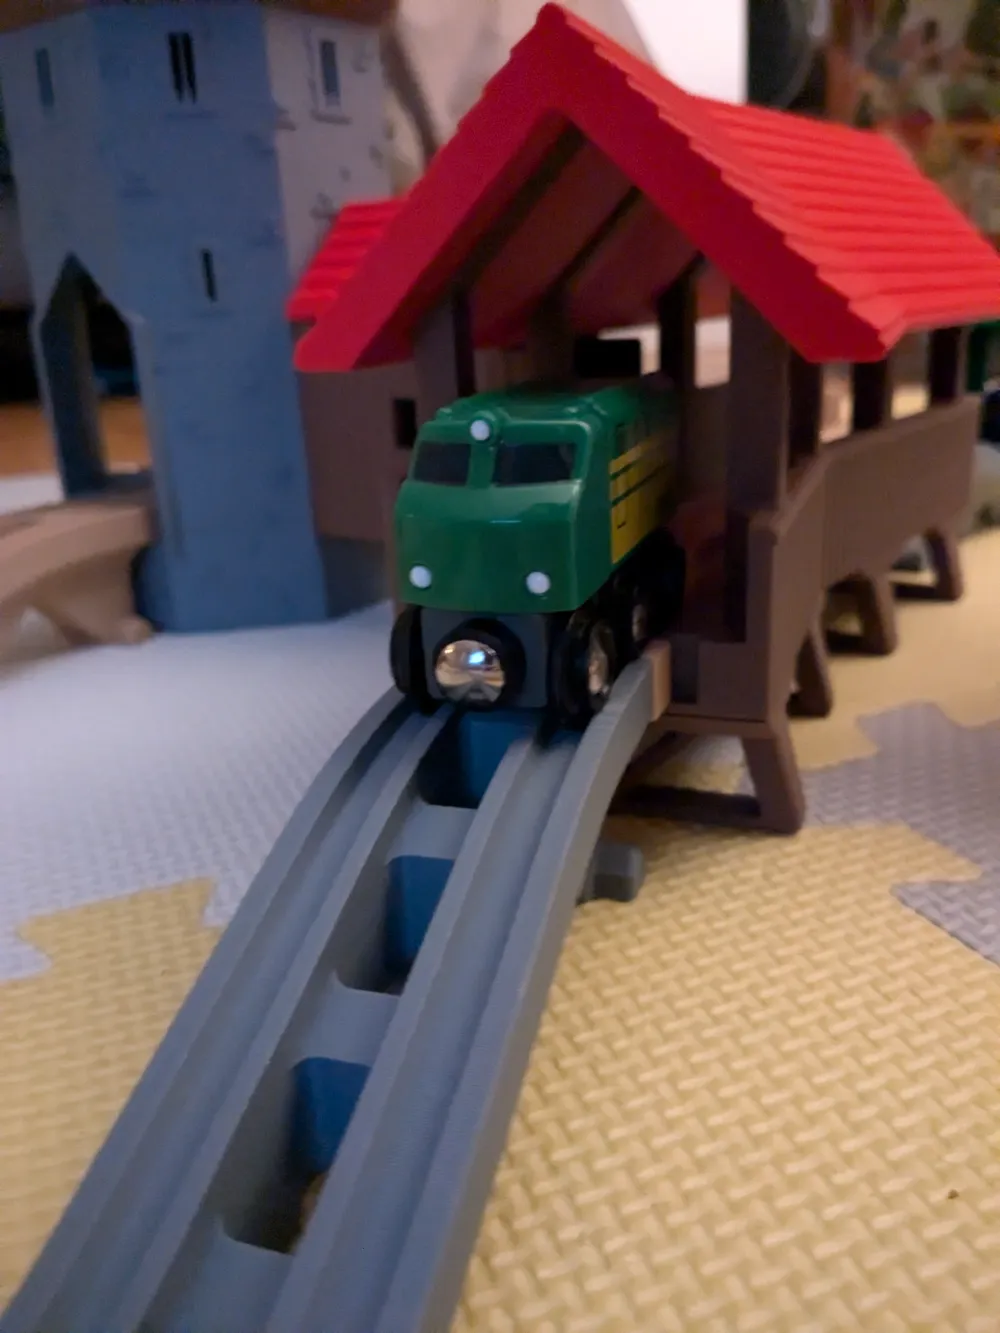
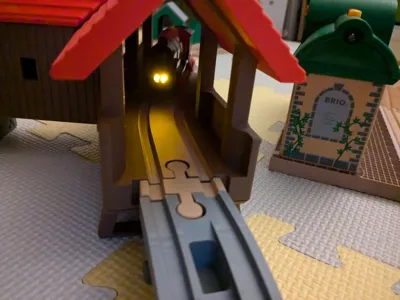
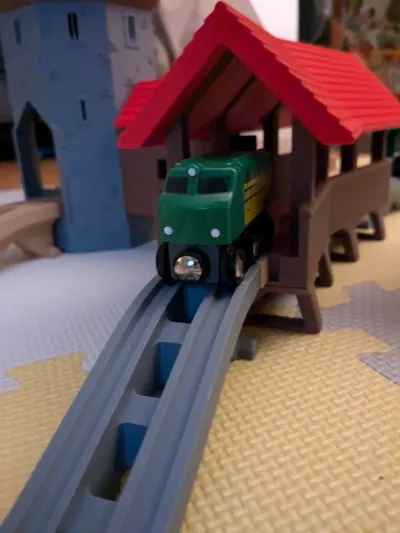
- Functional Design: The bridge includes a main section with four supports that attach via grooves which must be glued to the bridge (superglue recommended). The roof is removable, allowing easy access and play. The bridge length is optimized to prevent train jamming. The hollow Water Tower features a removable passage connected to the bridge via a Brio-compatible joint.
- Material and Colors: Printed in PLA using gray, brown, red, and dark brown colors for an authentic look. Smooth plate is recommended.
Historical context:
The Chapel Bridge (Kapellbrücke) in Lucerne, Switzerland, was built between 1333 and 1360. Originally part of the city's fortifications, it connects different parts of Lucerne and features 62 historic paintings from the 17th century that depict Swiss history.A significant event occurred on August 18, 1993, when a fire destroyed much of the bridge and its artwork. It was quickly restored and reopened in 1994. Today, the Chapel Bridge is a UNESCO-recognized landmark and a symbol of Lucerne's cultural heritage, attracting visitors from around the world.
I’d love to see a photo of your print if you make one! Thanks!
=============================================
You might also be interessed in the following models:
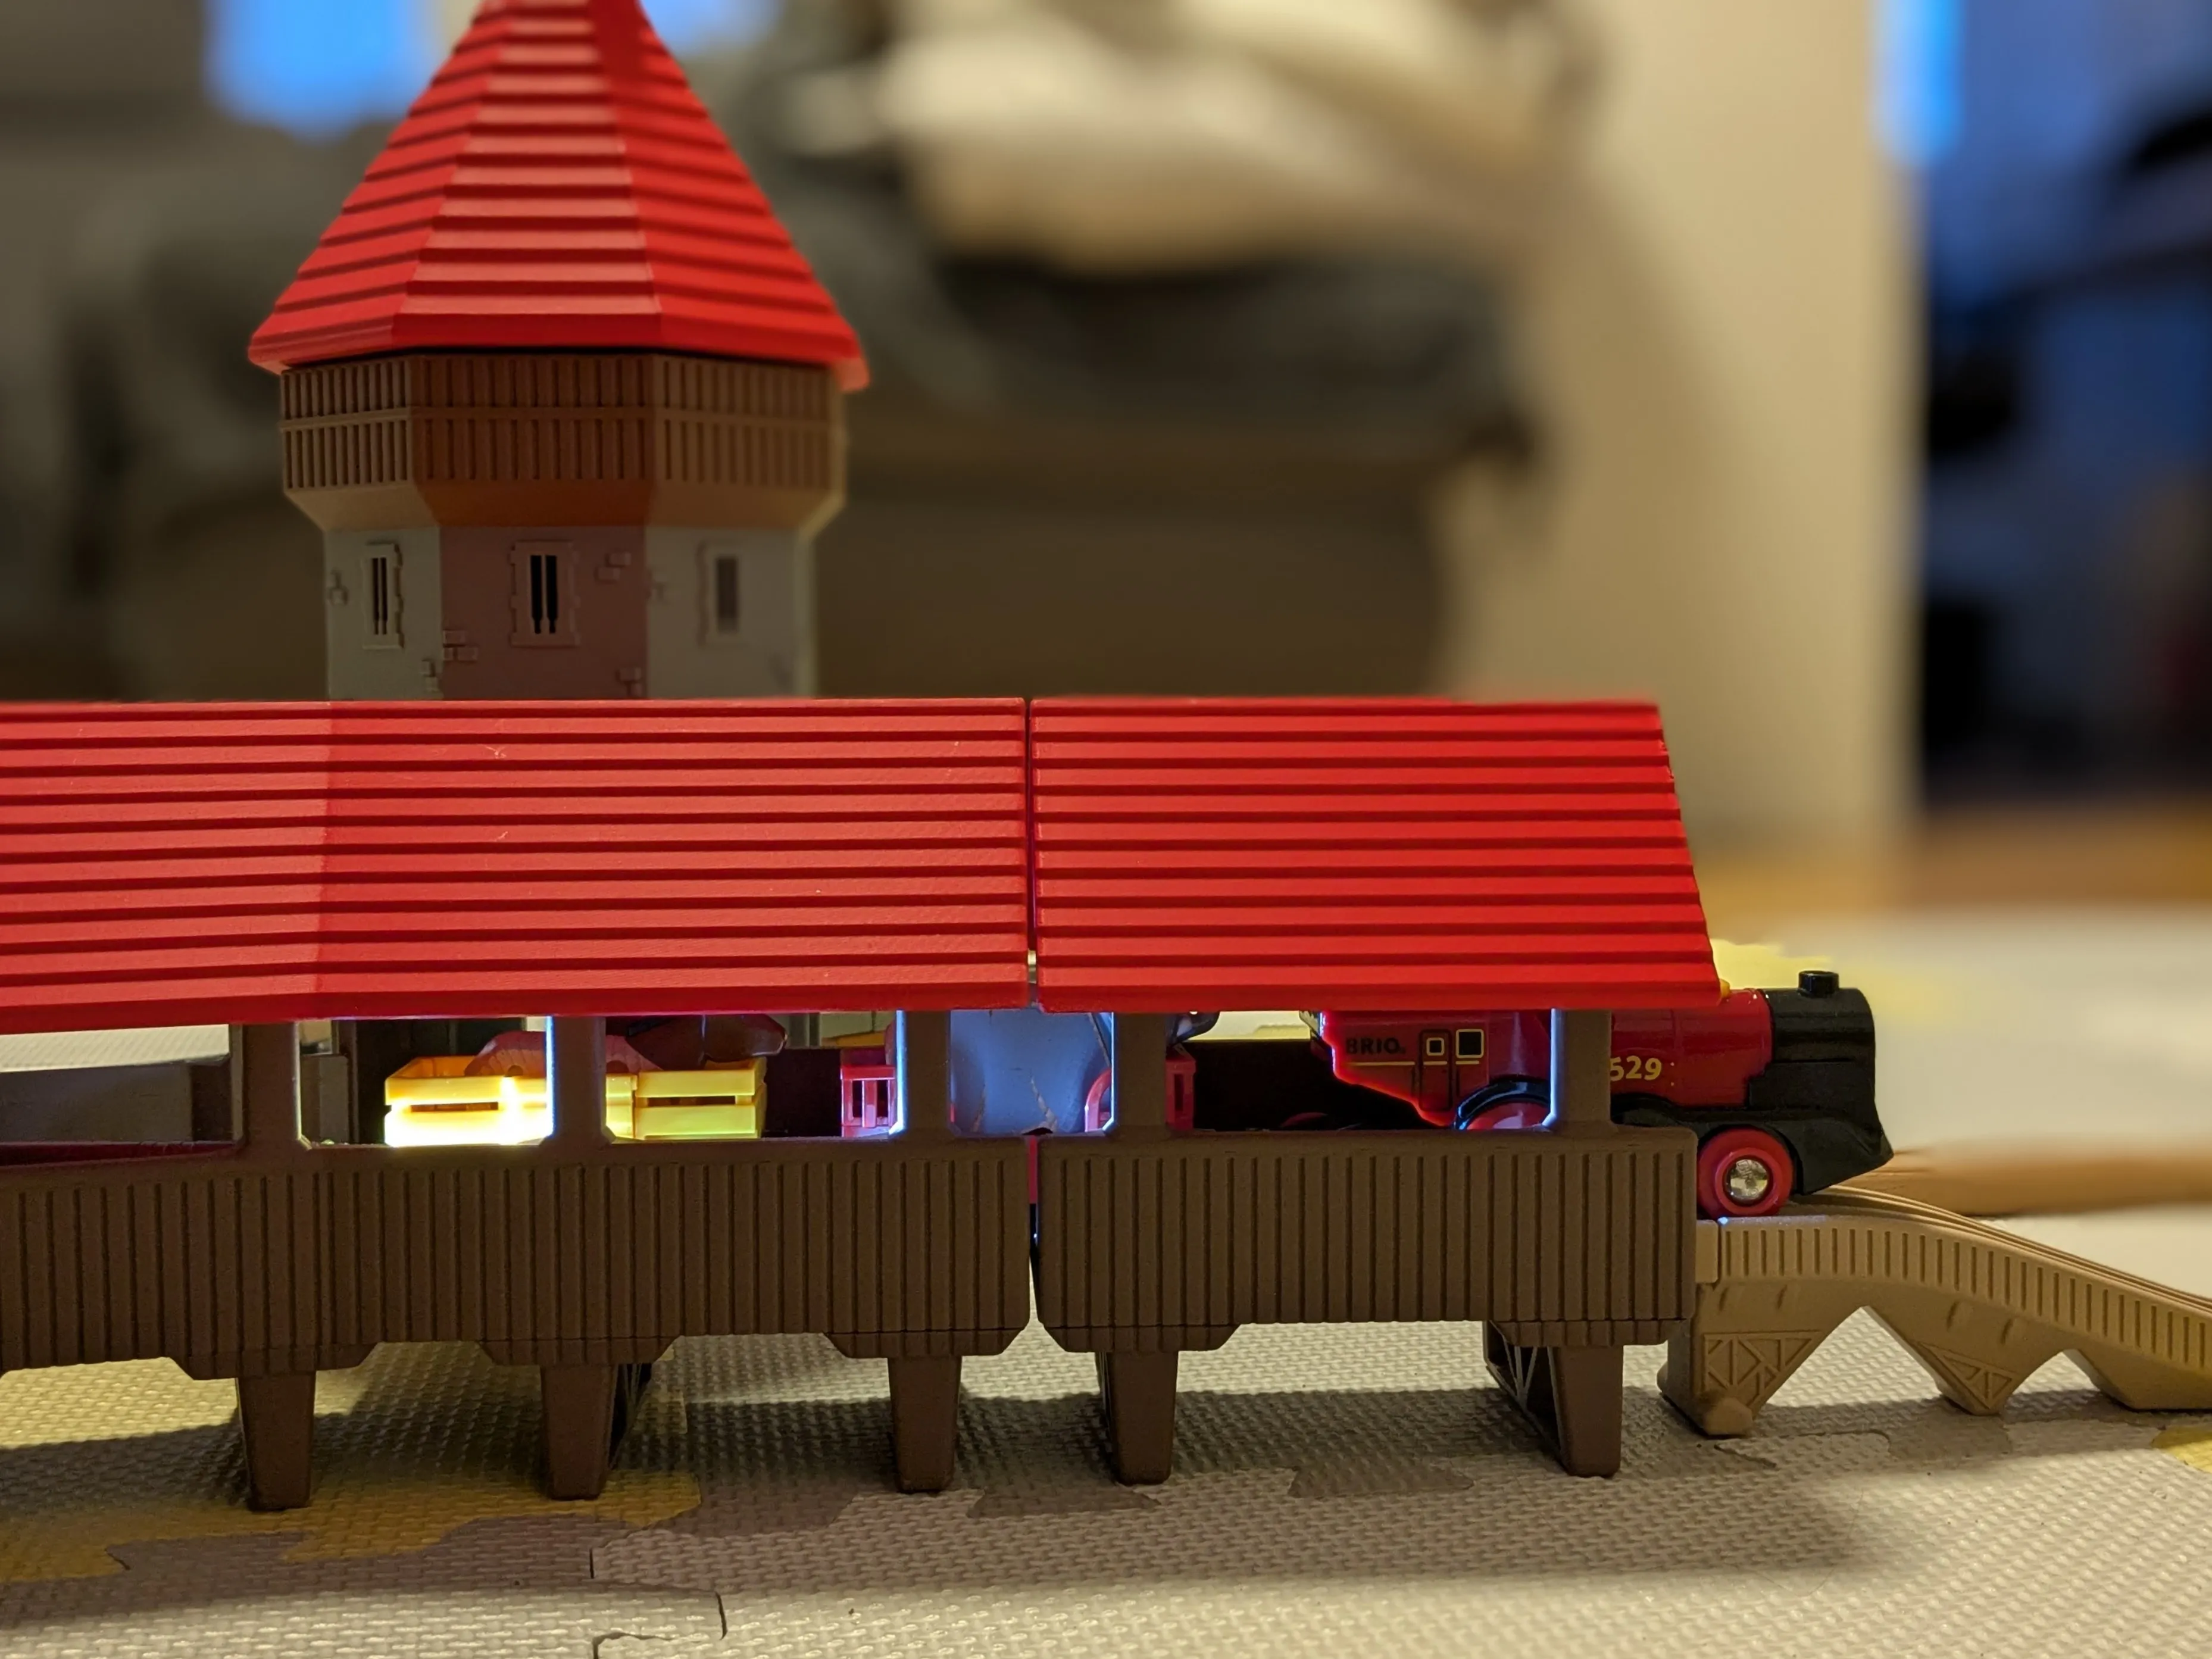
Kappelbrücke Extension
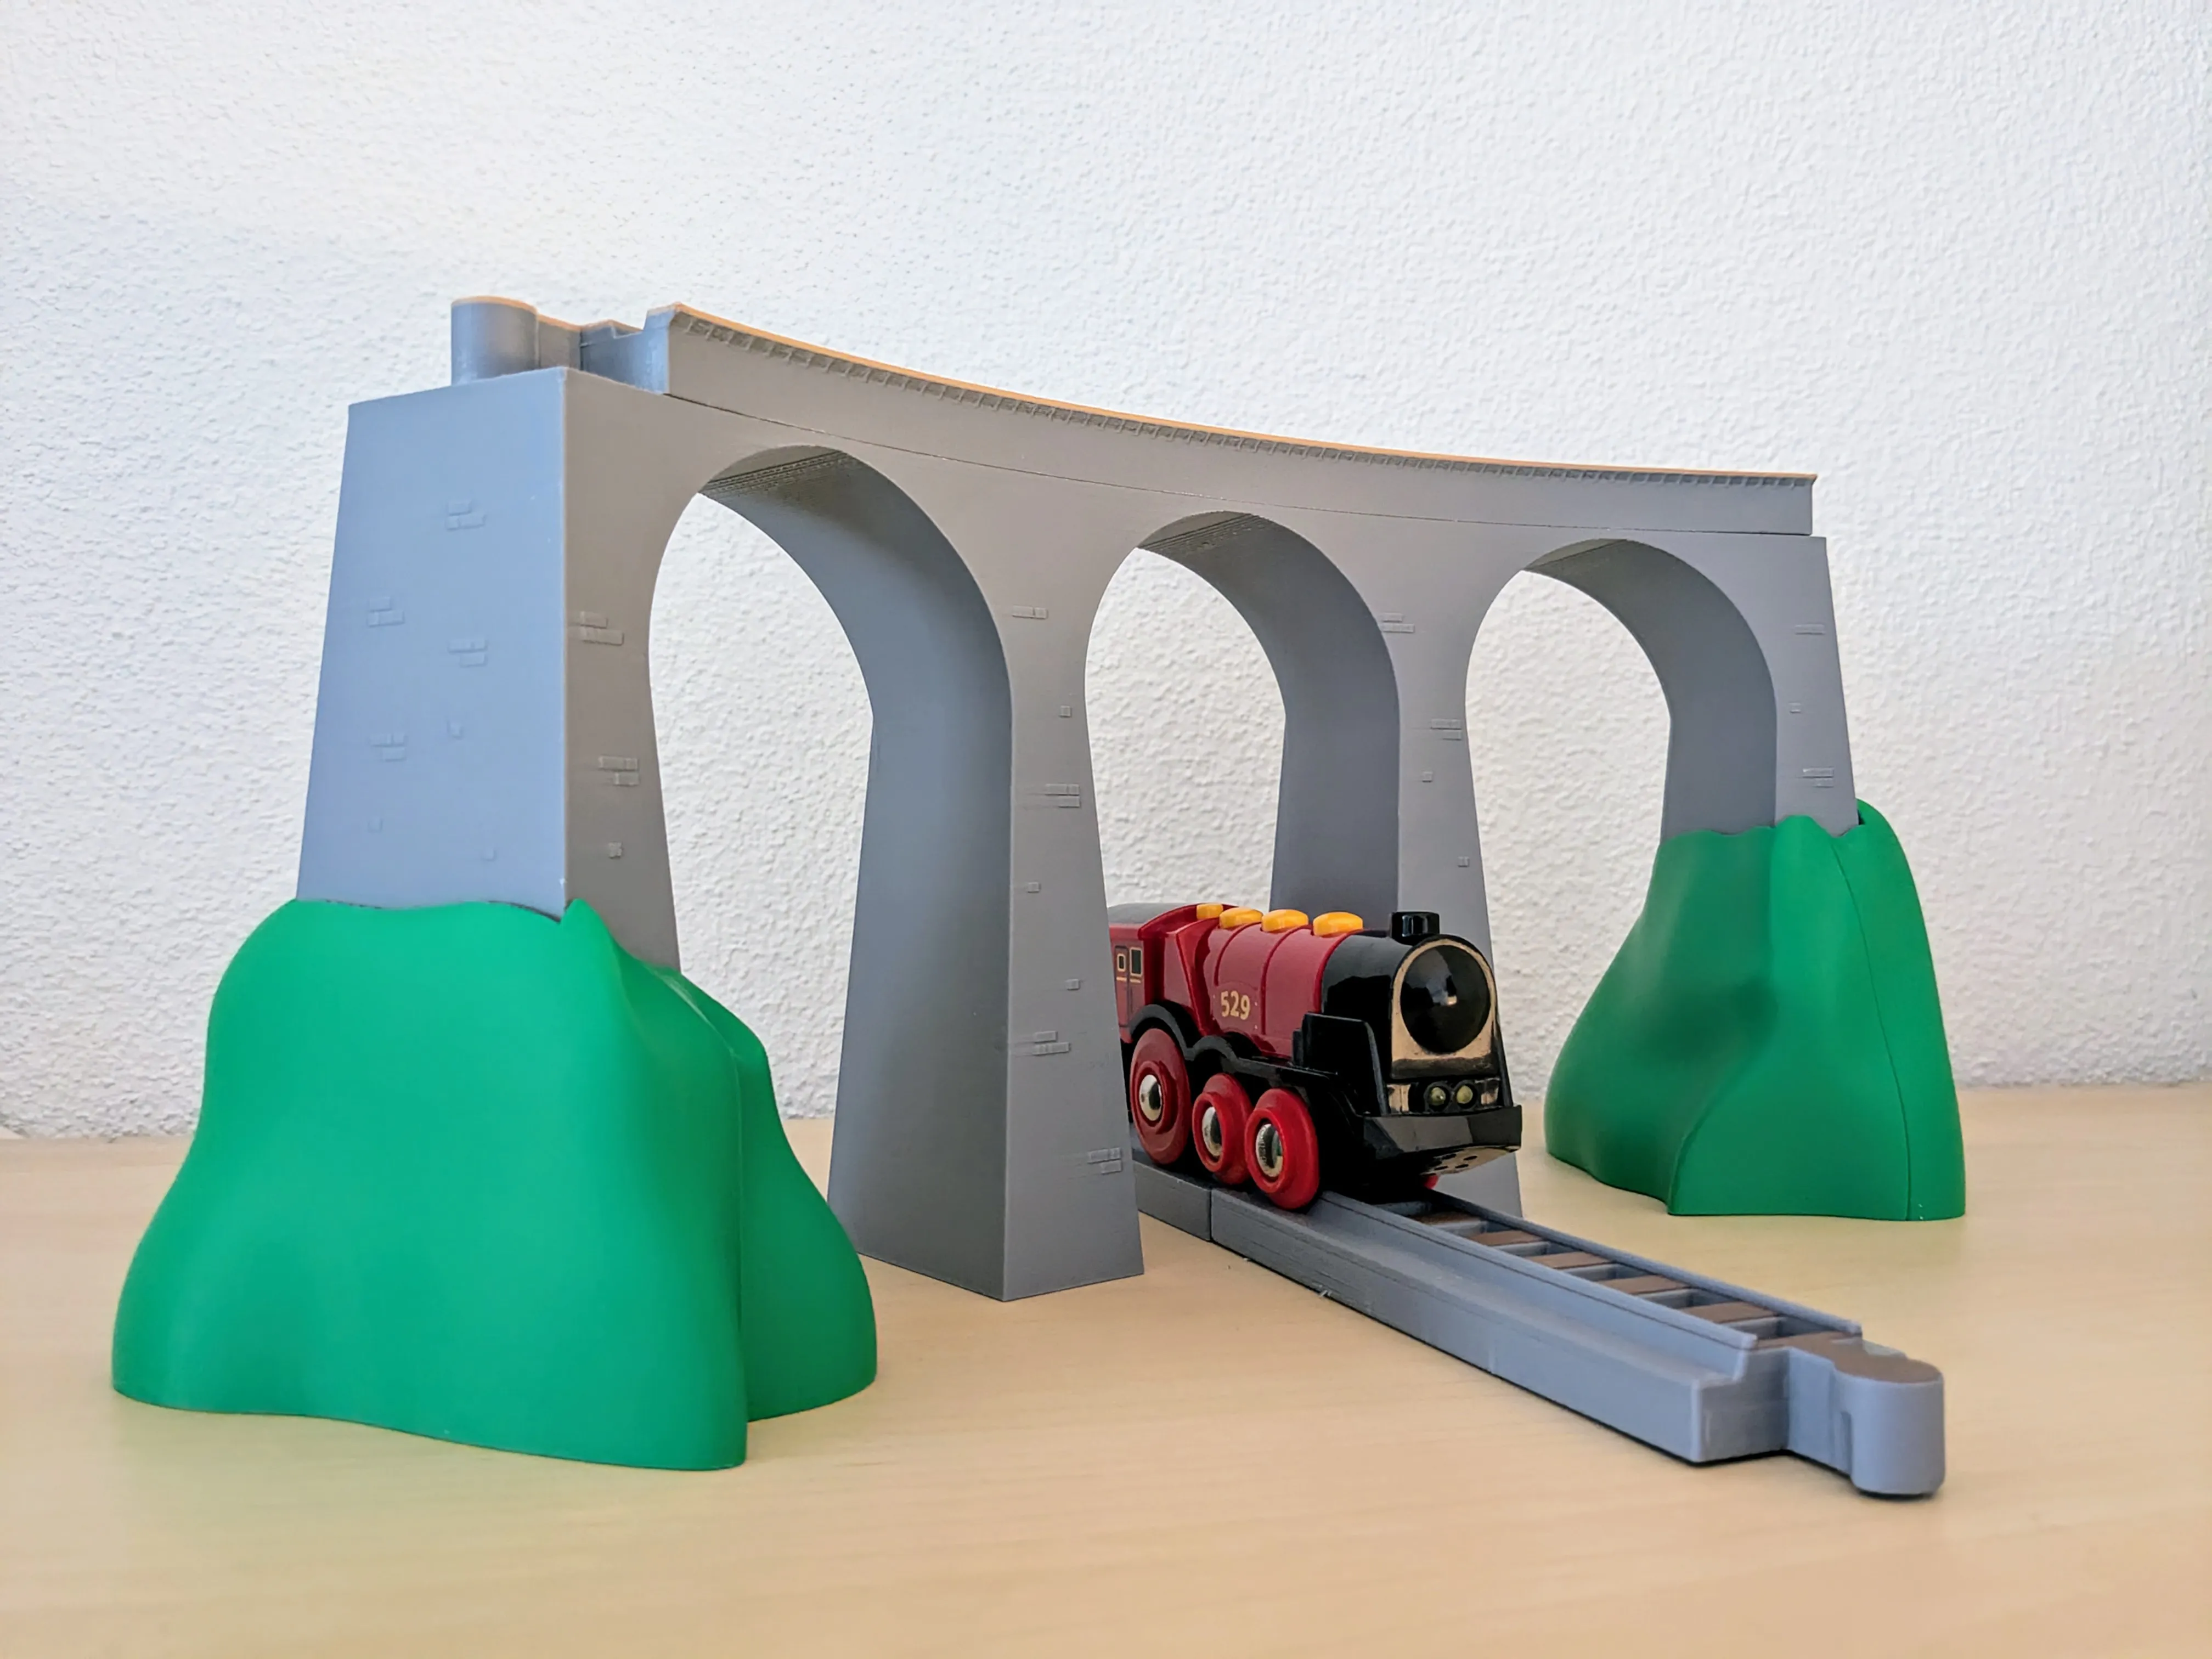
https://makerworld.com/de/models/1313480-chapel-bridge-extension#profileId-1348172
Landwasserviadukt
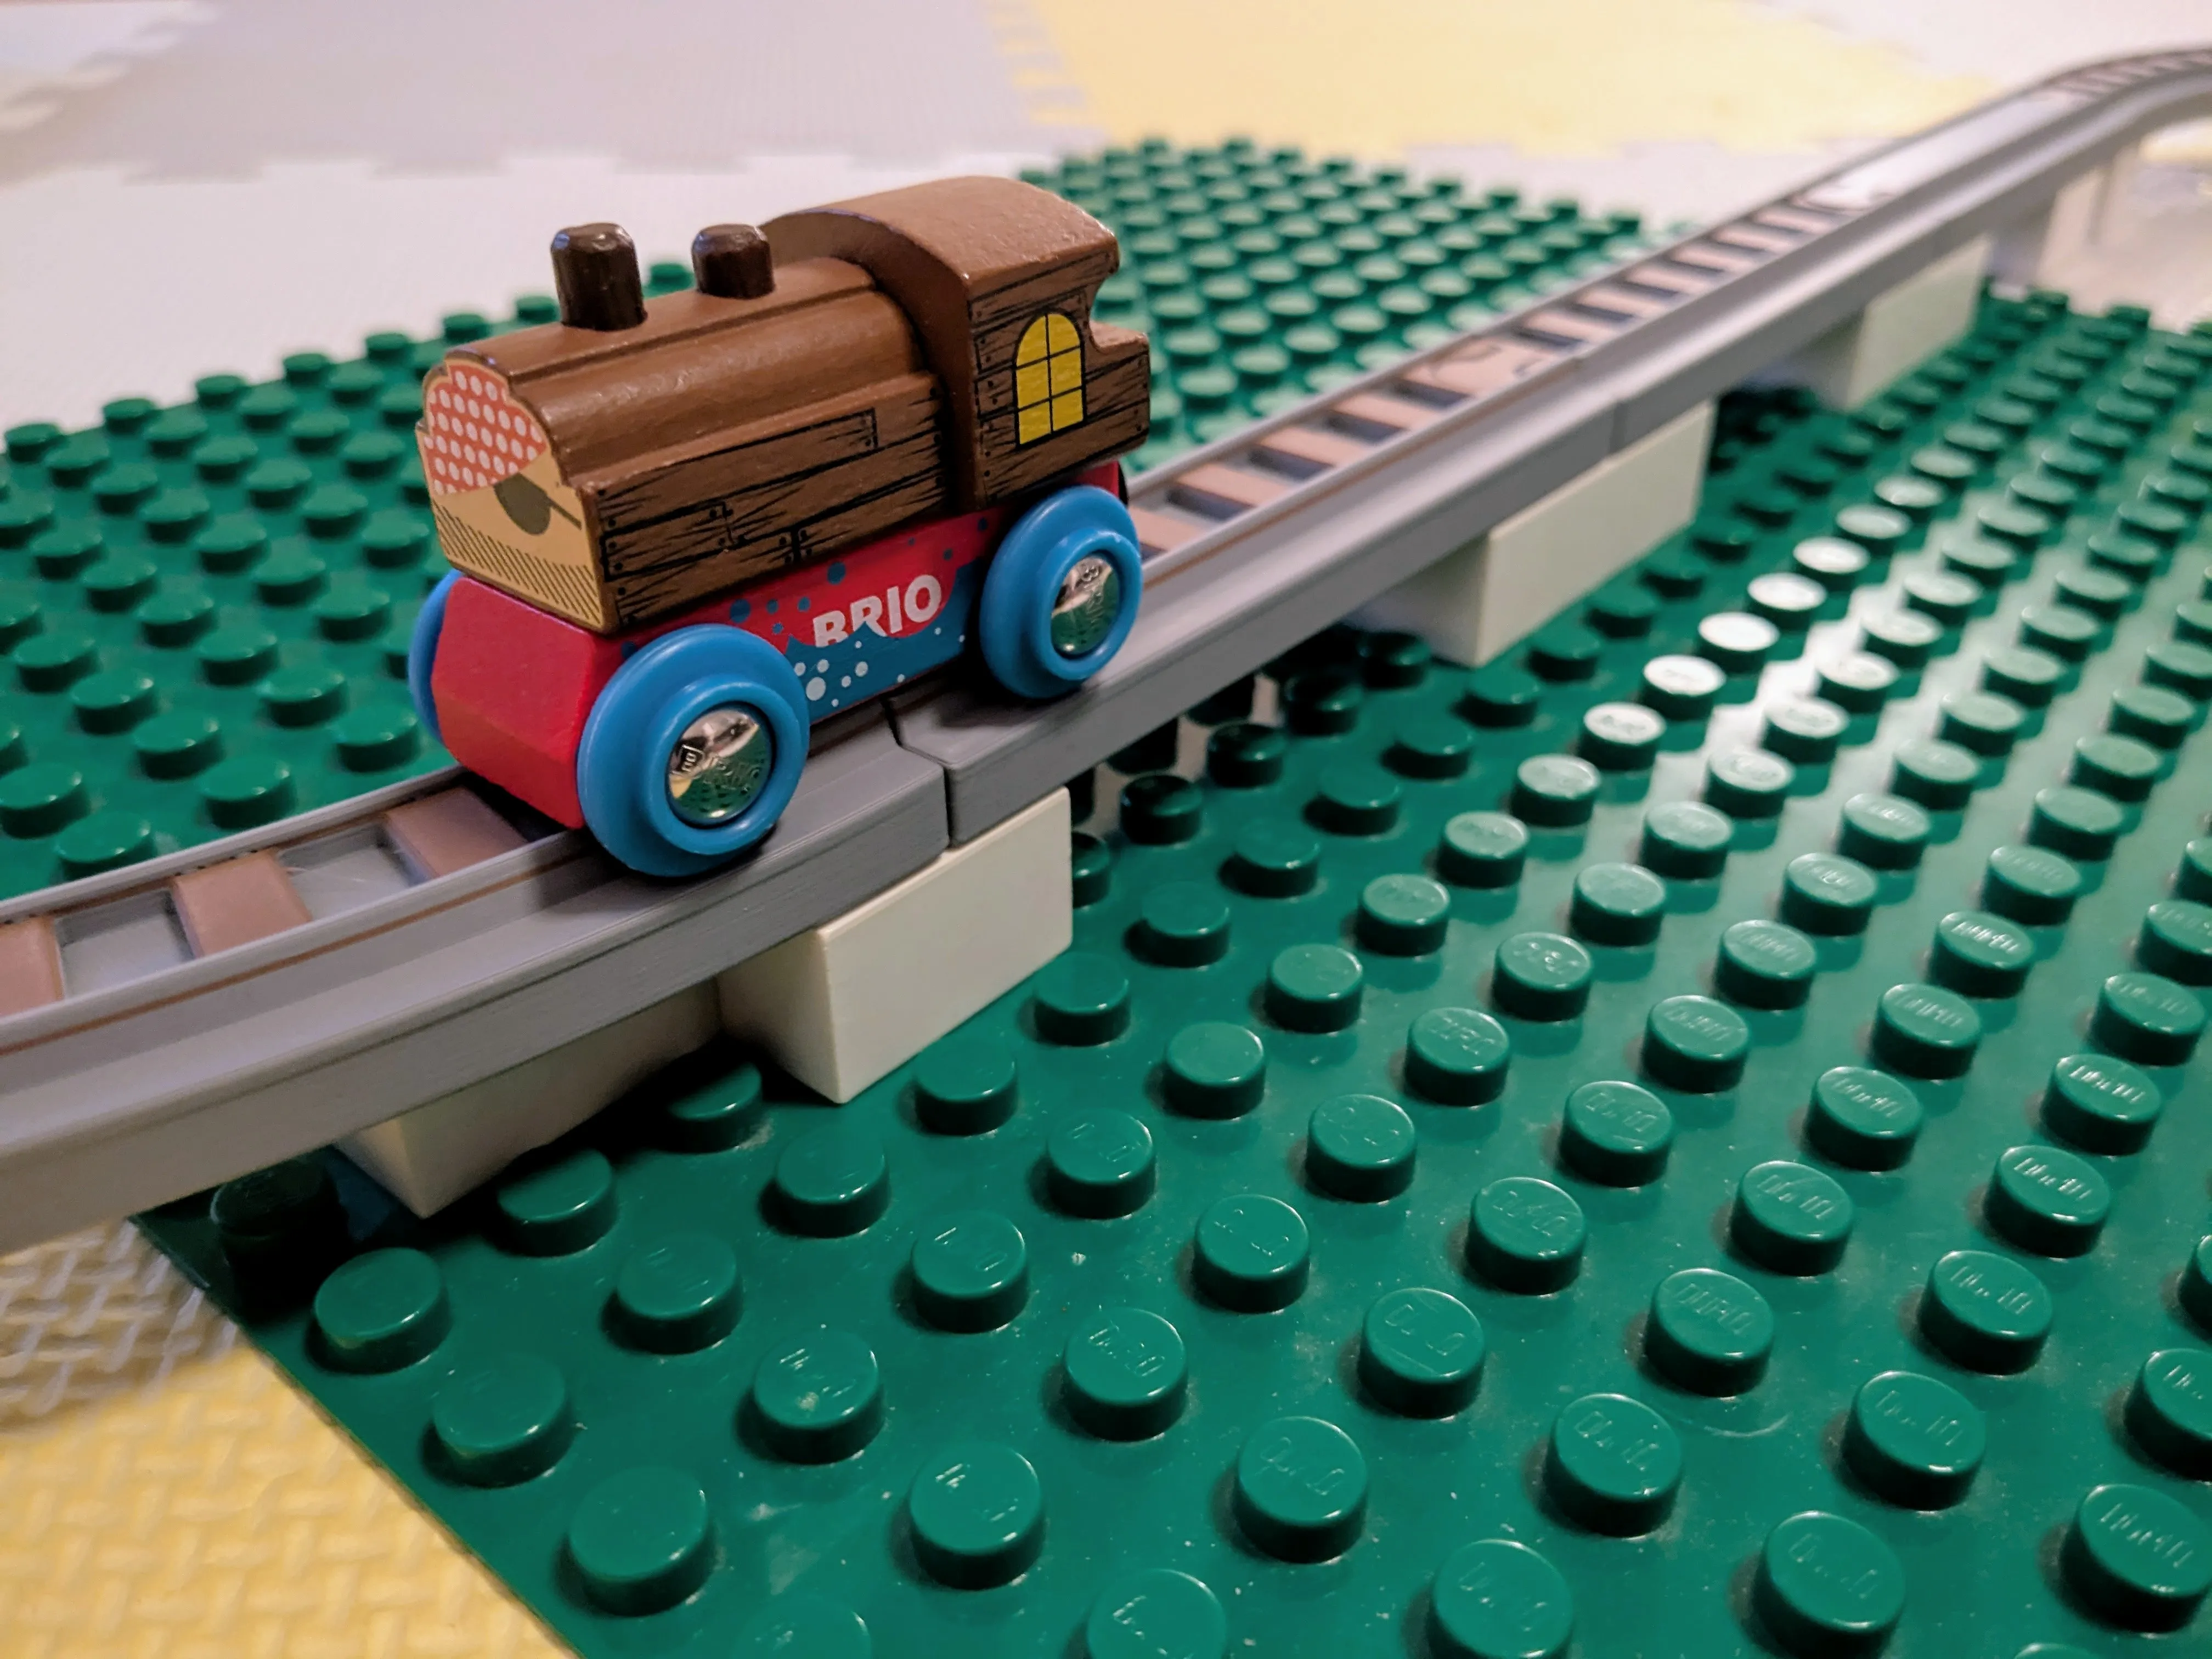
Brio tracks with duplo connectors
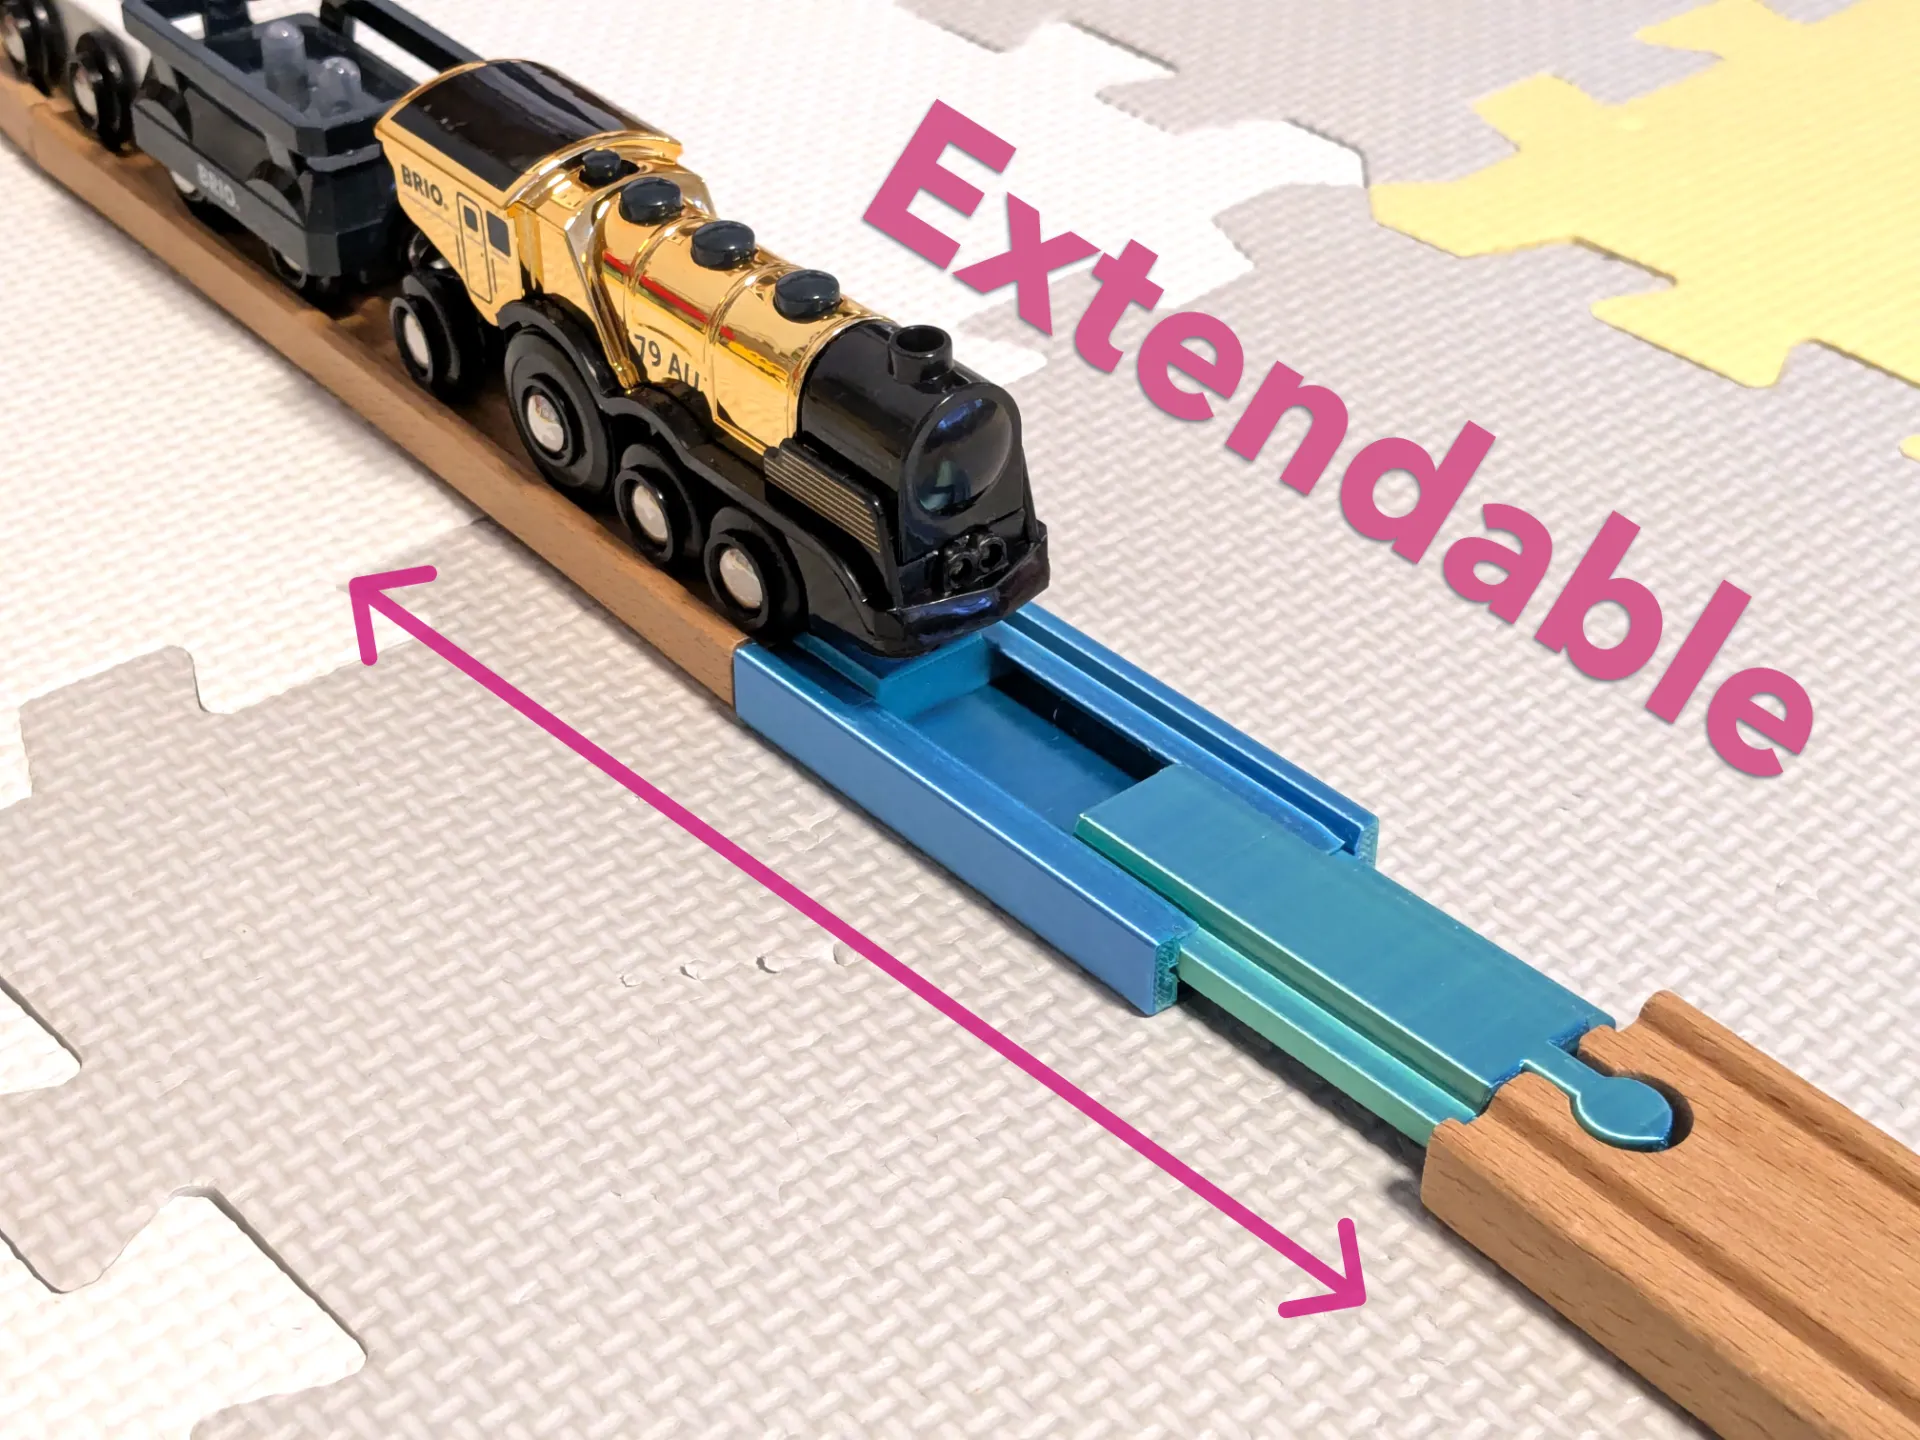
Teleskop-Eisenbahnschienenadapter (Brio-kompatibel) – Kostenloses 3D-Druckmodell – MakerWorld
Multicolor without AMS
Here is a short, step-by-step guide on how to perform a manual color change on a Bambu Lab printer (X1, P1, or A1 series) without using the AMS.
Phase 1: In Bambu Studio (Slicer)
* Slice the Model: Import your model and click Slice Plate.
* Go to Preview: Switch to the Preview tab.
* Find the Layer: Use the vertical slider bar on the right side of the screen. Drag it up or down to find the exact layer where you want the color to change.
* Note: The change will happen at the start of the layer you select.
* Add the Pause: Right-click the plus icon (+) next to the slider on that layer.
* Select Command: Choose Add Pause from the context menu. You will see a yellow mark appear on the slider.
* Print: Slice the file again (if necessary) and send it to the printer.
Phase 2: At the Printer
* Wait for the Pause: The printer will print normally until it reaches that layer. It will then park the toolhead (usually over the poop chute or corner) and lower the heatbed.
* Unload Filament: On the printer screen (or via the mobile app), press the Unload button (or manually pull the filament back if you have a P1P/P1S and prefer manual release).
* Load New Filament: Insert the new color. Press Load (or push it in manually until it grabs the gears).
* Purge: Ensure the old color is completely pushed out and the new color is flowing cleanly.
* Resume: Press Resume (or the "Play" button) on the screen. The printer will return to the model and continue printing with the new color.
Boost Me (for free)
If you enjoy this model, please consider leaving a Like and sharing your creations. Thank you for your support!
License



Comment & Rating (54)