Search models, users, collections, and posts

Miniature La Marzocco Linea Mini - no AMS required

Print Profile(1)

All
P1S
A1 mini
H2S
P2S
X1
P1P
X1E
A1
H2C
X1 Carbon
H2D Pro
H2D
X2D
A2L

Miniature Linea Mini (7 plates)
Designer
2.2 h
7 plates
5.0(32)

Open in Bambu Studio
Boost
234
627
79
62
622
348
Released 

Description

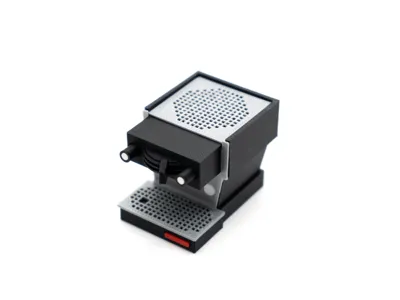
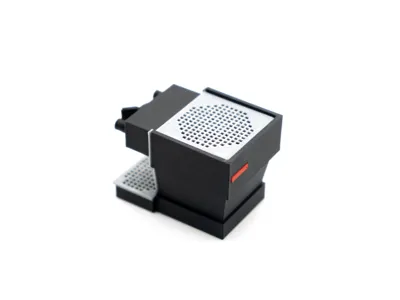
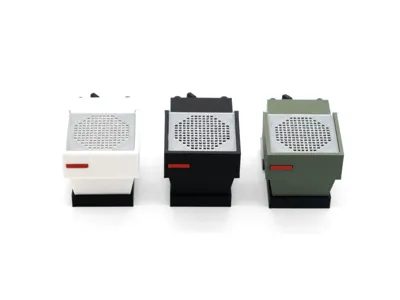
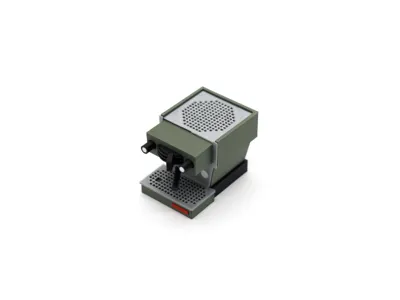
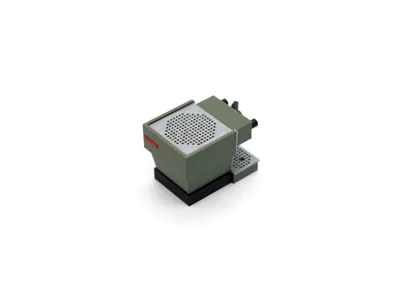
Say hello to this little cutie! I initially got the idea for a miniature Linea Mini after paying a visit to my local coffee machinery distributor, where they had a yellow Linea Mini on display together with a miniature Linea Mini of the same colour! La Marzocco had actually produced these miniatures a couple of years back, and like every other 3D printing enthusiast I said to myself “I could probably make that”.


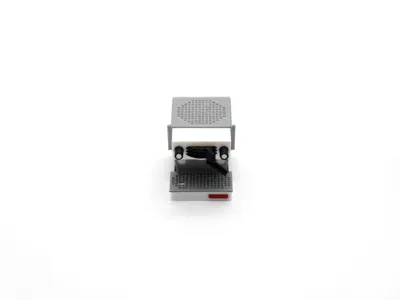
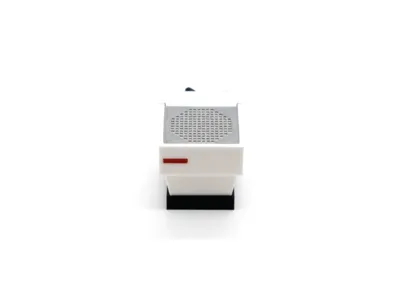
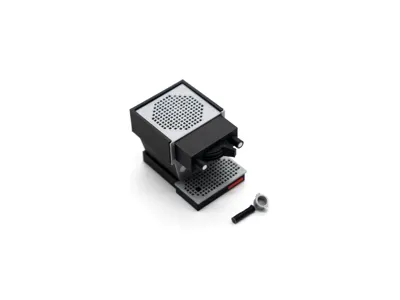
So I did. After quite a bit of research and hours spent in my CAD program, I whipped up a 1:10 scale of the Linea Mini. I kept the signature design details like the tray patterns and blocky proportions, but with easier-to-print-and-assemble modifications. As a note though, this model will be challenging to print and assemble due to just how small things are, and I'd recommend it only to people with the patience to work with tiny things and the occasional print lift. With that being said, it should be relatively straightforward, and the assembly steps are as below.

Assembly Steps
*yellow dots represent glue locations. 
*tools required: superglue, flush cutters to clean up print & vice (optional)

Step 1: Prepare the main body and the body sleeve. The sleeve should bend over the body and locate itself onto the triangular cutouts on the side.


Step 1 cont. : The glue points should be on the upper straight wall as pictured above.


Step 2: Once glued on, hold the sleeve on the body until the glue dries. I recommend putting it into a vice for a good bond. Model I used is this.


Step 3: Slide the front panel onto the body, down to up. I designed it this way to make sure that the little side flaps do not come out. You may put some glue in between this panel and the body.


Step 4: Next. we'll work on the base. Attach the front base sleeve onto the base, aligning it to the centre tab. Make sure everything is flush, no glue is required. Then, put some glue on the highlighted areas to attach the front tray next.


Step 5: The front tray should sit on just nice. After that, put some glue on the highlighted areas and then attach the previously assembled body to the base.


Step 6: While waiting for the glue to dry, insert the knob inserts into the two small knobs. These should friction fit, without the need for glue. You may need to push them together with a little more force.


Step 7: Glue the highlighted areas, the front two holes are for the knobs and the top four points for the cup tray. Attach these components to the body.


Step 8: Once done, glue the front triangle feature and attach the brew profile selector. While you're at it, put on the red (or whatever colour you chose) logo on the front. The logo does not need glue, it should friction fit.


Step 9: Same goes for the rear logo.


Step 10: Last step! Glue the front two circular cutouts on the front of the body, these are where the dial gauges are. Place the dials in and your machine is all set!


Step 11: For the portafilter, dab a little bit of glue on the end of the handle. Then, slide the handle sleeve on. It should have enough clearance to slide on just nice.


Step 12: This is how the portafilter should look like.


Step 13: Enjoy your new miniature Linea Mini! Time to make some espresso…


I hope that you enjoyed this little model that I made! If you love it, do consider giving me a Boost so that I can continue to make models like these, as well as my series of printer accessories designs.


Cheers,

- K.
 

Boost Me (for free)

Every Boost goes a long way! Thank you for the support.


Comment & Rating (79)

(0/1000)

License

This user content is licensed under the MakerWorld Exclusive License.

You may create derivative works based on this object, provided that all such derivative works are published exclusively on the MakerWorld platform and include proper attribution to the original creator. You may not share, upload, host, distribute, or publish this object—or any derivative work of this object—on any other digital platform, marketplace, or distribution channel. Commercial use of this object and any derivative works is strictly prohibited. This includes, but is not limited to, selling, renting, sublicensing, or using the object in any context in which you receive monetary compensation or other financial benefits.