




Print Profile(1)

Bill of Materials

Description
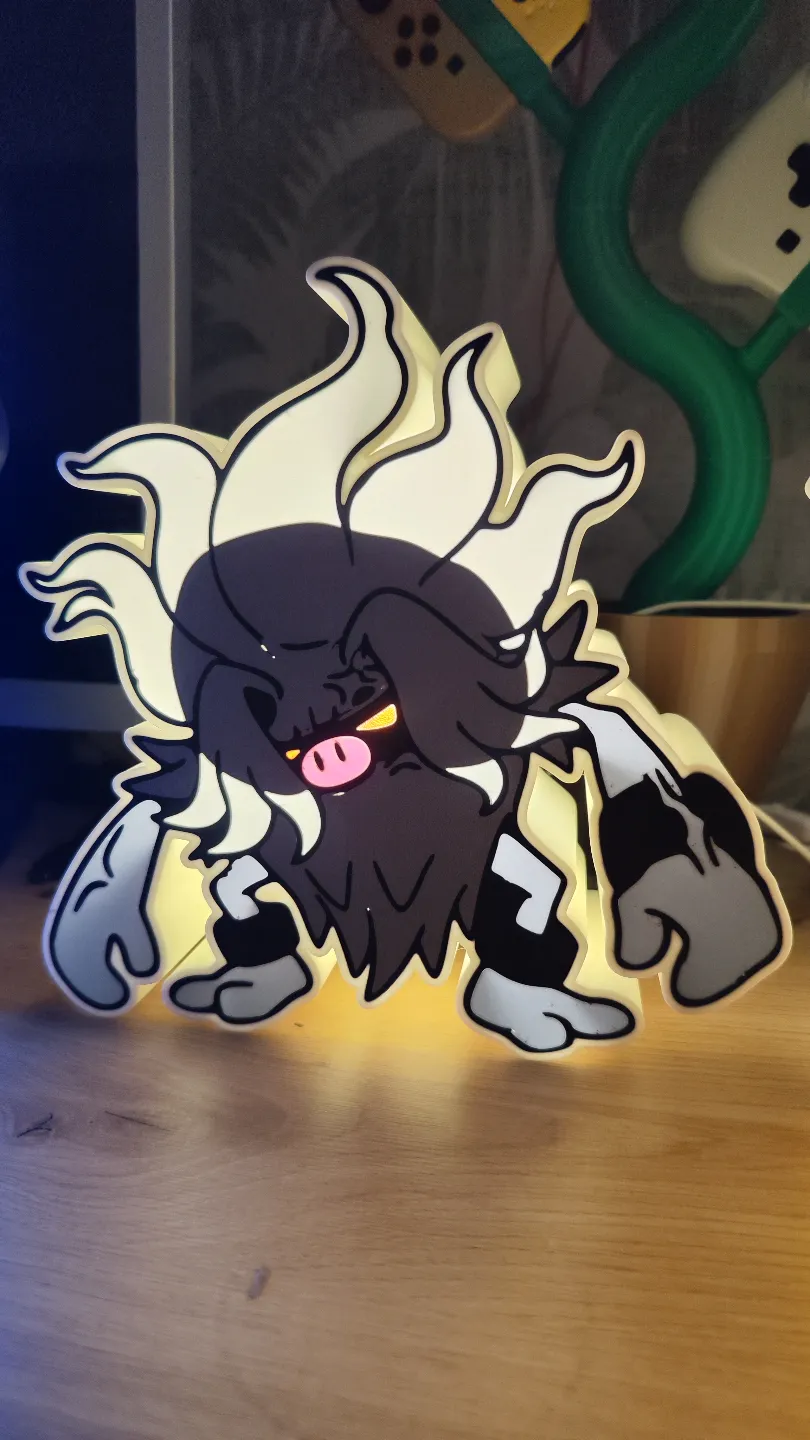
The light box can be printed like in profile without supports and without a brim.
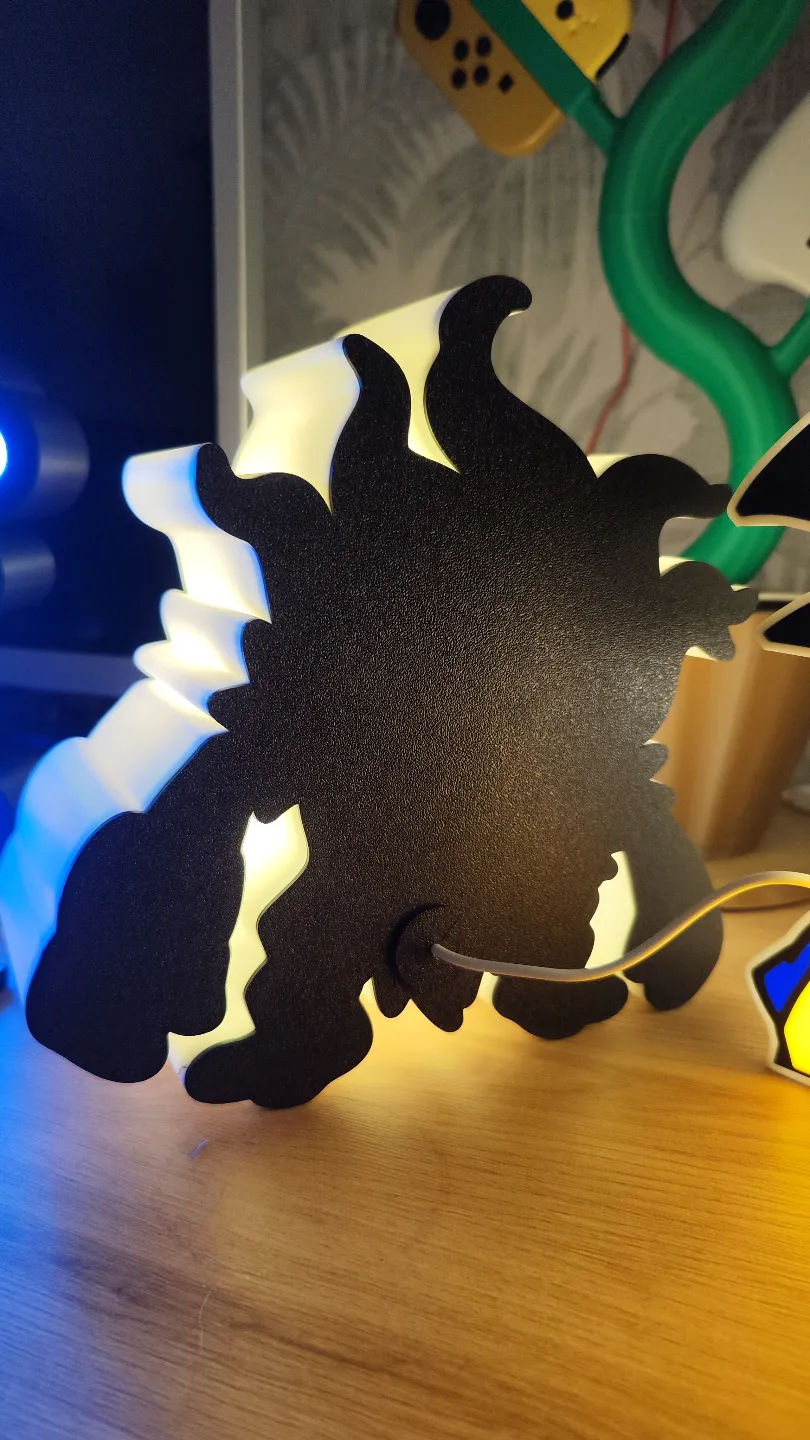
The light box is 83mm deep overall (81mm light box and 2mm back plate). I used the LED kit from BambuLab. I initially printed a narrower version, but it didn't look good with the LED kit because the light was too close to the front wall and you only saw a circle of light. With the current depth, the light is distributed perfectly in the light box. With a normal LED strip, you can also print the box narrower.
The front is 3 layers (0.6mm) thick, except for the Gray, Pink and Black Parts (5 Layers, 1mm). This is the perfect thickness so that the front doesn't break so easily and so that a lot of light still comes through. The Gray and Black parts are thicker, because i wanted to let only the White flames and red eyes glow.
*** I recommend not scaling the Z axis, otherwise the front may become too thin and easily broken, or too thick that hardly any light can get through.***
If you would like to have narrower boxes, please contact me and I may be able to upload additional versions.
In total I used 6 colors:
- Generic PLA White
- Generic PLA Pink
- Generic PLA Black
- Genery PLA Red
- Bambu PLA Basic Blue Gray
- Bambu PLA Basic Grey
If you only use an AMS system, or the AMS Lite, you have to change a color manually.
I set the printing order in the profile and defined flushing volumes generously so that no colors mix. It starts with white, then pink, red, grey, blue gray, black. When pink was finished printing, I manually swapped for blue gray on the same slot. When red was finished printing, I manually swapped for black on the same slot. When blue gray was finished, I swapped it back for pink in the same slot. When black was finished, I swapped it back for red in the same slot. The whole thing works great without having to stop and only needs to be done for the first 3 layers.
There is a 20mm diameter hole on the back to pass through the switch of the LED kit. I also constructed a plug to close the hole (see picture 3). However, this plug is not absolutely necessary and is optional.
The LED kit has a supply voltage of 5V and can be used with any smartphone power supply. I connected the lamp to the USB A port of my Nintendo Switch and it works perfectly and looks great.
If you have problems with the model or profil, feel free to contact me.
License



Comment & Rating (0)