No-Hardware Bambu Lab Scraper for Plastic Blades


Print Profile(15)


Description
Boost Me (for free)
If you find any value in my work, feel free to give it a like, boost or a follow – your support means the world!

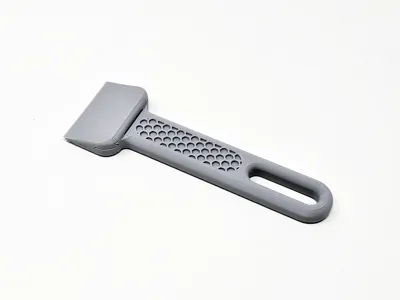
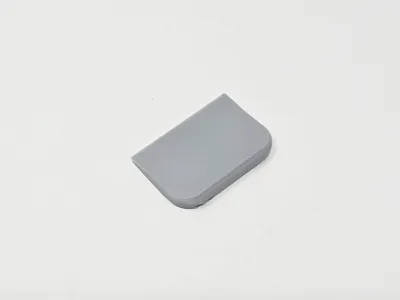
- Improved the lid by flattening out the slope for lower angle access.
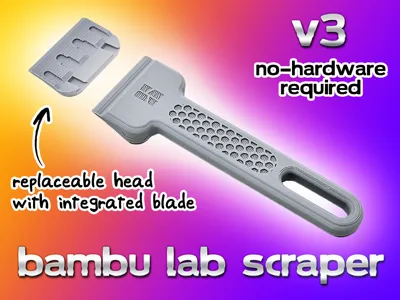
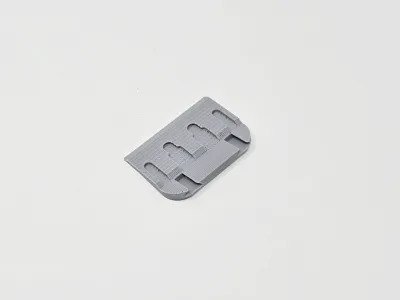
- Integrated blade into the lid, no need to purchase separate plastic razor blades!
- Reworked handle to reinforce lid with the new channel system.
Many users seemed to have issues with the fitment of the blade in V2 as there were many different types of plastic razor blades with varying tolerances (even ones that look identical). I wanted to remove that variable and thought that a custom-fitted head with an integrated blade might be the best option moving forward.
This new version fits tighter and has less flex when pulling up on the blade due to extra reinforced channels on the head. Overall, it should fit together and work much better than V2, but V2 is still available if you'd still like to use the separate plastic razor blades.

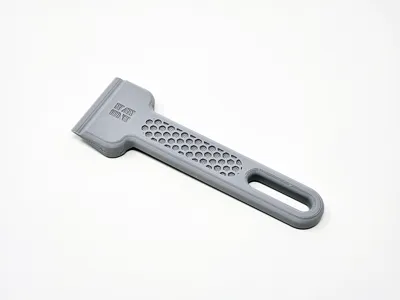
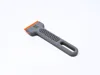
- Improved the grip on the hex pattern texture (You can immediately tell the difference from V1).
- Improved aesthetics on the logo version by changing the logo so that it prints better face-down on the build plate. Previously, the font version of the logo was too thin in areas to print without deforming on the plate.
- Added a profile for a slightly thicker and longer handle for larger hands.
This is a heavily-modified version of the Improved Plastic Scraper by @VeloxCreations which was inspired by the brilliant original by @Stephanos. The goal was to make a version that could be assembled with just printed components.
Although some users have had success modding or shaving the model to accommodate other blades, these are the variety recommended for perfect fit:
https://www.amazon.com/EHDIS-Plastic-Stickers-Adhesive-Clean-Orange/dp/B01HTEM6DS

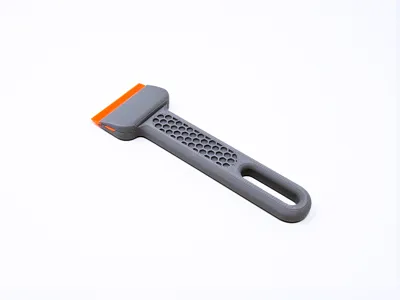
- Updated design of handle:
- Dual-sided hex grip texture.
- Oblong loop for compatibility with various hook geometries and lengths.
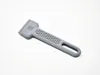
- Re-designed blade clamp attachment:
- No hardware required, you simply slide it into place.
- Sloped/graded guard with slight curve to alleviate stress on the plastic blade and to allow lever force to pry up areas off the bed.
- Optional minimal-footprint holder that can be attached with command strips or double-sided tape.
- Includes plate with version without logo.

- Carefully and thoroughly remove supports from the blade clamp attachment. Ensure that the thin edge and rail channels are properly cleaned either by cutting away or sanding any leftover support debris/print imperfections—failure to do so may make the fitment extremely tight and hard to assemble/disassemble due to the tight tolerances.
- Insert plastic blade into base and secure the blade with the attachment. Wiggle and slide up on the clamp attachment to catch the front of one of the rails.
- Gently rock back and forth with thumbs while applying firm pressure to slide the clamp attachment up until it snaps into place against the back edge.
Any feedback and/or comments appreciated, thank you!

Comment & Rating (1408)