Search models, users, collections, and posts
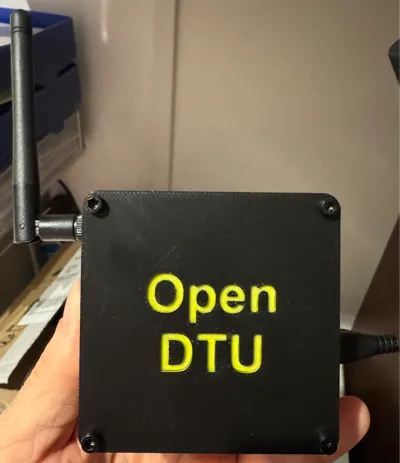
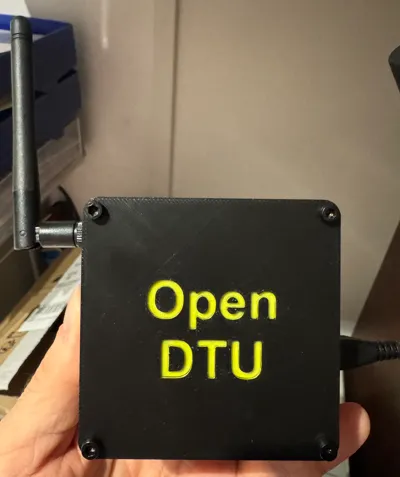
Open DTU Enclosure
IP Report


Print Profile(1)

0.2mm layer, 2 walls, 15% infill
Designer
1.7 h
1 plate
Open in Bambu Studio
Boost
13
33
14
4
68
48
Released
Bill of Materials
Maker's Supply Kits and Parts
Select all


Description
Content has been automatically translated.
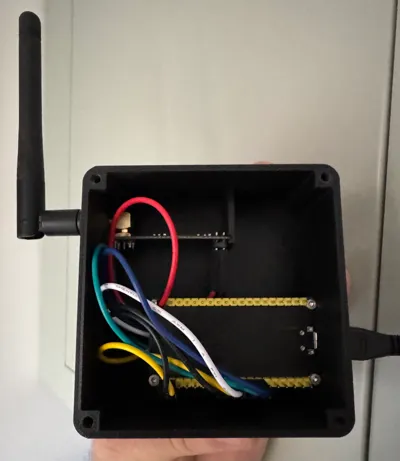
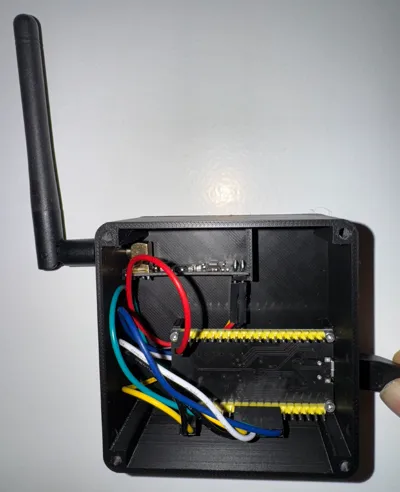
I designed this enclosure to house an ESP32 board and an NRF24L01+ radio module to monitor my solar panel micro-inverter.
I was inspired by this project: https://theo-beaudenon.fr/tutoriel-dinstallation-de-opendtu-pour-le-suivi-des-onduleurs-solaires/
To complete this project, you will need the following materials:
- an ESP32 DEVKIT DOIT board or ESP32 NodeMCU Development Board with an ESP32-S3 or ESP-WROOM-32 chipset
- an NRF24L01+ radio module. The + is important
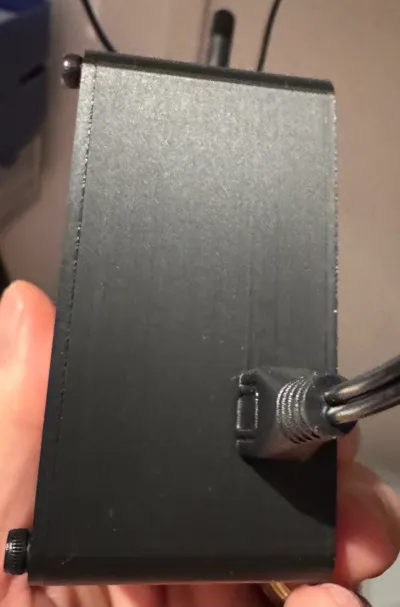
- A 5V - 1A micro-USB power supply
- 4 M2*4 screws
- 4 M3*10 screws
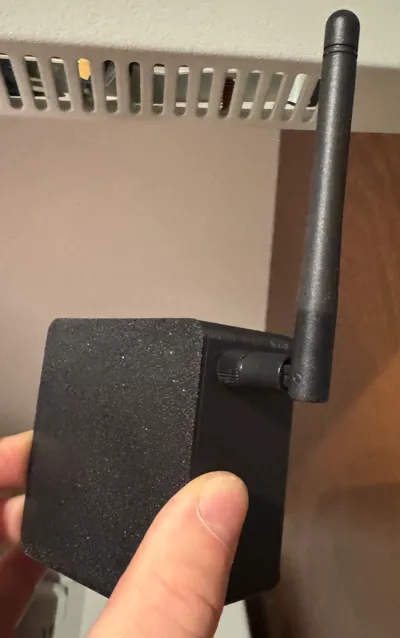
Installation is relatively simple. The radio module inserts vertically and clips into the holder. The ESP32 board is screwed in with the M2*4 screws by placing the board upside down.
The M3*10 screws are needed to close the lid.
License
This user content is licensed under a
Creative Commons Attribution-Noncommercial-NoDerivatives
Comment & Rating (14)