
Chess set Queen's Gambit finals 1950's Ussr/Latvia


Print Profile(4)


Description
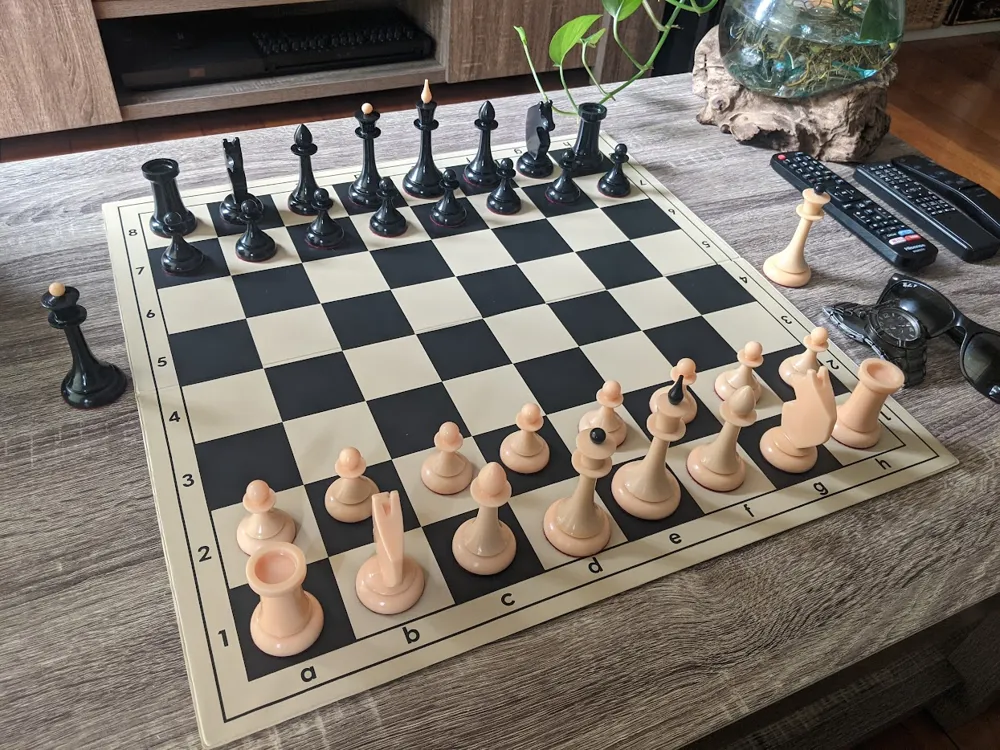
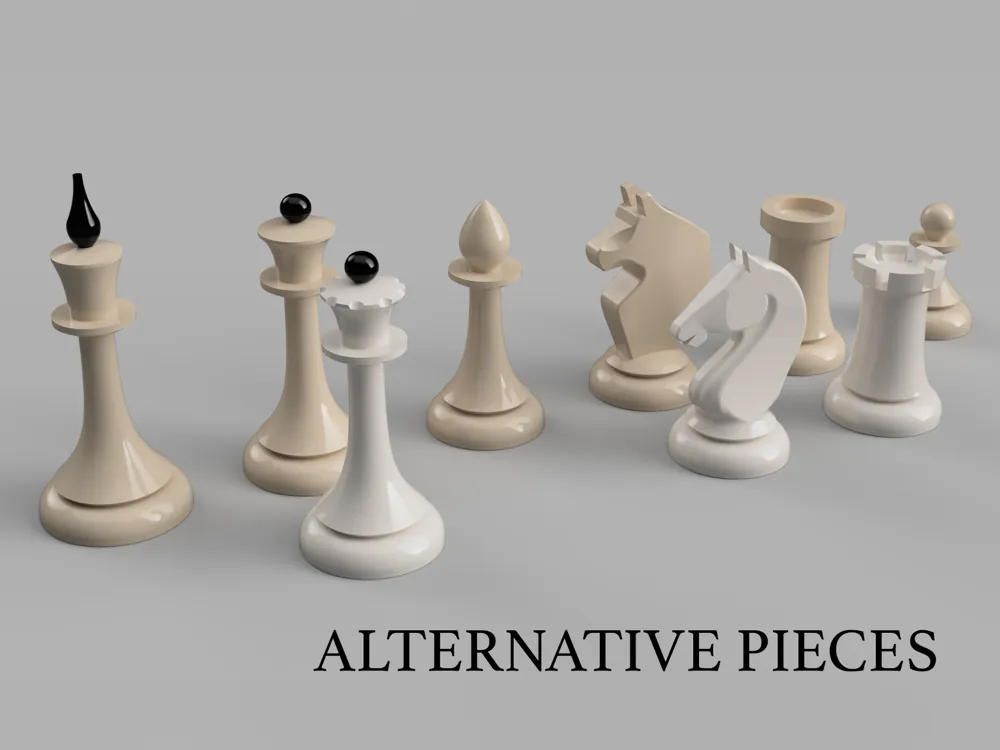
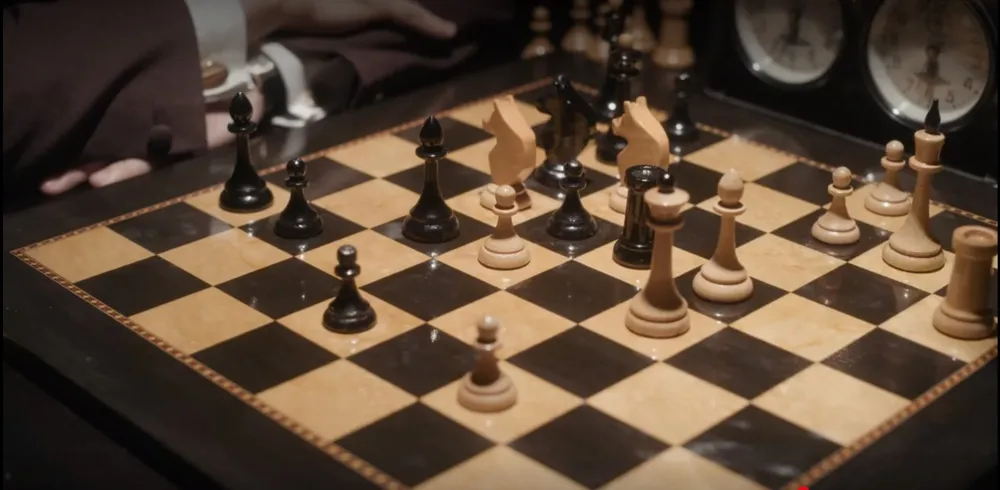
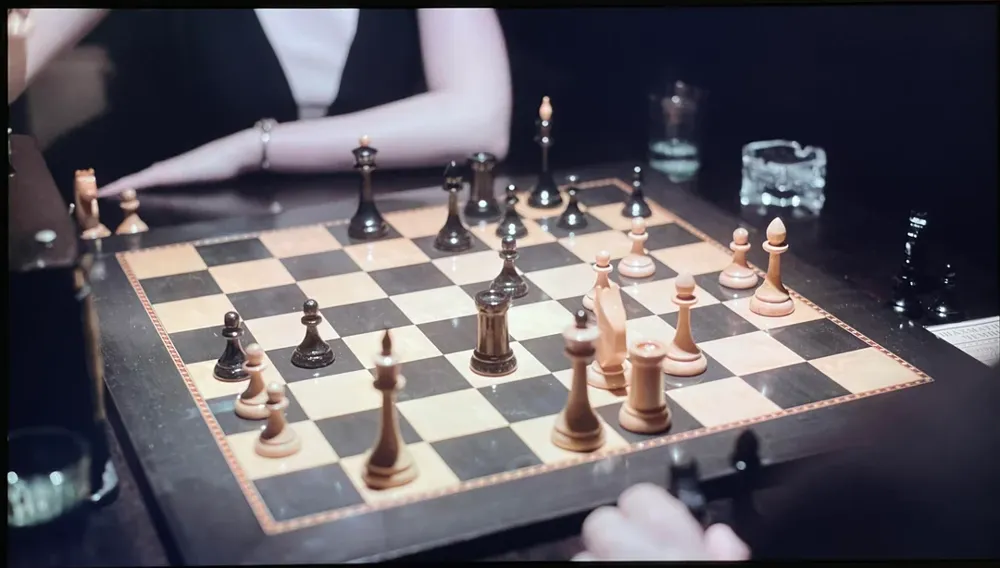
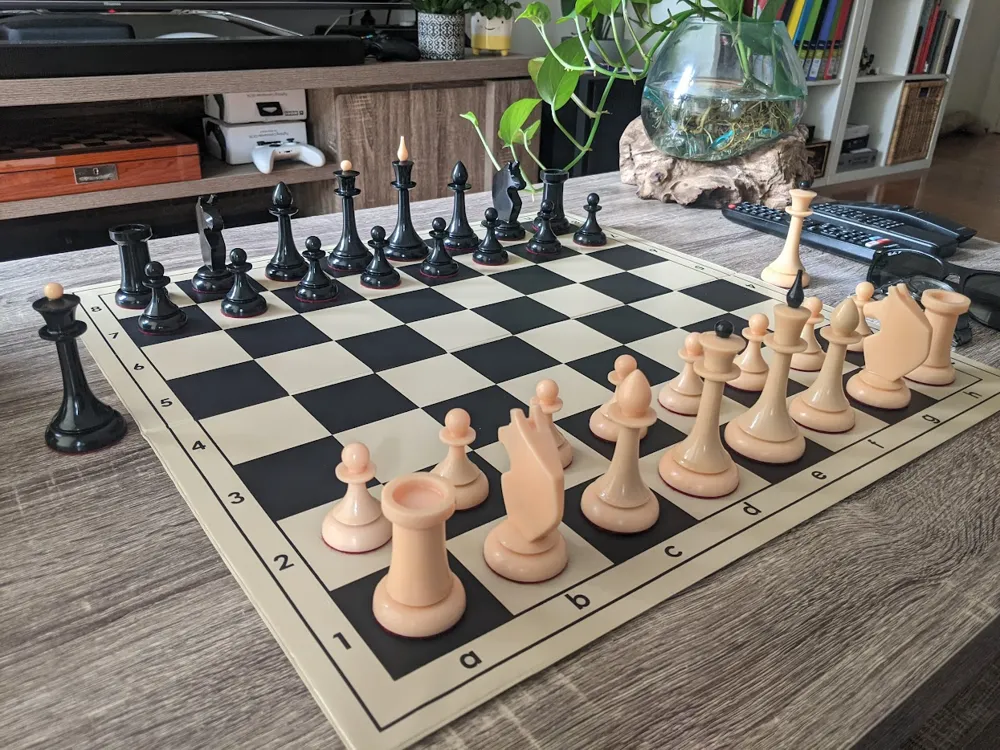
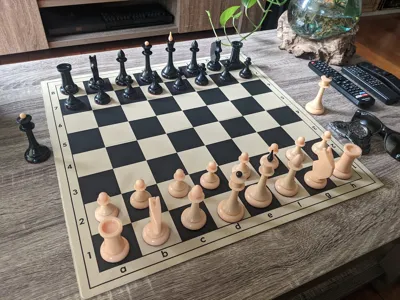
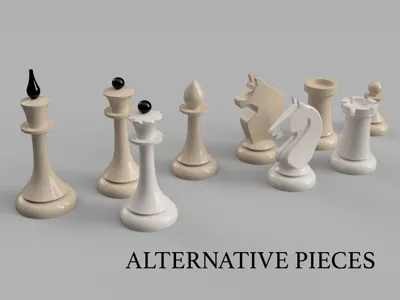
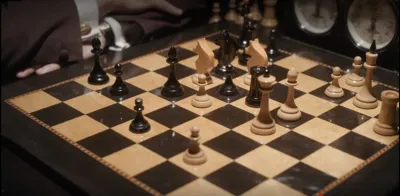
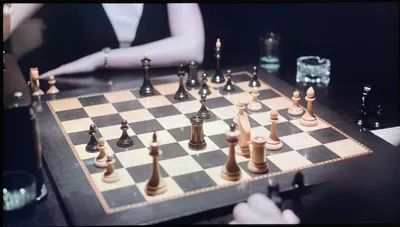
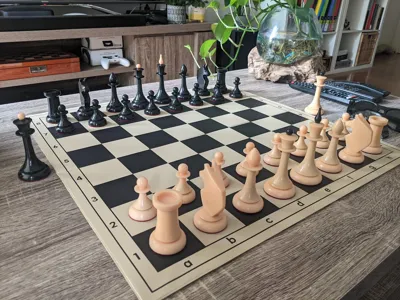
Loved the the chess that was used in the finals of the Netflix series the Queen's Gambit. After a lot of research I found out the set used and made my own version that is designed to tournament standards. Even added some alternative version (style B) of some pieces. The board used in the photo for these pieces is 50cm board but will work fine with a 60cm board.
The main way to print this is to use the hollow versions so that you can add weight to the pieces. They have the following dimensions, with the weight I suggest but you can make them weigh whatever you want.
- King: 102mm tall, 44mm base, 90g
- Queen: 87mm tall, 41mm base, 78g
- Bishop: 76mm tall, 38mm base, 67g
- Knight
- Style A: 72mm tall, 38mm base, 60g
- Style B: 68mm tall, 38mm base, 60g
- Rook: 54mm tall, 38mm base, 51g
- Pawn: 46mm tall, 33mm base, 40g
How to Build
Easy version
Print the solid versions in the colours you want and just play. The hollow versions also work but will have a hole in the base since they are mainly designed for weights (Long version).
If you only have 1 colour, it's easy enough to spray paint them the other colours.
Long version
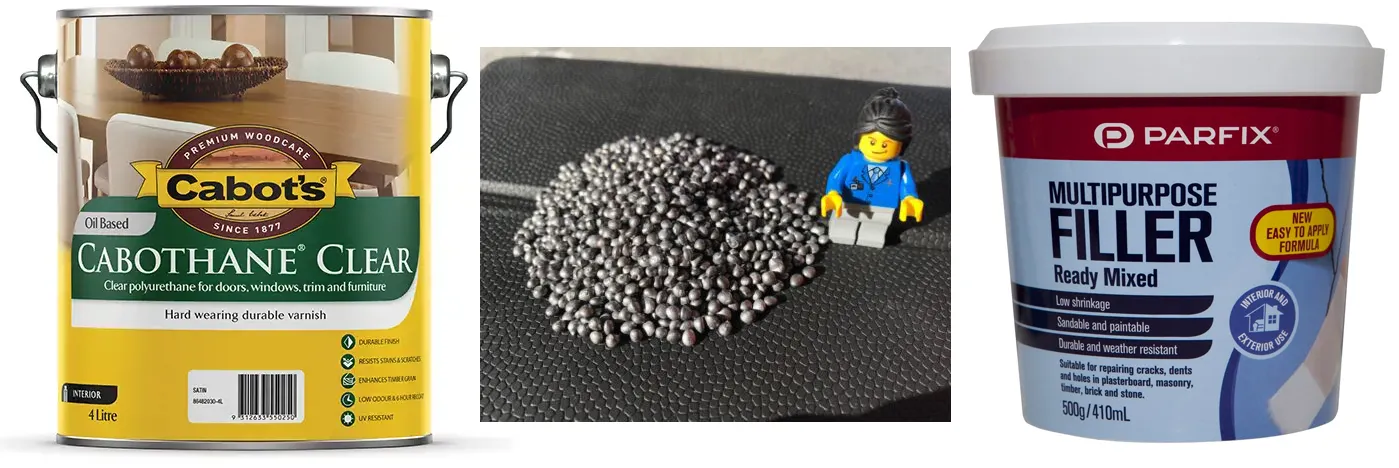
Gives very nice professional looking pieces and you can add weight to them to make inline with other tournament sets. You will need to print out the Rig. Here are the materials i used
- Clear polyurethane (optional), get one that wont yellow to much, some yellowing is ok and adds to the wood look
- Lead shot ballast weight
- Filler (low shrinkage, sandable)
- Green or red felt
- Super glue to assemble King and Queen
- PVA/wood glue to attach felt
Print hollow versions in the colours you want or paint them. Assemble the King and Queen with super glue.
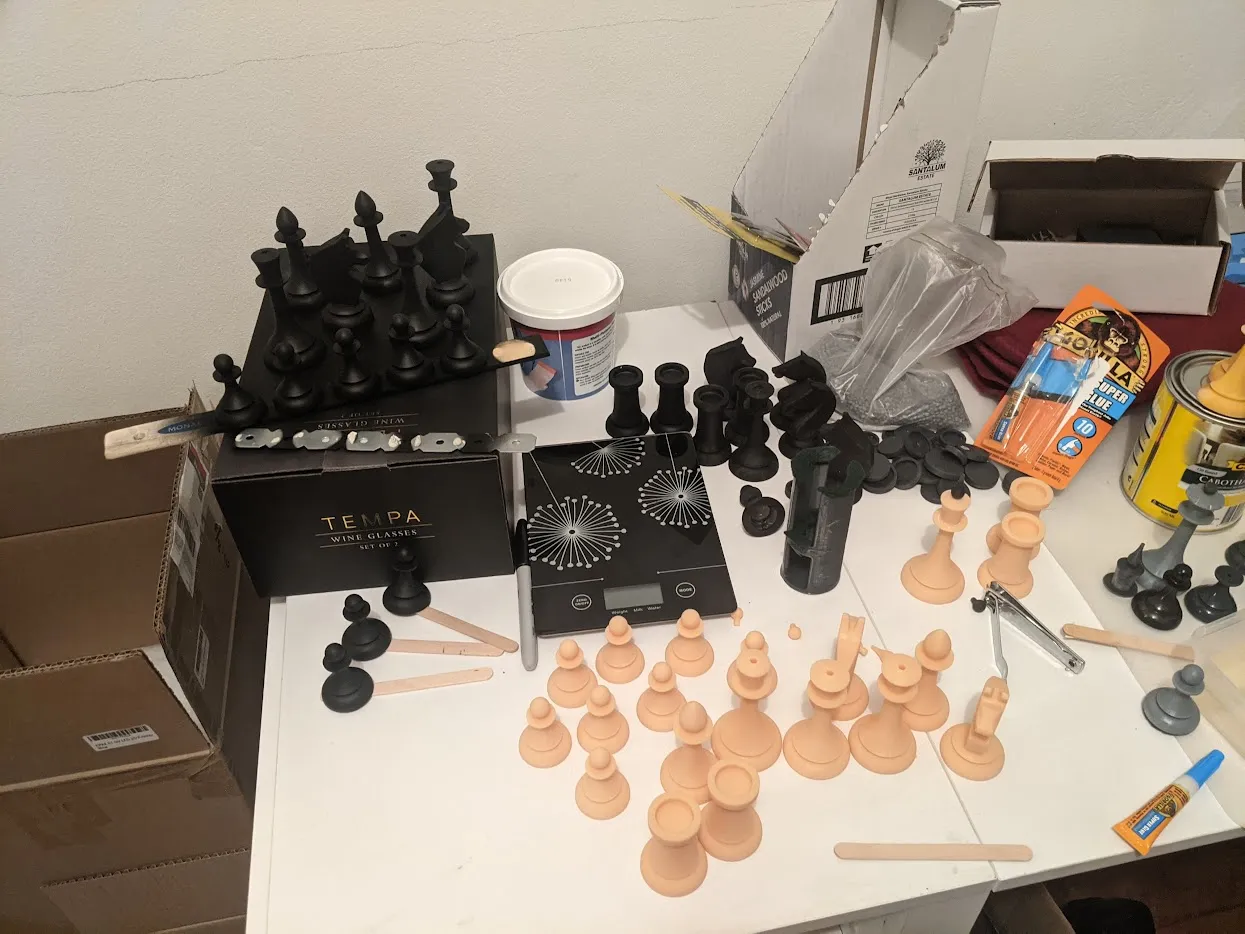
This part can be skipped but its does make the pieces very glossy. If not done right It can produce thicker parts where the polyurethane clumped together that can end up cracking. Use poster putty to attach the pieces to popsicle sticks and dip the pieces in clear polyurethane. Let the excess drip off until it no longer drips. Make sure you rotate it every now and then as you let it drip. You want avoid clumps that can build up on one side or in tight corners and it will cure thicker and uneven. Can take a while before its stops to drip. I used an oil based polyurethane, it takes longer to dry but is usually stronger.
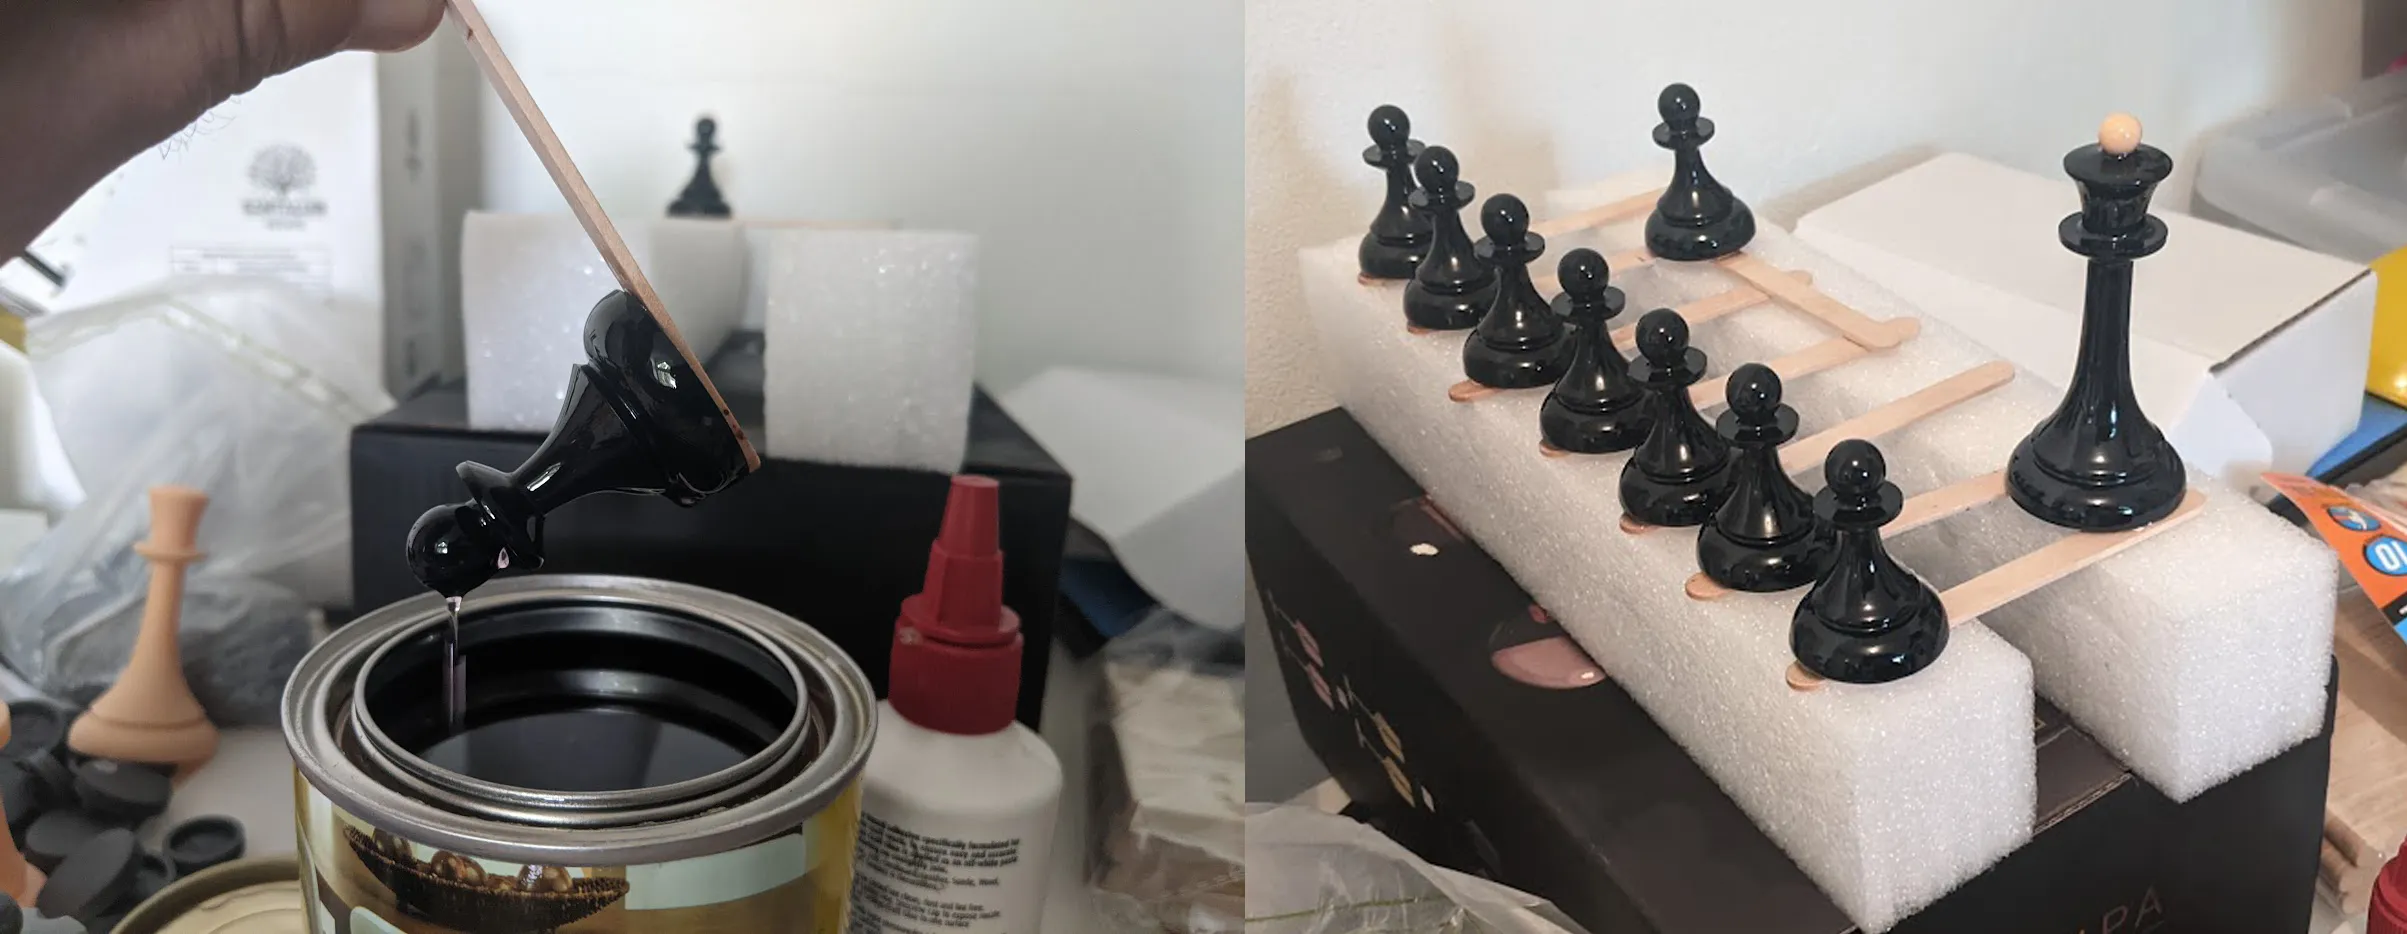
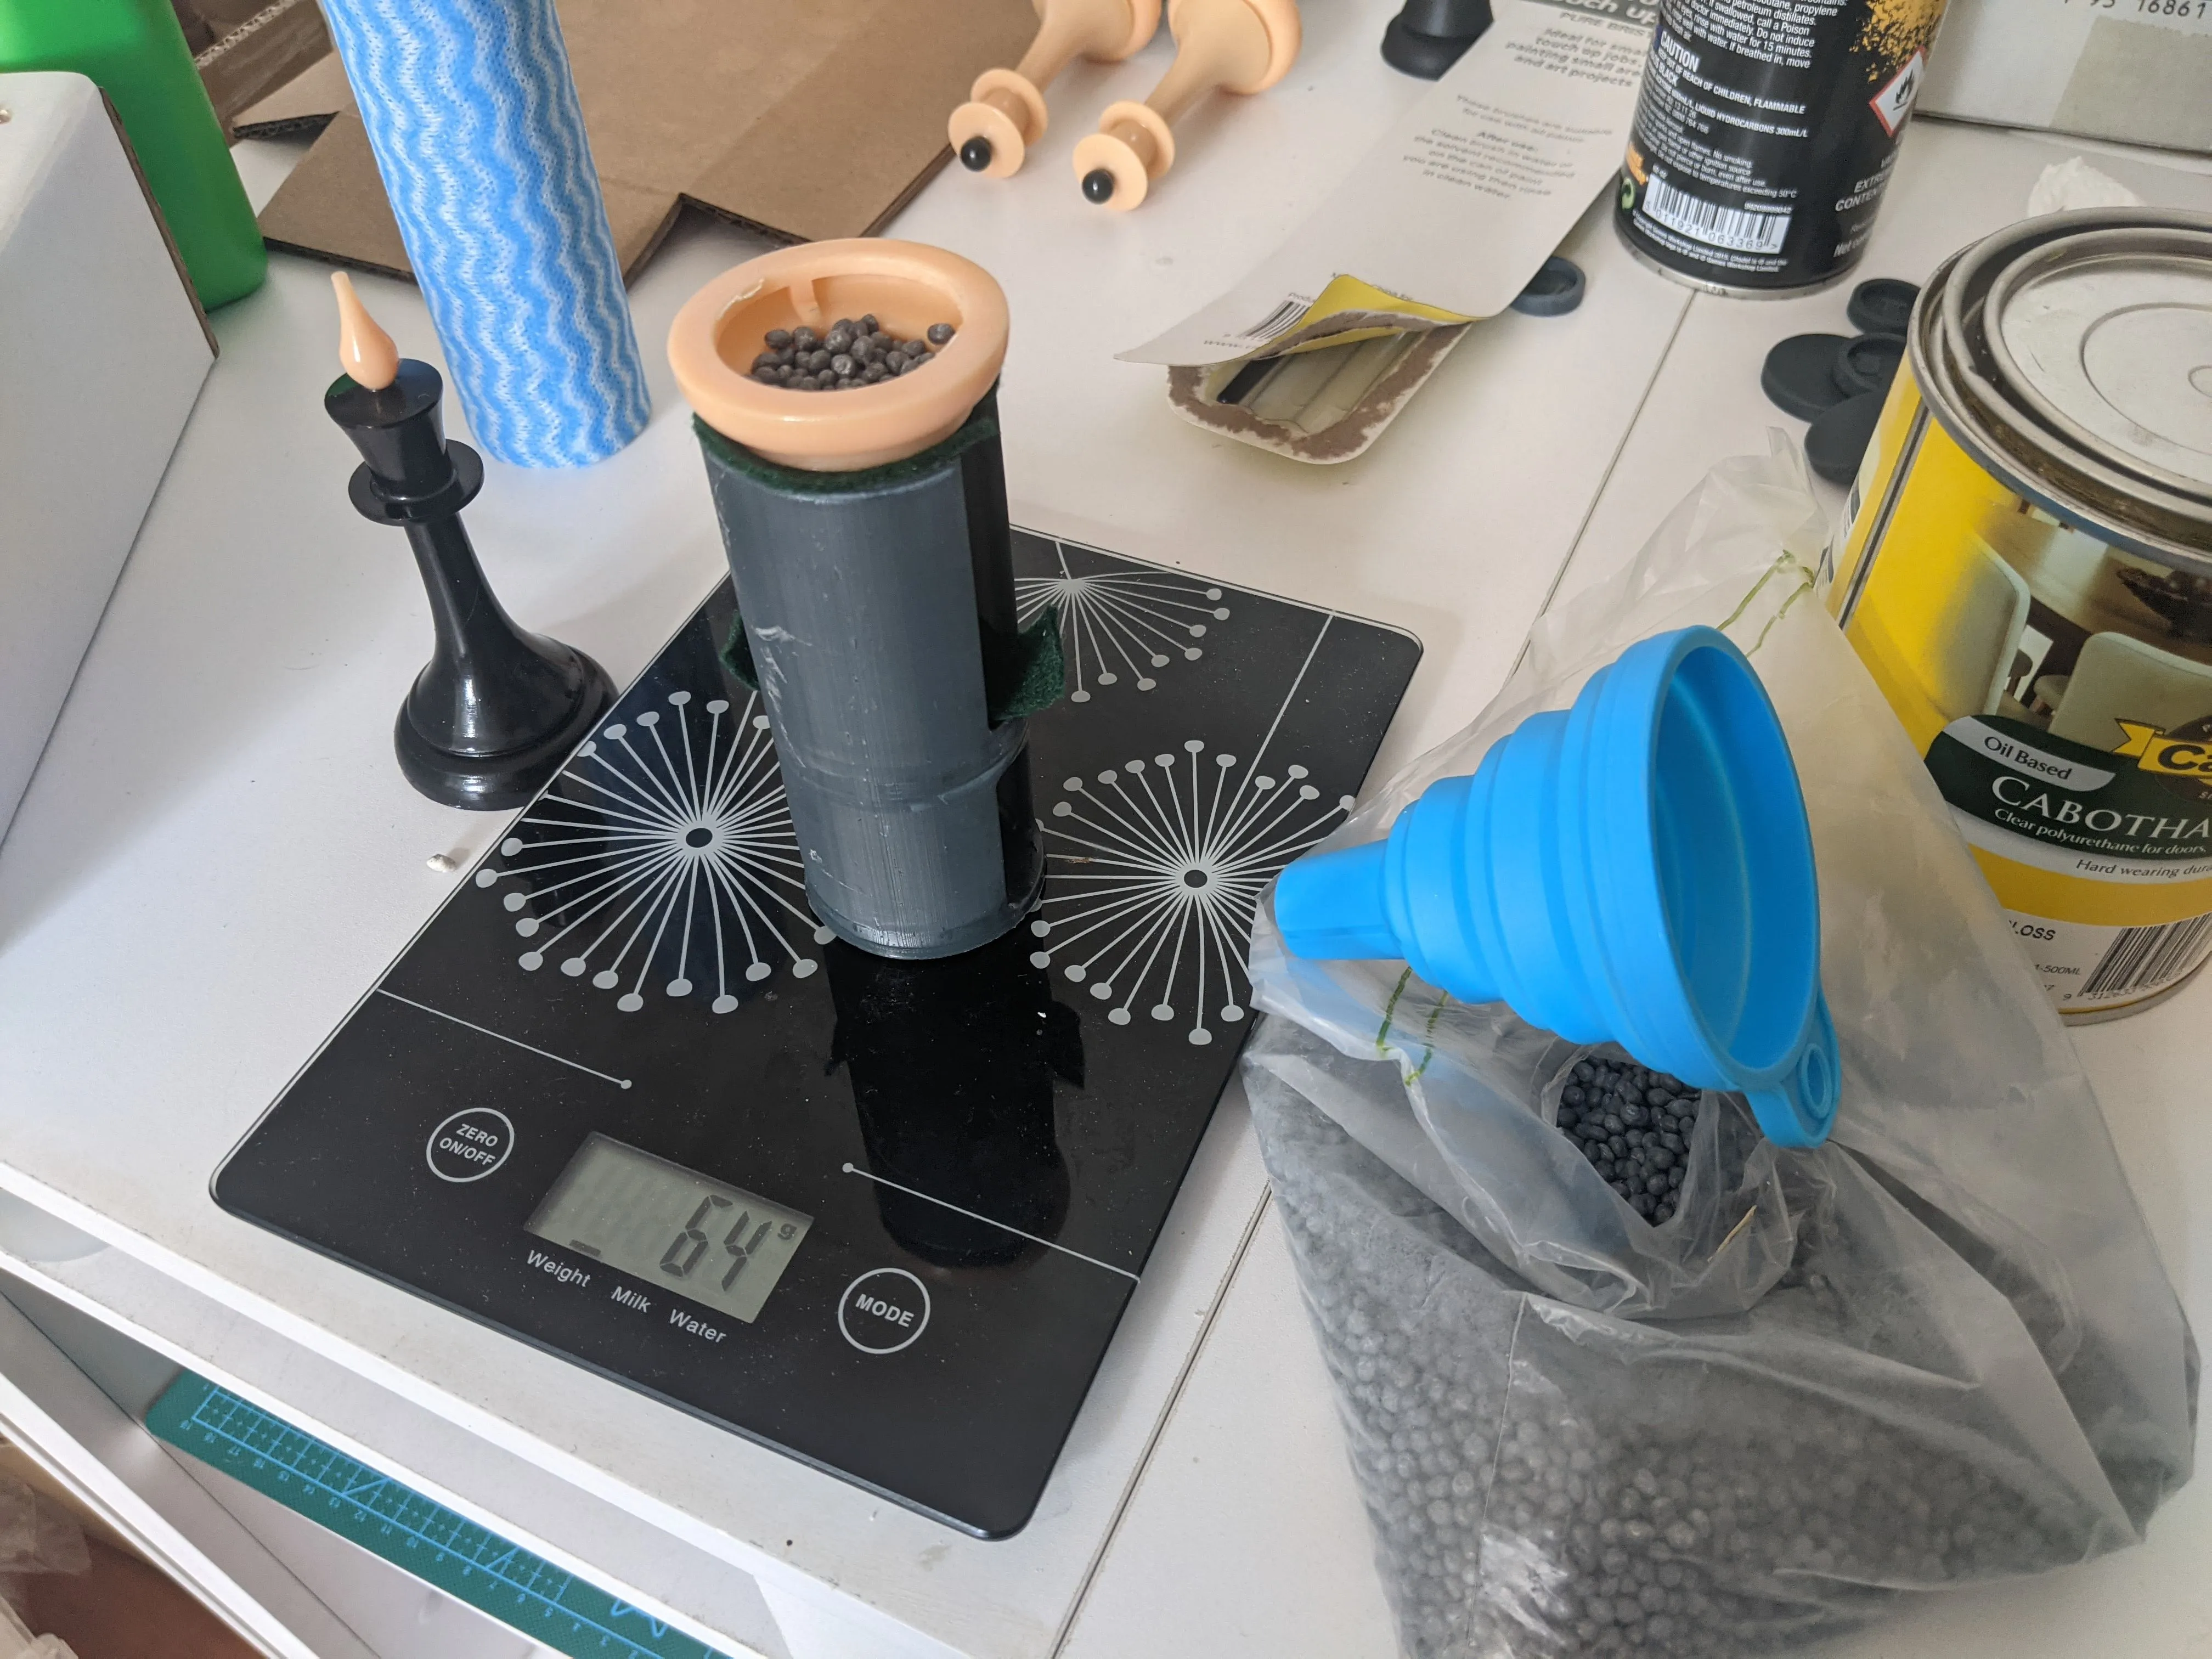
Once dry, mount the piece into the rig. Fill the piece with weight. I used lead shot ballast weight pellets. Try to get as close as possible to the weight you want. Approx is close enough, it's really hard to get it exactly. The filler will also add a few extra grams.
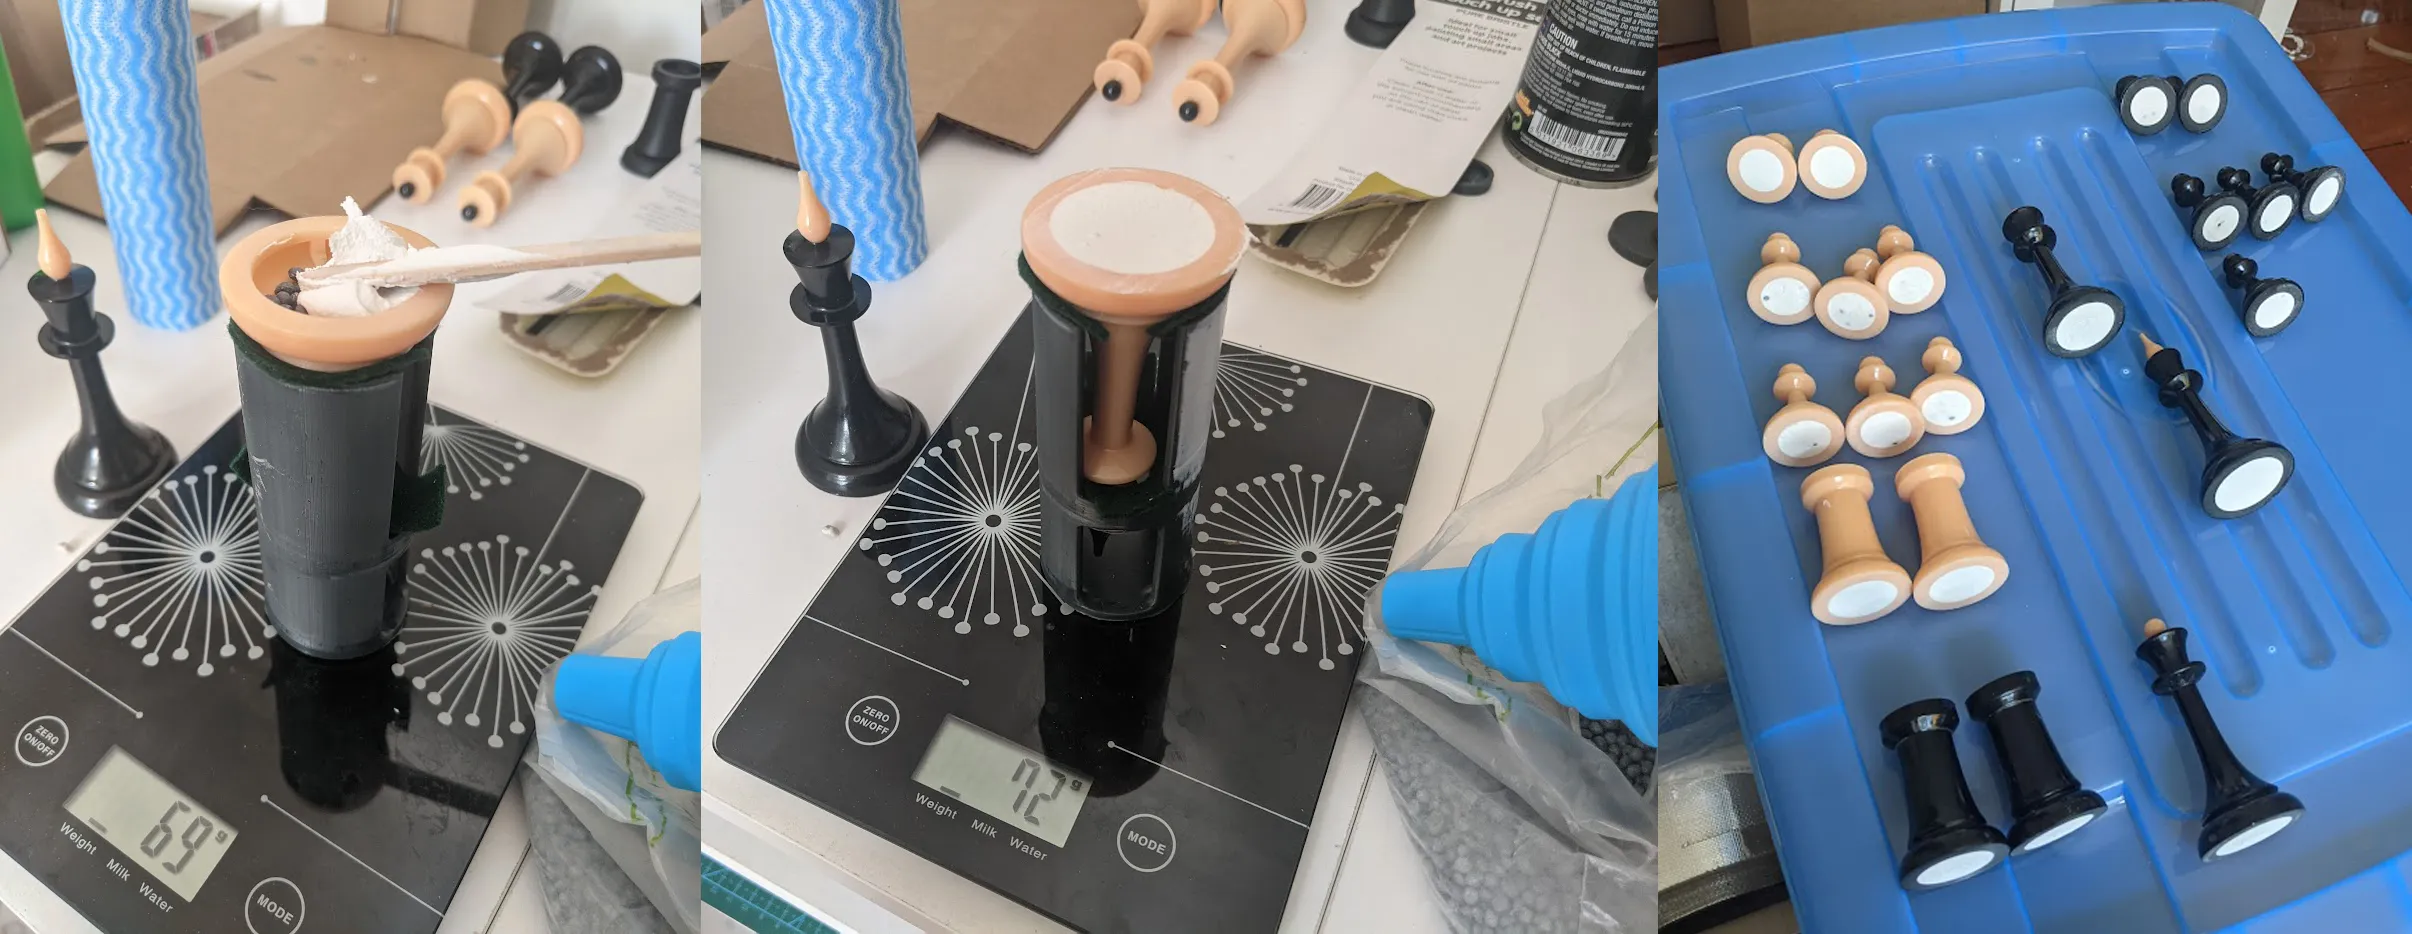
Next use filler to fill the base. Try to get amongst the lead pellets as much as you can. Otherwise you will hear pellets rattle around inside the piece. When its dry and you noticed it has shrunk and become concaved, add more filler. Its for this reason I tended to over fill as you can sand it down later to get a smooth flat surface. Note that this will add a few grams to the piece.
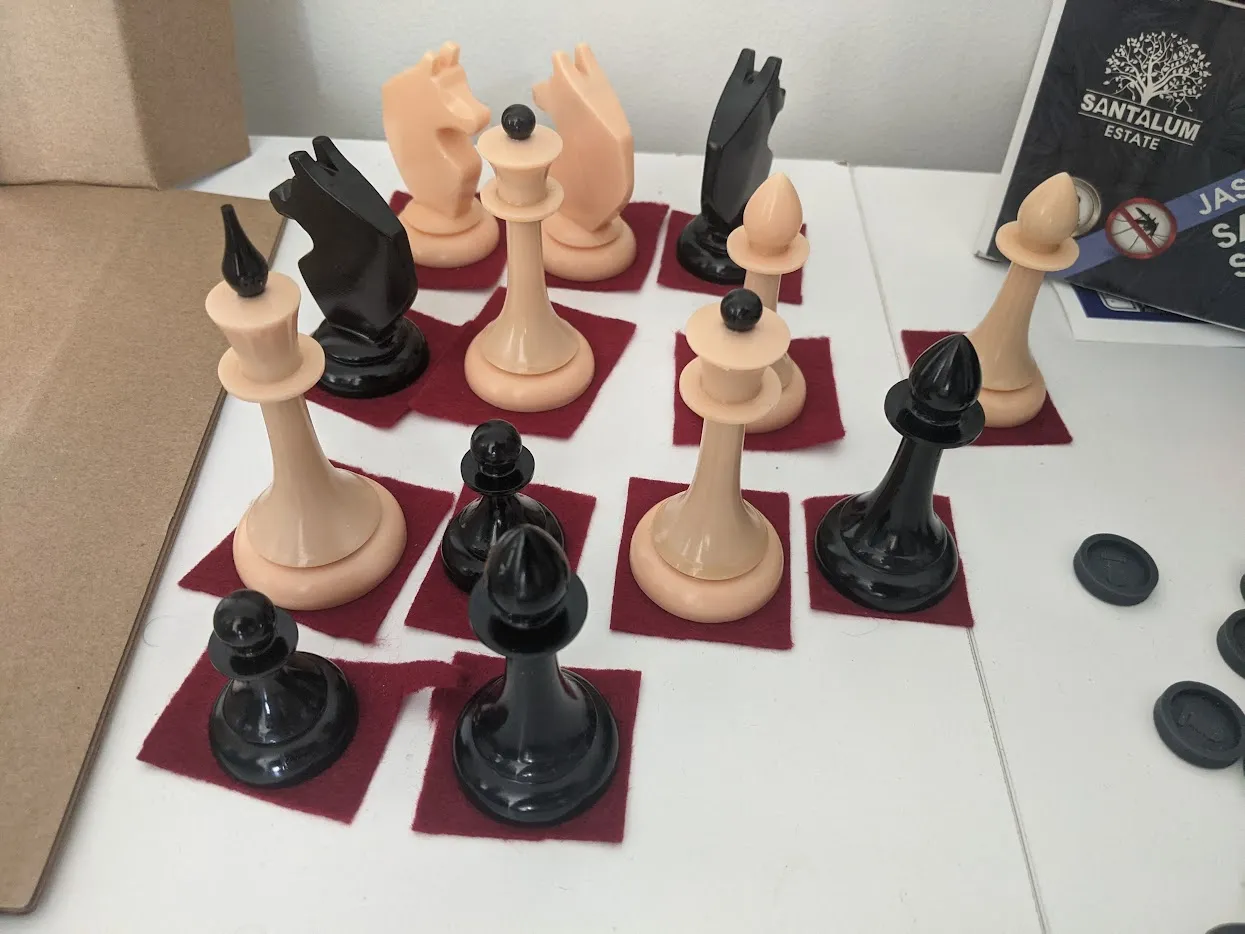
- When the filler is dry and you have a nice flat surface underneath, cut some felt in small squares and glue them to the base of each piece. When the glue is dry, cut along the edge of the base to get the final circular felt base.
License

You shall not share, sub-license, sell, rent, host, transfer, or distribute in any way the digital or 3D printed versions of this object, nor any other derivative work of this object in its digital or physical format (including - but not limited to - remixes of this object, and hosting on other digital platforms). The objects may not be used without permission in any way whatsoever in which you charge money, or collect fees.


Comment & Rating (51)