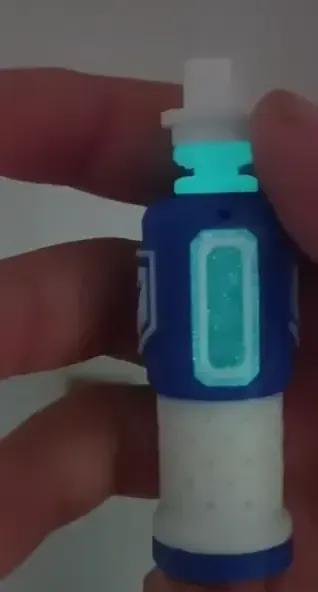
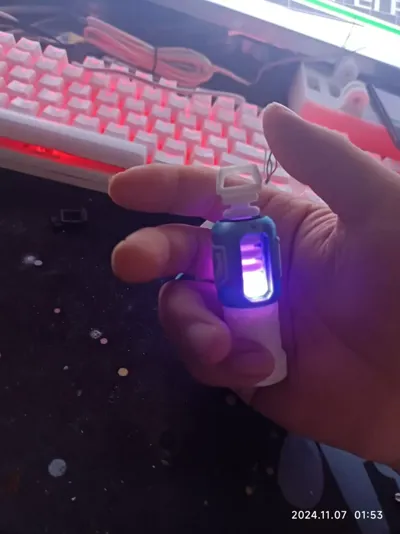
Apex Battery - Magnetic Mount (Shield Battery)


Print Profile(1)
Description
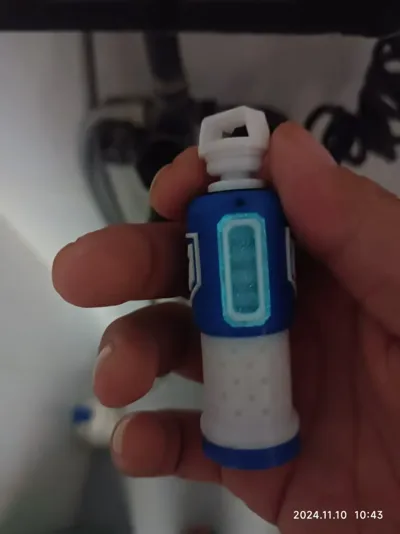
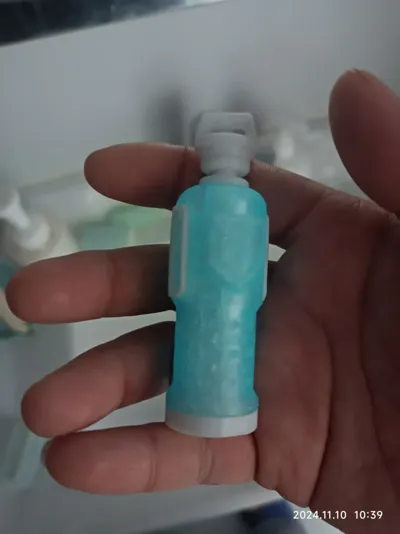
This magnetic battery key chain, also functioning as a refrigerator magnet, adheres to any ferrous surface, such as a desk lamp, for charging.
Additional components required: 4 x 3 x 4 x 5.5mm rectangular neodymium magnets; 1 x 9.8mm circular magnetic induction lamp (any size less than or equal to 10mm will suffice). All items are readily available on PDD, with a total cost under 10 RMB.
(I'm unsure if Maker World allows links, so I've omitted them. Interested parties may request them in the comments or via private message)
Composition:
1. For monochrome printers only:
Housing: Print any single file from the “Monochrome Print - Housing” folder.
Components: Print the components from the “Universal Components - Adaptable for Multicolor Printing” folder, including: dadian8*2, dadian9*2, dadian2*1, dadian4*1, dadian5*1, and either Lamp Post - Fluorescent PLA*1 or Lamp Post - White PETG*1.
2. For multicolor printers (refer to dadian1.3mf for specific color schemes):
Housing: Print the components from the “Multicolor Print - Housing” folder, specifically dadian6*2, and dadian1*1.
Components: Print the components from the “Universal Components - Adaptable for Multicolor Printing” folder, including: dadian8*2, dadian9*2, dadian2*1, dadian4*1, dadian5*1, and either Lamp Post - Fluorescent PLA*1 or Lamp Post - White PETG*1.
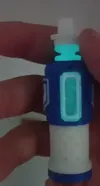
Assembly diagram:

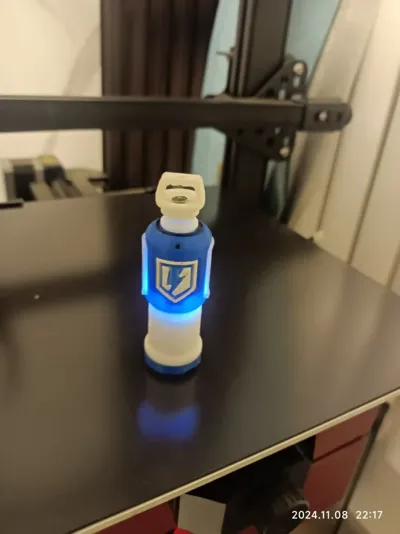
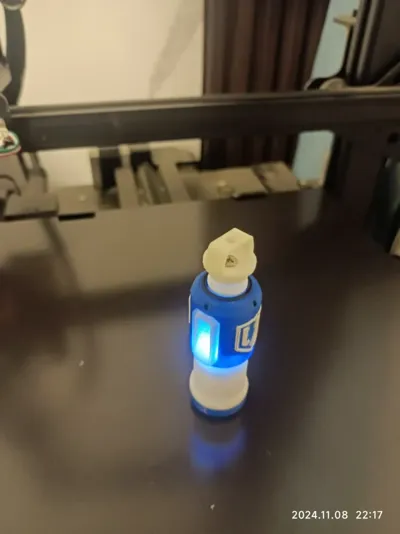
Notes: 1. To achieve the effect shown in the image, use fluorescent PLA filament to print dadian9 and Lamp Post - Fluorescent PLA. During the color configuration, set the dadian9 base layer as the fluorescent layer with a layer height of 1mm (refer to dadian1.3mf).
2. When installing magnets, begin with dadian4's magnets (if necessary, use a 3-second quick-drying adhesive). Install the base (dadian2)'s magnets based on dadian4's magnets, paying attention to polarity.
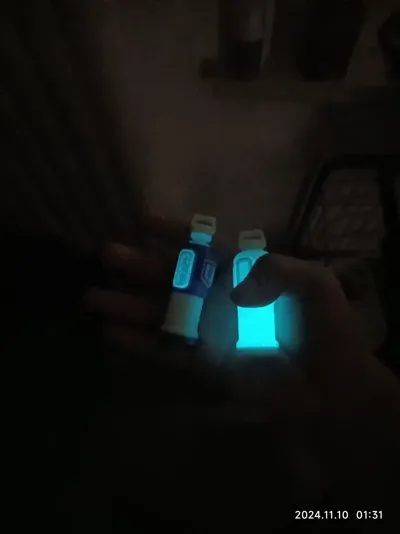
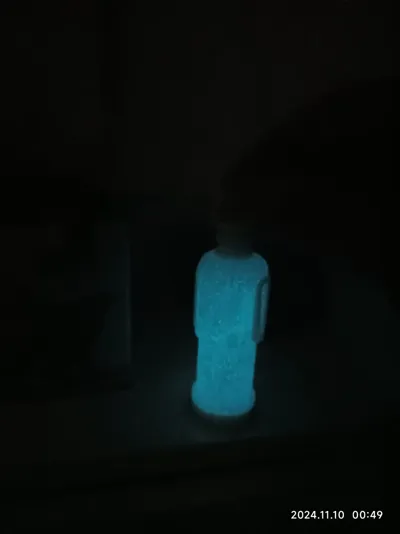
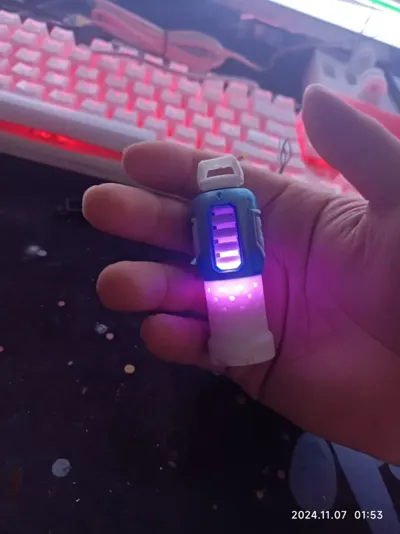
3. The fluorescent effect requires charging. Effective charging methods include: direct sunlight for at least one hour, resulting in a noticeable effect in dim lighting (easily captured by phone cameras); exposure to UV light for a prominent effect (easily captured by phone cameras); attachment to a desk lamp (those with iron casings), requiring longer charging times with moderate results (visible in phone photos); activating the integrated magnetic induction lamp for a period, then switching it off, with poor results (visible to the naked eye but battery-intensive, not easily captured by phone cameras).


Comment & Rating (0)