
The HEMA Musket Project
Print Profile(1)

Description
Boost Me (for free)
Do you like my designs? Then hit boost, please. This helps me a lot, especially as my recent designs get more complicated and thus expensive to prototype. Boosts help me to afford new prototyping filament and printer replacement parts. Thank you!
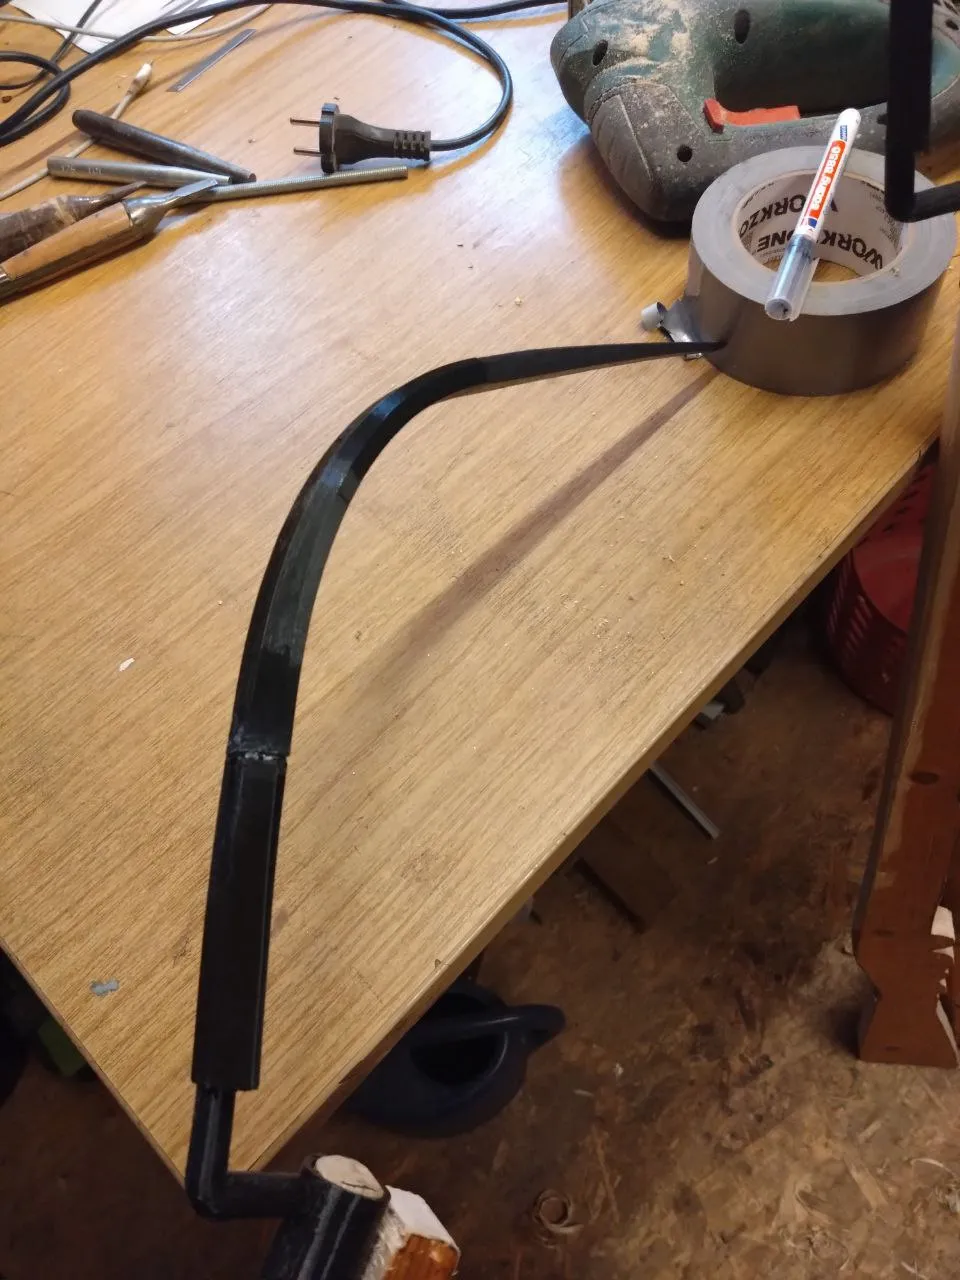
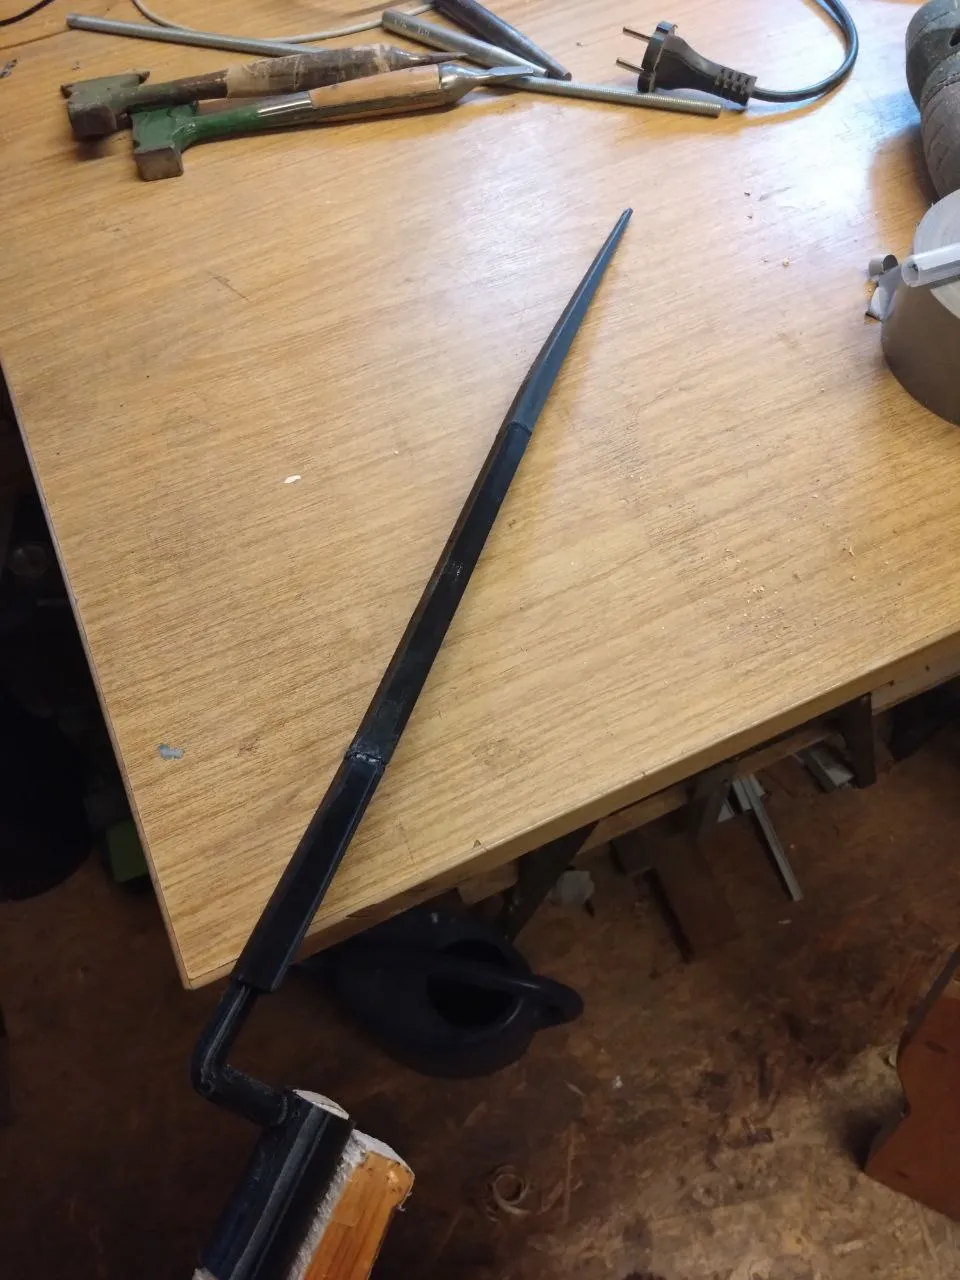
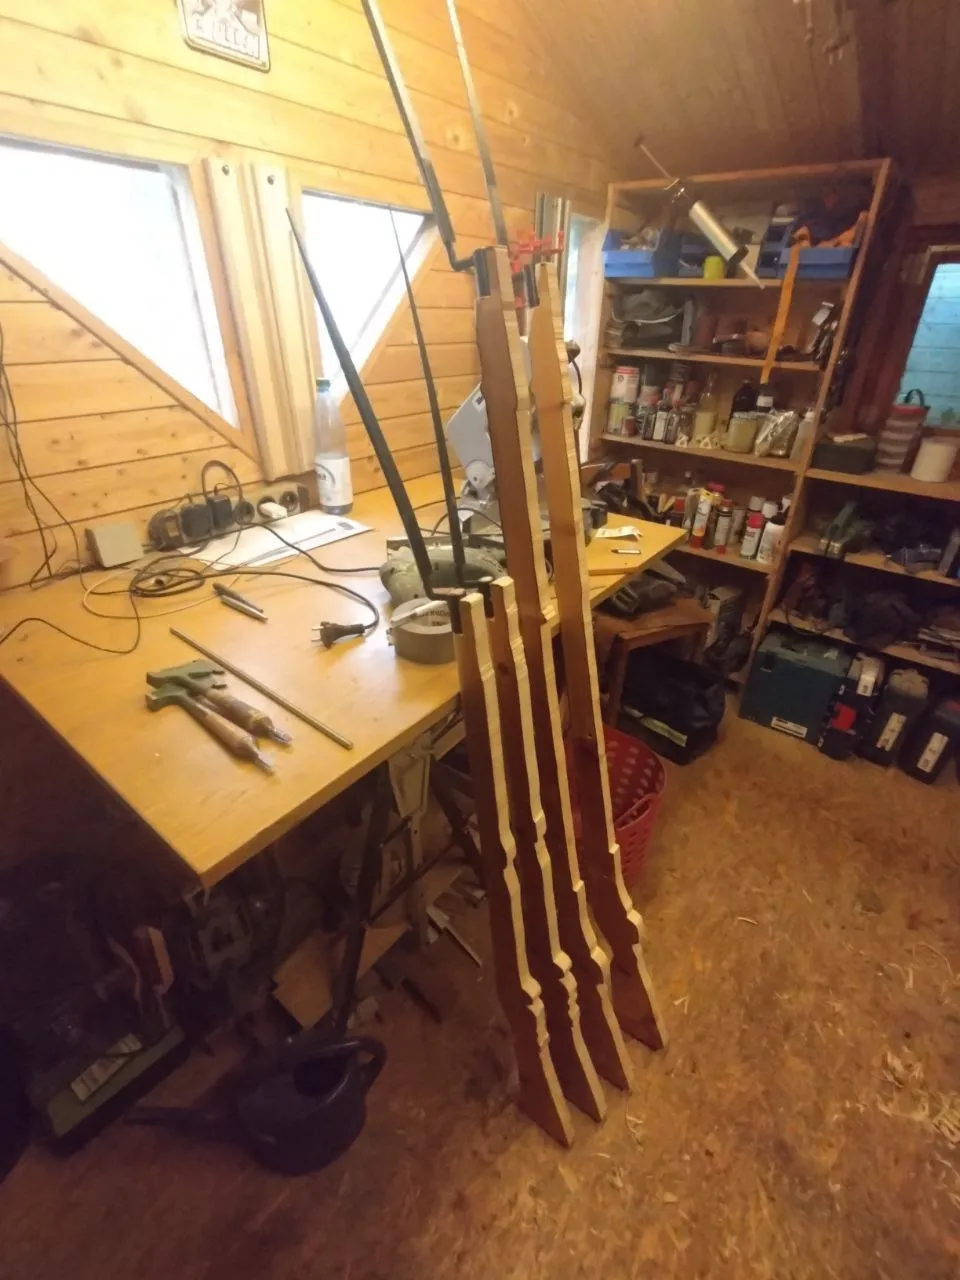
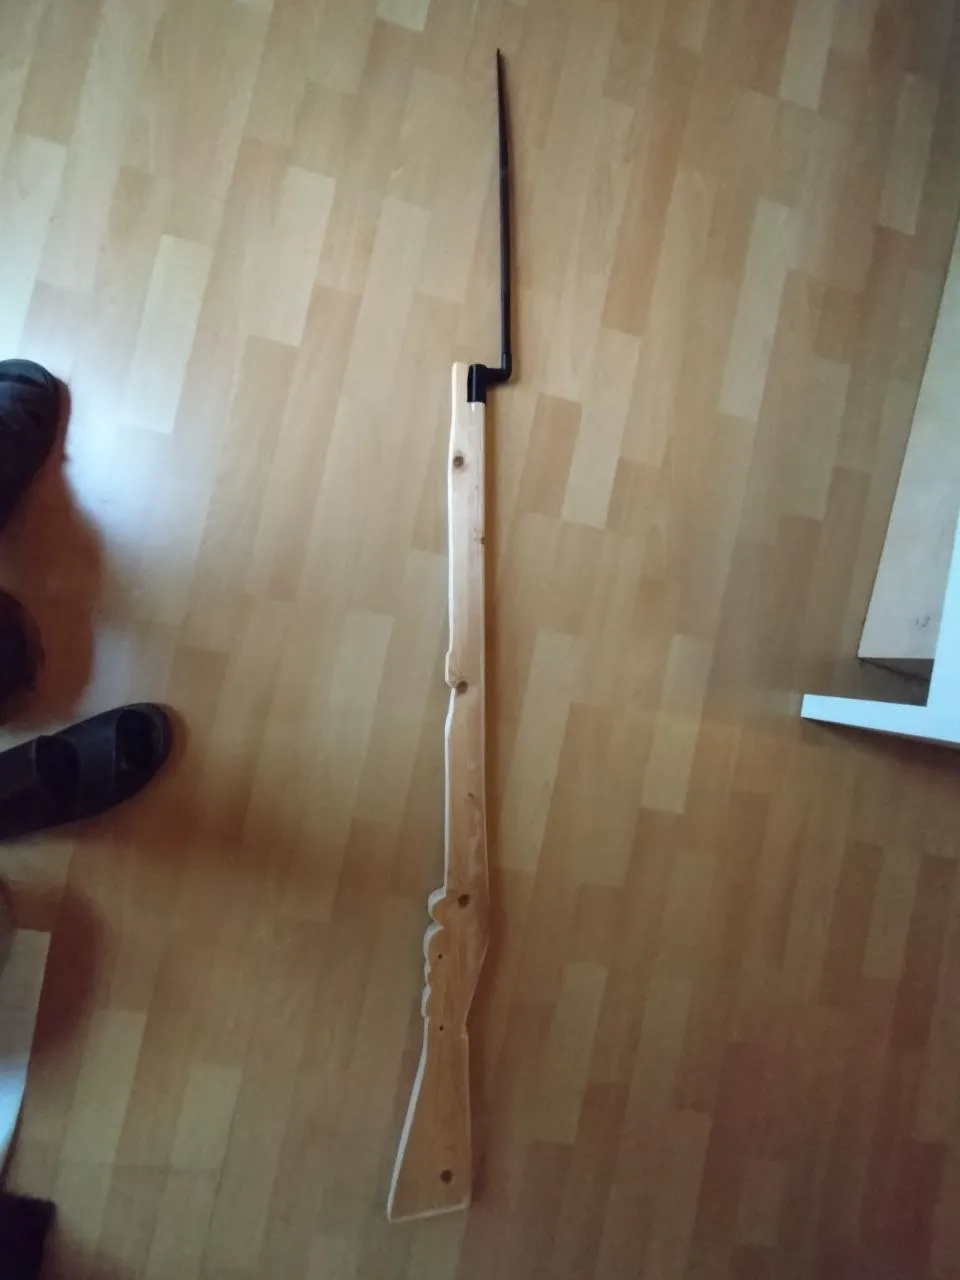
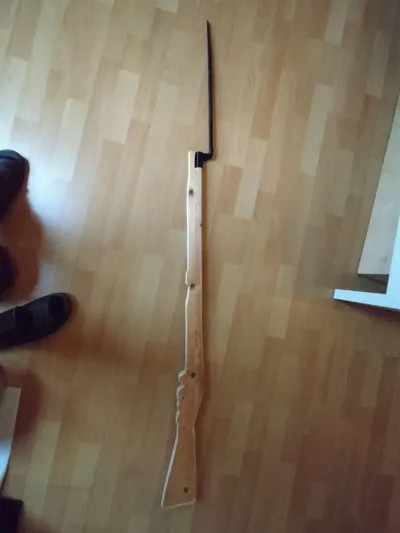
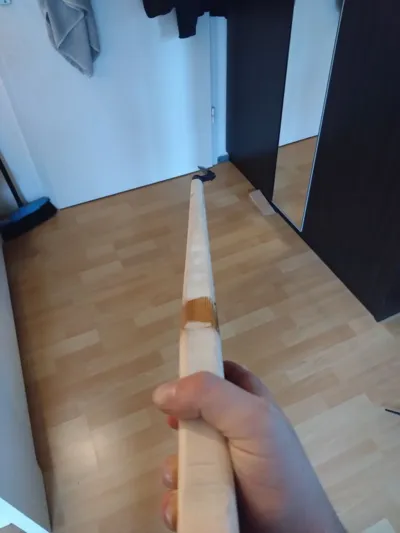
Do you want to include 1800s Muskets in your HEMA training, but your fencing club does not have any musket reproductions or nylon wasters? With a little woodworking and 3D printing, you could build your own training musket!
Part 1: 3D Printing
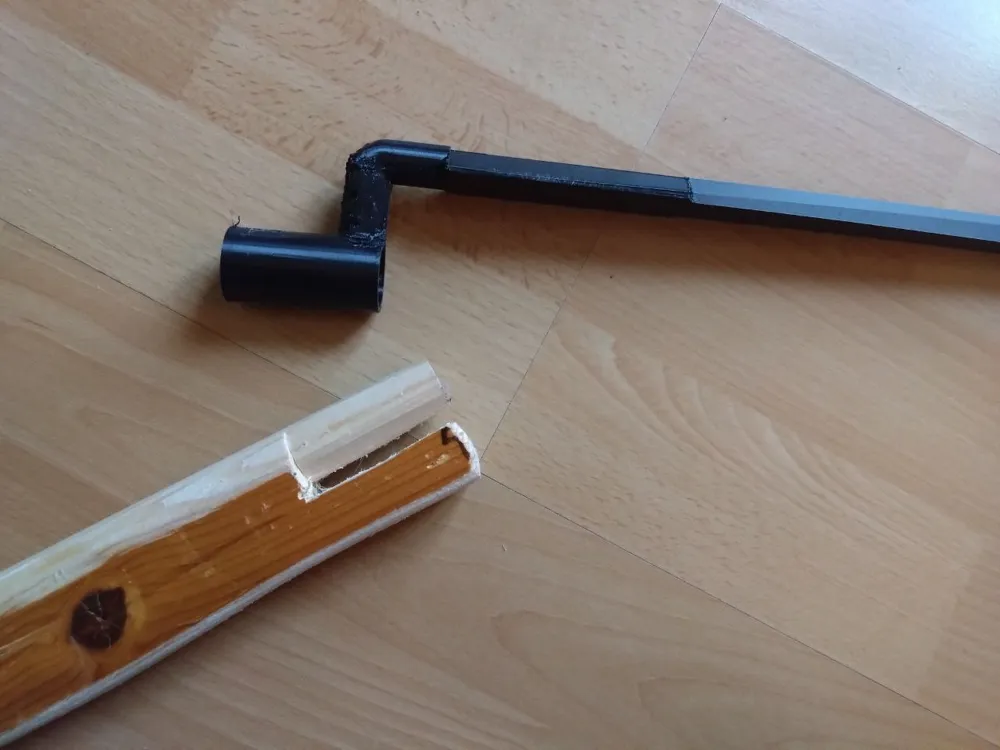
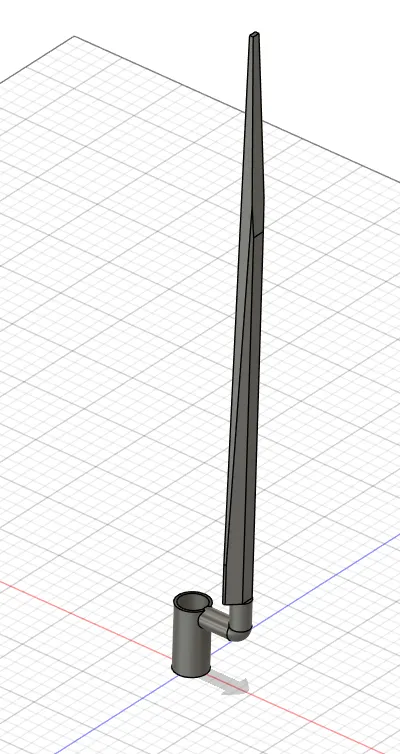
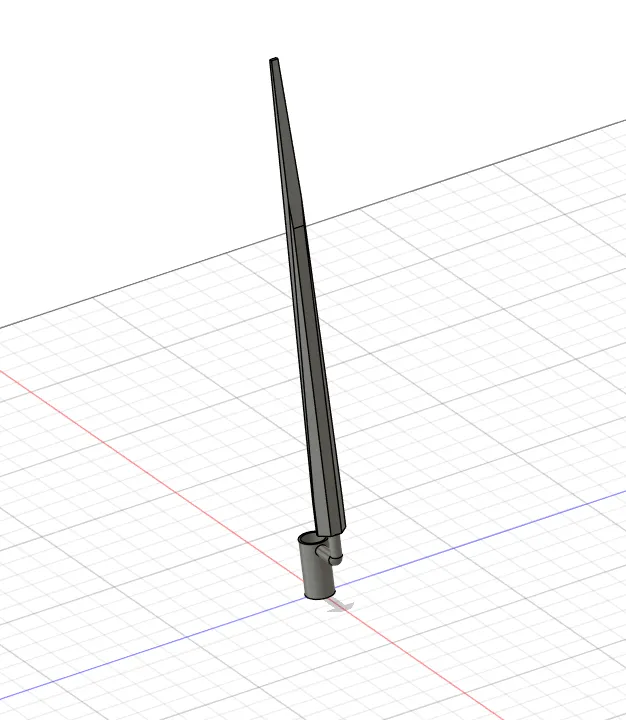
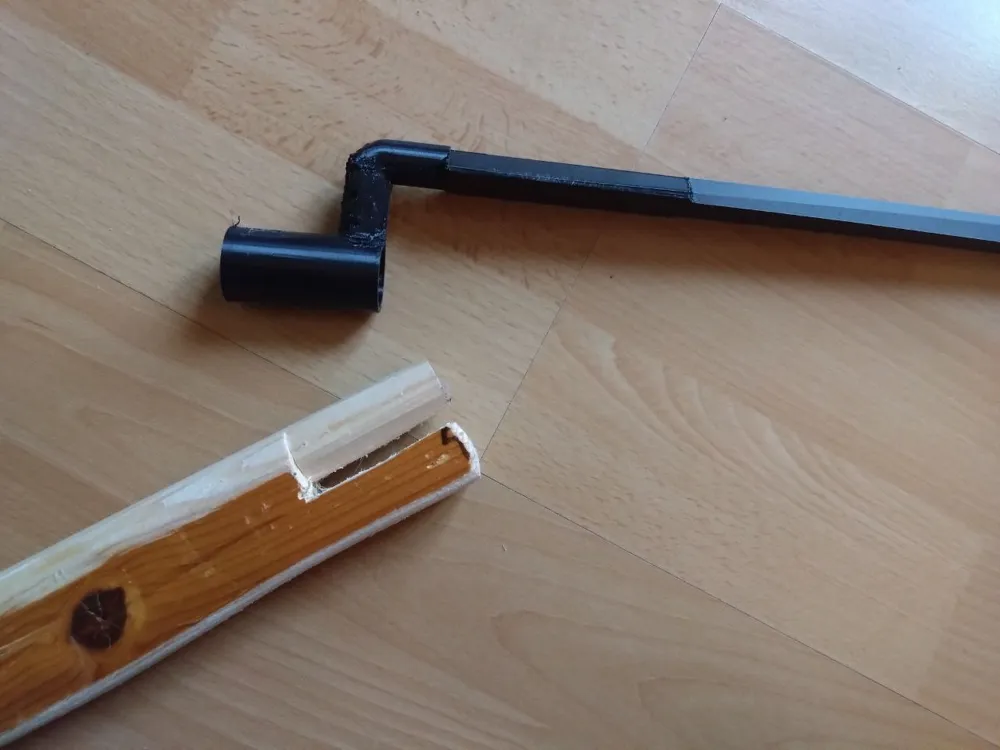
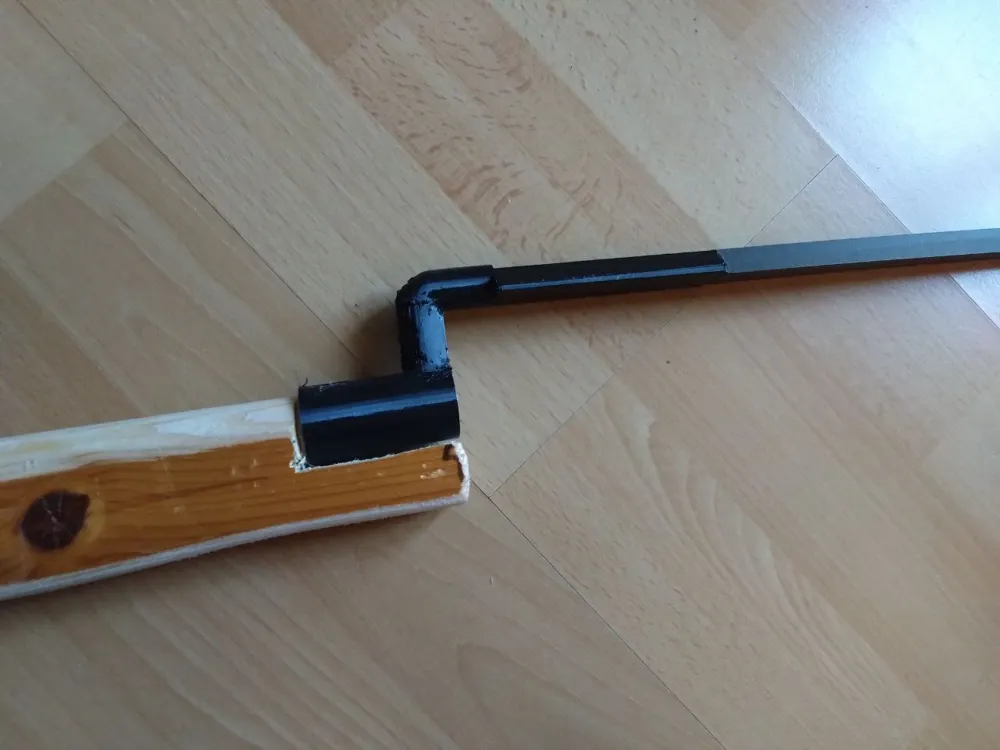
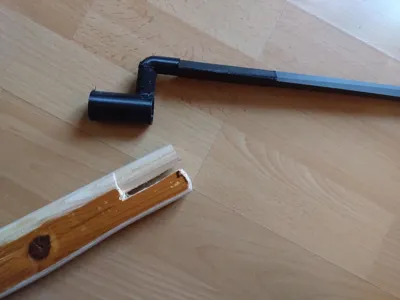
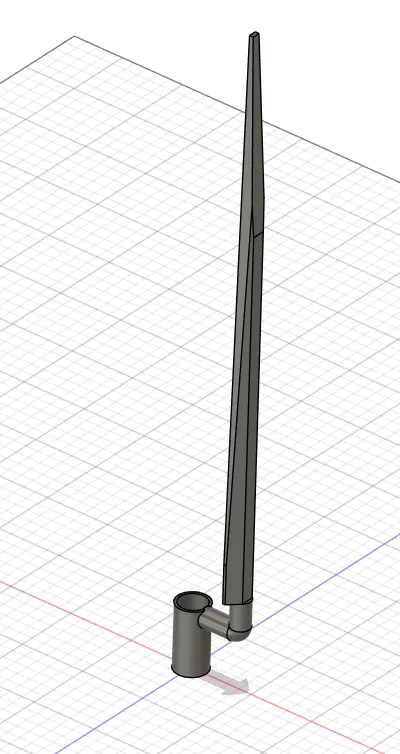
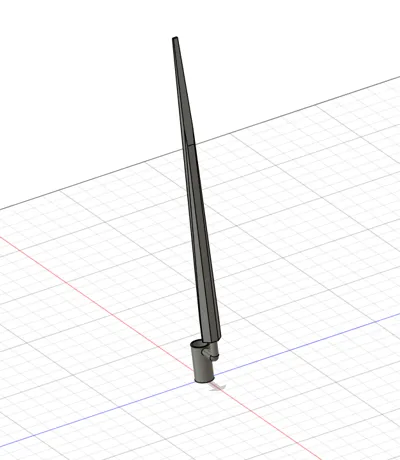
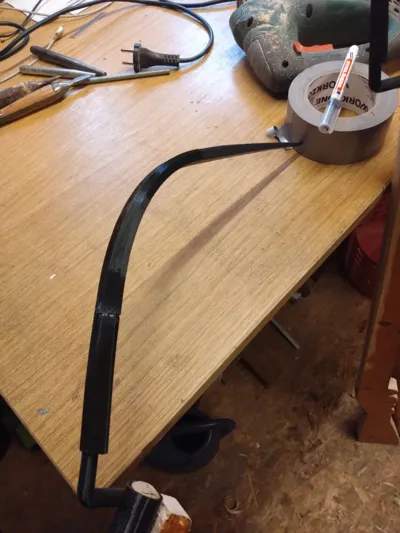
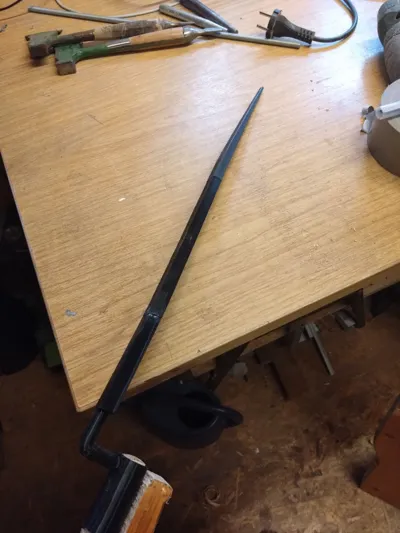
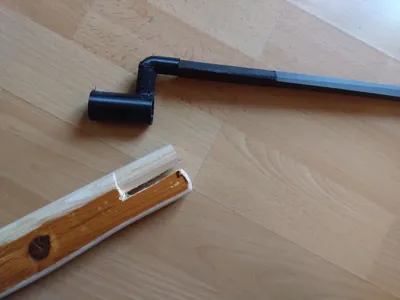
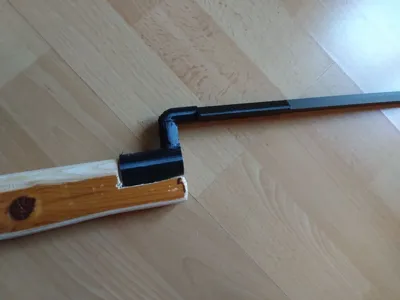
The bayonett comes in multiple parts which have to be glued together. The print profile contains two different versions. In any case, the base is printed from TPU with a portion of 100% infill. The other two parts can either be both printed from PLA or one PLA and one TPU. This basically depends on your preferred stiffness.
Part 2: Woodworking
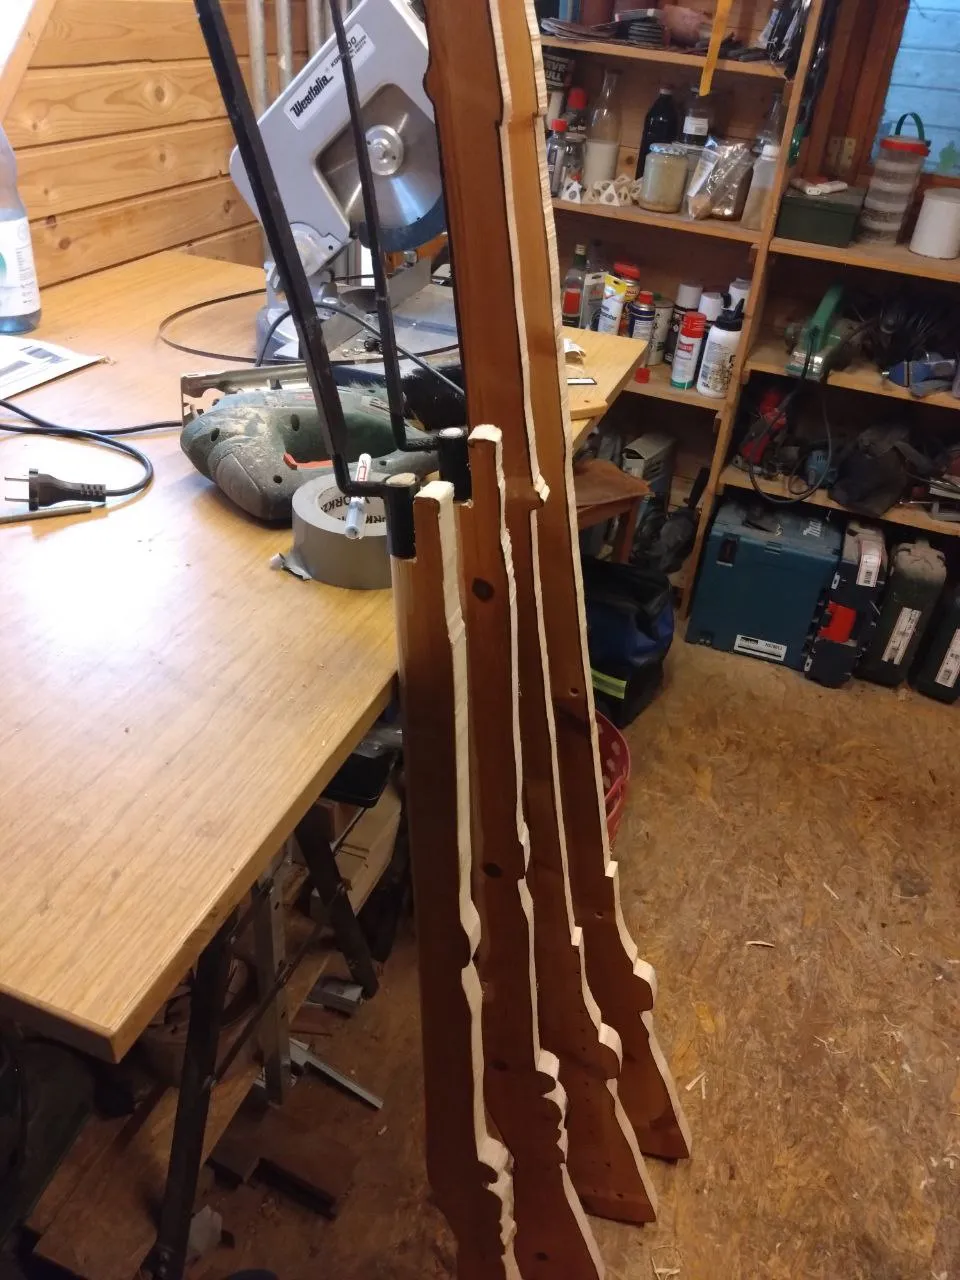
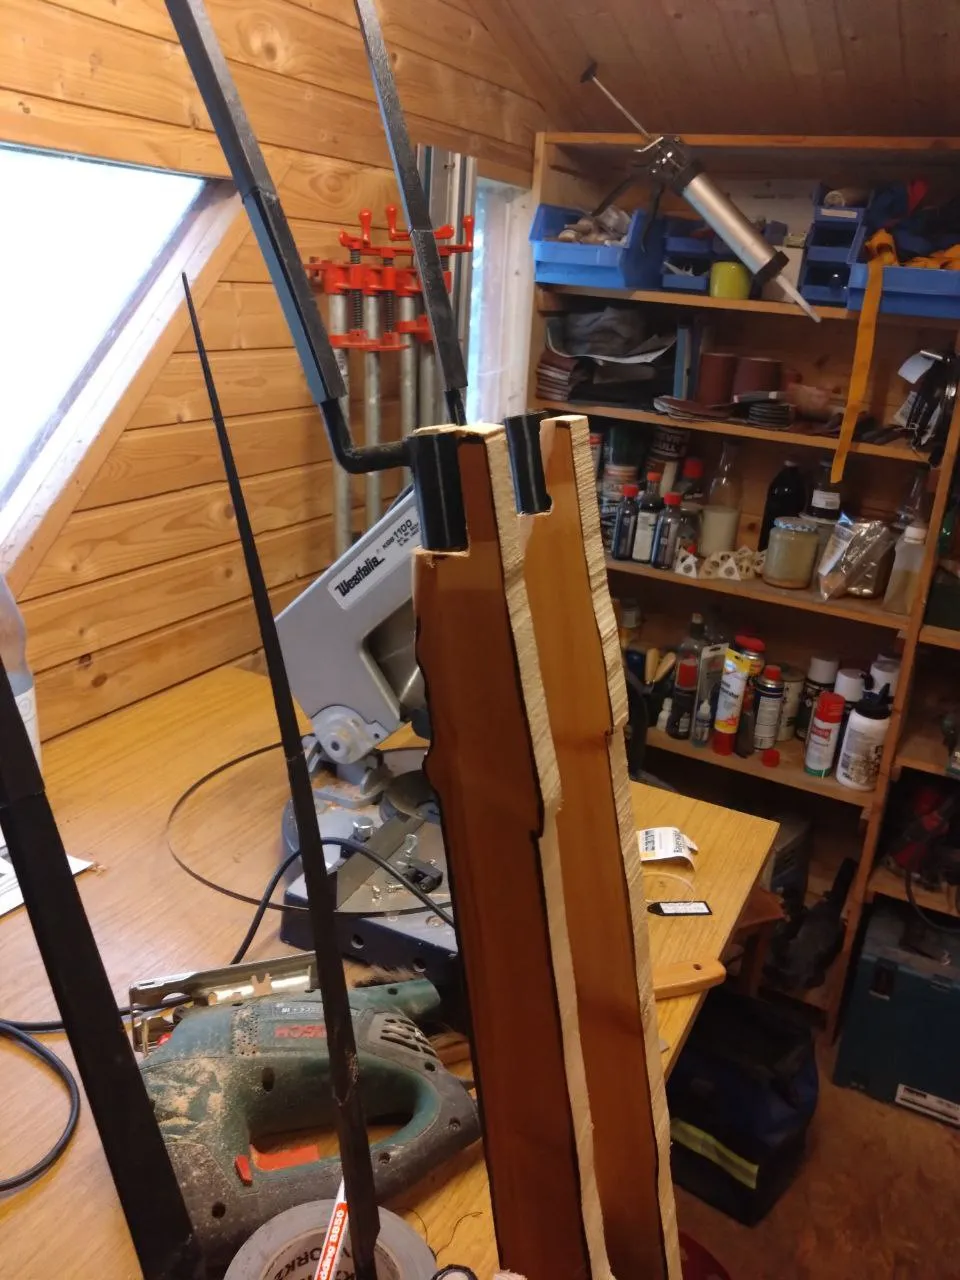
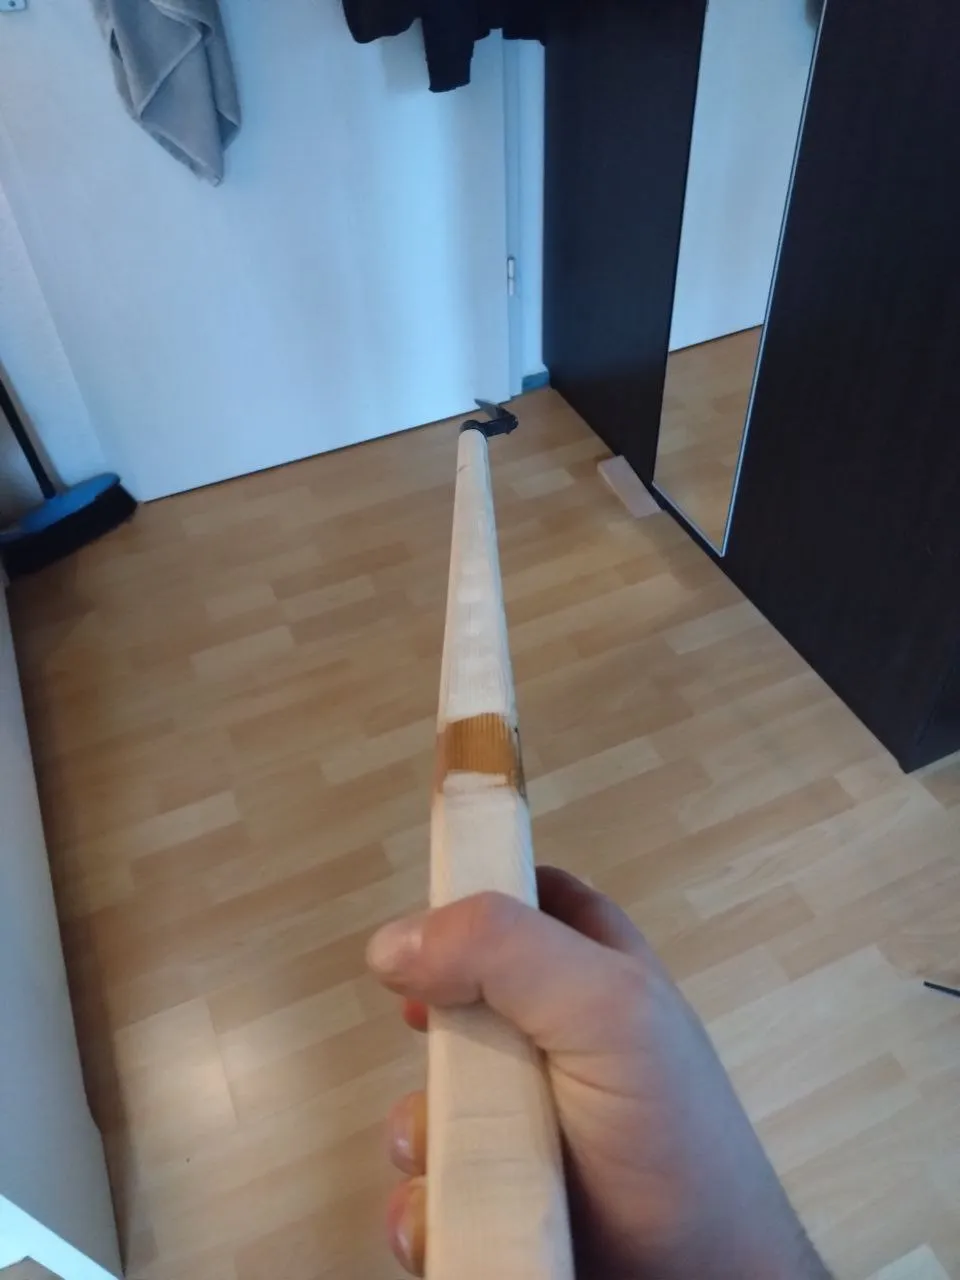
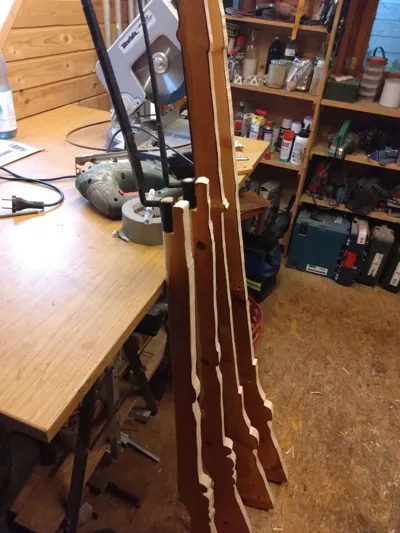
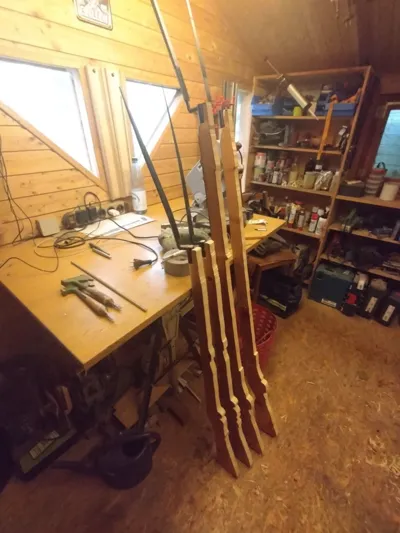
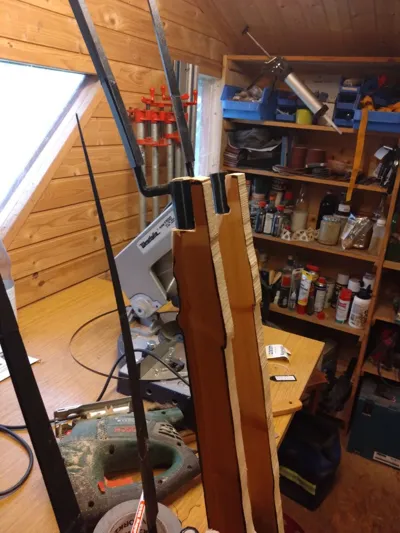
Inlcuded in this post are some pdf files with three different templates. Those include a 116cm long baker rifle, a 152cm long french musket and the infamous 160cm long british baker rifle. Print your template, cut it out and trace the shape on a 3cm thick peace of wood. Cut it out e.g. with a band saw and sand/rasp all hte edges and corners. For the mounting mechanism cut a 5cm long, 21mm diameter round tenon (see pictures). The bayonett will sit onto there. This might require some manual finetuneing.
Important: The choice of wood has an impact on the overall weight of your trainer. If you want a decent weight, use hardwood. Also you could always add weight by adding metal strips to the side or with inlays.
Note: Some of the pictures show progress of the development process and therefore do NOT resemble the final version of the 3d model.
Happy fencing :)
For all of my models that include supports, I highly recommend a detailing / support removal tool like the one from anish or C59. Those make use of a replacement filament cutter and have proven themselves a very valuable tool for clean and easy support removal, especially for threads.
Also, please keep in mind, that the quality of threads is highly dependent on the quality and dryness of your filament, the calibration of your printer and the print resolution. A thread printed with .2mm layer height will be way harder to thread nicely and will require more force, than a thread printed at .08mm or .12mm layer height. Also, the Arachne wall generator does contribute a lot to precise threads. If you need more part strength, increase the number of walls, make use of the alternate extra wall feature and DO NOT use PLA.
If you like my work and want to support me, please consider boosting or buying me a coffee :)

Boost Me (for free)
I you like my work, please hit boost or consider buying me a coffee - this helps this project to reach more makers and new designs coming as I am able to afford new prototyping filament. Thank you!
Documentation (6)
License



Comment & Rating (3)