Irisbox with raisable bottom


Print Profile(2)


Description
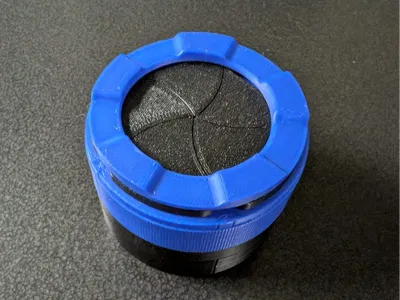
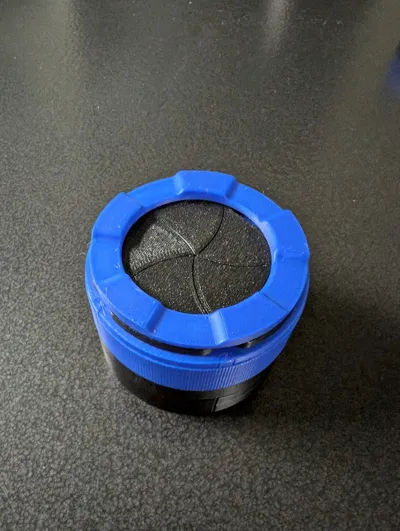
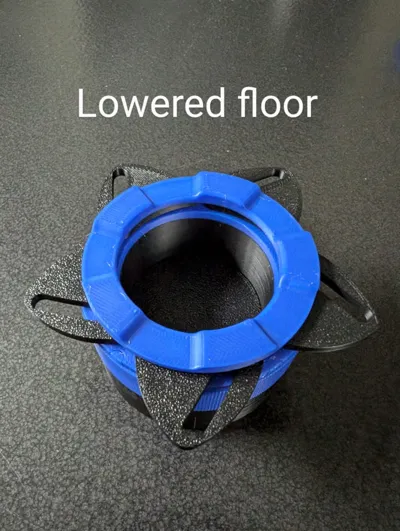
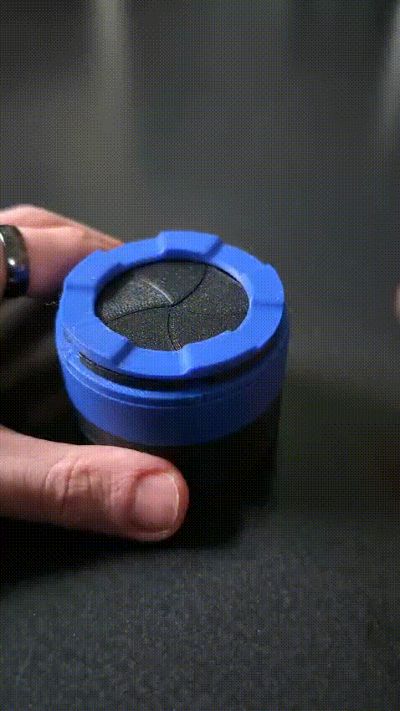
A small little container with an iris mechanism as the opening. In addition, the bottom of the box is also rotatable, allowing the floor of the internal compartment to be raised and lowered for easier access. If this mechanism is not desired, I also provided a box without. This leaves more room for storage.
Both versions require the following pieces:
- Box
- 5 blades
- Grip
- turn operator
- top
The complete version also requires:
- 2 lower turners
- 2 joints
- central coil
- raiser
The assembly of the upper part is relatively straight-forward. The lower section of the complete version has to be assembled by sliding both lower turner onto the box and locking them with the 2 joints. Afterwards, the central coil has to be inserted into its slot and the raiser put in place. Here, a bit of rotation allows for easier insertion. Printed with 0.12 mm layer height for aesthetic reasons. This also allows supports to be omitted in the printing process.
Update 29.11.24
Due to some remarks regarding the assembly, here a little step-by-step assembly guide (if using the profile without the raisable bottom, skip to step 5):
0. Required parts

Step 1: Put together bottom section (Hint: make sure those parts rotate smoothly. If not, try sanding down the surface a little)

Step 2: Insert 2 joints to fix lower section. Might require some force (did for me during testing, not with the final black PLA)

Step 3: Insert central coil. Align both notches.

Step 4: Insert centralRaiser. Try turning the lower section counterclockwise after insertion to ease with the correct placement

Step 5: Place grip on top and slot in the turn operator. The notches have to align. For an easier step 6, make sure the black extrusion pins are roughly in the middle of the slot.

Step 6: Place the five blades. The blue pins of the box go into the small holes, the black pins into the large slot.

Step 7: Place the top onto the box to hold the blades in place. The holes in the top have to align with the 5 remaining extruding black pins. Depending on your printer you have to press more firmly.

Step 8: Enjoy your box :)
Comment & Rating (27)