P1 P1S nozzle cleaning Using the same brush head as the A1


Print Profile(4)


Description
Boost Me (for free)
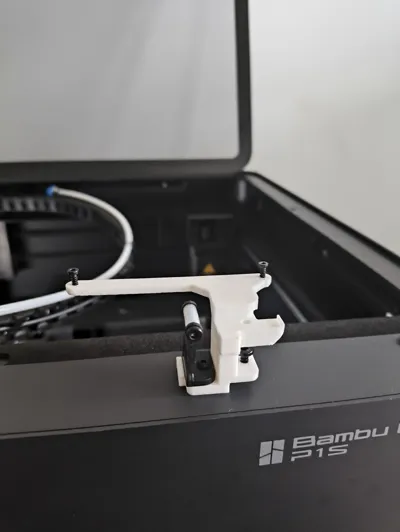
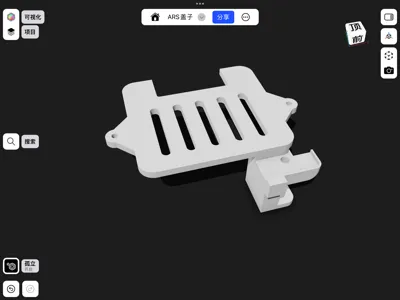
The P1S factory wiper consistently failed to completely remove residual filament from the nozzle, impacting first-layer adhesion.
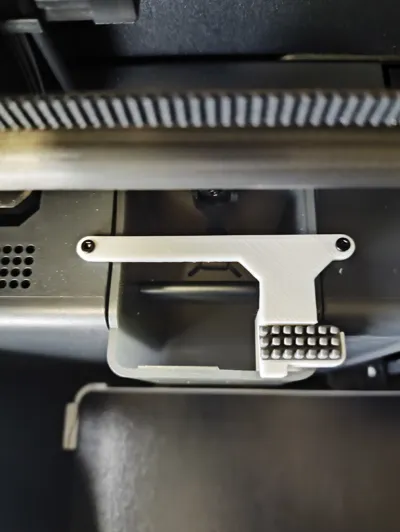
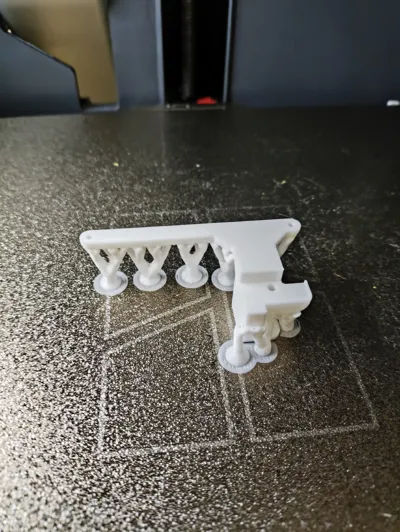
Therefore, I modified the wiper, utilizing an A1 wiper instead.
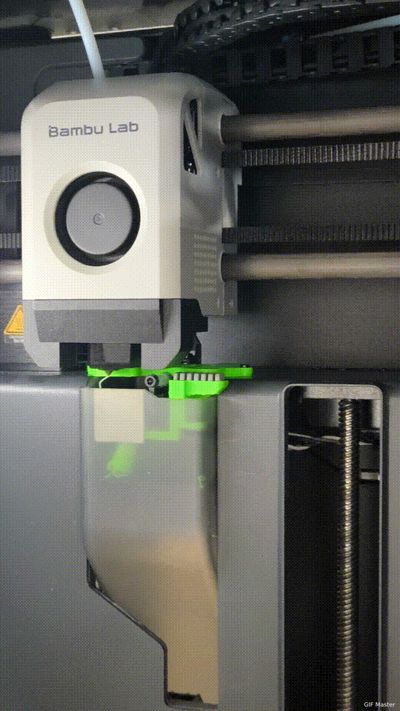
First filament retraction dynamic image demonstration

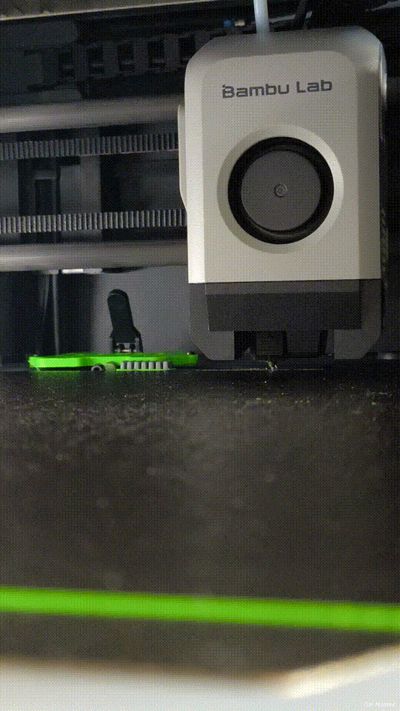
Second retraction dynamic image demonstration after nozzle refinement

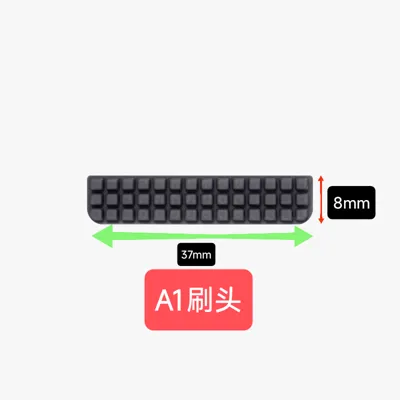
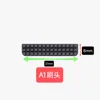
A1 wiper dimensions: 37mm * 8mm, 4mm thickness

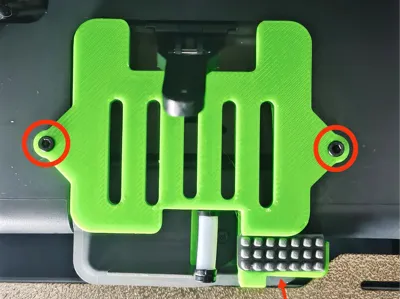
The factory's three-screw fastening provides superior stability.
This significantly improves wiping efficiency.
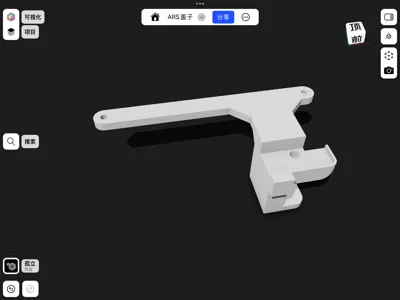
The simplified version boasts a shorter print time.
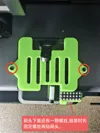
During assembly, secure the three screws on the bracket before affixing the wiper component.

Note: (Secure screws before attaching the wiper)
Note: (Secure screws before attaching the wiper)
Note: (Secure screws before attaching the wiper) I'll only say it three times
Attaching the wiper first will result in its destruction, due to an underlying screw requiring prior installation before wiper attachment.
Before attaching the wiper, briefly heat the adhesive surface with a lighter for enhanced adhesion.
If the A1 wiper is not genuine, the adhesive may not bond securely; consider using PET double-sided adhesive.


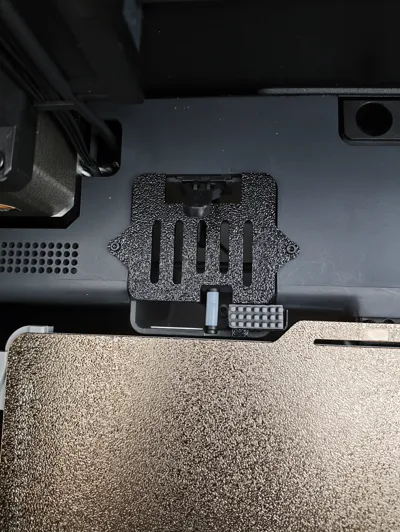
On May 6, 2025, I removed the full-length wiper version; the half-length variant performs better. Subsequently, I added a baffle to the half-length wiper, along with an aesthetically enhanced cover and a retraction-plus-wiper version.
Documentation (4)


License
You shall not share, sub-license, sell, rent, host, transfer, or distribute in any way the digital or 3D printed versions of this object, nor any other derivative work of this object in its digital or physical format (including - but not limited to - remixes of this object, and hosting on other digital platforms). The objects may not be used without permission in any way whatsoever in which you charge money, or collect fees.
Comment & Rating (67)