
Crystal Cube (Ice!) Transparent PETG FDM Print

Print Profile(1)
Description
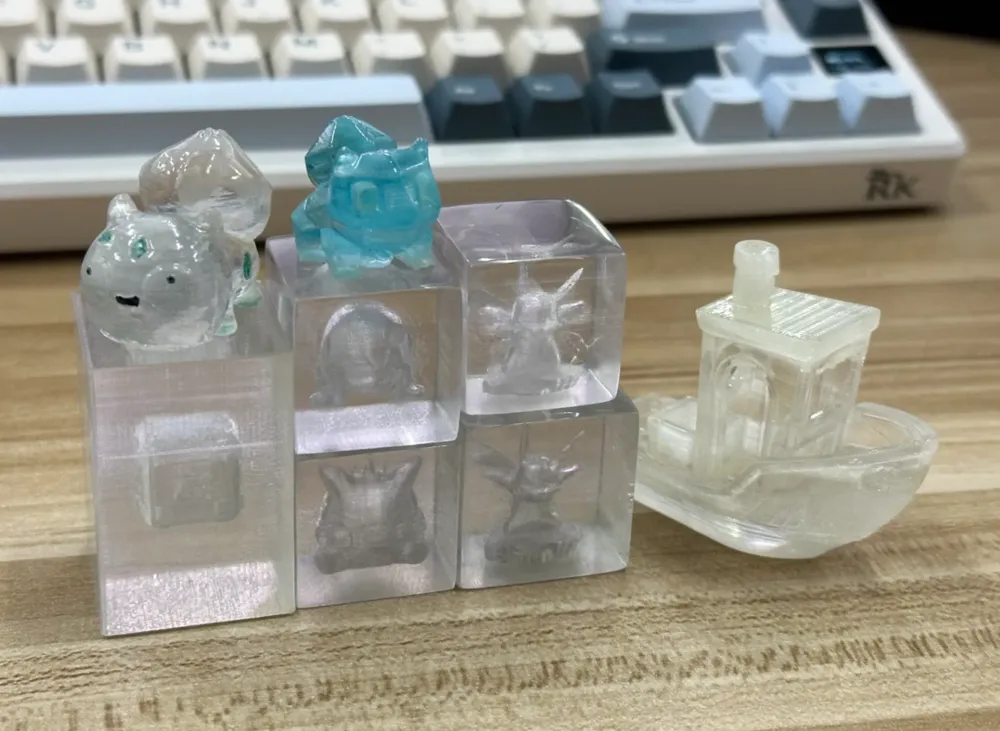
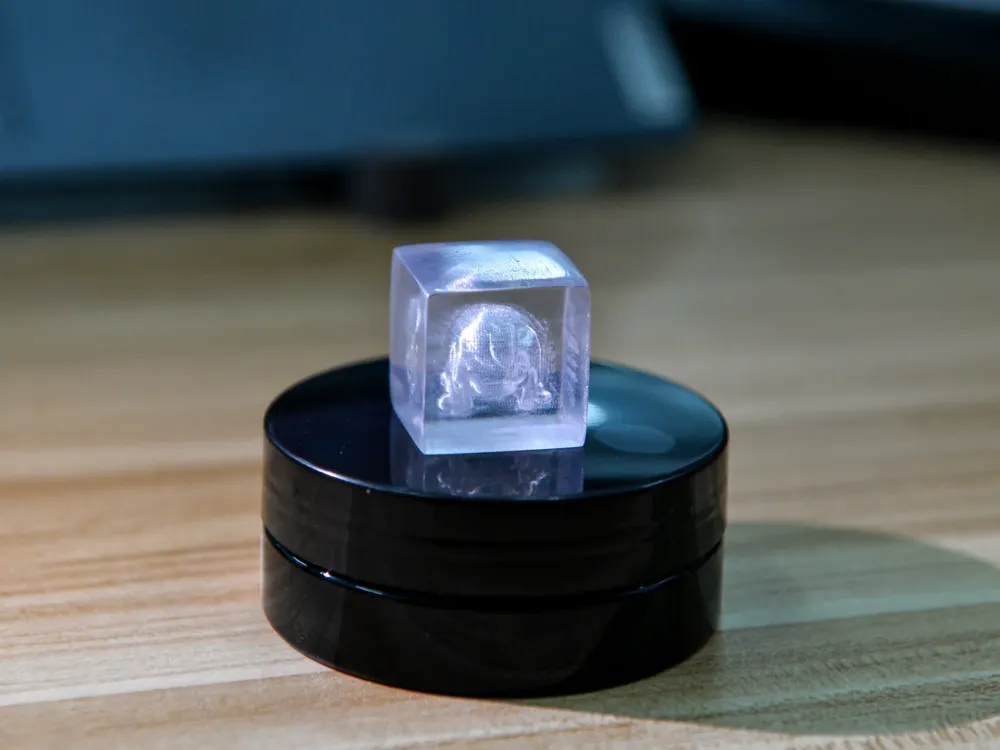
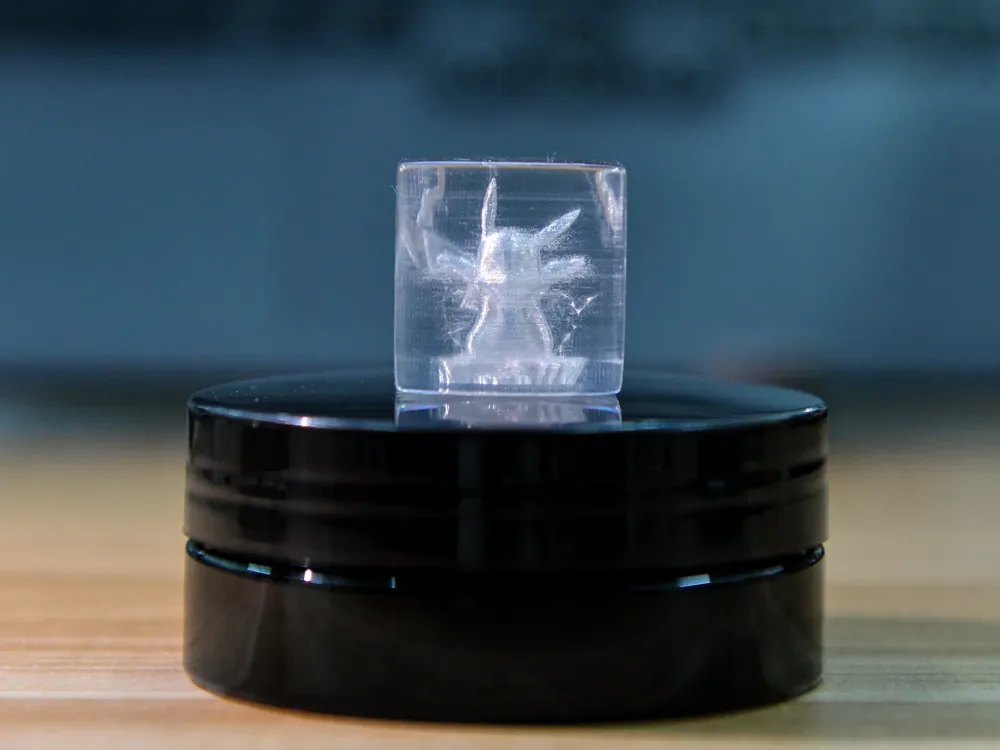
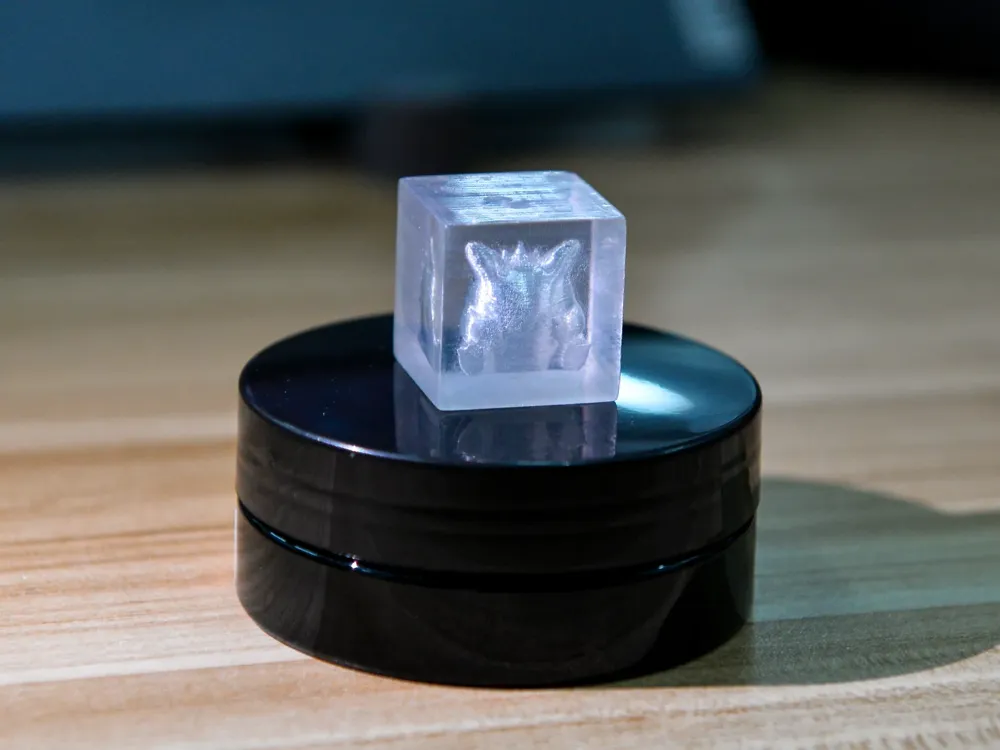
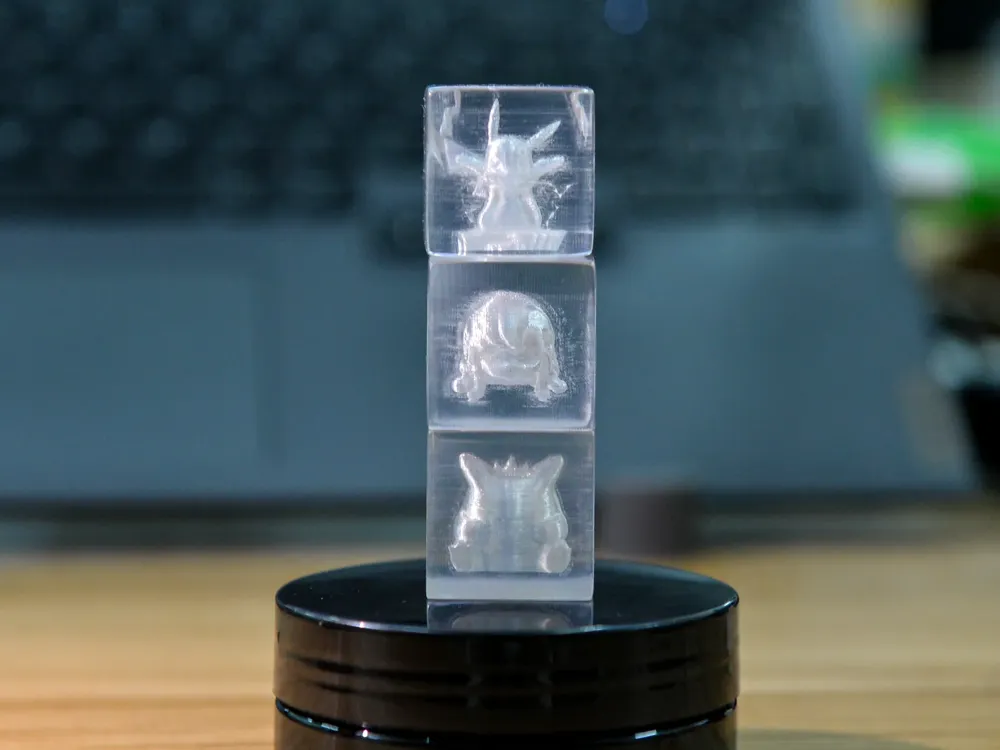
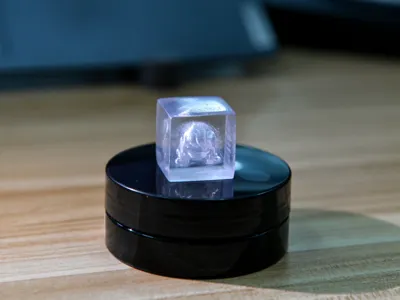
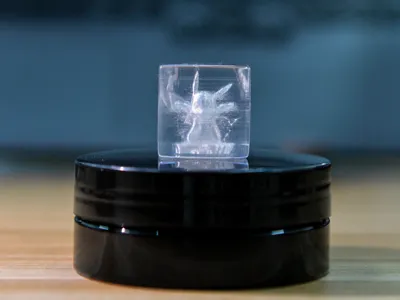
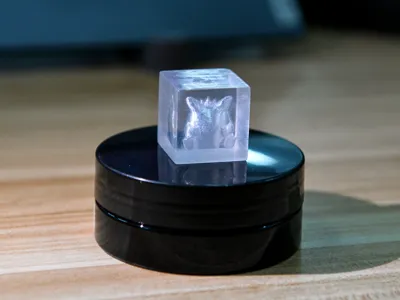
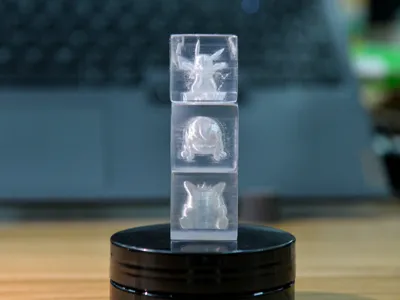
If you have a roll of transparent PETG filament on hand, or if you have a spare printer and time, why not try this beautiful and playable transparent crystal ornament.
This print configuration can be used directly for any 100% filled print, and both 0.2mm and 0.4mm nozzles are suitable.
Printing Production Tutorial
First, you need to prepare the following materials:
- Transparent PETG filament (I used Tianrui, it is not recommended to use PLA transparent filament)
- Sandpaper (for surface polishing, 120-10000 grit)
- Bili Pearl - Bright (also known as wood floor care wax, be careful not to buy Clean)
- 0.2mm nozzle (this is not essential)
- Cups, paper towels, etc.
1. Print file configuration (you can download the model's print configuration)
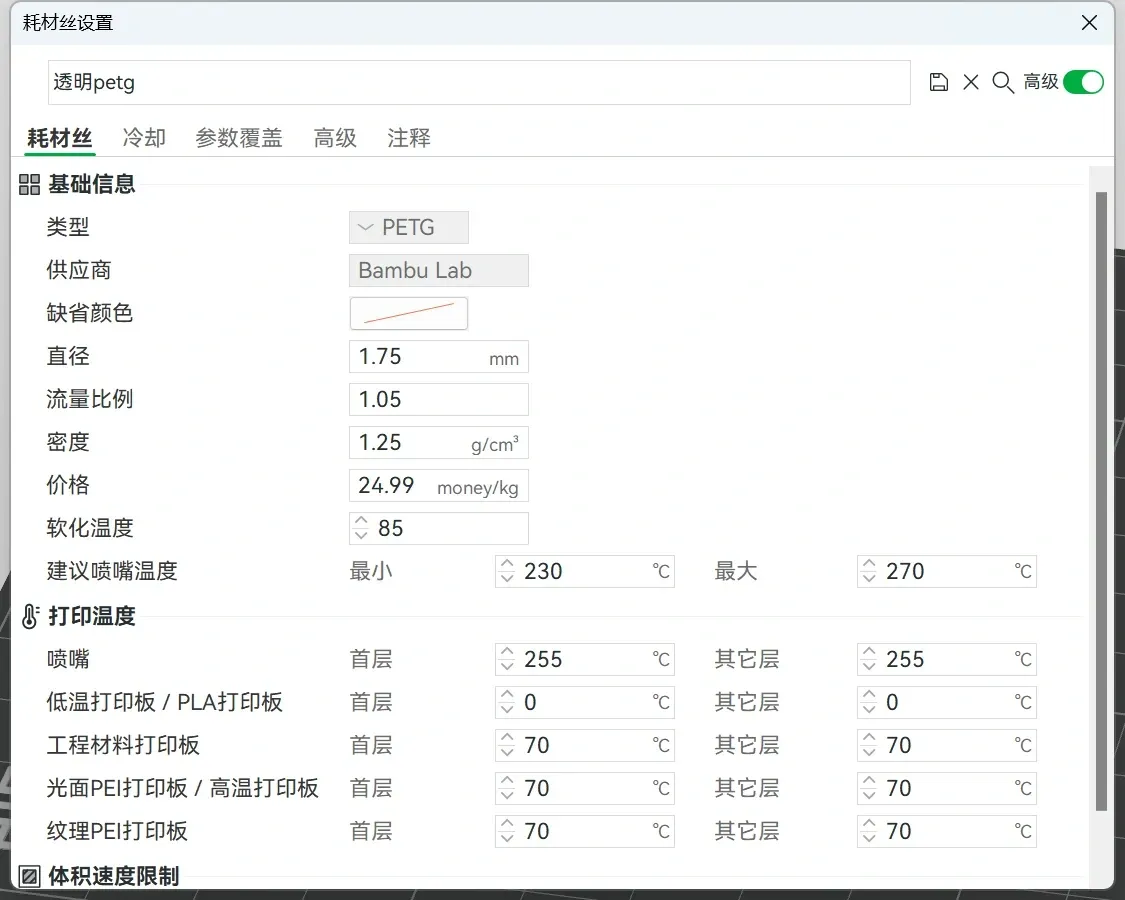
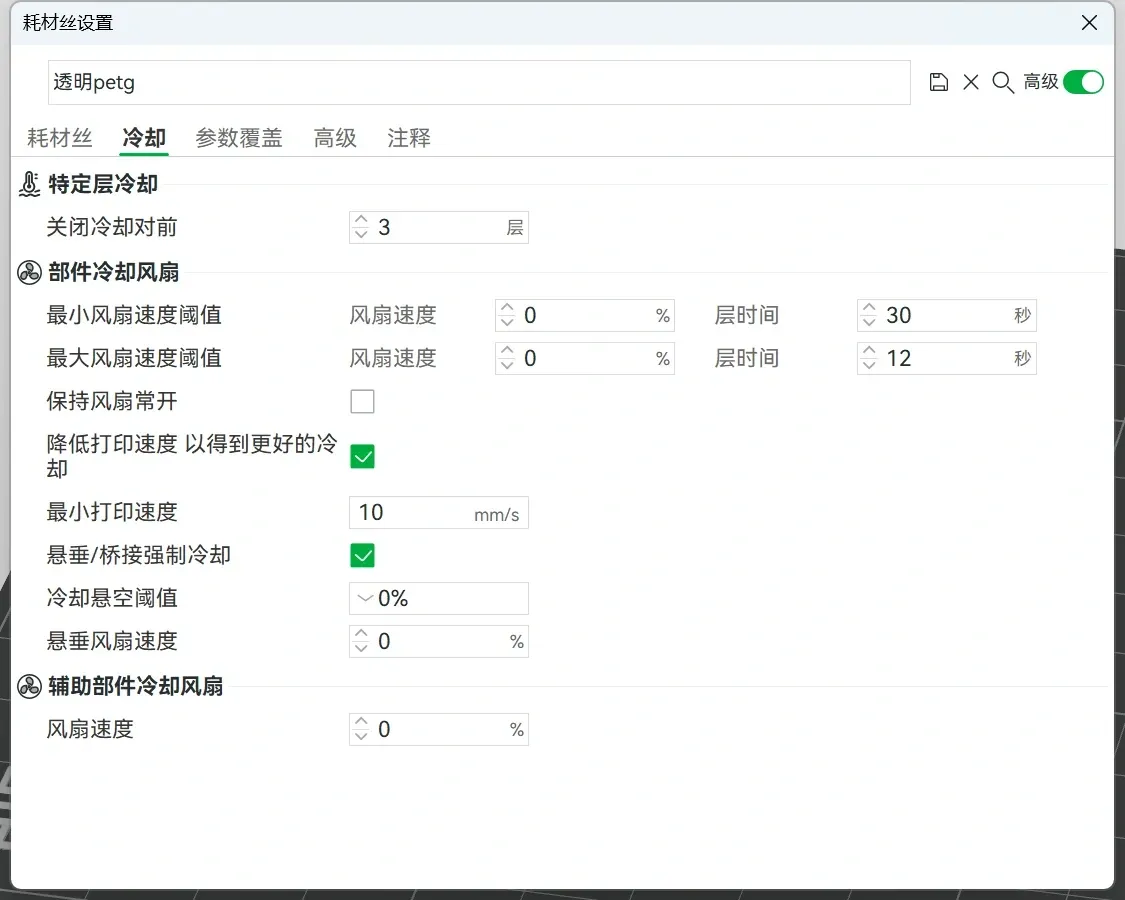
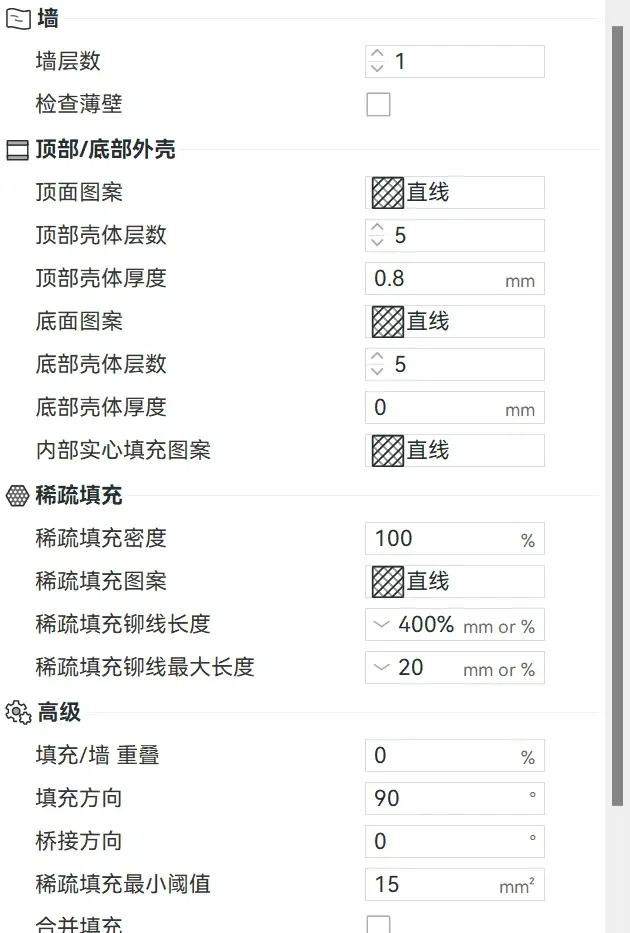
If you don't want to download my model, you can use the configuration shown in the picture above, and because the principle is to turn off all cooling fans, please reduce the printing speed to ensure printing cooling.
Note:
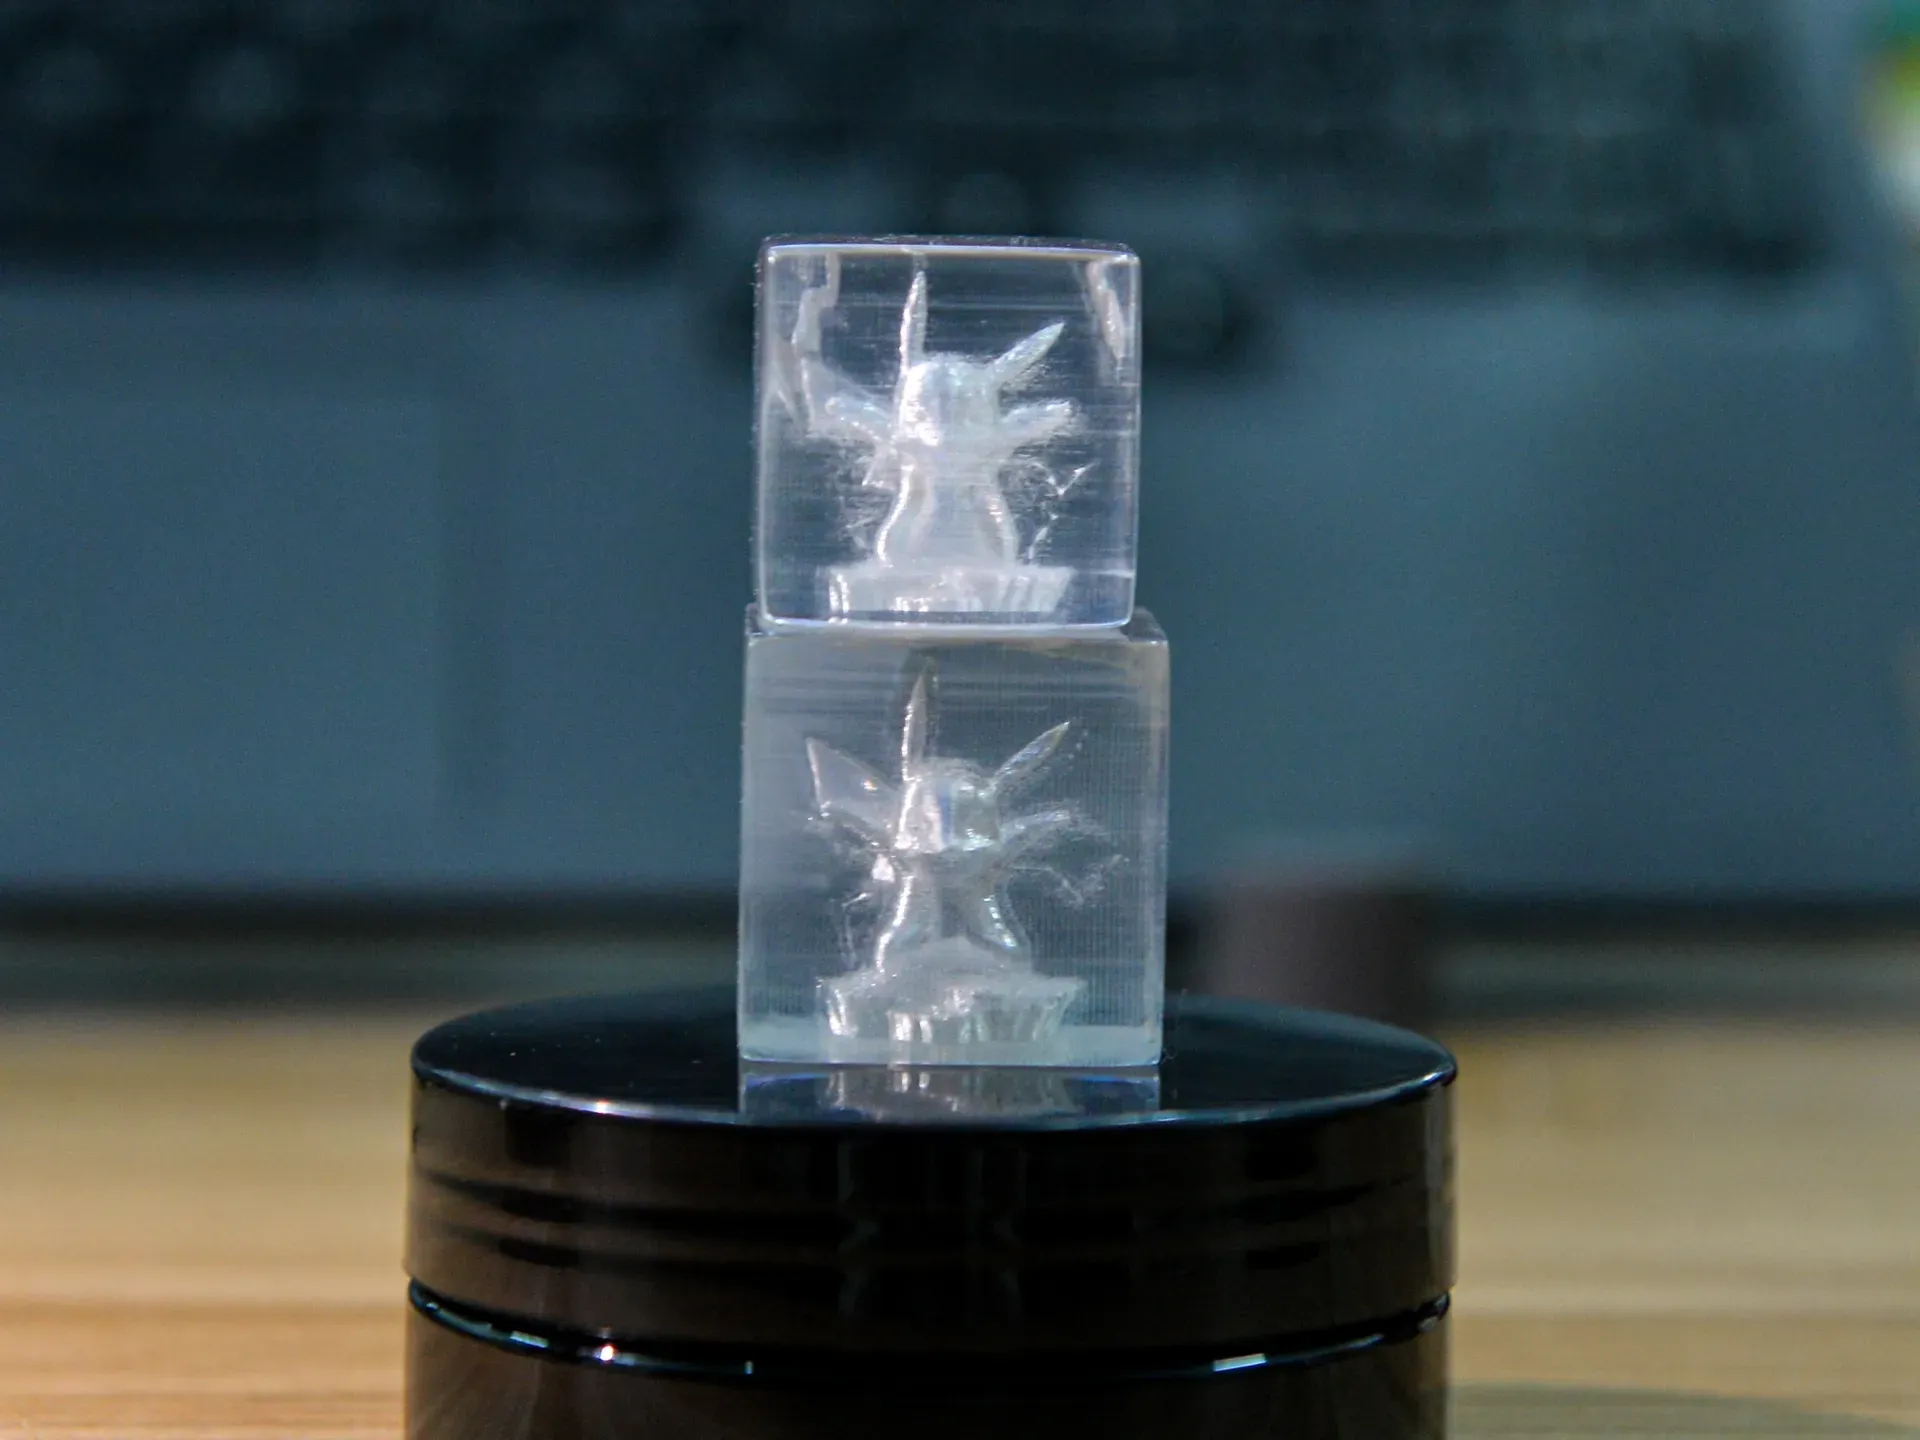
- The printing model belongs to the inner wall in terms of speed, which means that the speed of the inner wall will affect the transparency of the inner model. As shown in the left figure, the slower the speed, the more transparent the inner model will look.
- The nozzle will also affect the print quality, as shown in the right figure, there will be obvious layer lines, no matter which direction they are in, it is recommended to print with a 0.2mm nozzle.
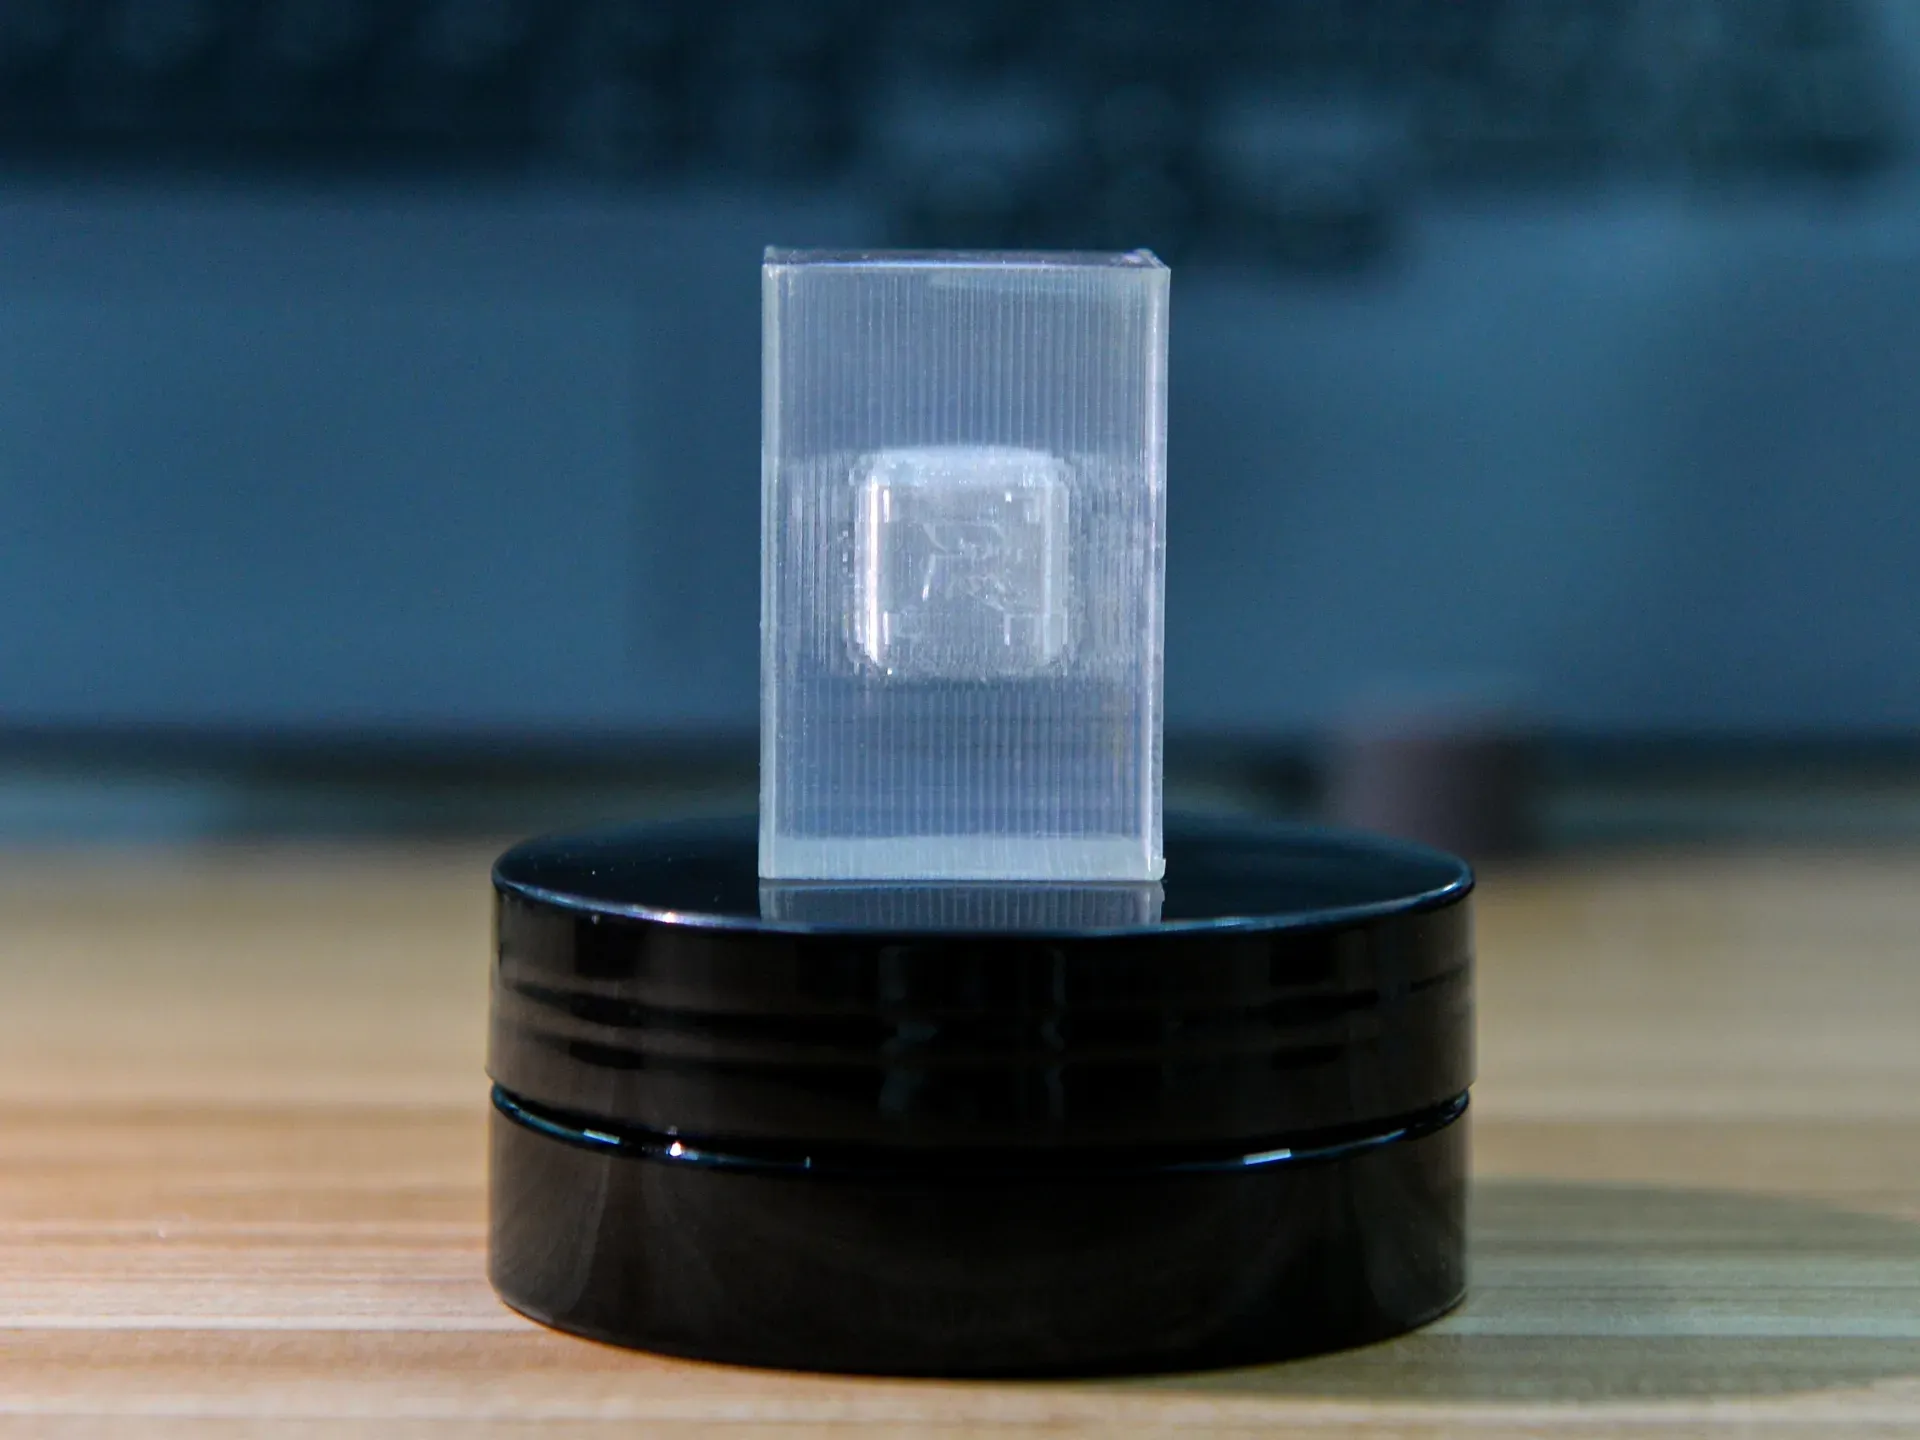
2. Model Making
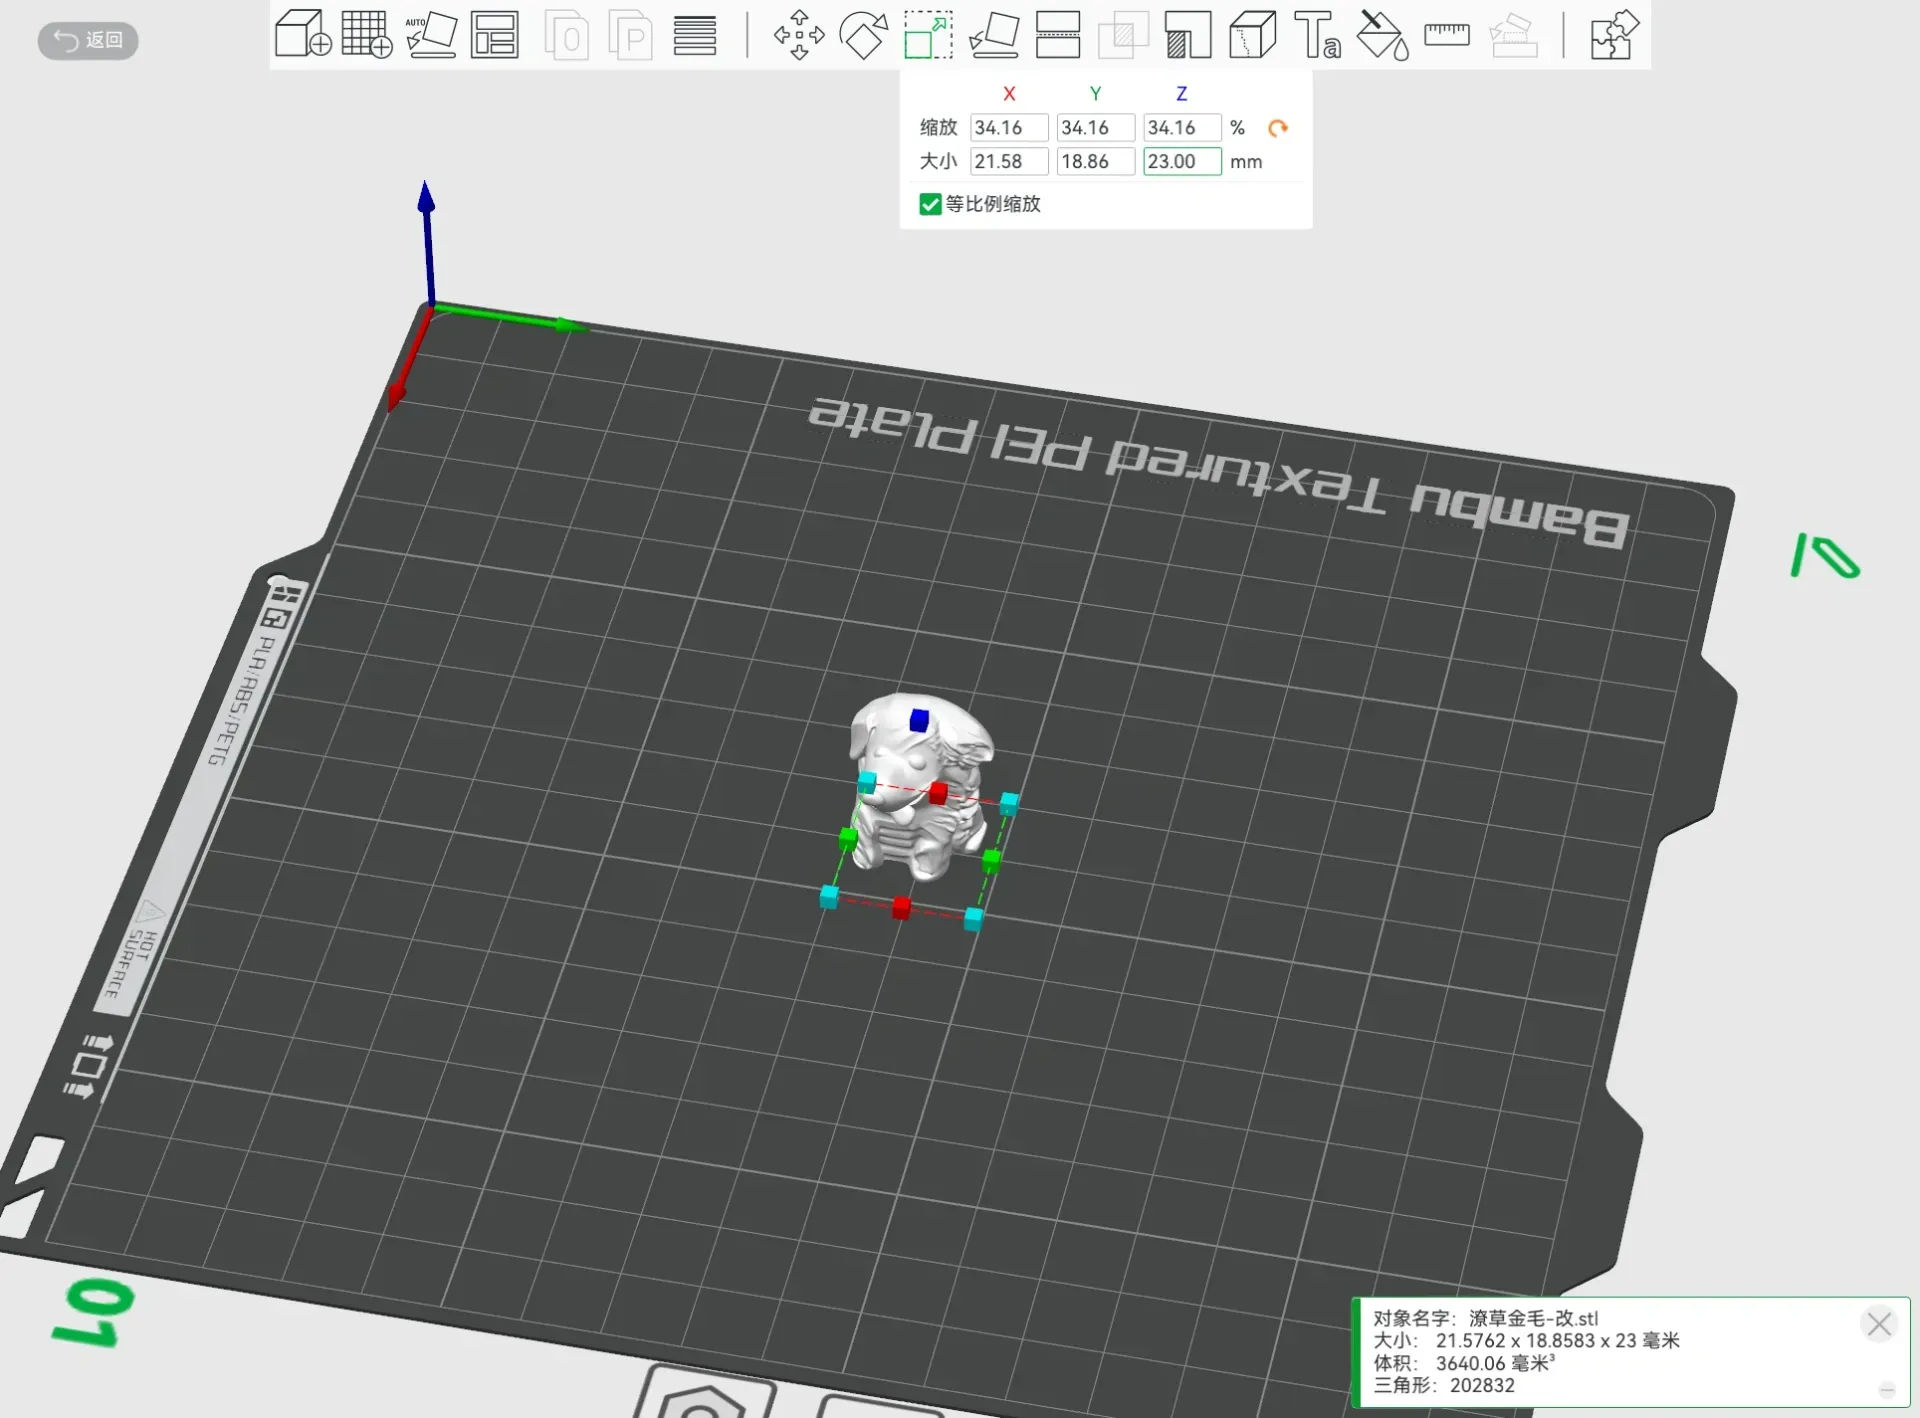
1. Import the model you want to print, then scale it down proportionally. I recommend that the model size does not exceed 23mm. The size of the cubes I printed is generally 25mm, which feels good in the hand. Of course, if you have big hands or just want to use it as an ornament, you can set the size yourself.
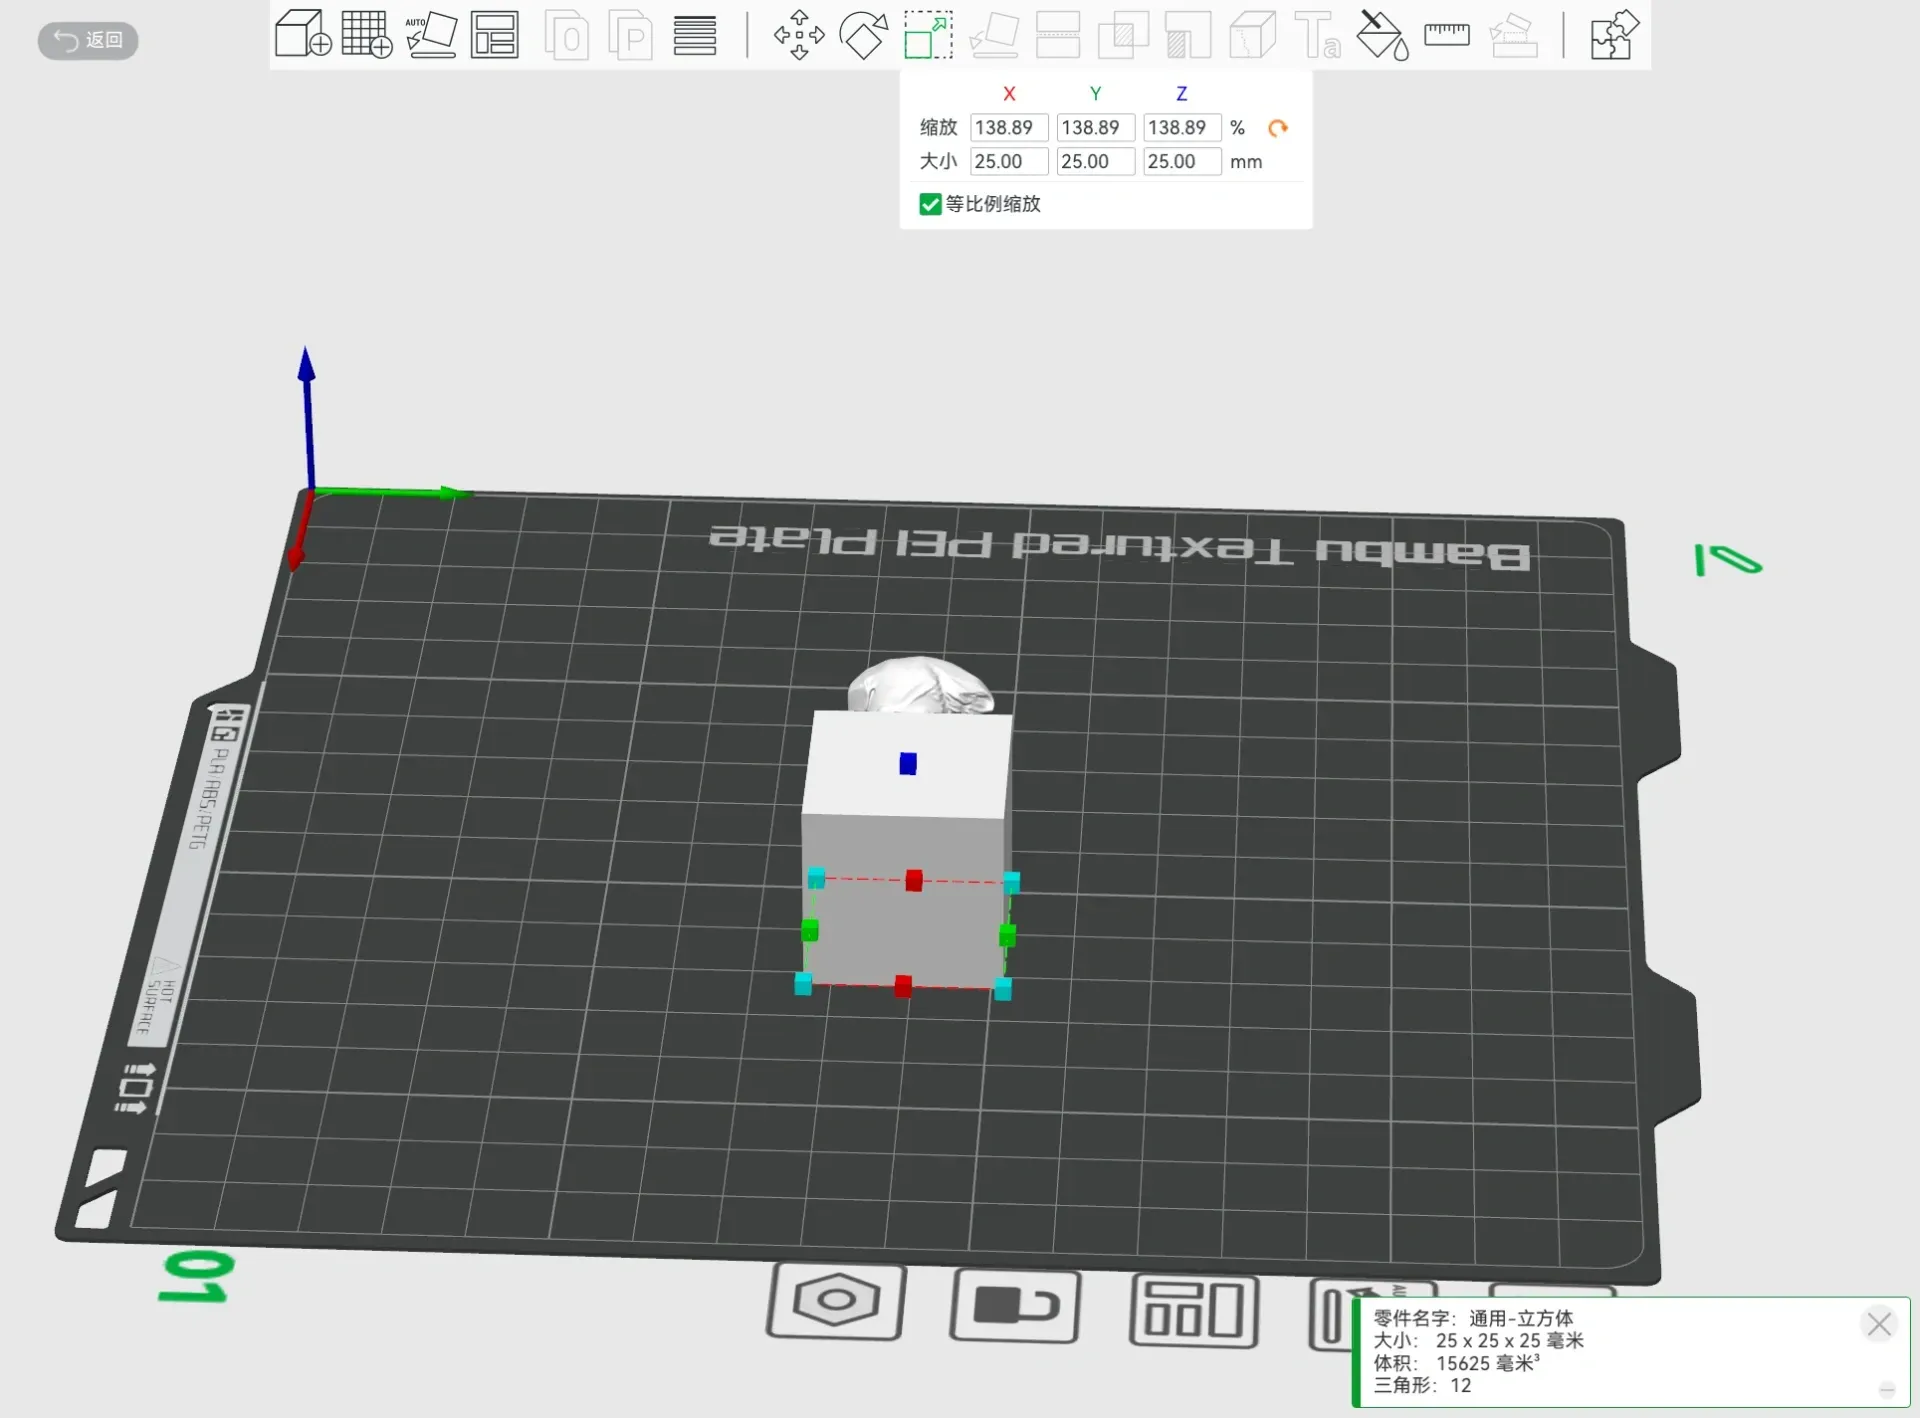
2. Right-click to create a 25mm cube in the standard model
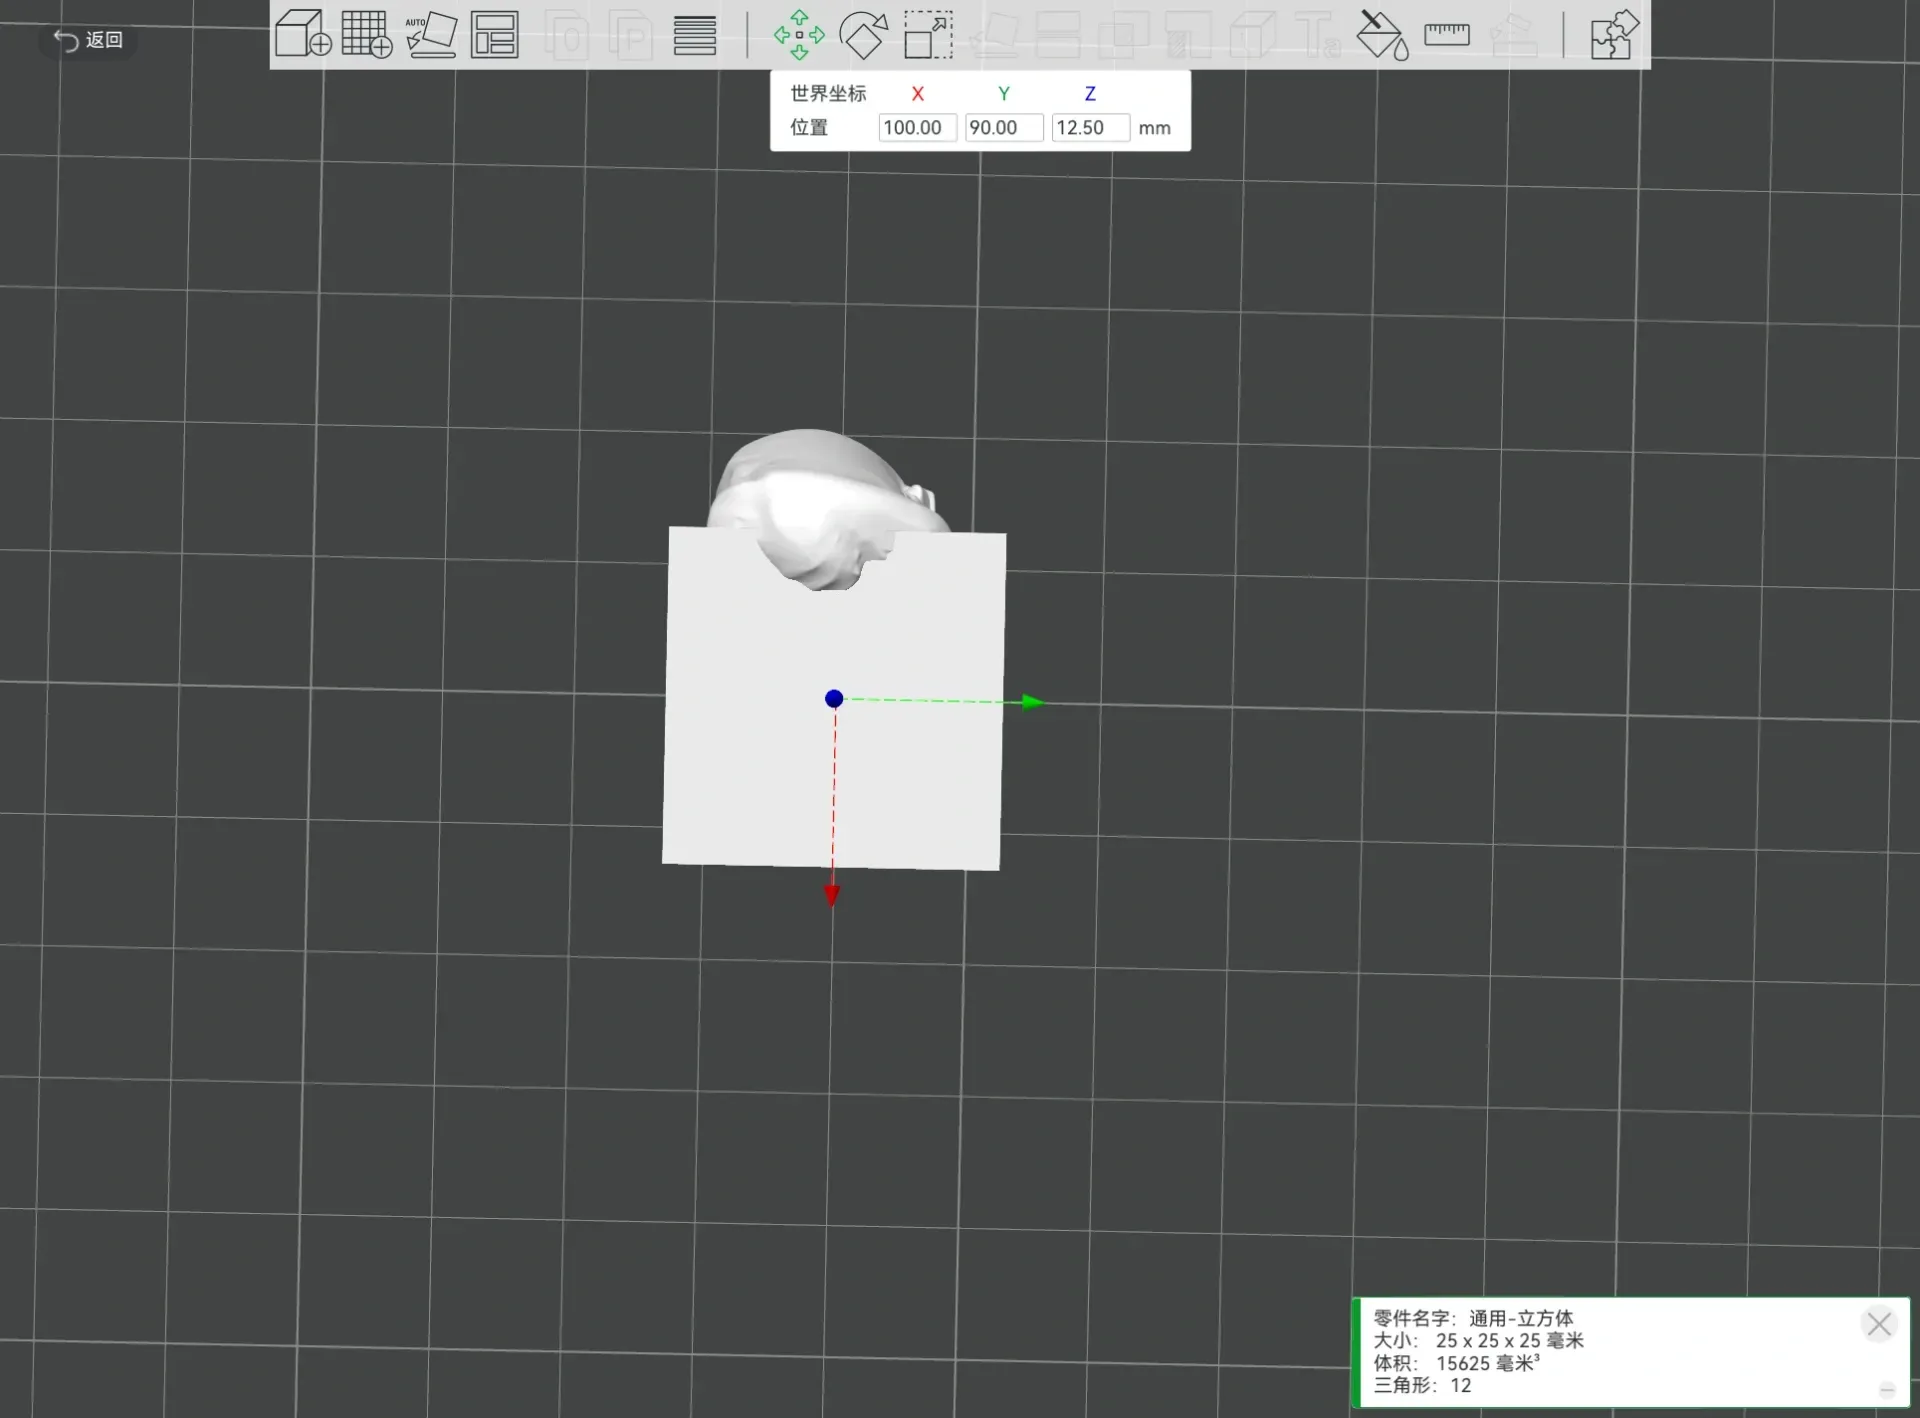
3. Align the origin of the three axes of the two parts, which will be used to hollow out the parts later.
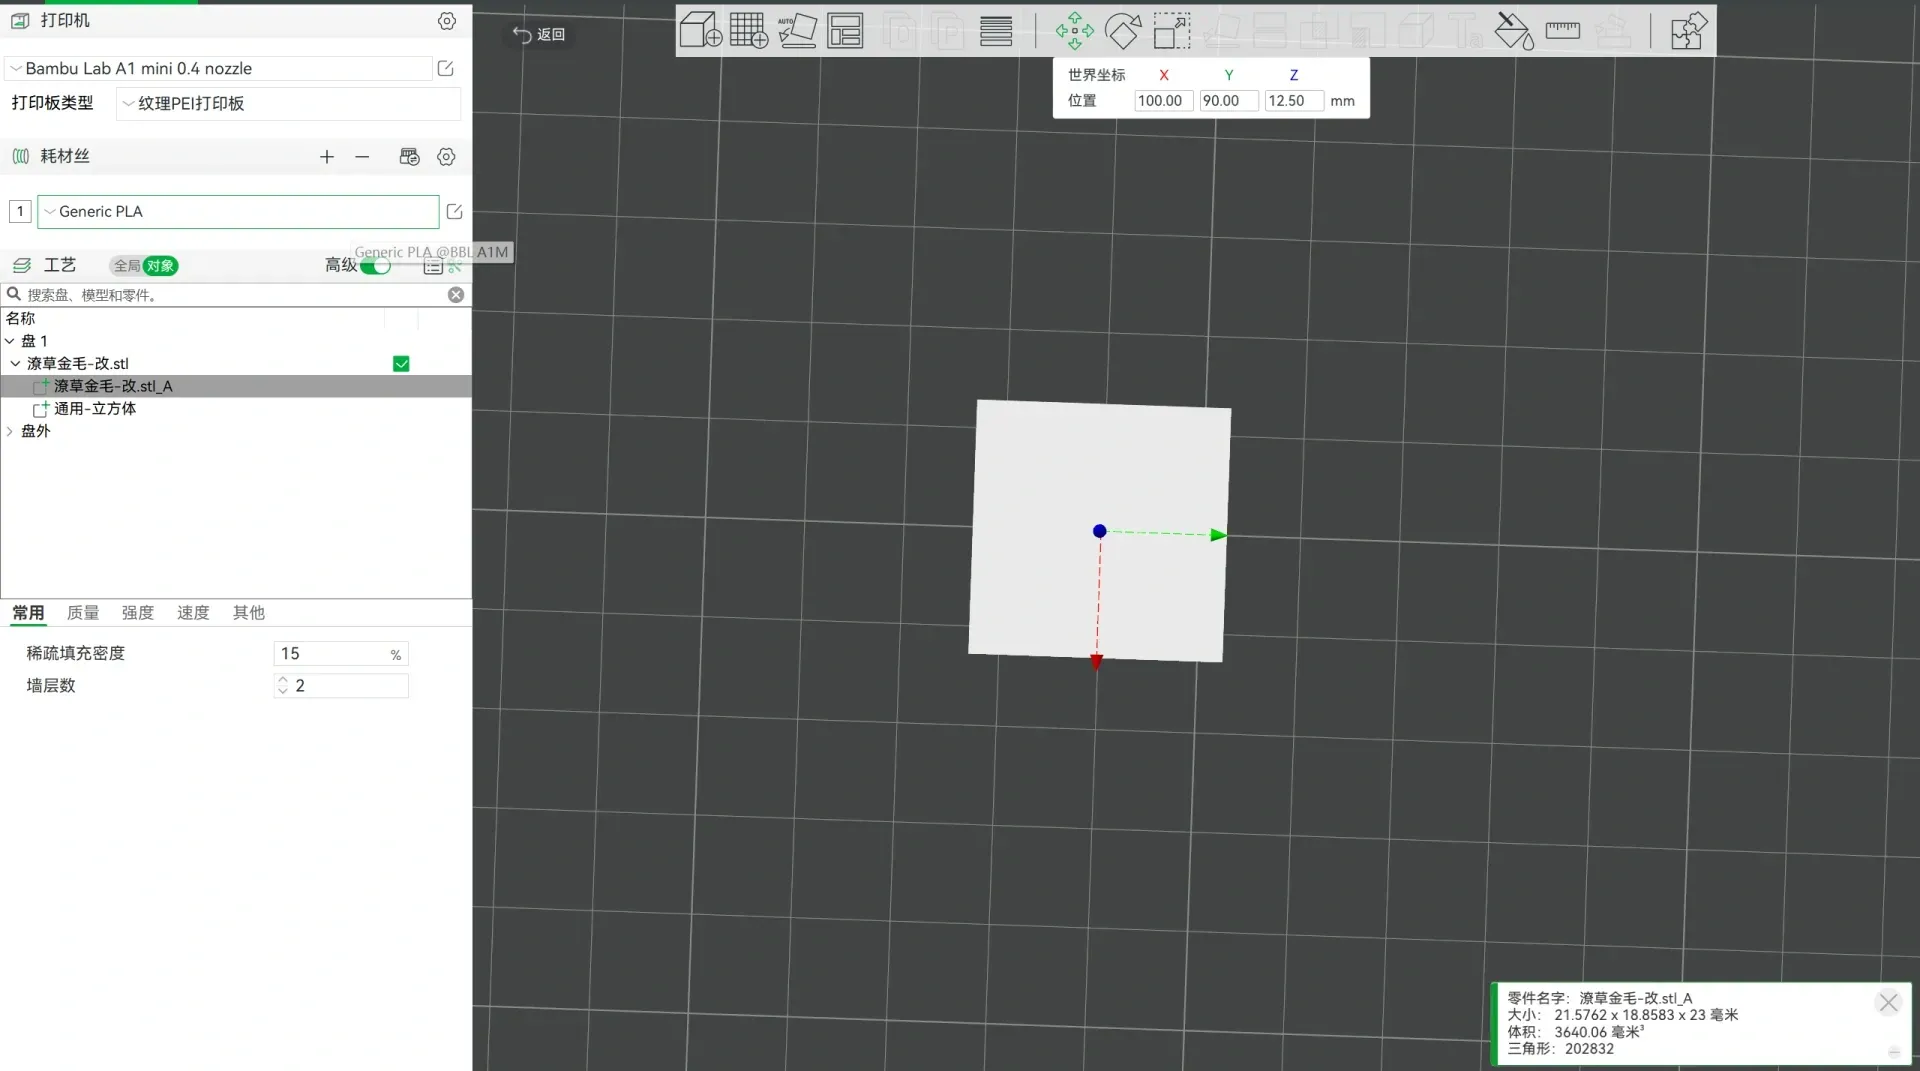
4. Change all parts except the cube to negative parts.
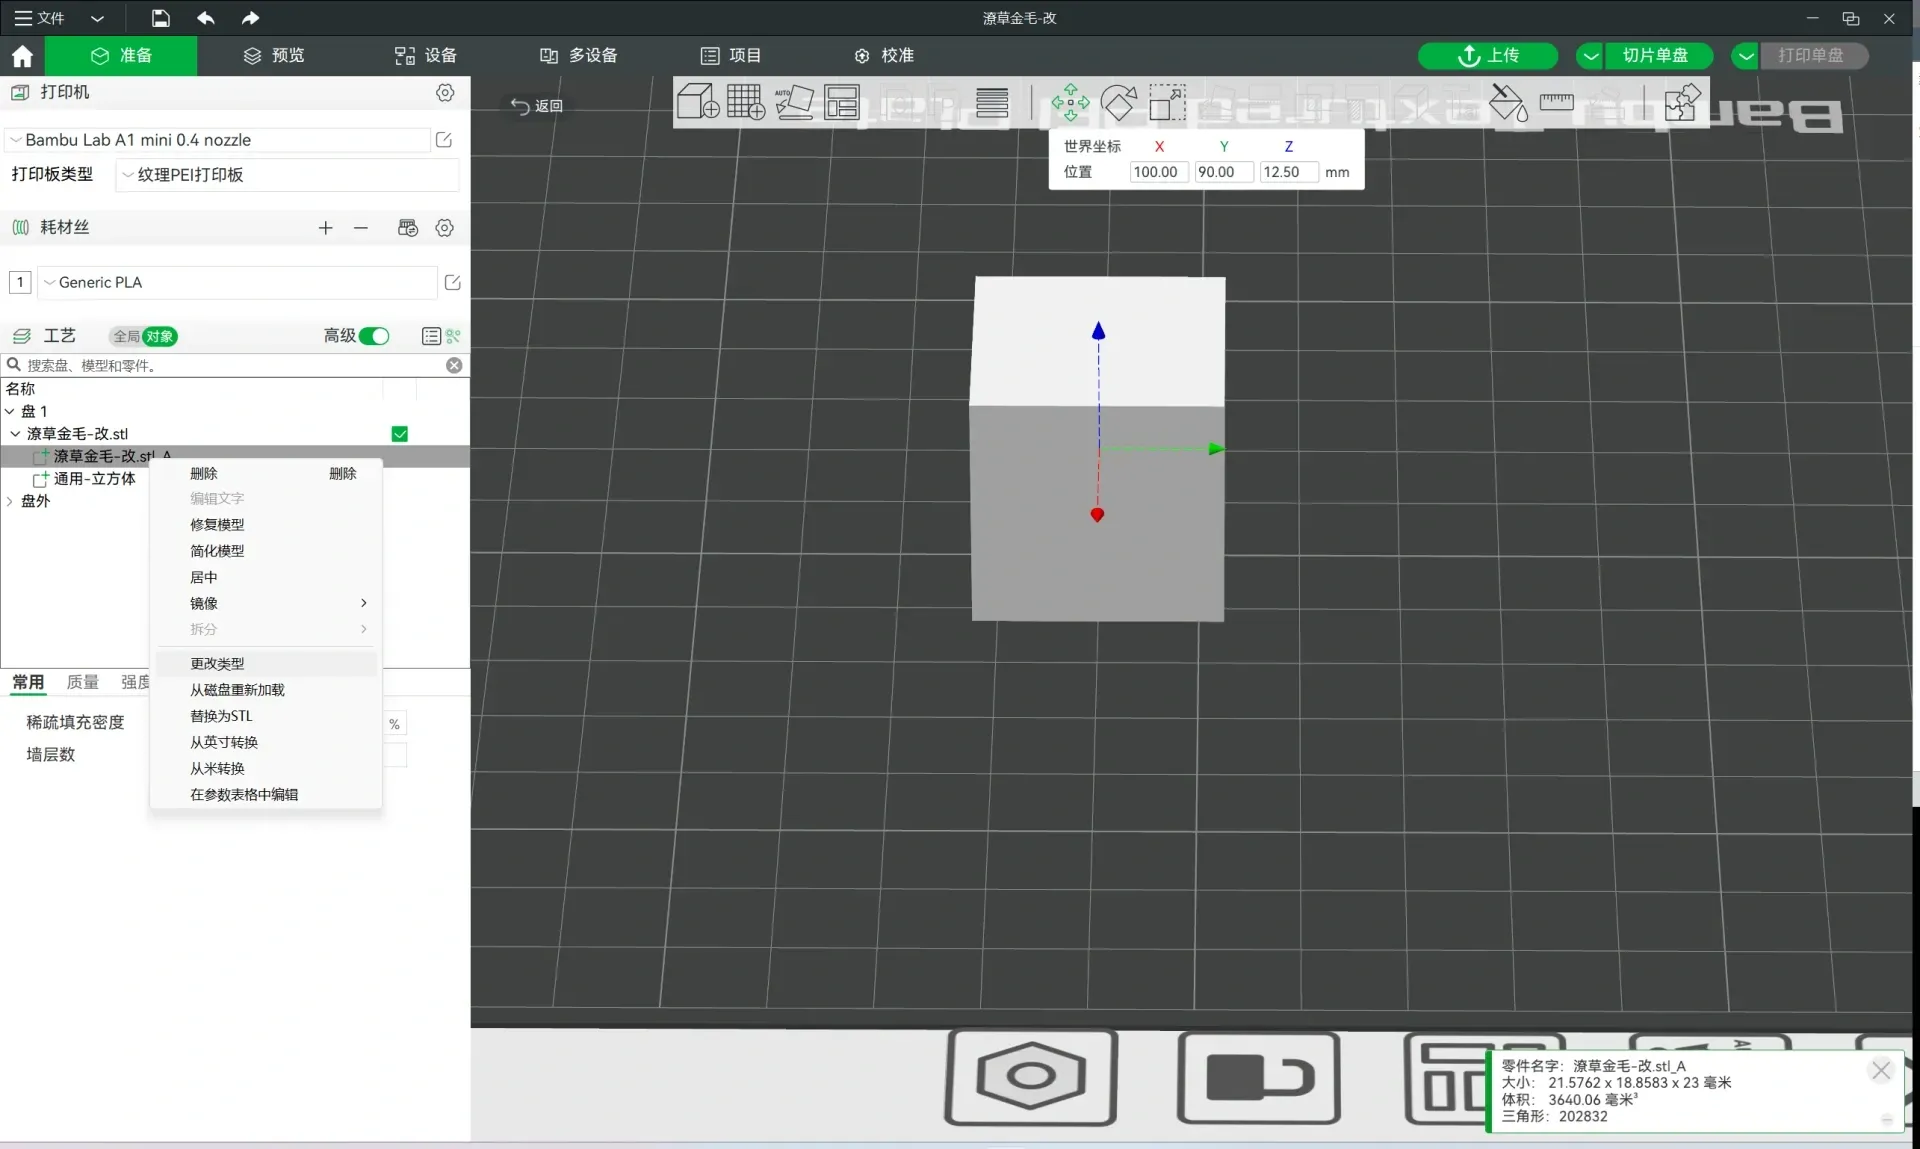
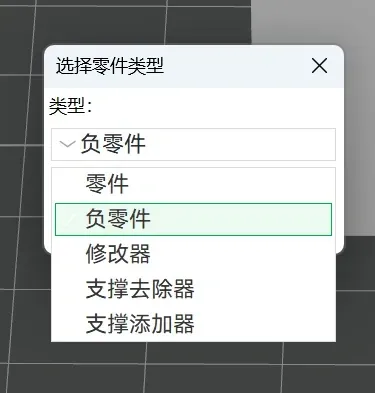
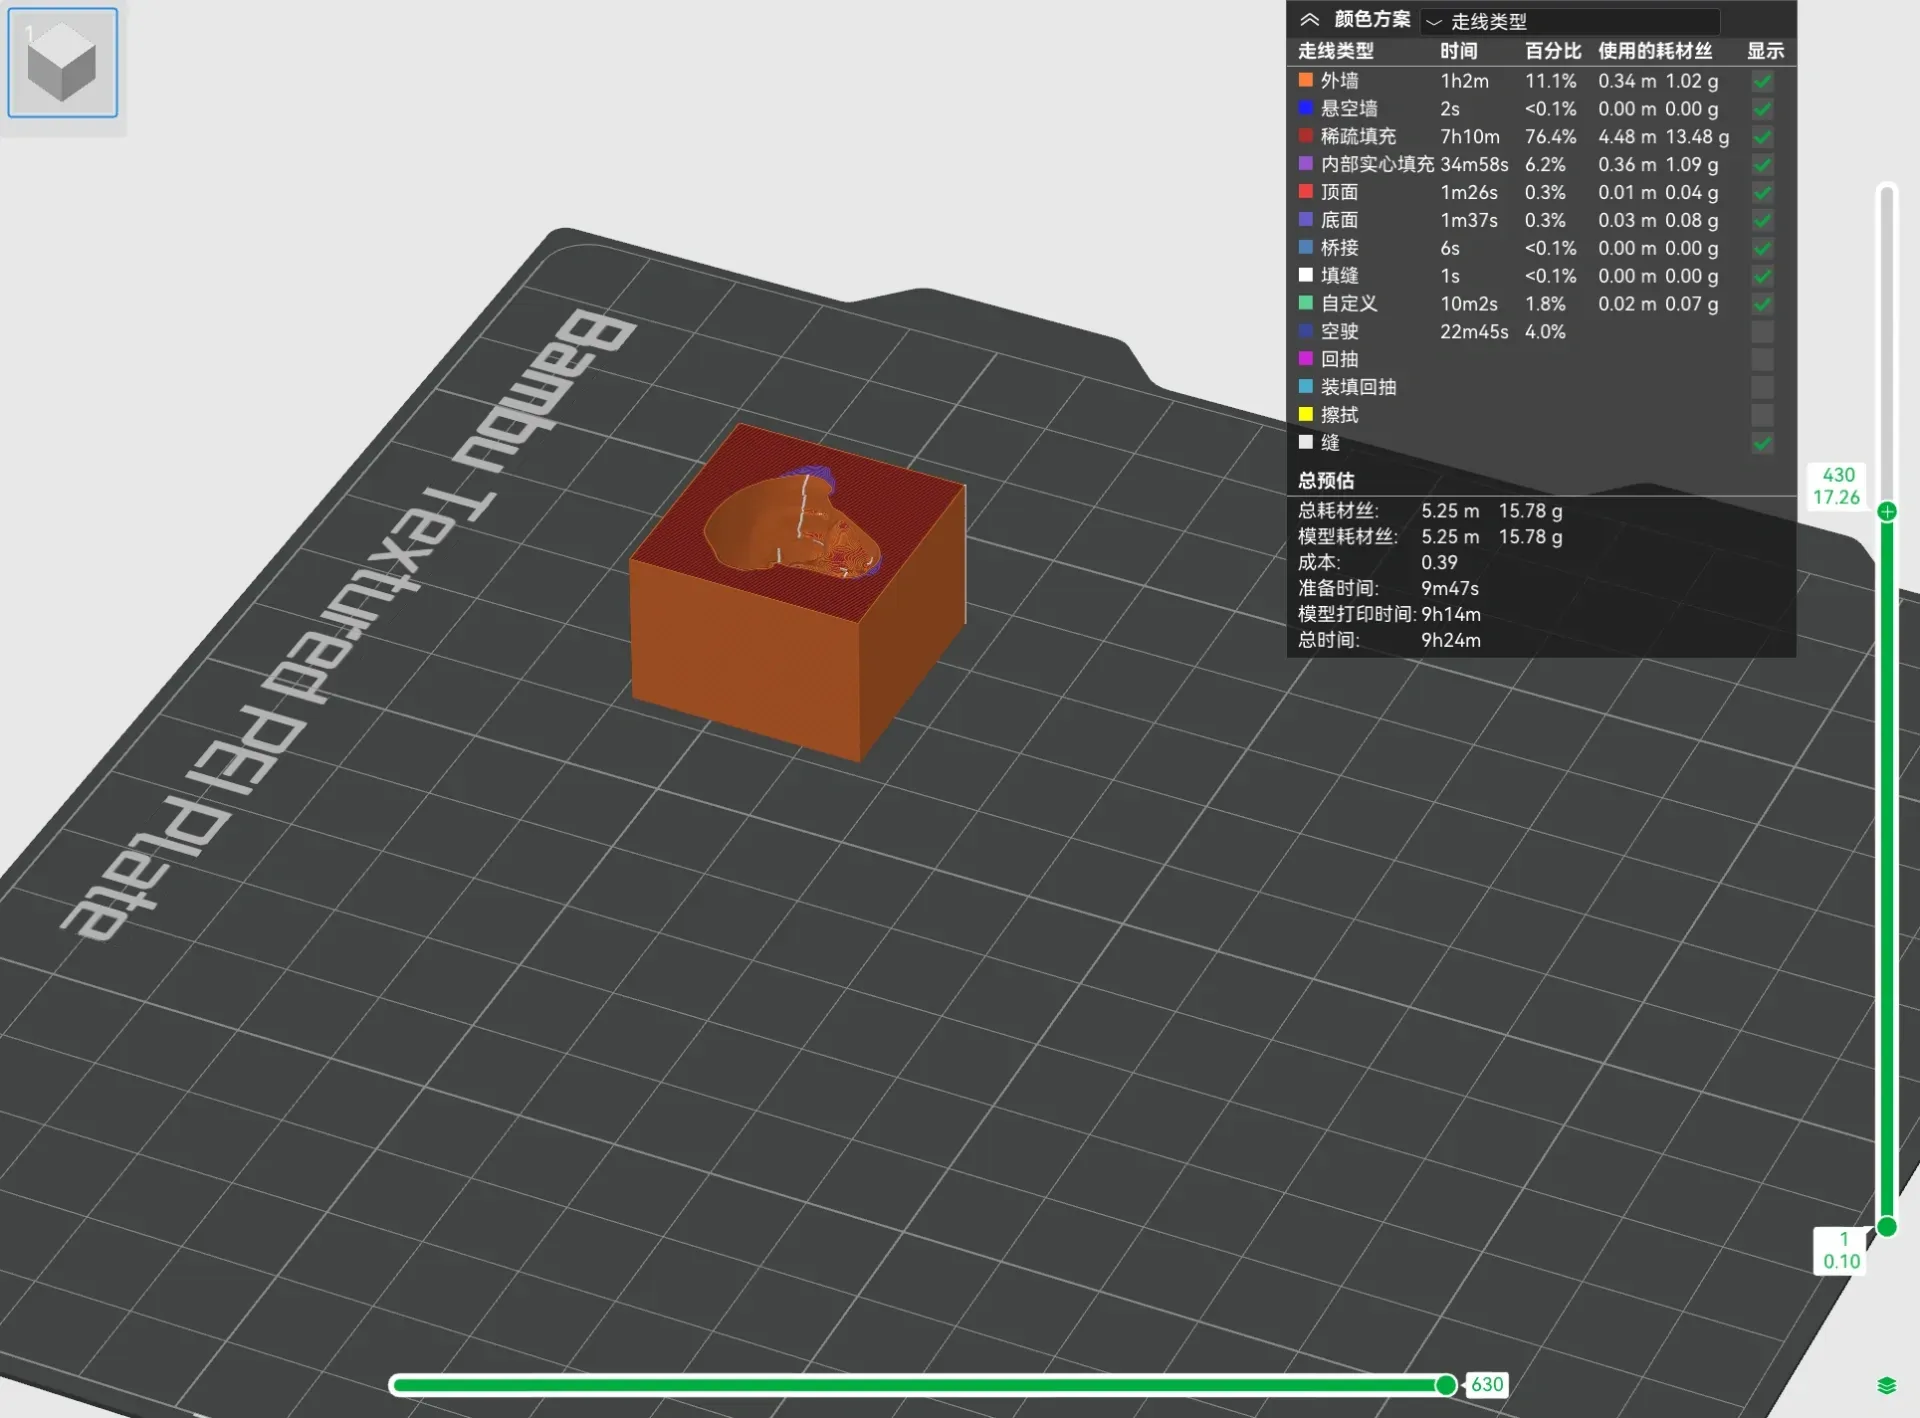
5. After finishing the modification, slice and check the hollowing situation. If there are no problems, you can start printing. Generally, a 25mm print will take 10-11 hours using my configuration.
2. Model Post-processing
- After the model is printed, as long as you don't see obvious white, it means the printing is successful. The next step is to use sandpaper to polish. It is recommended to use 120-grit sandpaper first to polish away all the obvious layer lines on the surface, and then gradually increase the grit until 10000 grit. If you need to hold it in your hand, it is recommended to polish each edge into a slight round corner, which will make it smoother and more like ice! (My polishing order is 120-400-800-3000-8000-10000, for reference only)
- Theoretically, when you polish it to 10,000 grit, you can see the model inside more clearly. However, you need to use Bili Pearl to soak, which will further improve the transparency.
- Prepare a container to hold Bili Pearl. After pouring Bili Pearl into the container, let it stand for a while until the bubbles on the surface disappear. During the standing process, you can cover it to prevent dust.
- After the bubbles disappear, put the print in the solution for 5 seconds, then take it out, shake it twice, place it on a paper towel, and let it stand for more than 12 hours. (Theoretically, Bili Pearl will not stick to the paper towel, but it is possible if there is too much liquid.)
3. Conclusion
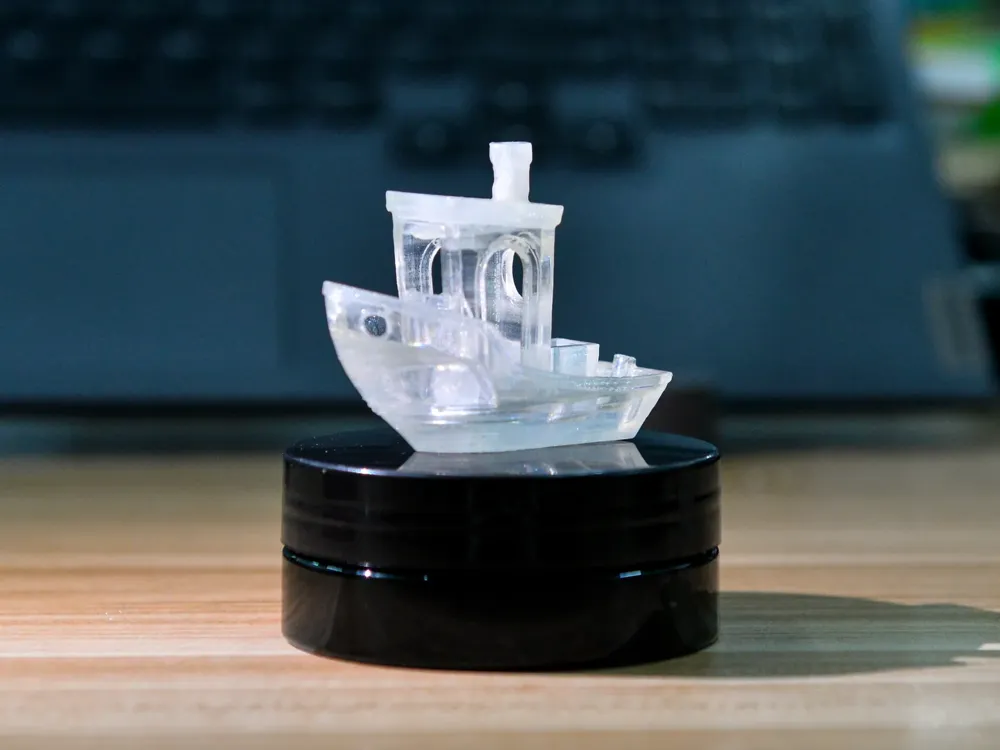
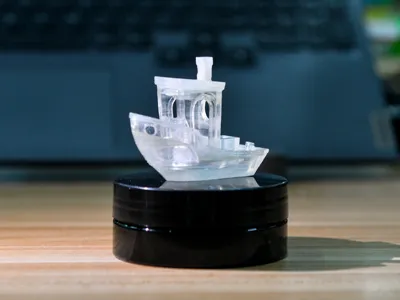
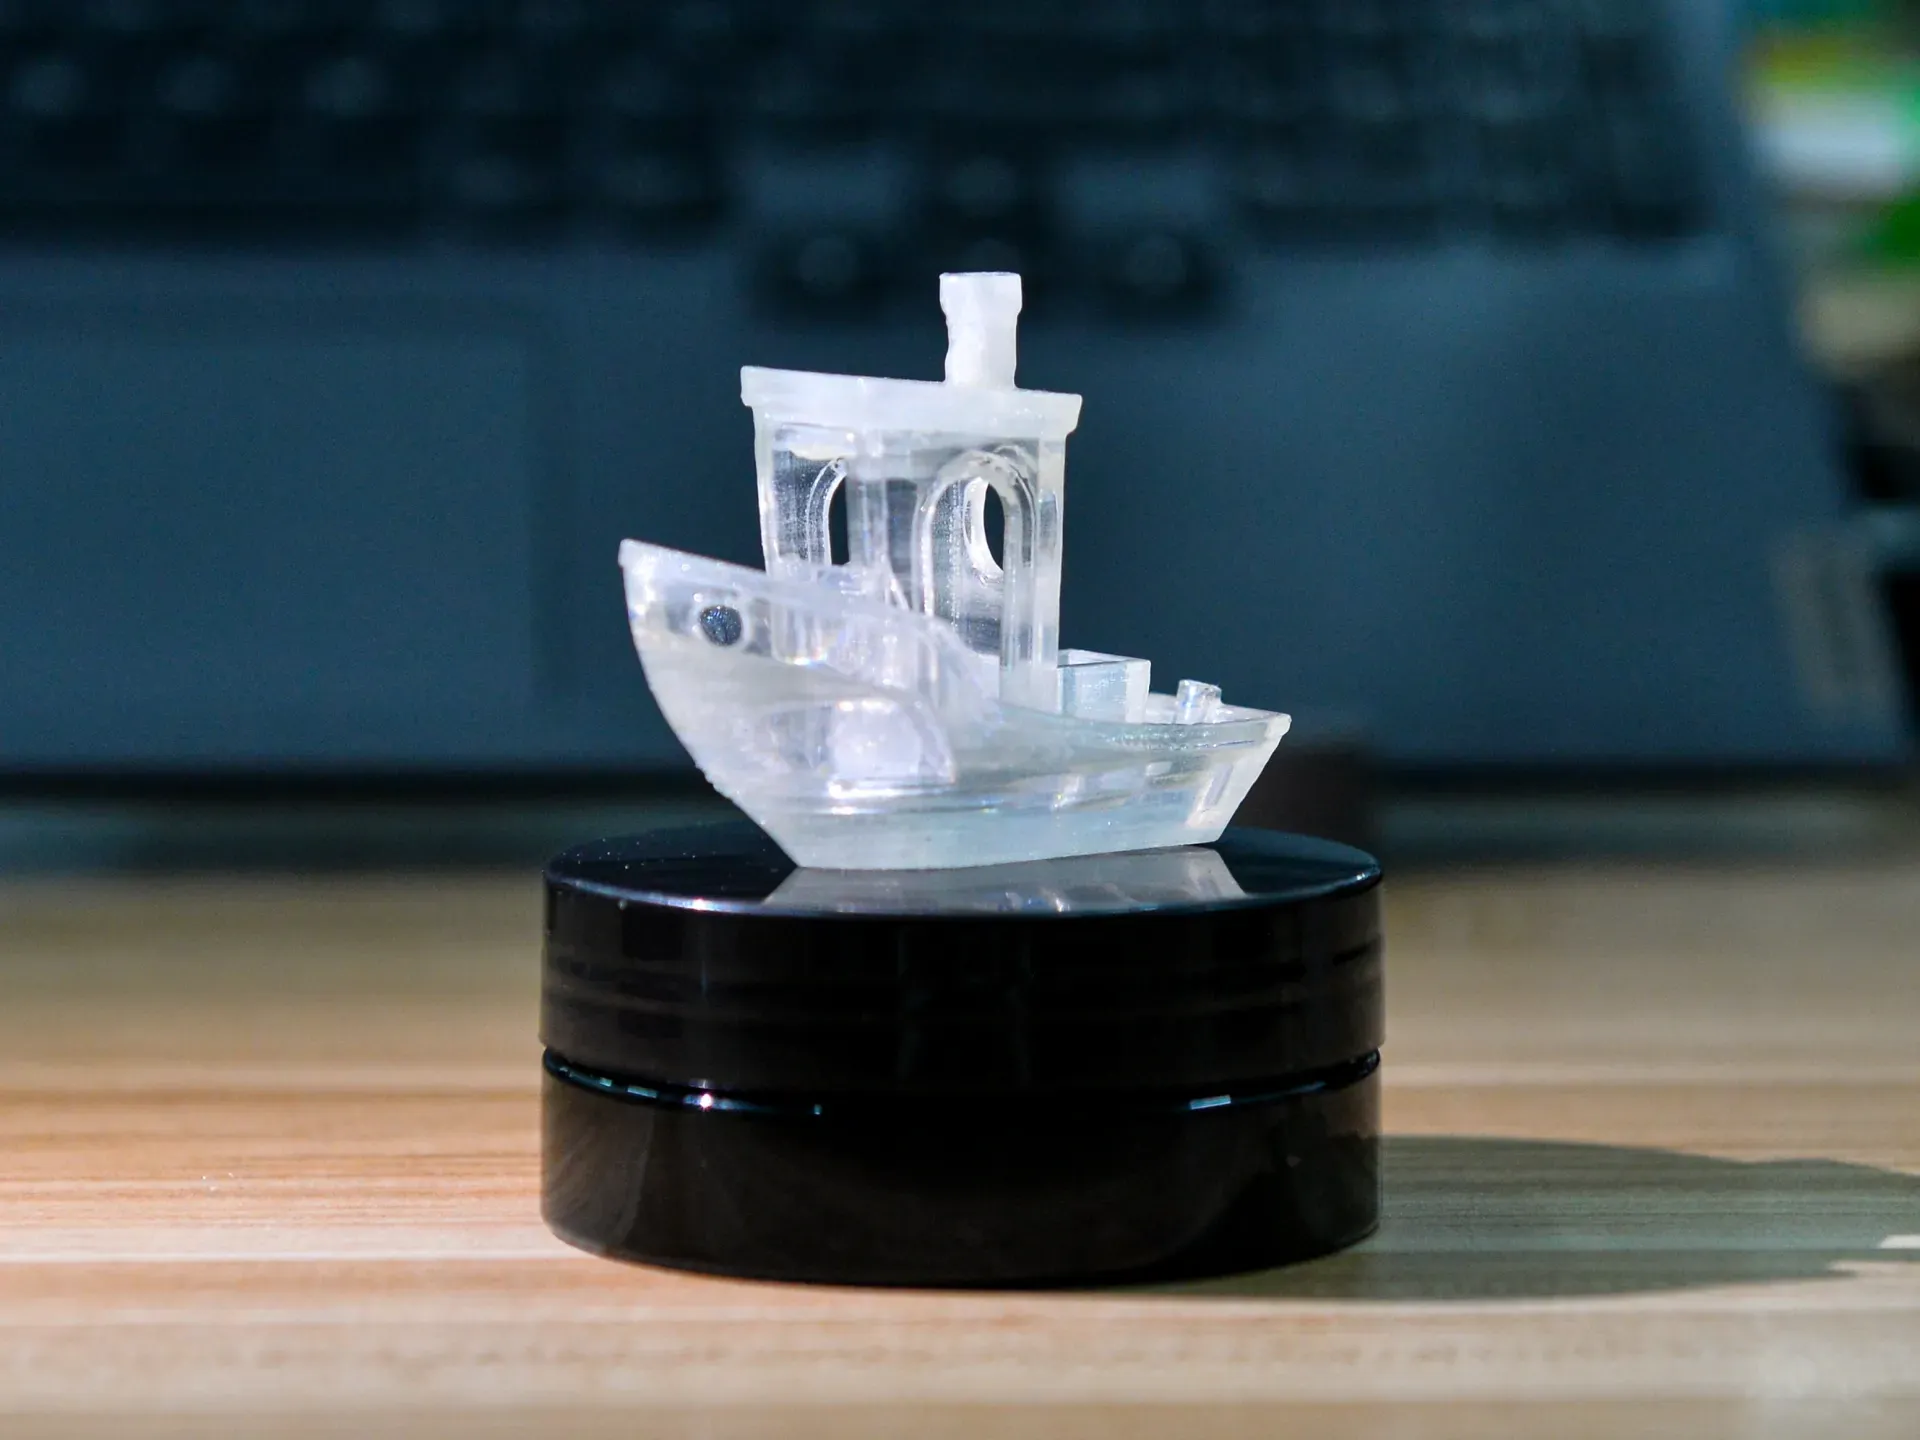
This project combines many online tutorials. Some tutorials use print polishing liquid, which also works, but it is easy to have liquid accumulation, which can lead to whitening. Moreover, if you don't have a good clamp, the surface you apply it to may be poor. However, for complex surfaces, polishing liquid is more convenient than sanding yourself. The picture below is a boat processed with polishing liquid.
License

You shall not share, sub-license, sell, rent, host, transfer, or distribute in any way the digital or 3D printed versions of this object, nor any other derivative work of this object in its digital or physical format (including - but not limited to - remixes of this object, and hosting on other digital platforms). The objects may not be used without permission in any way whatsoever in which you charge money, or collect fees.


Comment & Rating (18)