


Print Profile(2)


Description
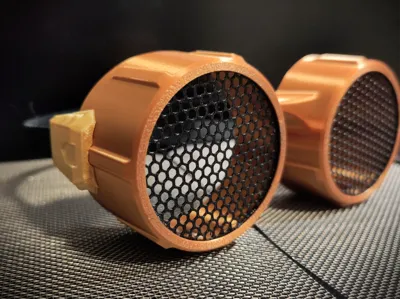
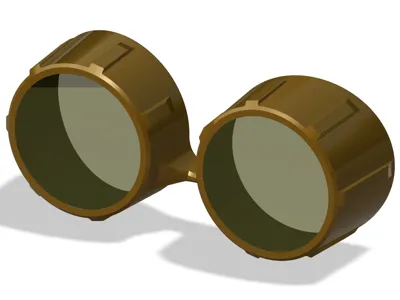
I made some wearable steampunk goggles for you.
The Parts print without any support only the connectors are designed to fit a brim that needs removal.
Let the Lenses cool down before you carefully scrape them of the build plate, therefore nothing should deform and all parts should fit.
I printed all parts in 0.2mm Layer height with 100% infill, you may adjust the quality setting to your liking.
For the Lenses I highly recommend Black Filament,because it is easier to see throw.
Some tanned glas might also look great as lenses. Ø50mm should fit fine.
On the Images you see the result strait out of the Printer, with some painting skills you might be able to greatly improve the look.
I may paint the inside Black to get less reflections and improve the vision.
Feel free too design attachment parts like a light or a scope. I'd love too see your designs.
Boost Me (for free)
Boost are allays welcome. thank you in advance.
Step 1:
Put a band inside the Holders and fold it back, secure it with glue or sew it, looking clean on the outside. I used an Velcro band here, buts something more flexible also would work. The slot ist designed to fit 10-12mm. It feels really sturdy.

Step 2:
Glue the connectors on the base body, they should slot in easily.
Step 3:
Secure the Lenses with some glue, push down with a pencil to make sure they are set correctly. you do not need too add glue all around 3-5 spots might be enough.

Printing Issues:
If you run into adhesion issues of the main body:
- Clean and level your bed.
- Put a brim on the outside, if you have to. (outer brim only)
- Use adhäsive (I like using 3DLac)
This brim settings can be used, 5mm should be fine. (will require deburing)


License
You shall not share, sub-license, sell, rent, host, transfer, or distribute in any way the digital or 3D printed versions of this object, nor any other derivative work of this object in its digital or physical format (including - but not limited to - remixes of this object, and hosting on other digital platforms). The objects may not be used without permission in any way whatsoever in which you charge money, or collect fees.
Comment & Rating (68)