
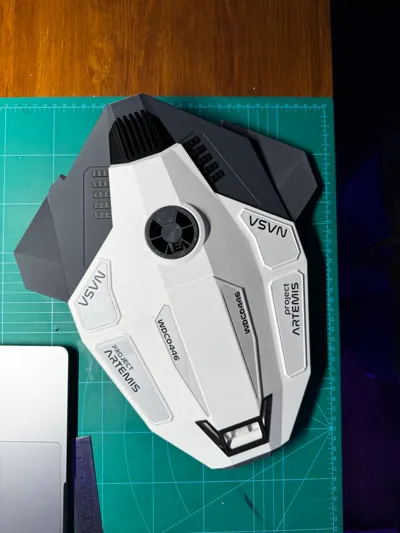
Project ARTEMIS - next generation space shuttle


Print Profile(3)


Bill of Materials
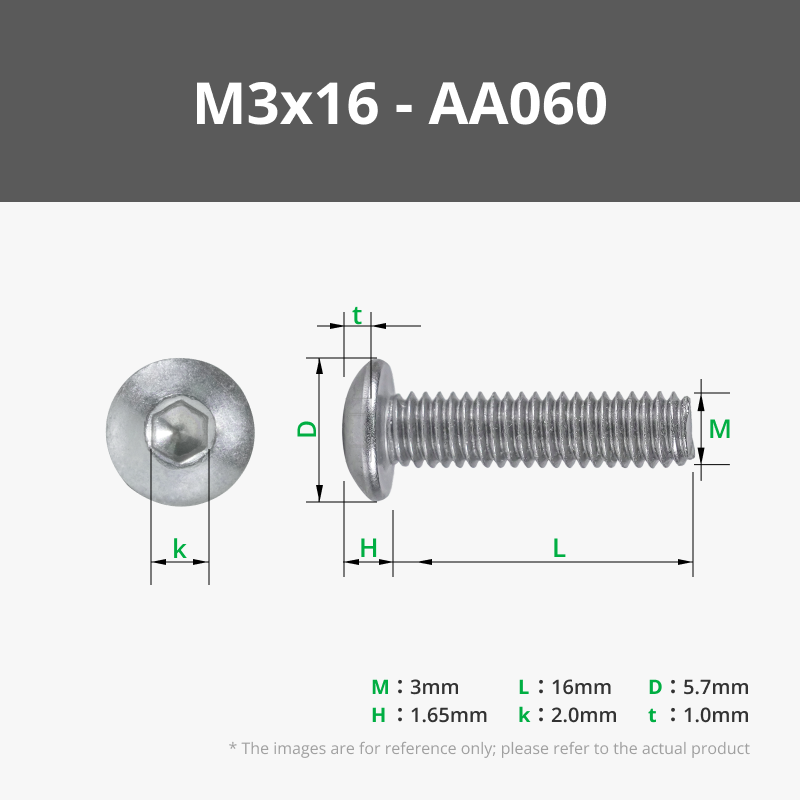
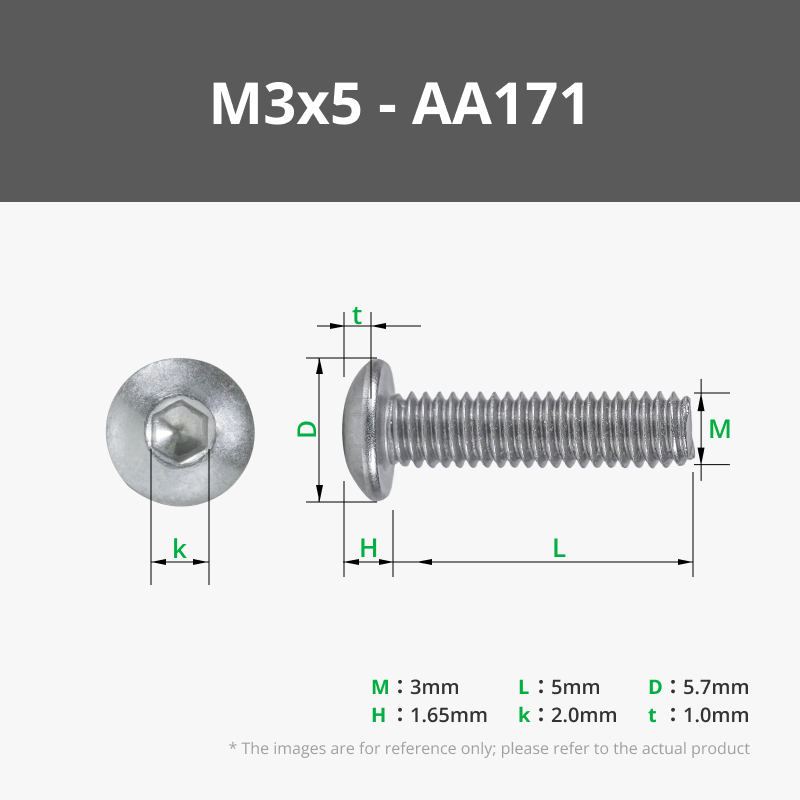

- D10x2mm x 8: round magnet
Description

Membership
Creating these designs takes time, effort, and resources, so if you love my work, consider joining my Commercial Membership . Join the community and help keep the creativity flowing!
Boost Me (for free)
Your support helps me keep the printers humming and new models coming, ensuring this fan-made art stays free for all. Every boost counts Thank you!
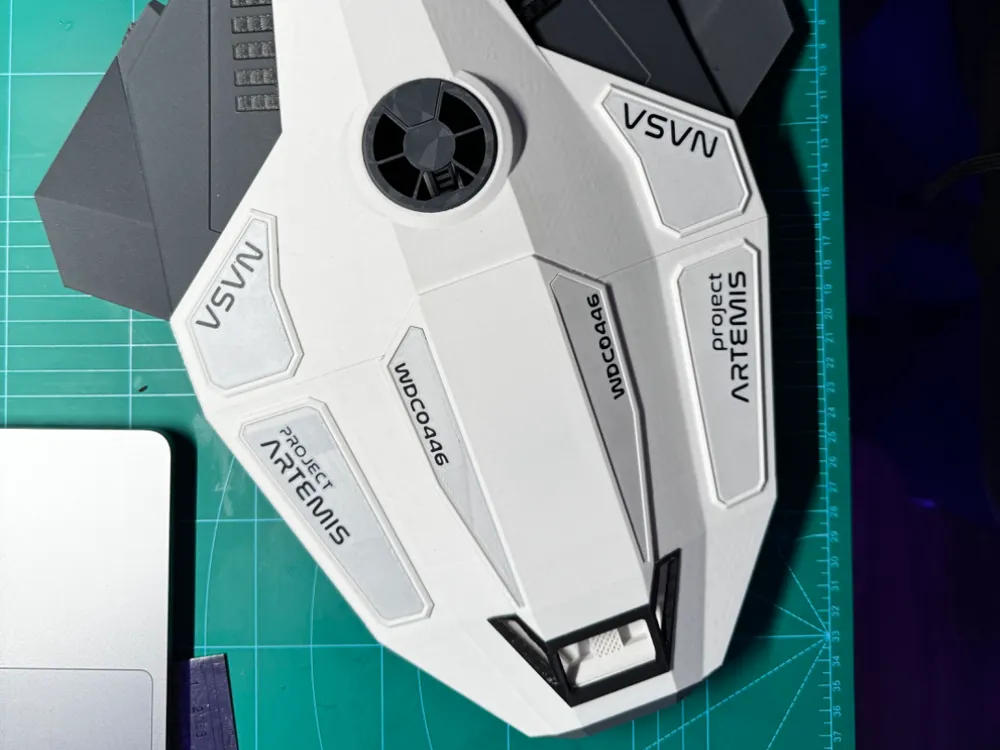
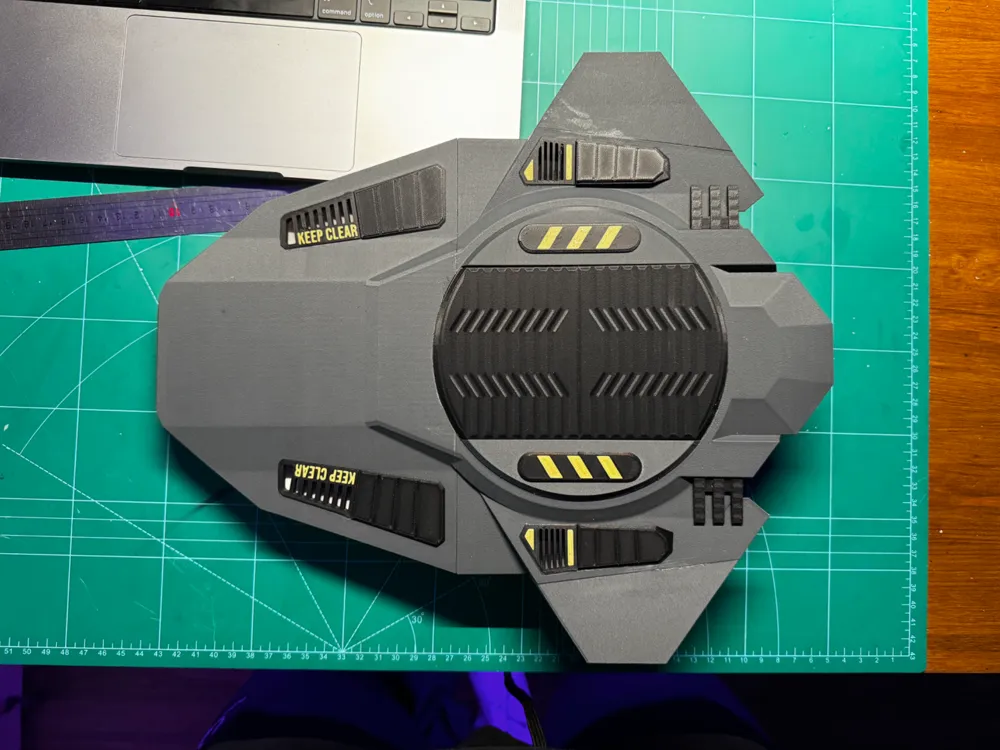
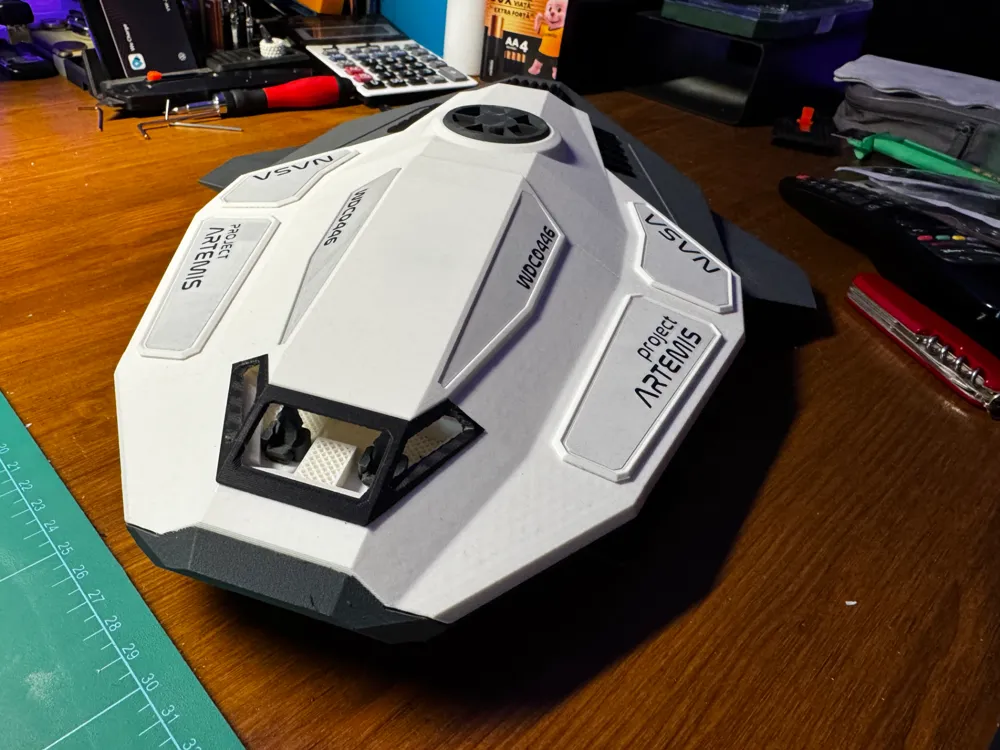
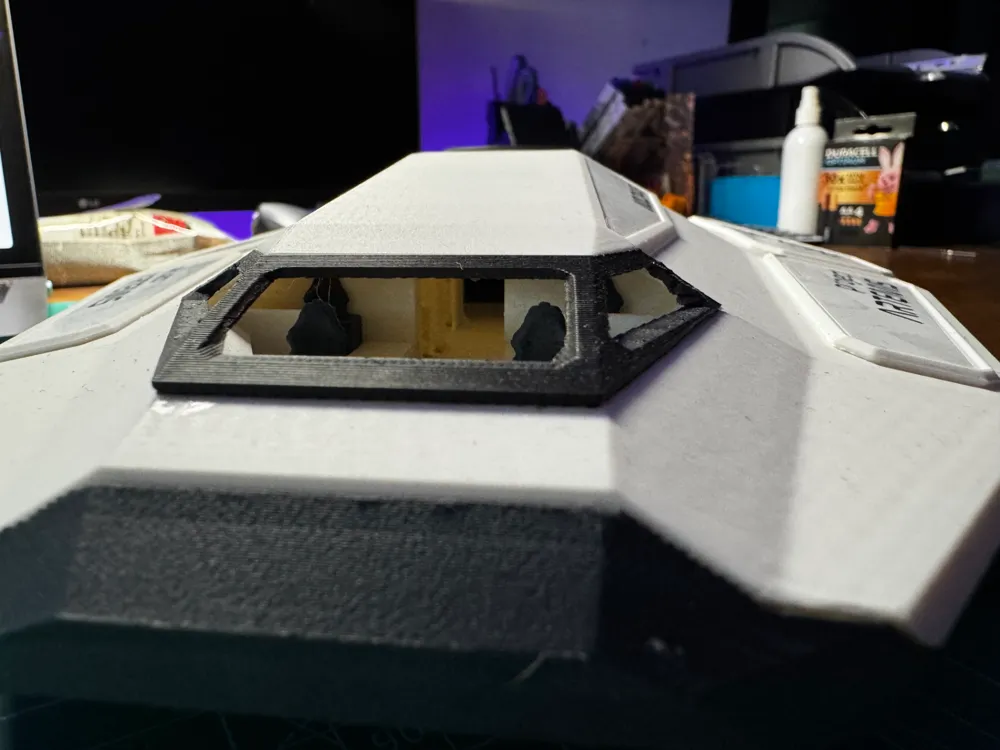
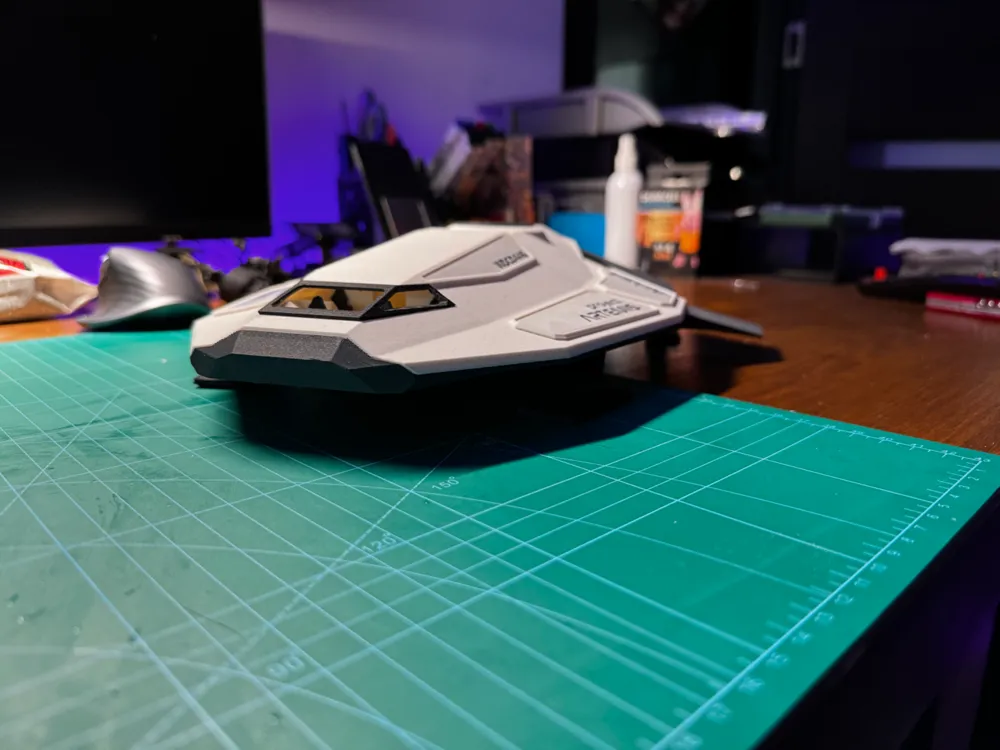
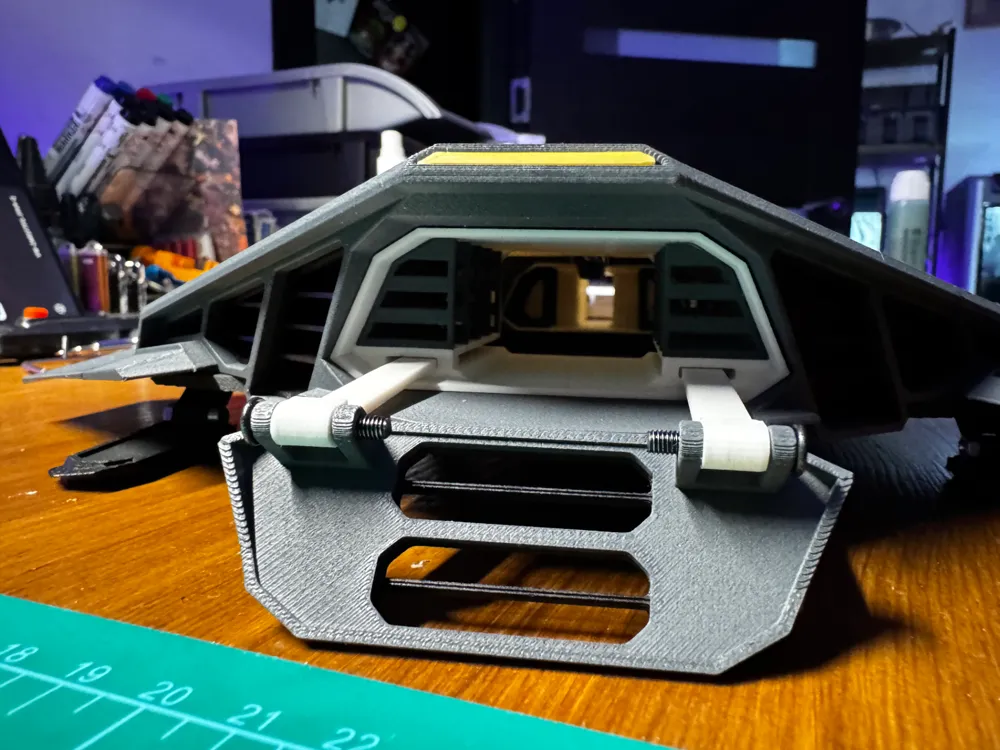
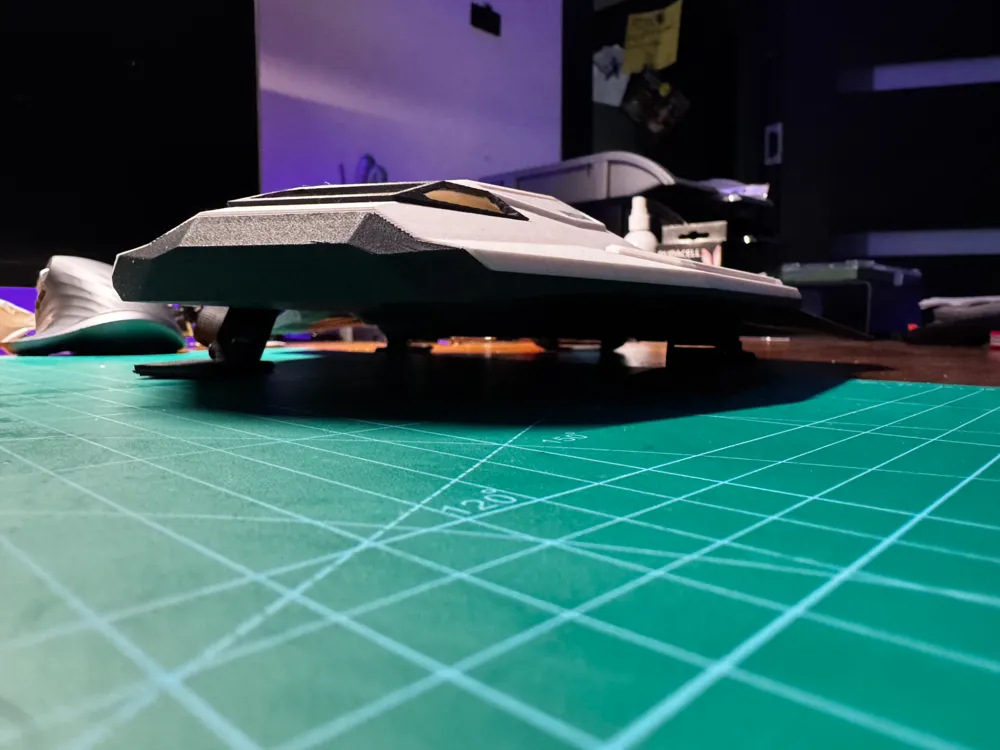
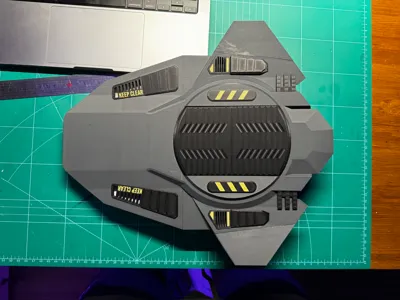
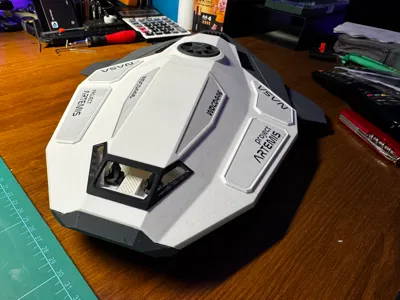
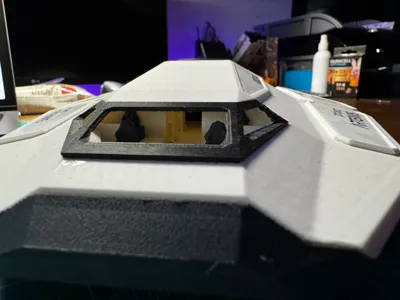
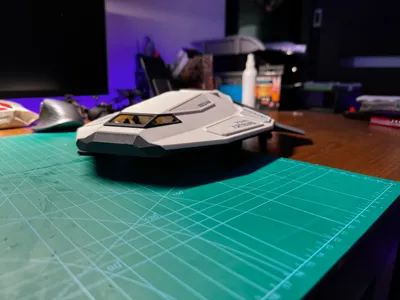
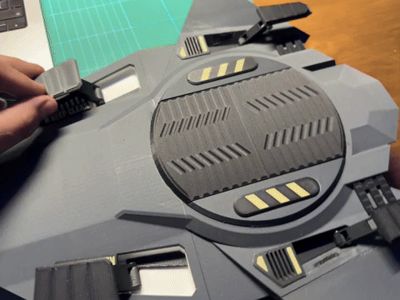
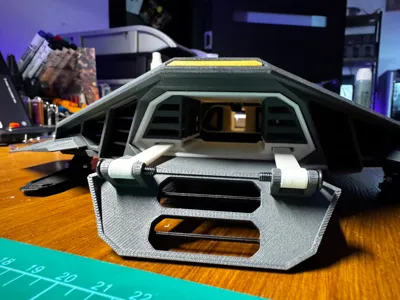
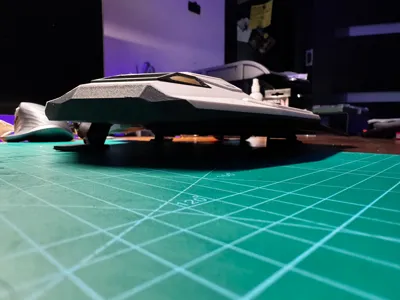
This is my take on a next generation space shuttle - what if the space race never ended kind of thing
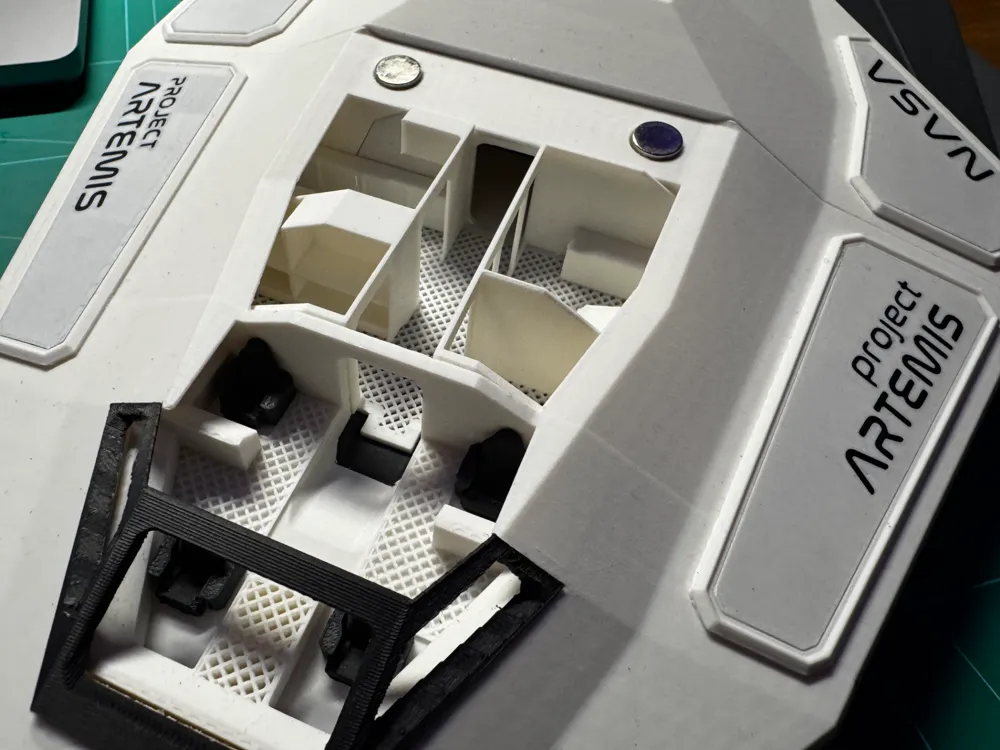

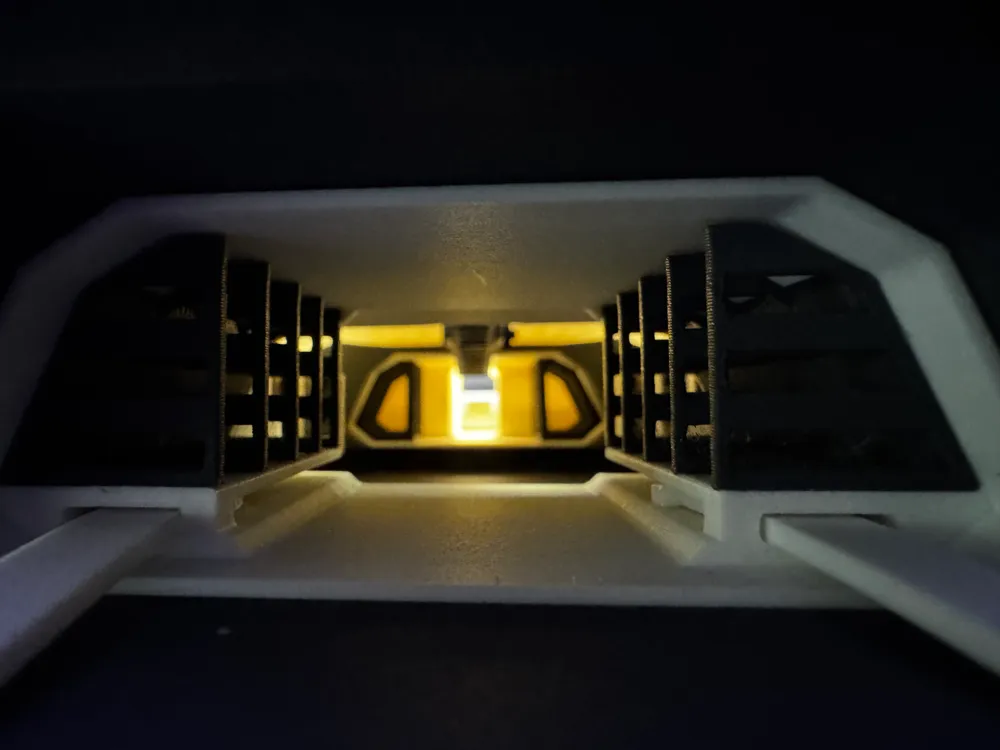
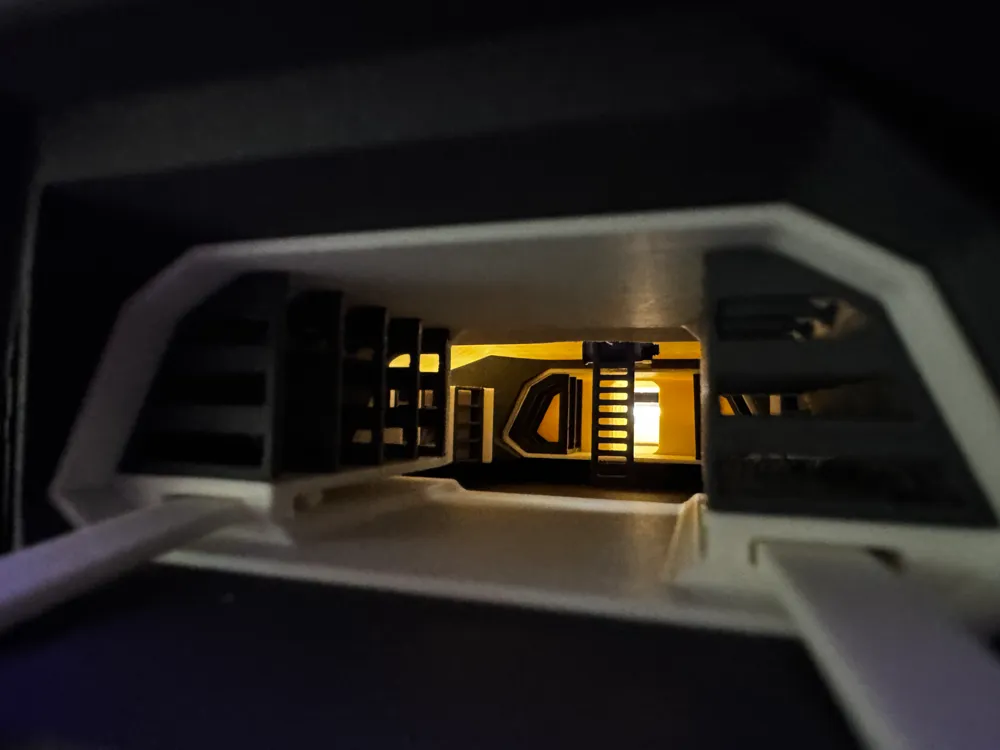
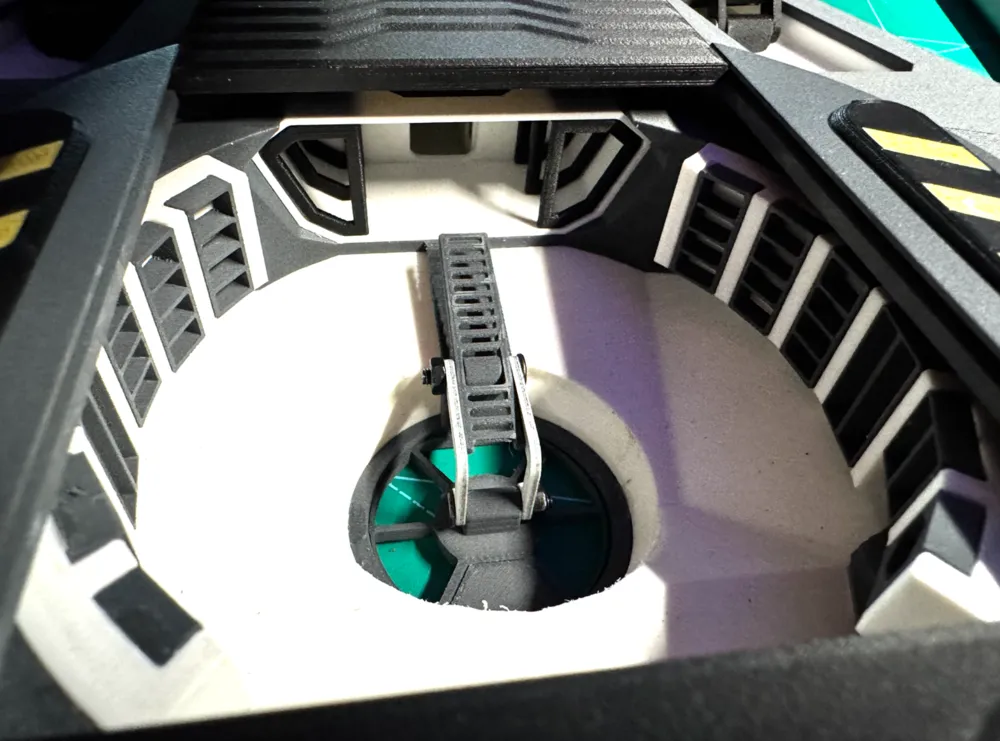
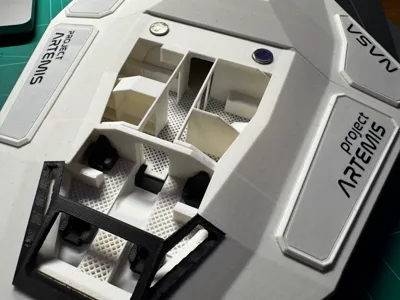
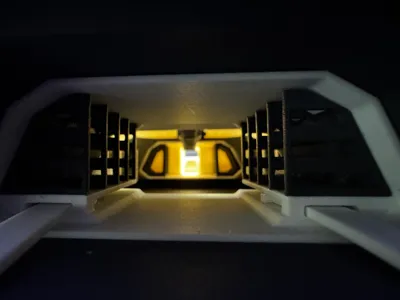
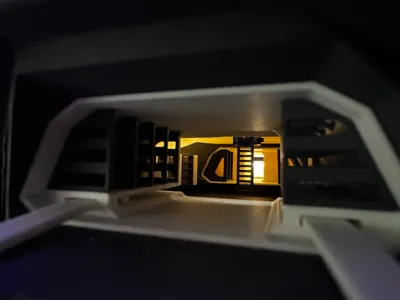
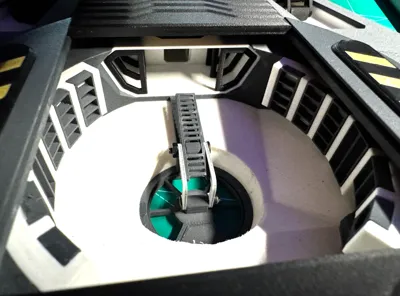
- full detailed interior

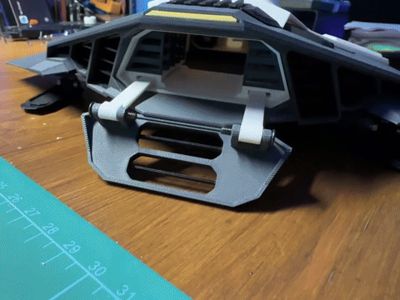
- working landing gear


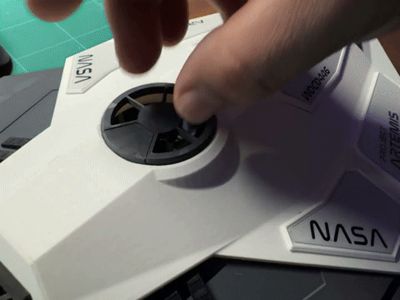
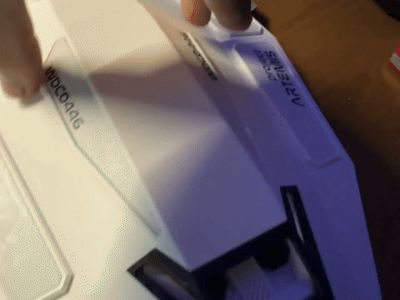
- working top hatch with ladder
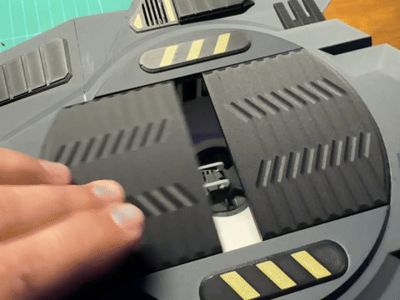
- working back loading bay door

- working bottom loading bay doors with magnets
- detachable top plate with magnets to reveal the crew living area
Matterials used:
BAMBU LAB PLA MATTE WHITE
BAMBU LAB PLA CF LAVA GREY
BAMBU LAB PLA CF CHARCOAL
BAMBU LAB PLA MATTE YELLOW
BAMBU LAB PLA BASIC RED
BAMBU LAB SMOOTH PEI PLATE
BAMBU LAB 3D PRINTING ADHESIVE 60ML
12x M3x16 screw
4x M3x10 screw
2 (optional 4x) M3 nuts
8x 1cm x 2mm round magnet
NOTES:
if you want perfect results
- use only smooth PEI plates
- use clean plates - and side note - this is the first time i used glue, but i absolutely love it so i do recomend that for perfect adhesion and perfect first layer
- make sure your filament is dried so you dont get stringing on the small pieces with the 0.1 layer height
- i used two printers with 3 ams units and switched colors frequently so the colors in the 3mf are mixed up, but the plates have in their names the original colors
- its not too big, its aprox 34x31cm, just enough to preserve every small detail without wasting to much material
Boost Me (for free)
Your support helps me keep the printers humming and new models coming, ensuring this fan-made art stays free for all. Every boost counts Thank you!
Membership
Creating these designs takes time, effort, and resources, so if you love my work, consider joining my Commercial Membership . Join the community and help keep the creativity flowing!
Documentation (1)
License

You shall not share, sub-license, sell, rent, host, transfer, or distribute in any way the digital or 3D printed versions of this object, nor any other derivative work of this object in its digital or physical format (including - but not limited to - remixes of this object, and hosting on other digital platforms). The objects may not be used without permission in any way whatsoever in which you charge money, or collect fees.


Comment & Rating (127)