
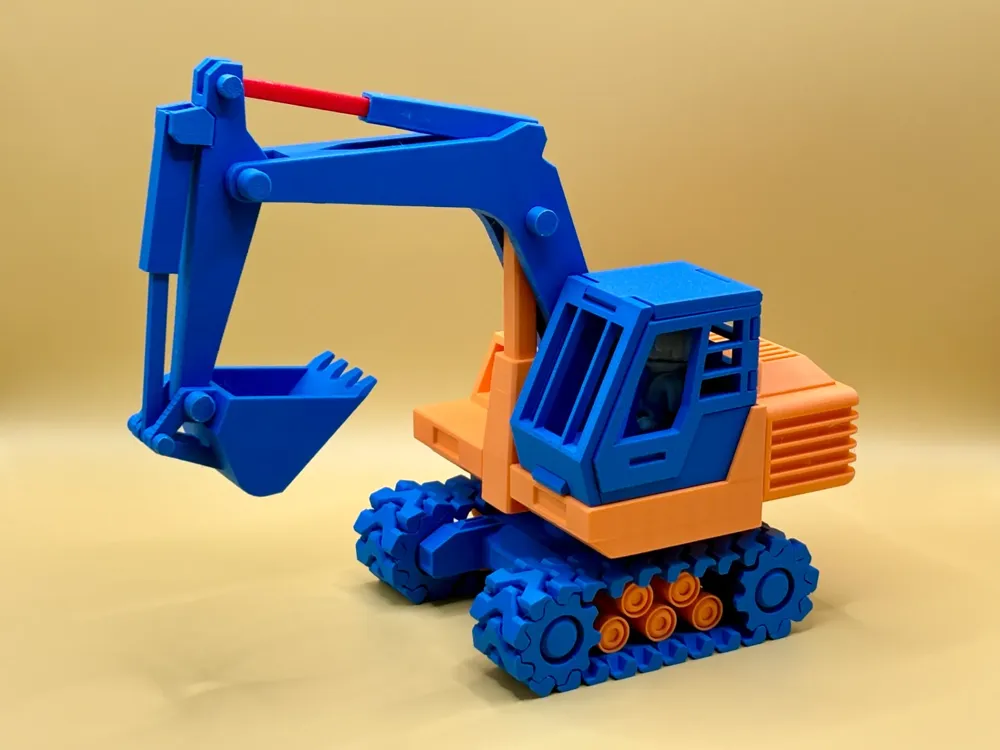
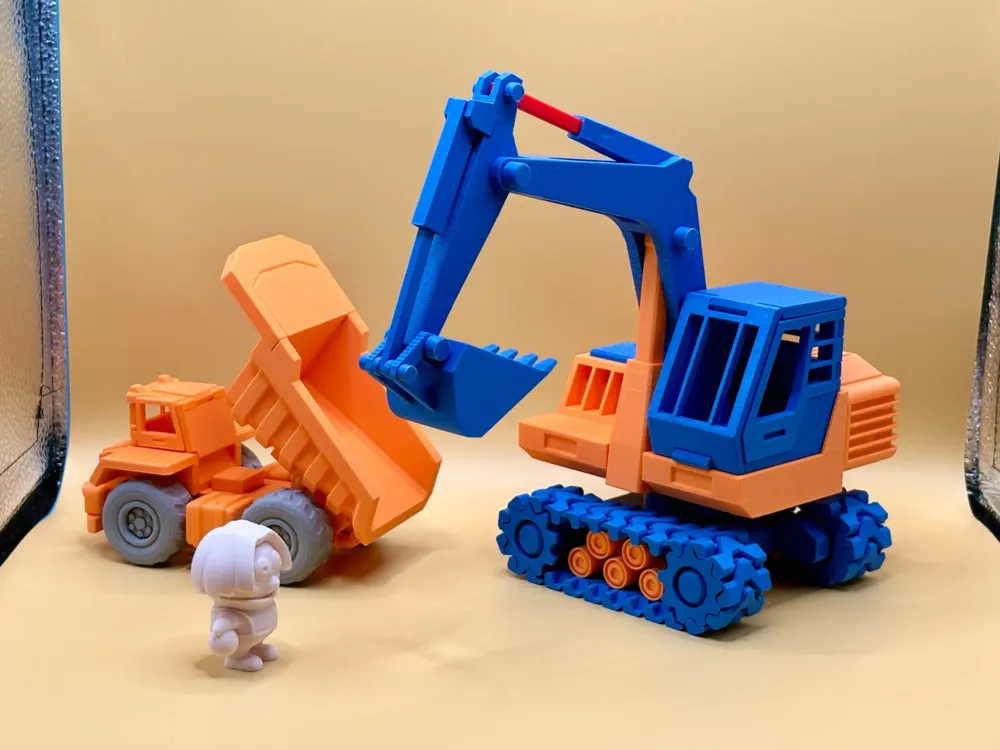
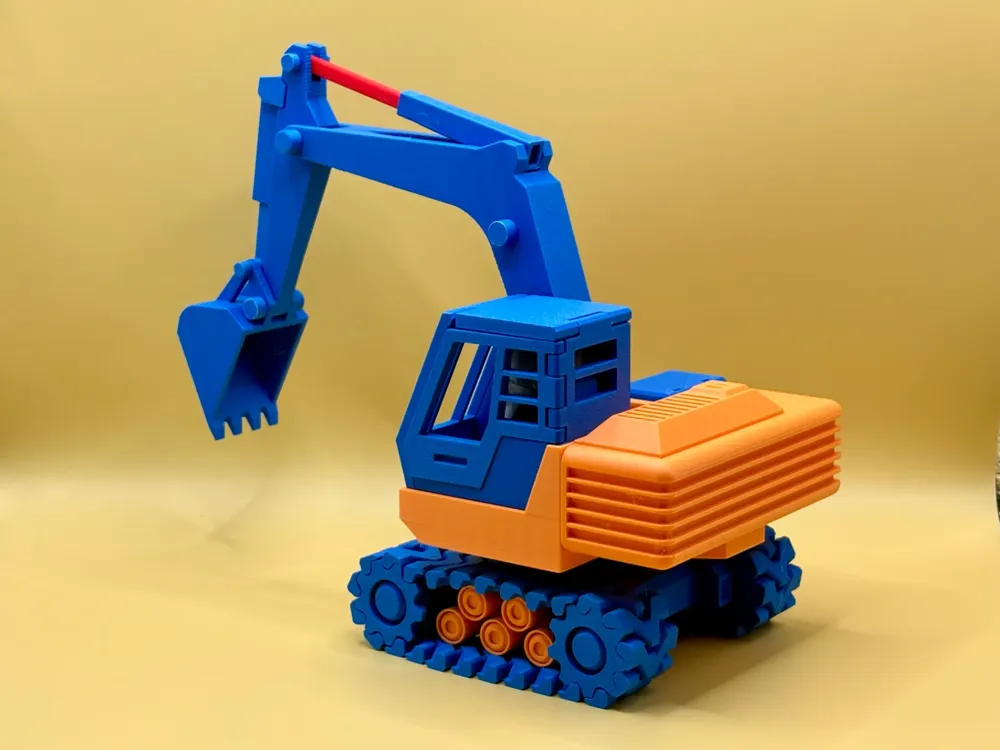
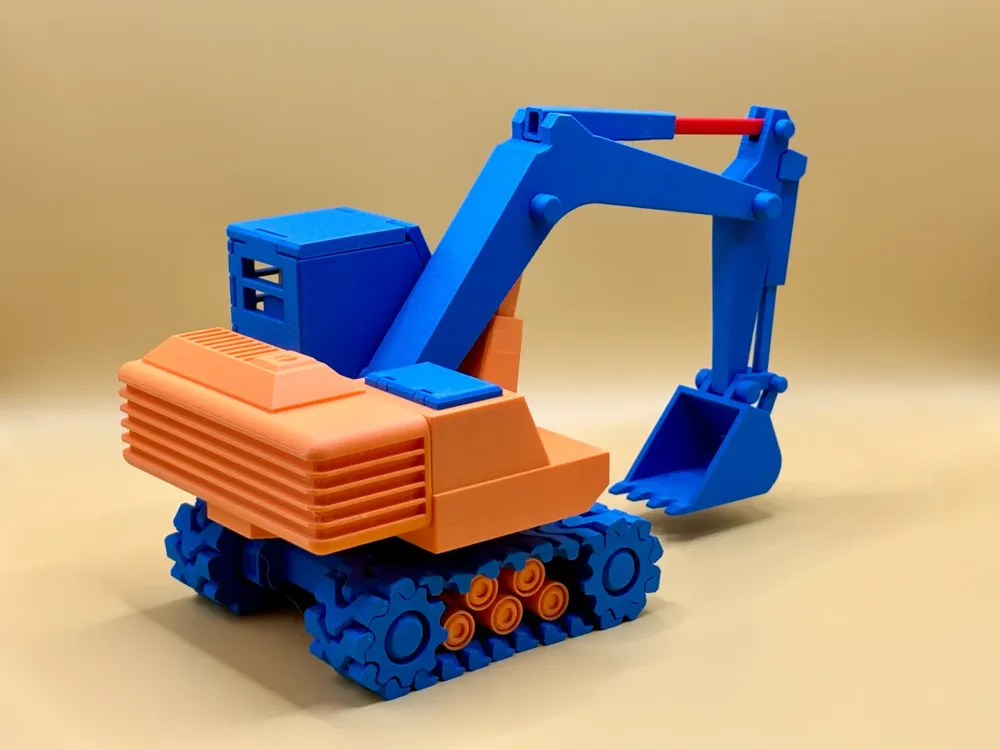
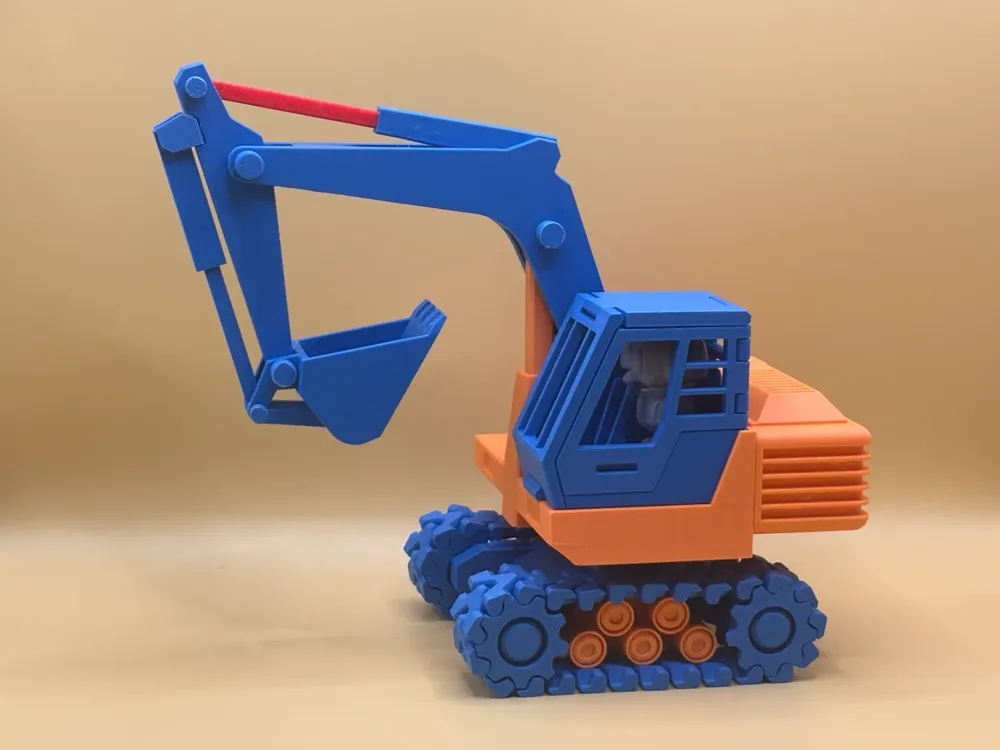
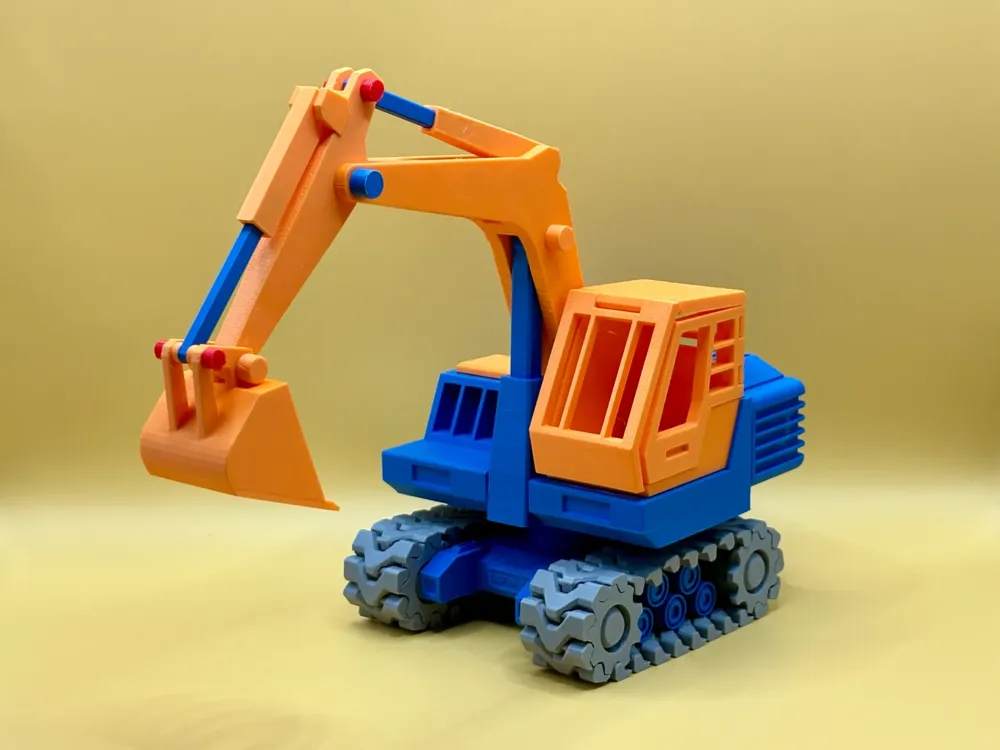
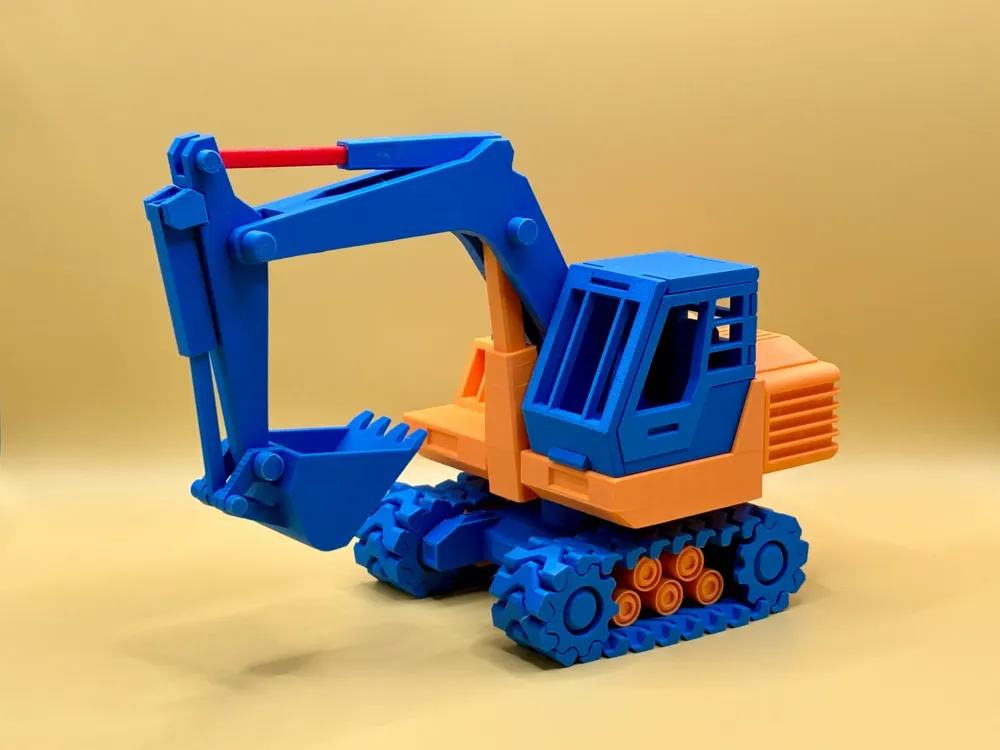
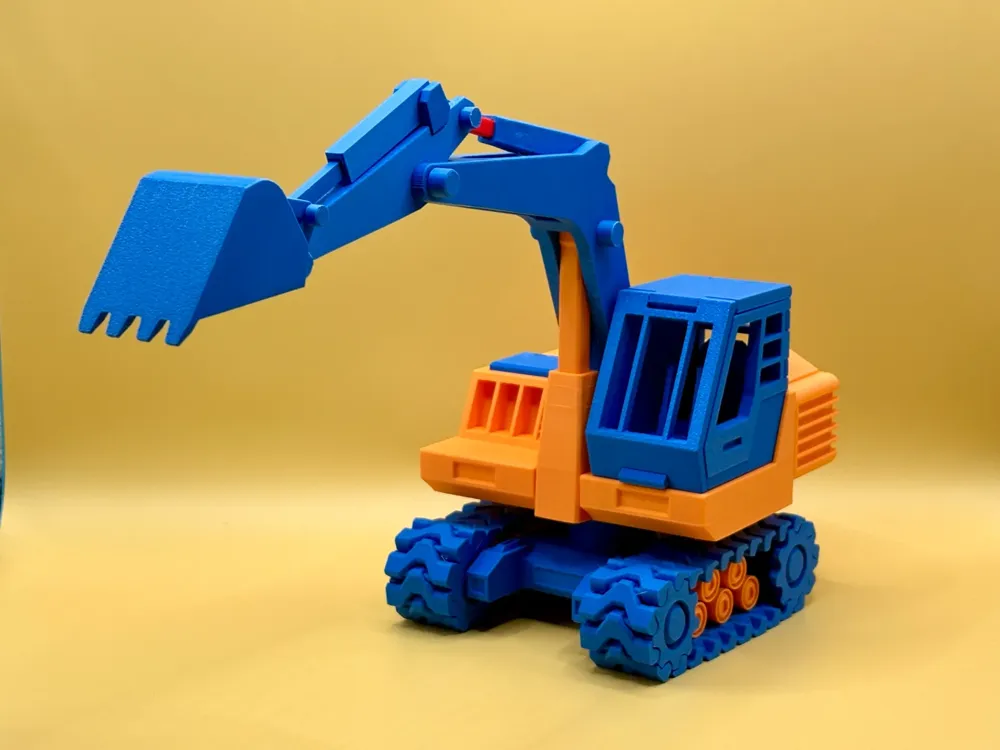
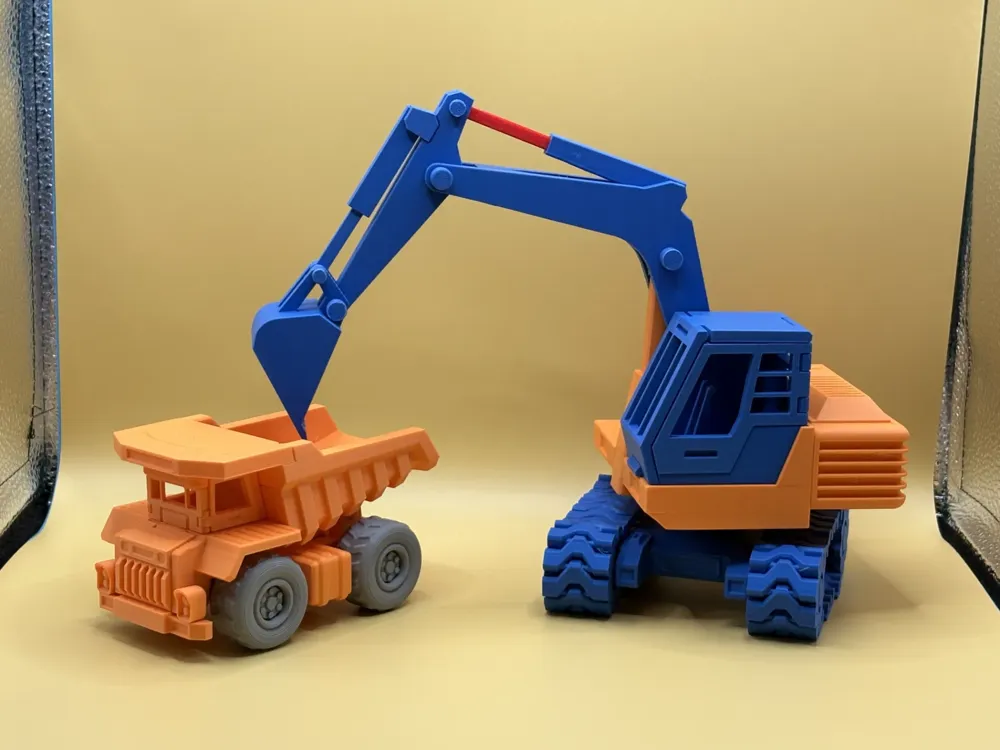
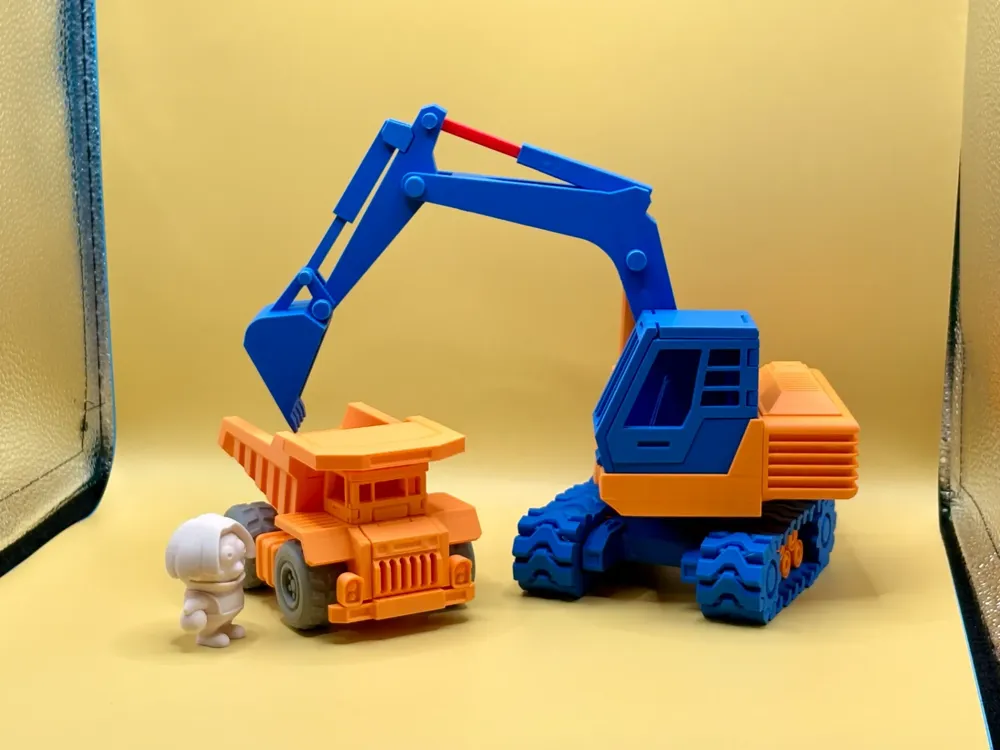
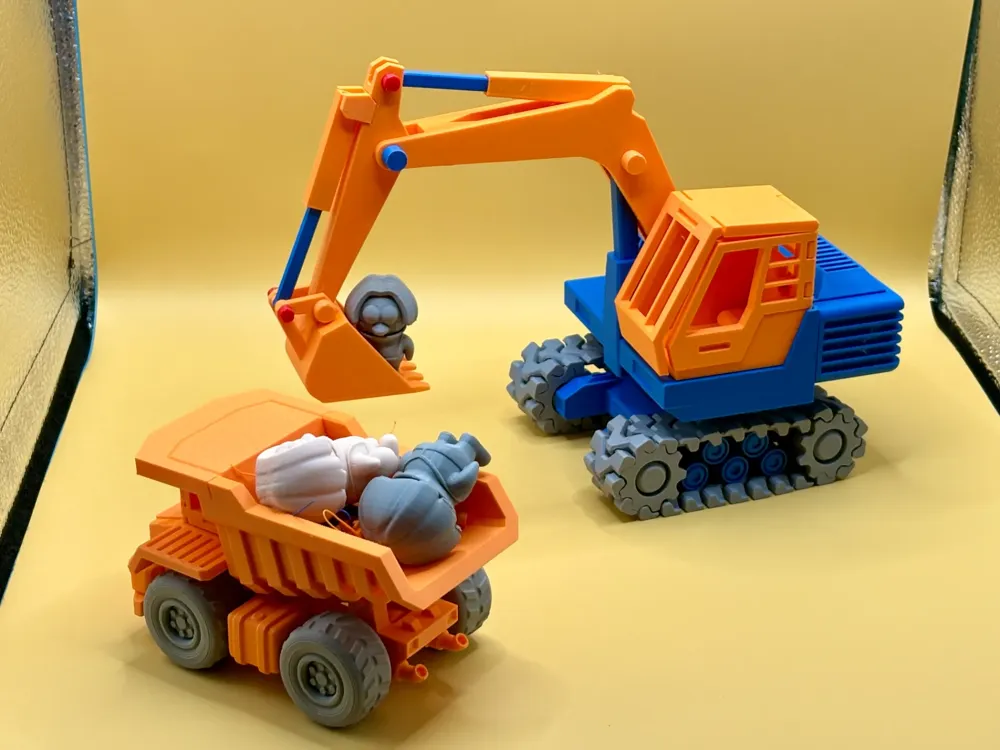
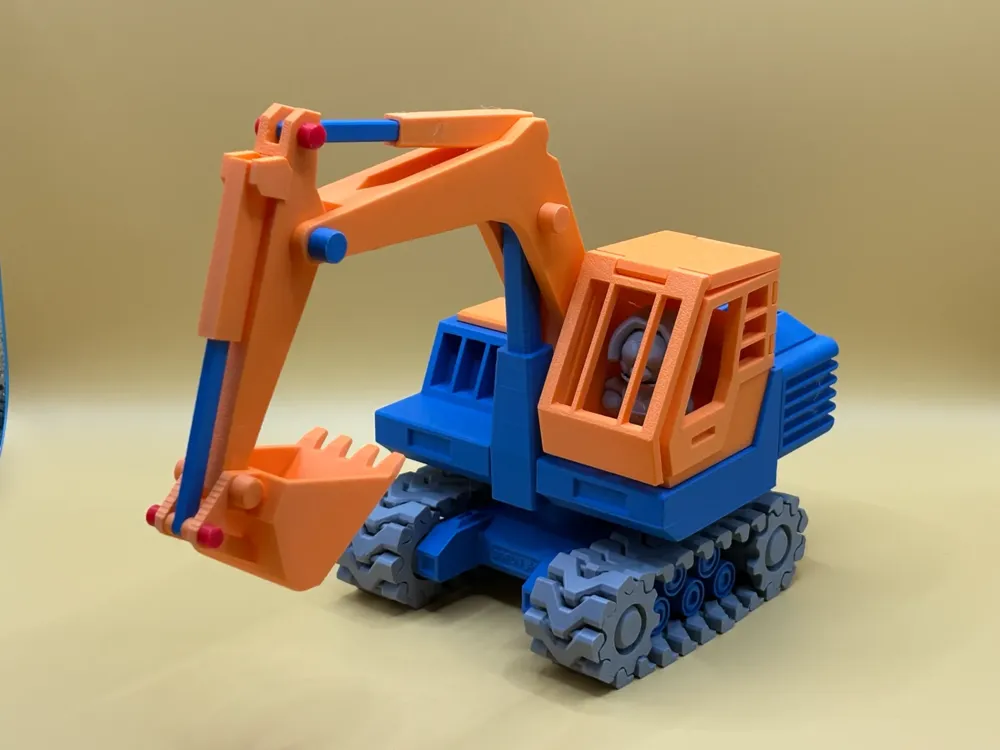
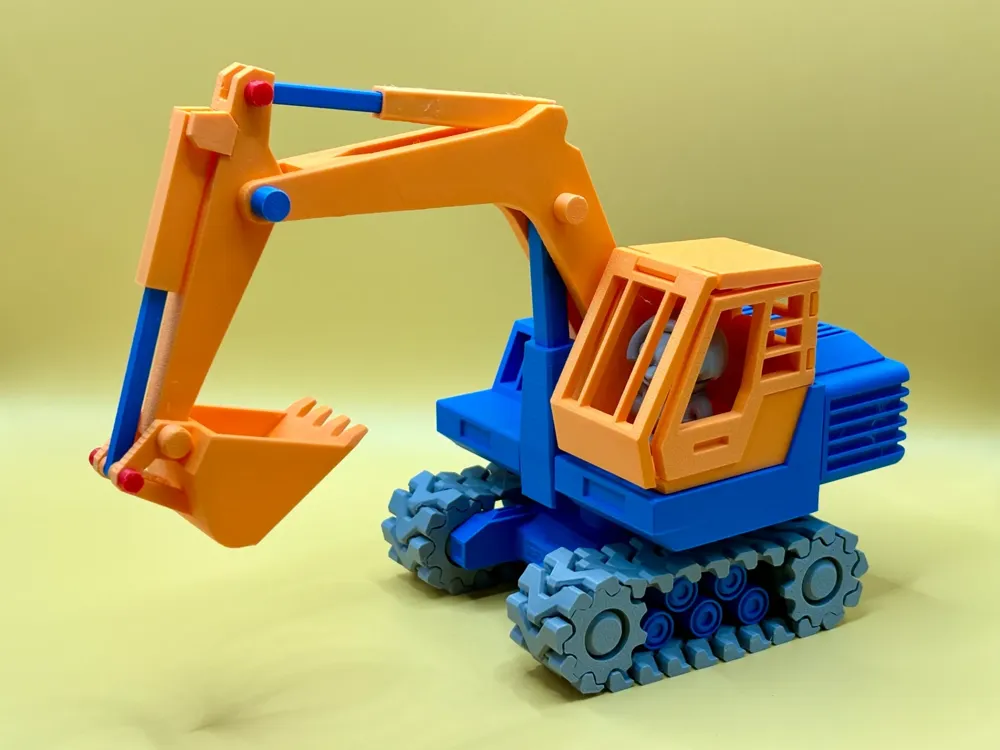
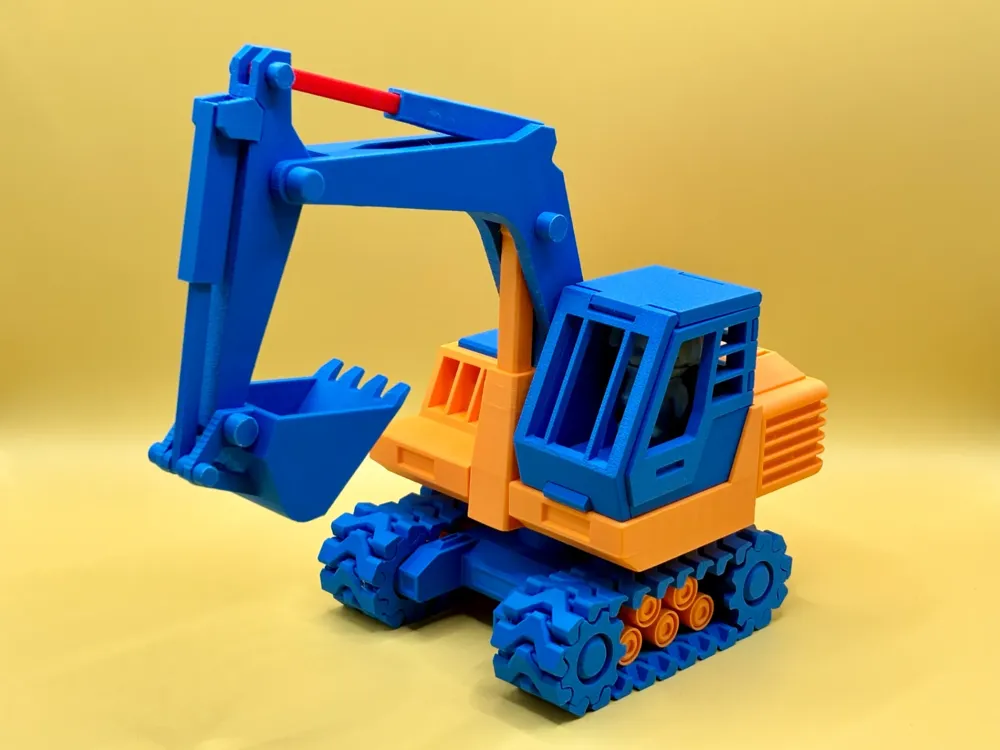
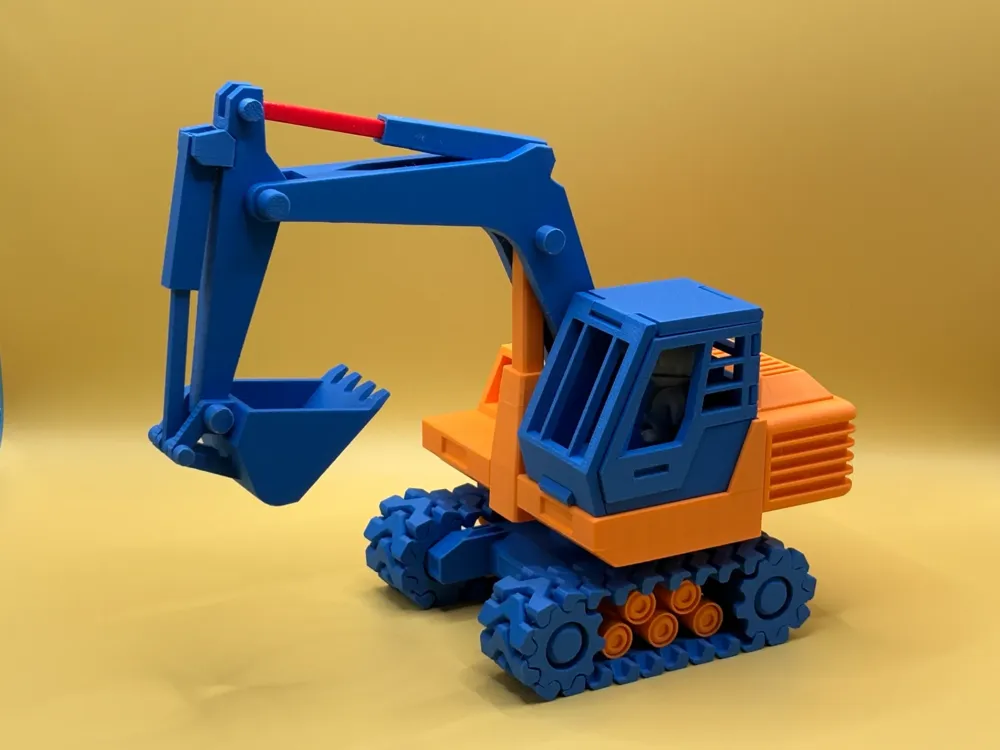
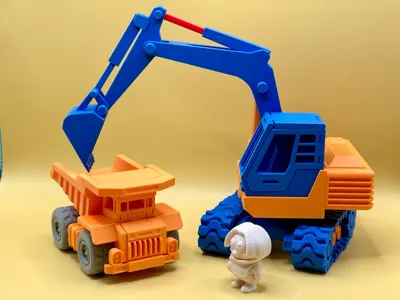
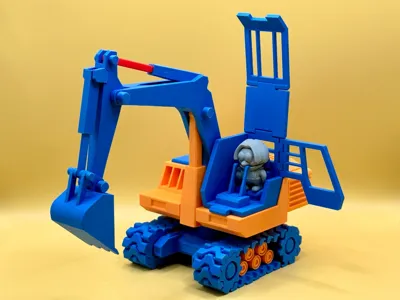
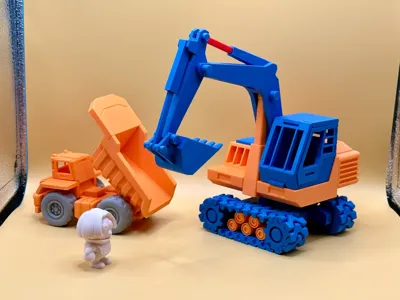
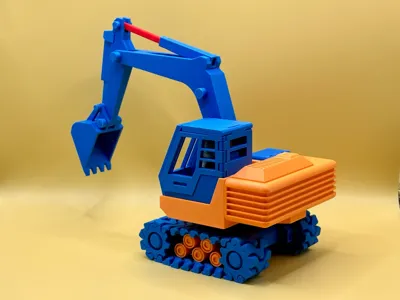
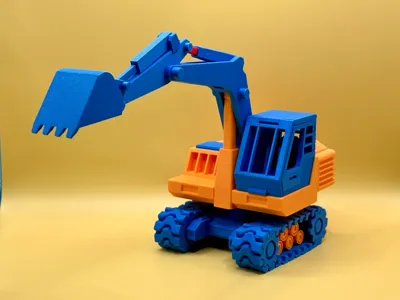
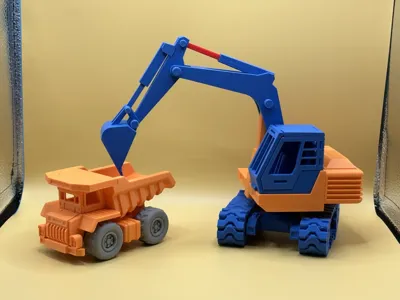
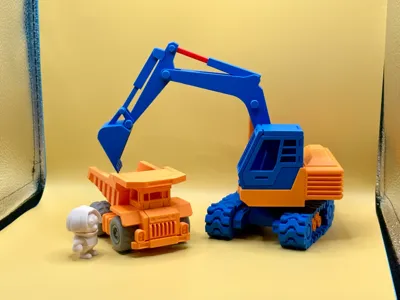
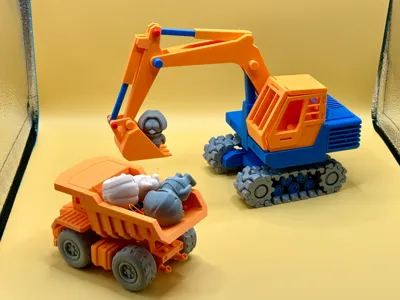
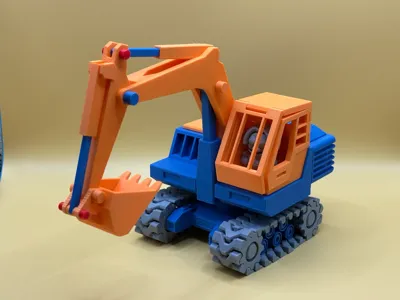
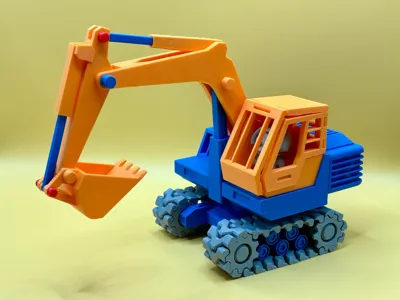
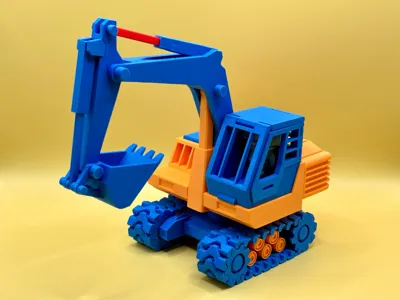
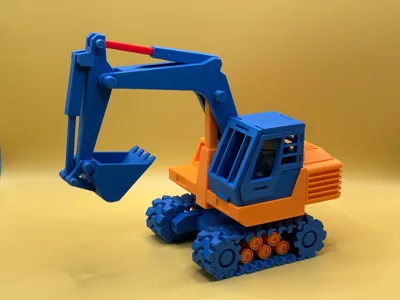
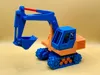
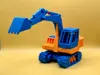
Fun Assembly Excavator


Print Profile(11)
Description
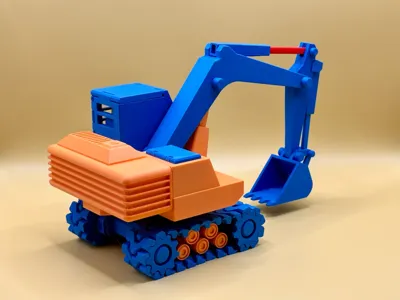
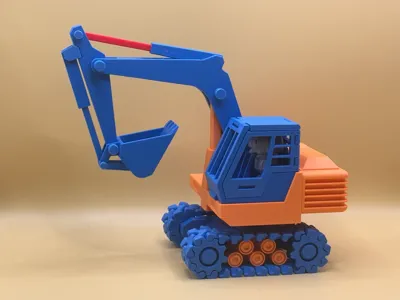
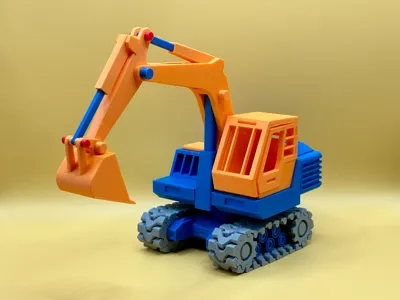
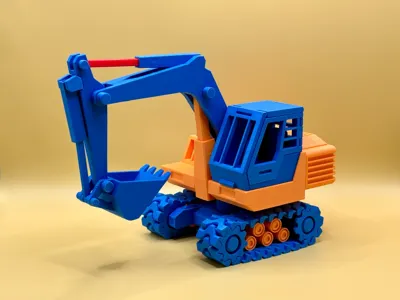
Where can you find the best excavation technology? Look no further than MakerWorld!
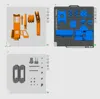
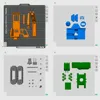
For optimal results, we recommend using Bambu PLA Matte filament. Consistent filament ensures consistent tolerances, allowing for a perfect, snug fit just like the original.
Assembly instructions:
1. Separate the tracks and large wheels beforehand and move the tracks to loosen them.
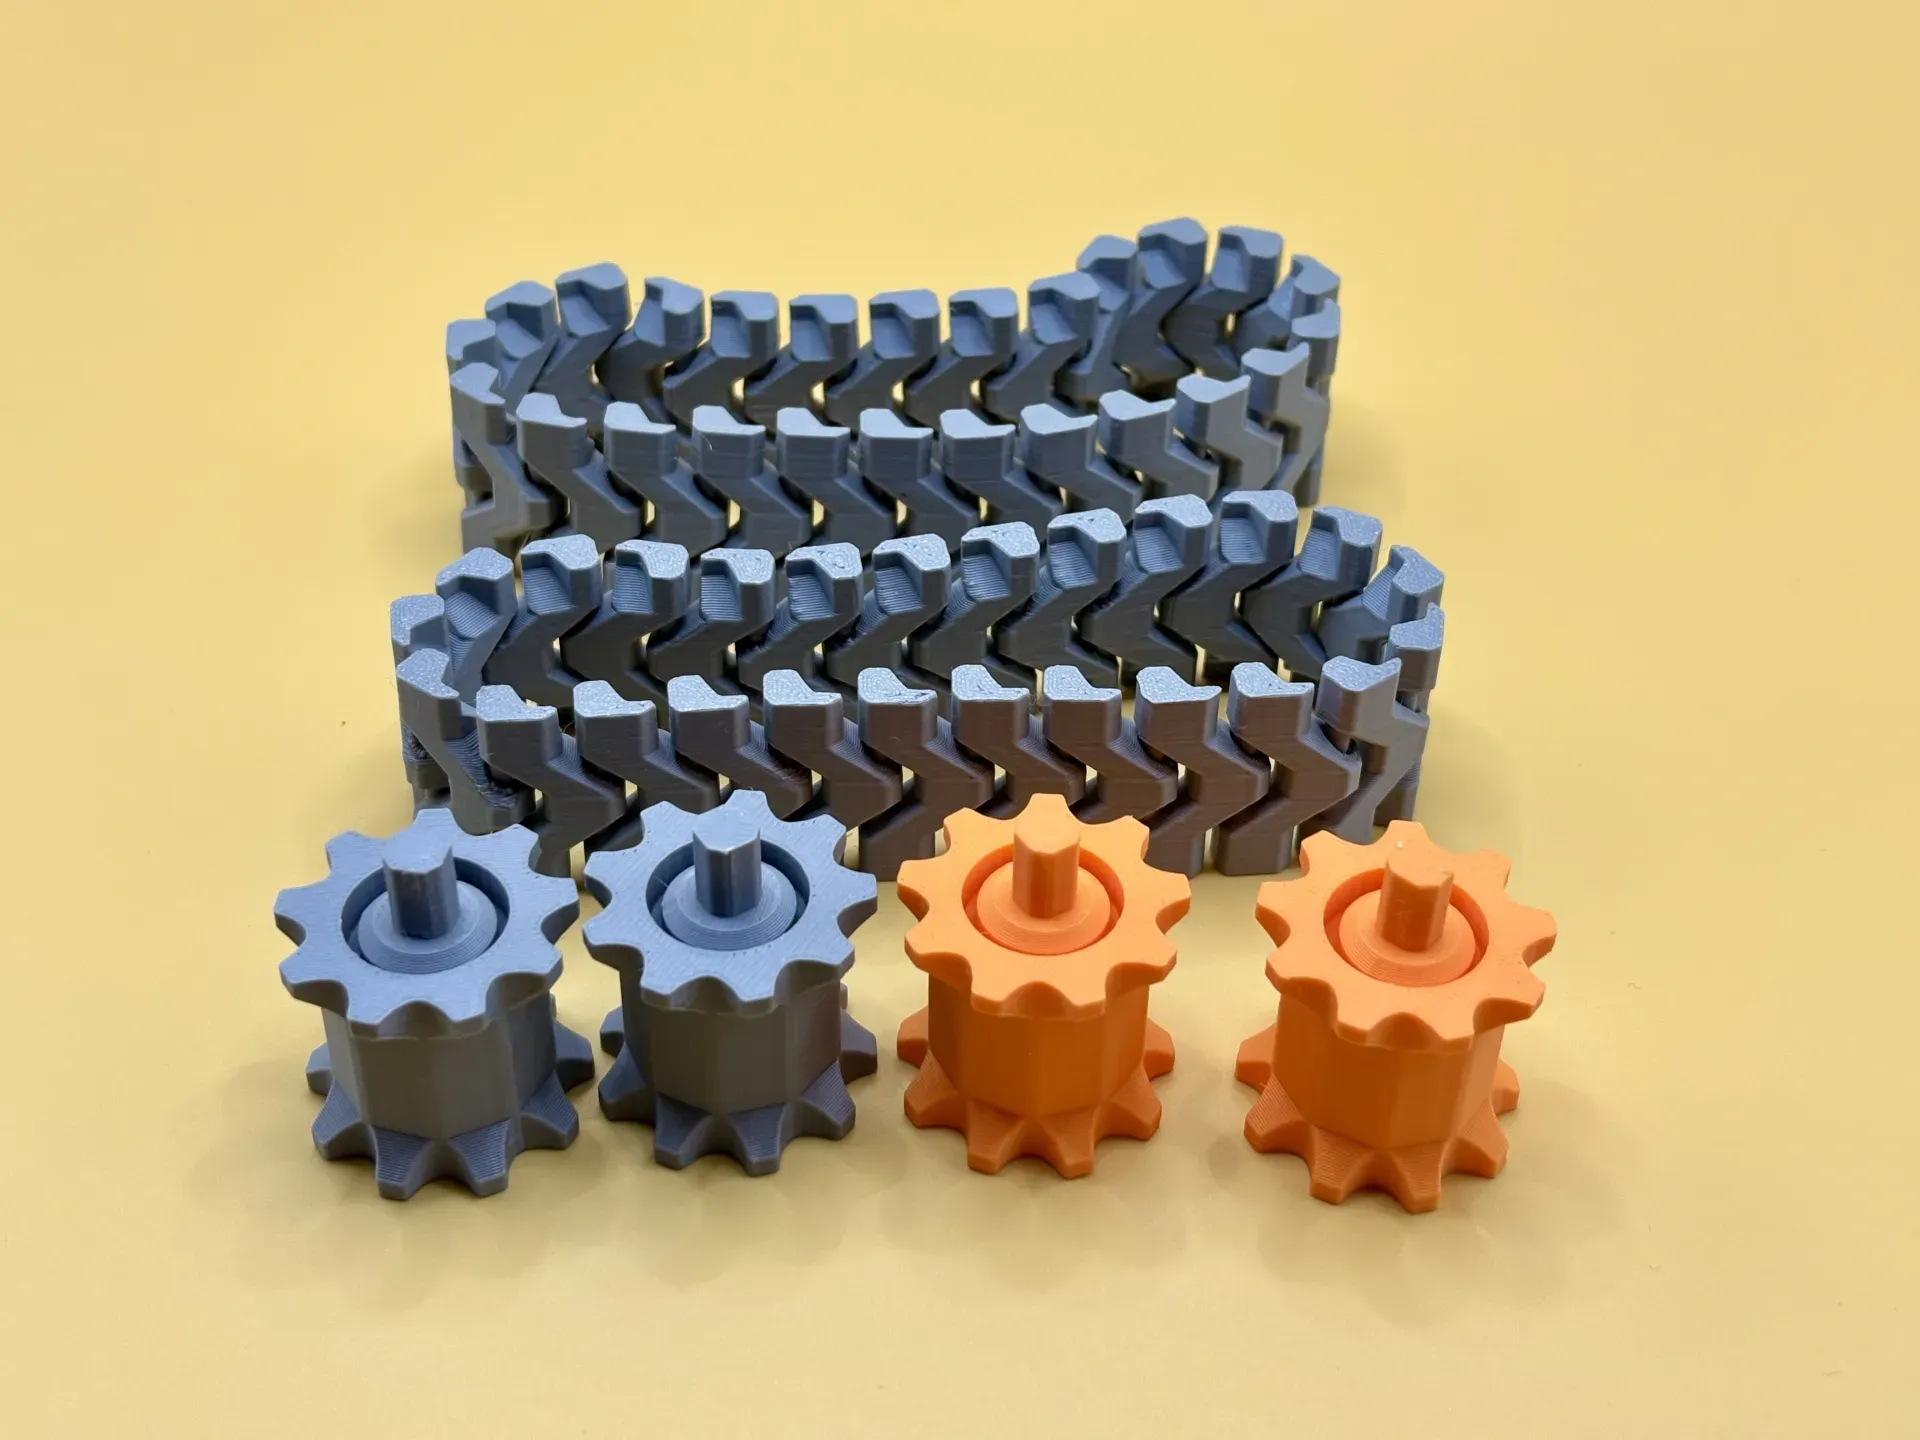
2. Insert the small wheels into the small wheel connector module, then insert them into the chassis.
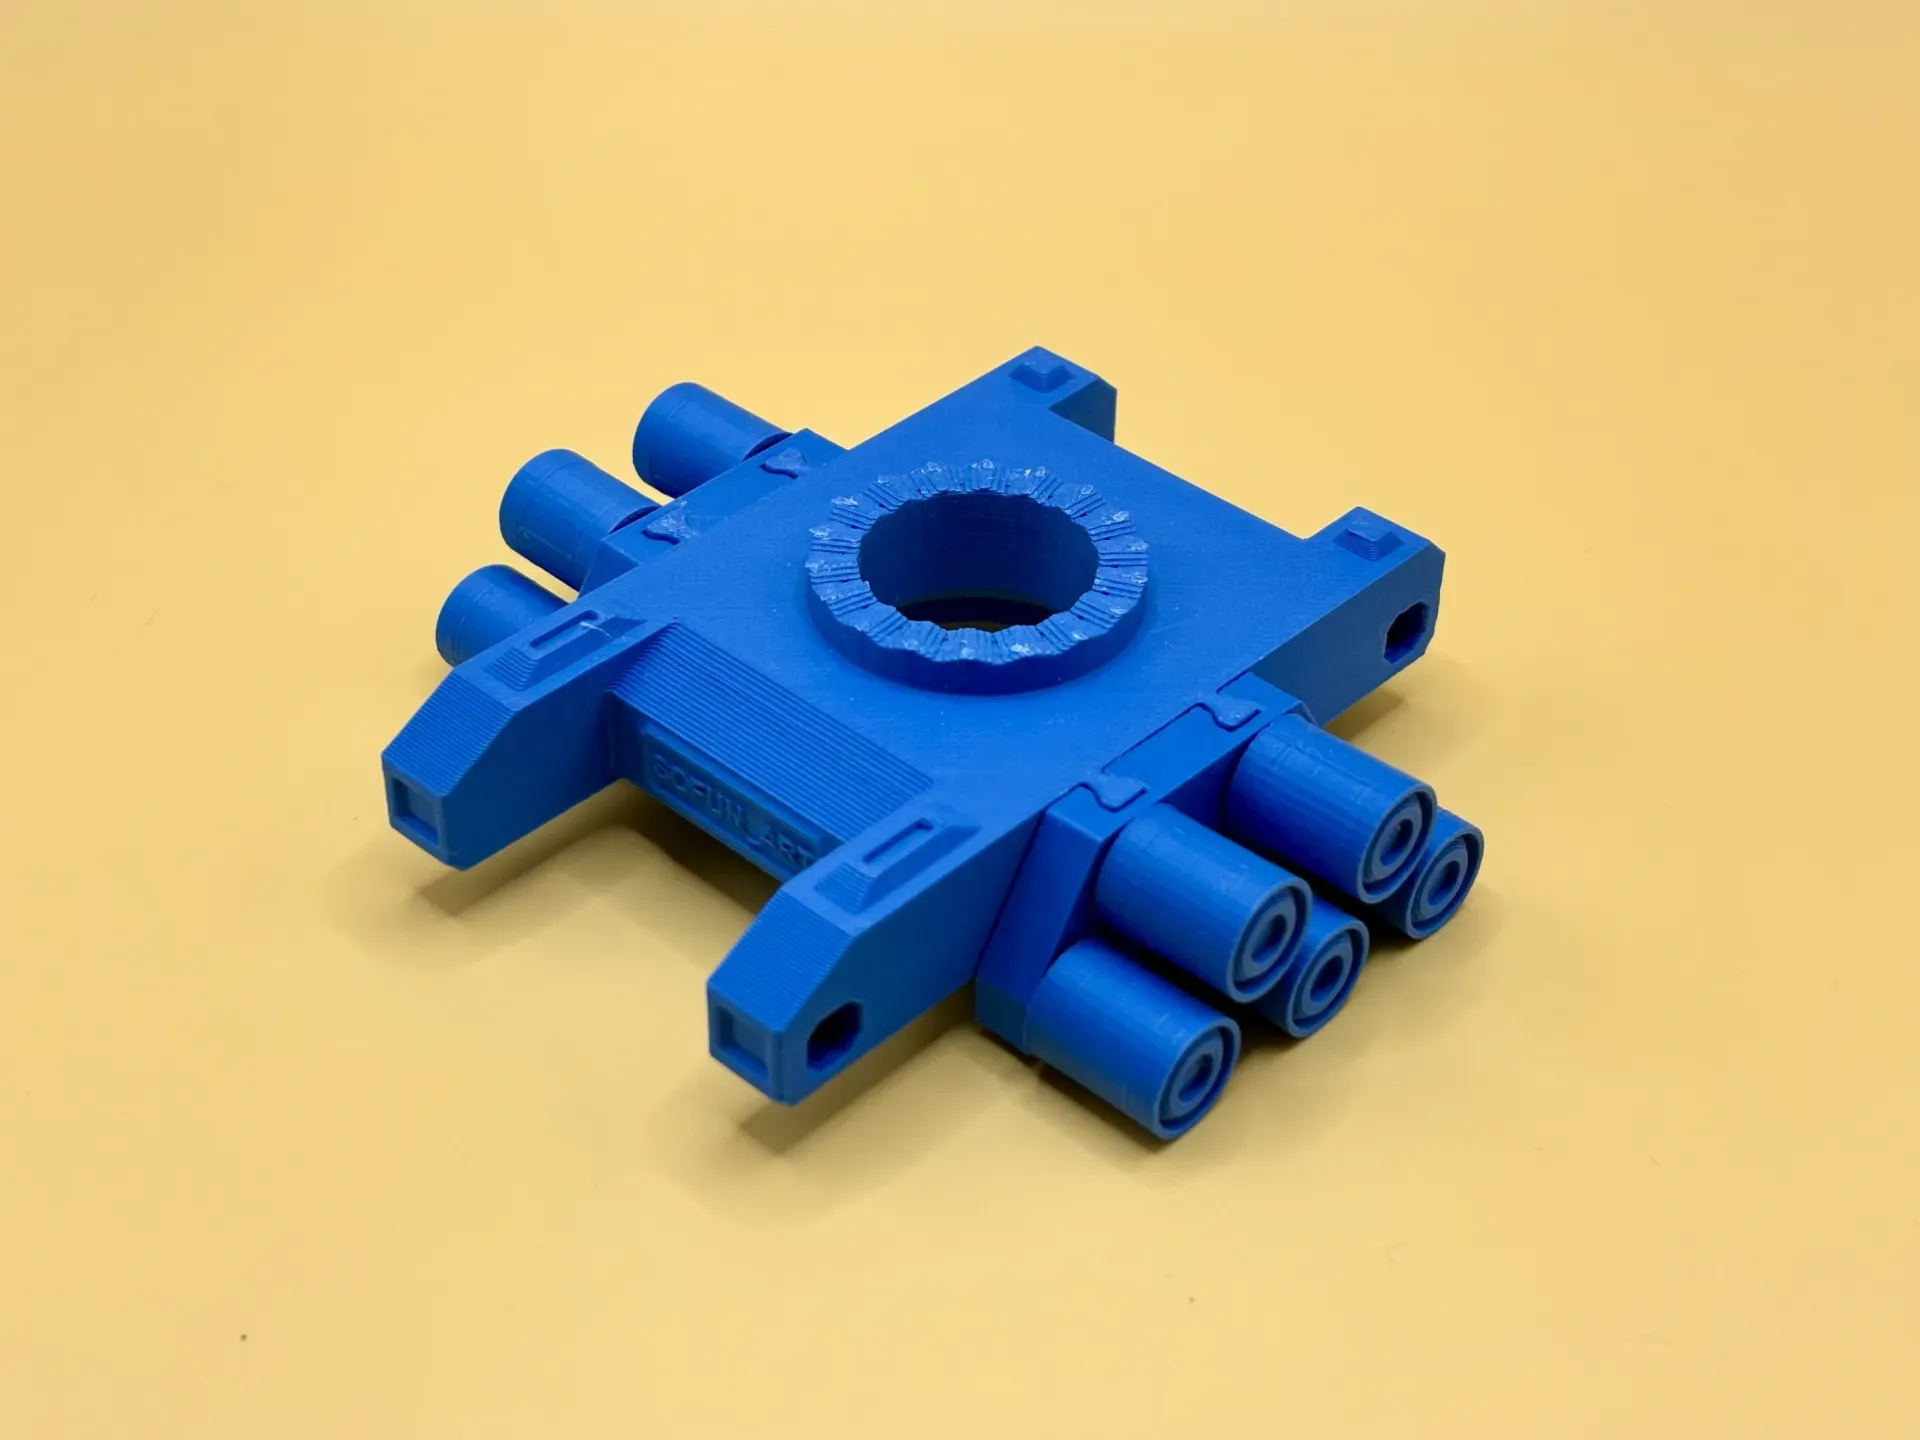
3. Insert the large wheels and tracks simultaneously into the chassis (ensure simultaneous insertion, as installing the large wheels first will prevent installation of the tracks).
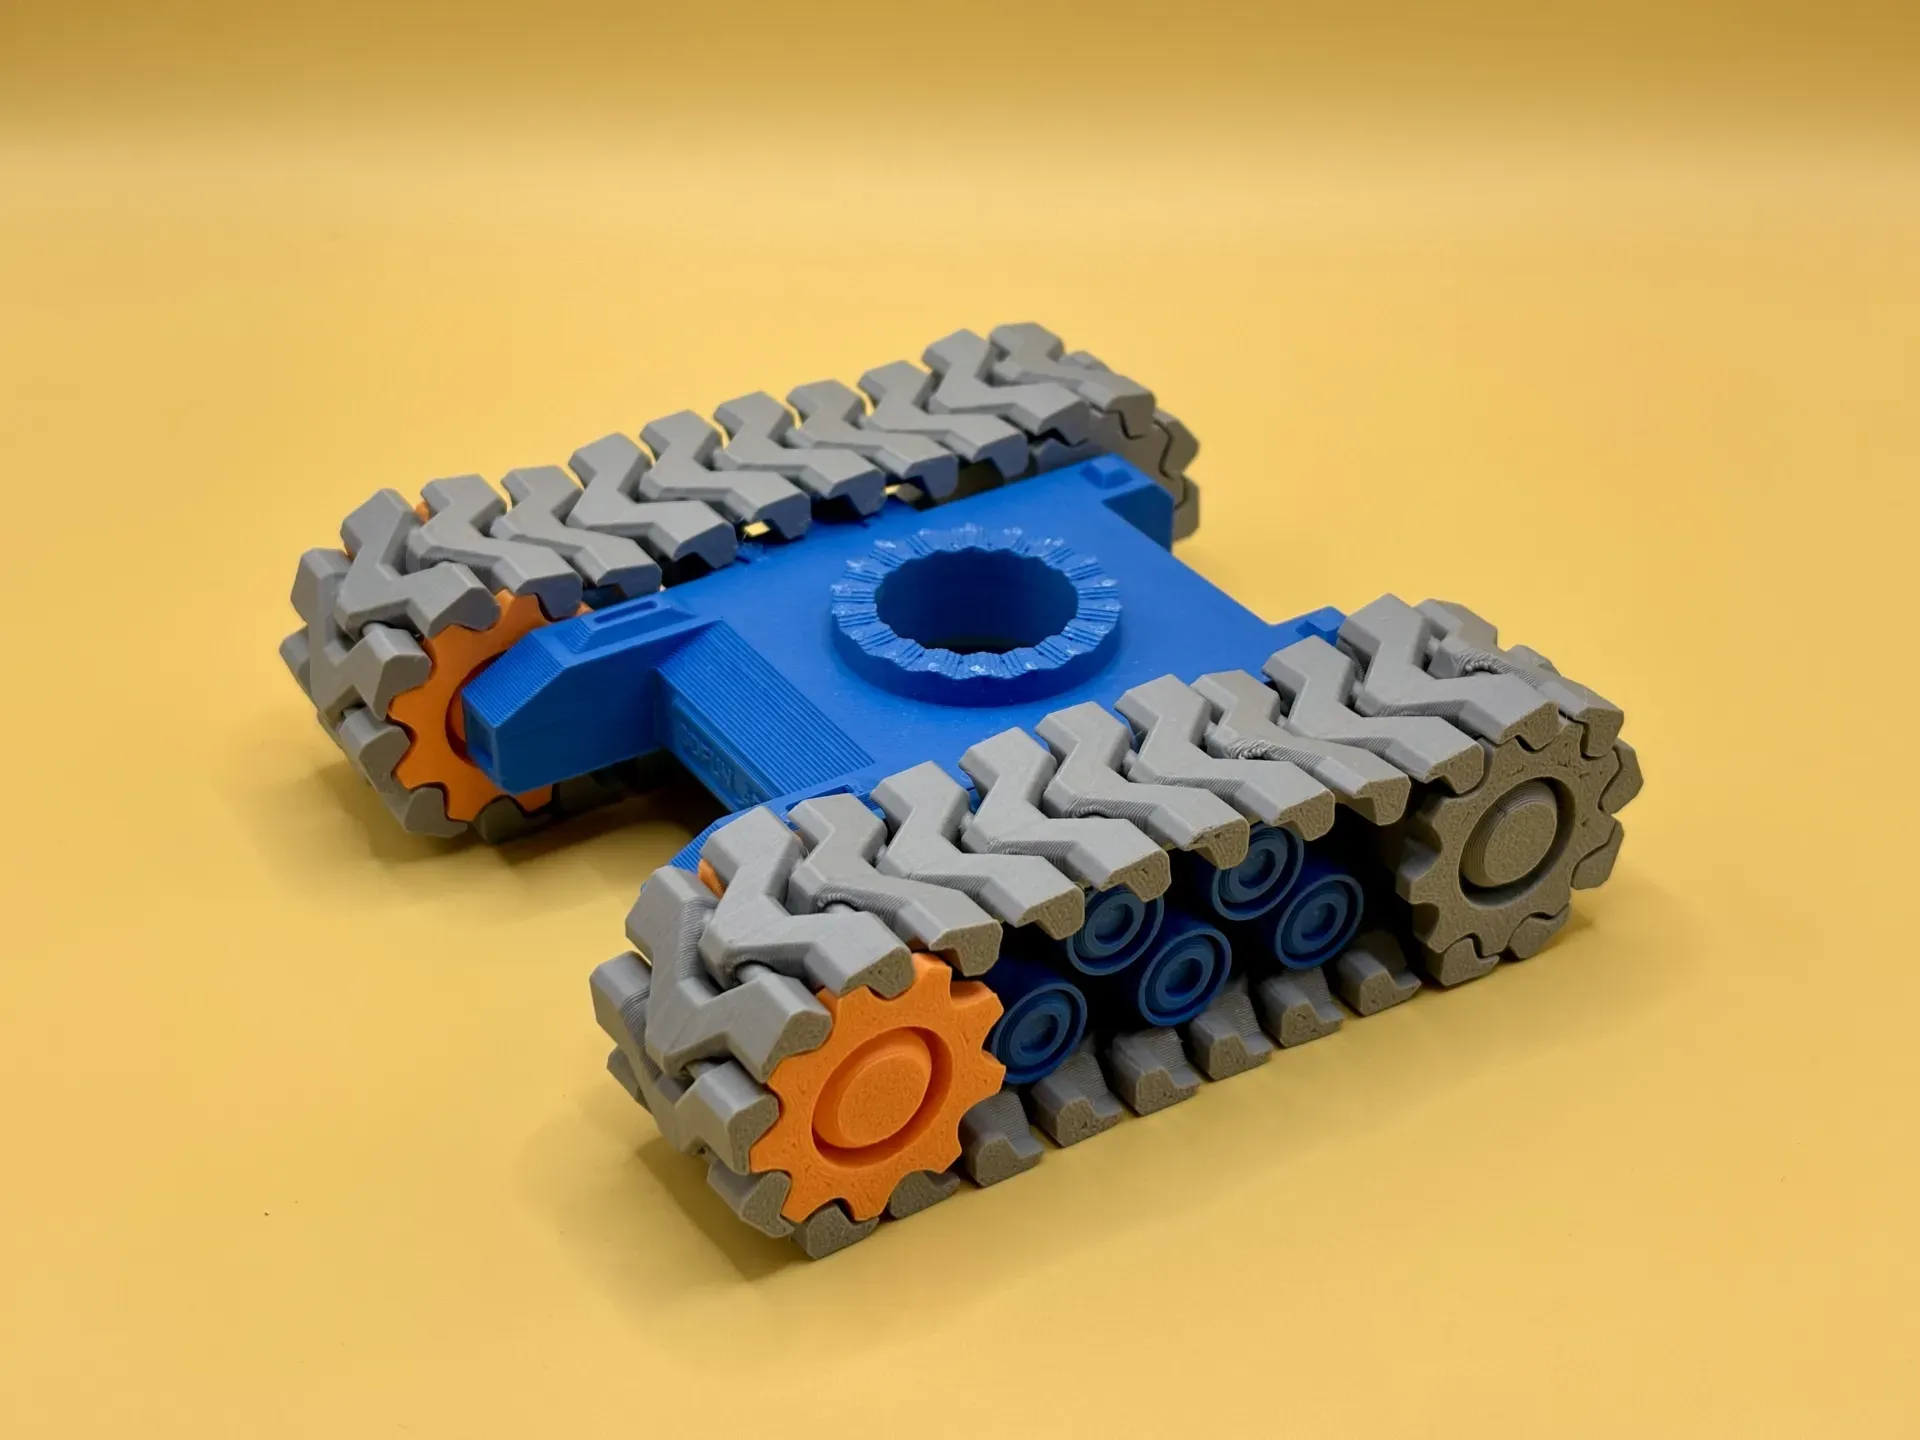
4. Insert the connecting parts upwards into the chassis, and cover the other part downwards.

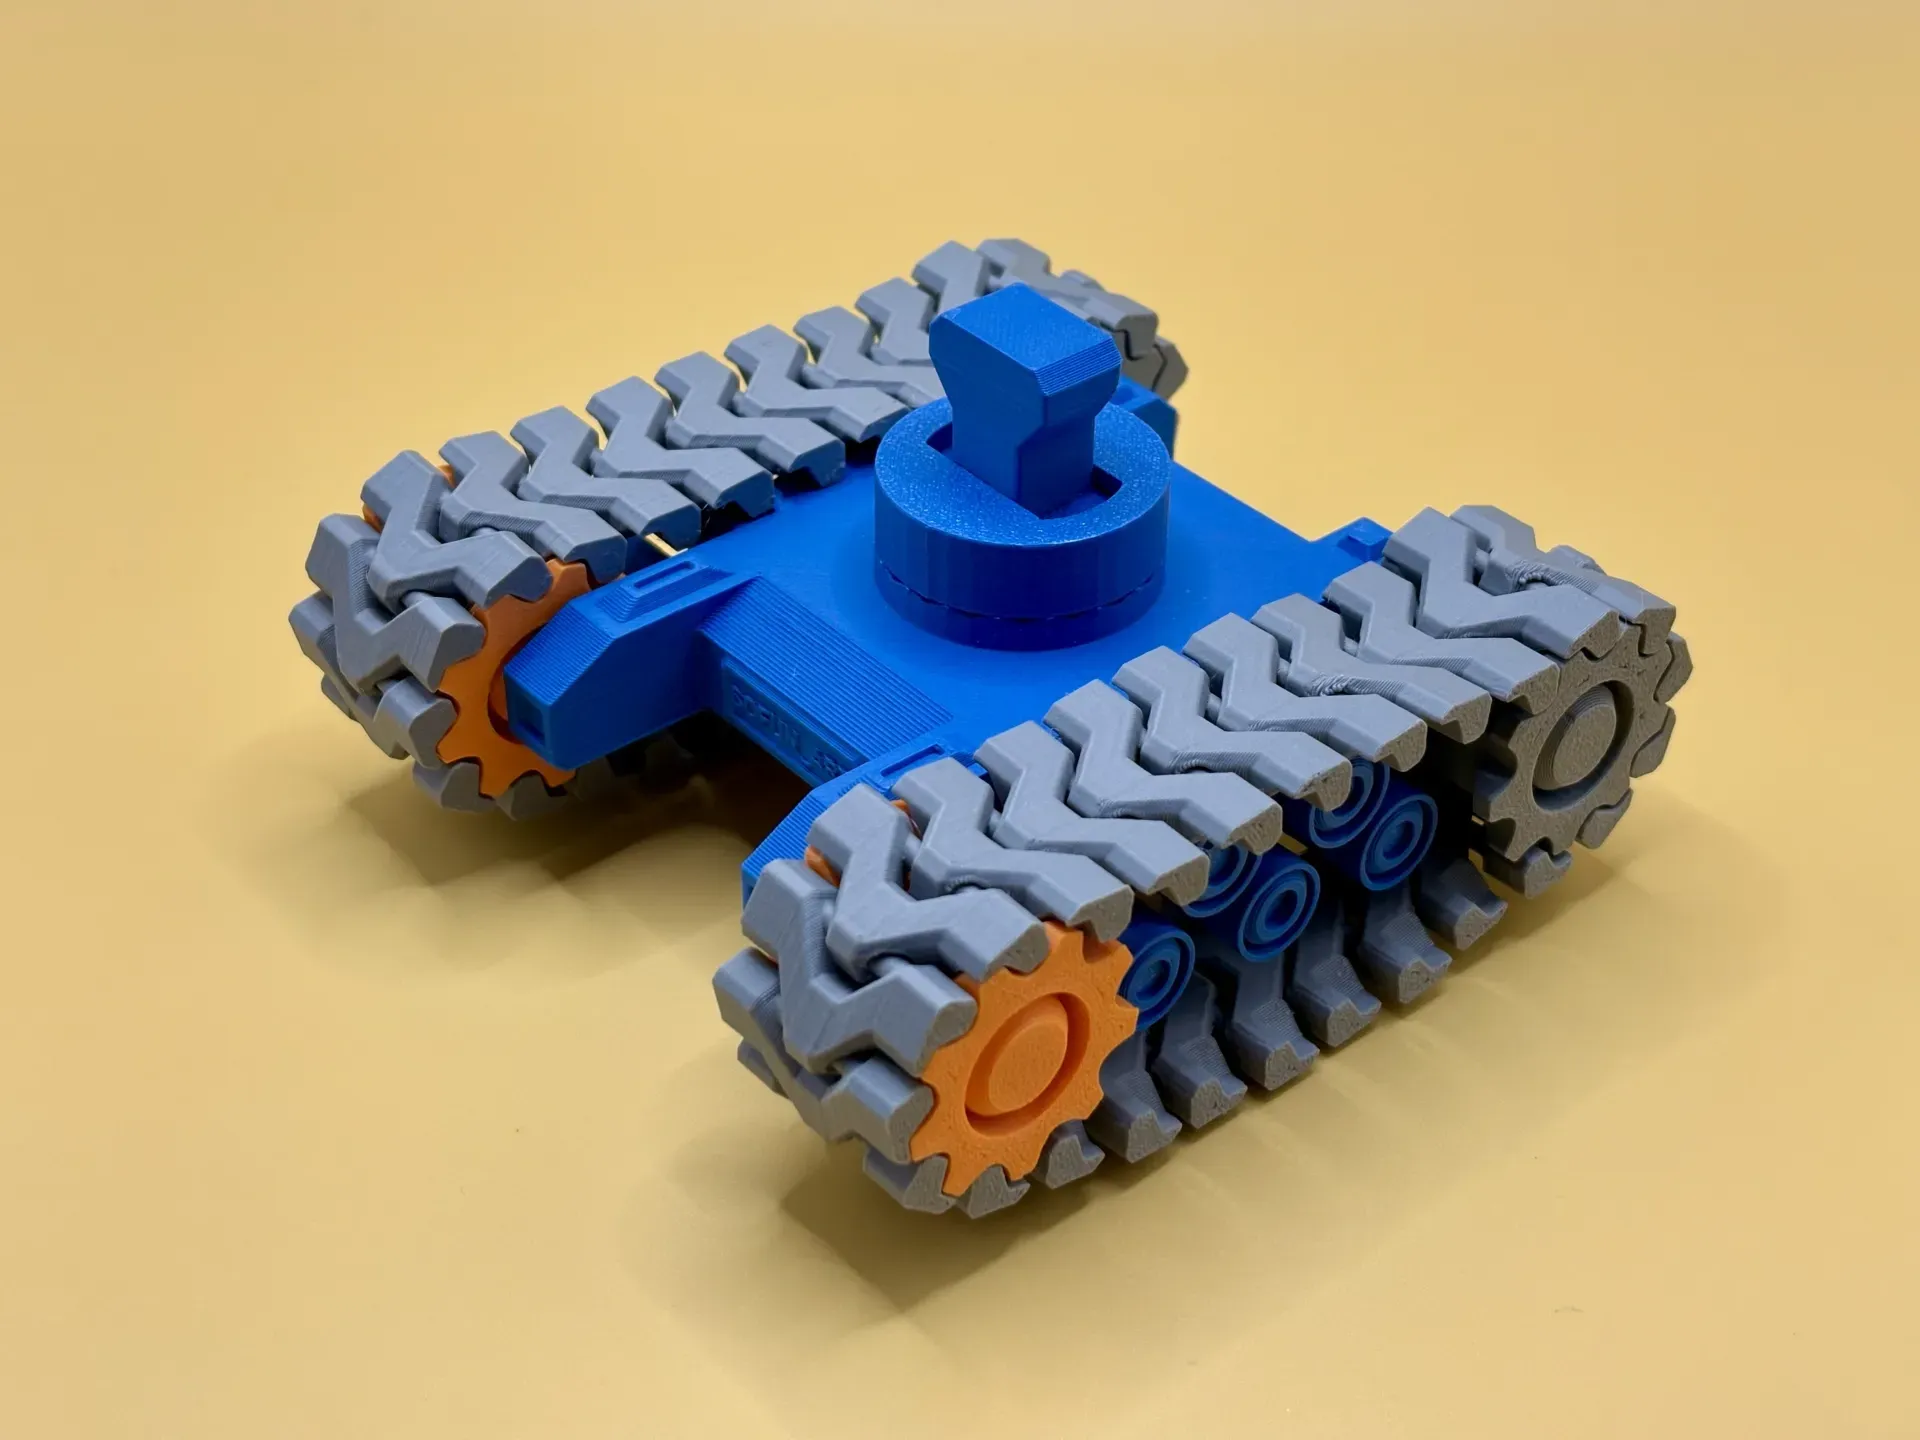
5. Secure the body to the chassis by inserting it into the connecting part and then locking it downwards with an M-shaped clip into the connecting gap.

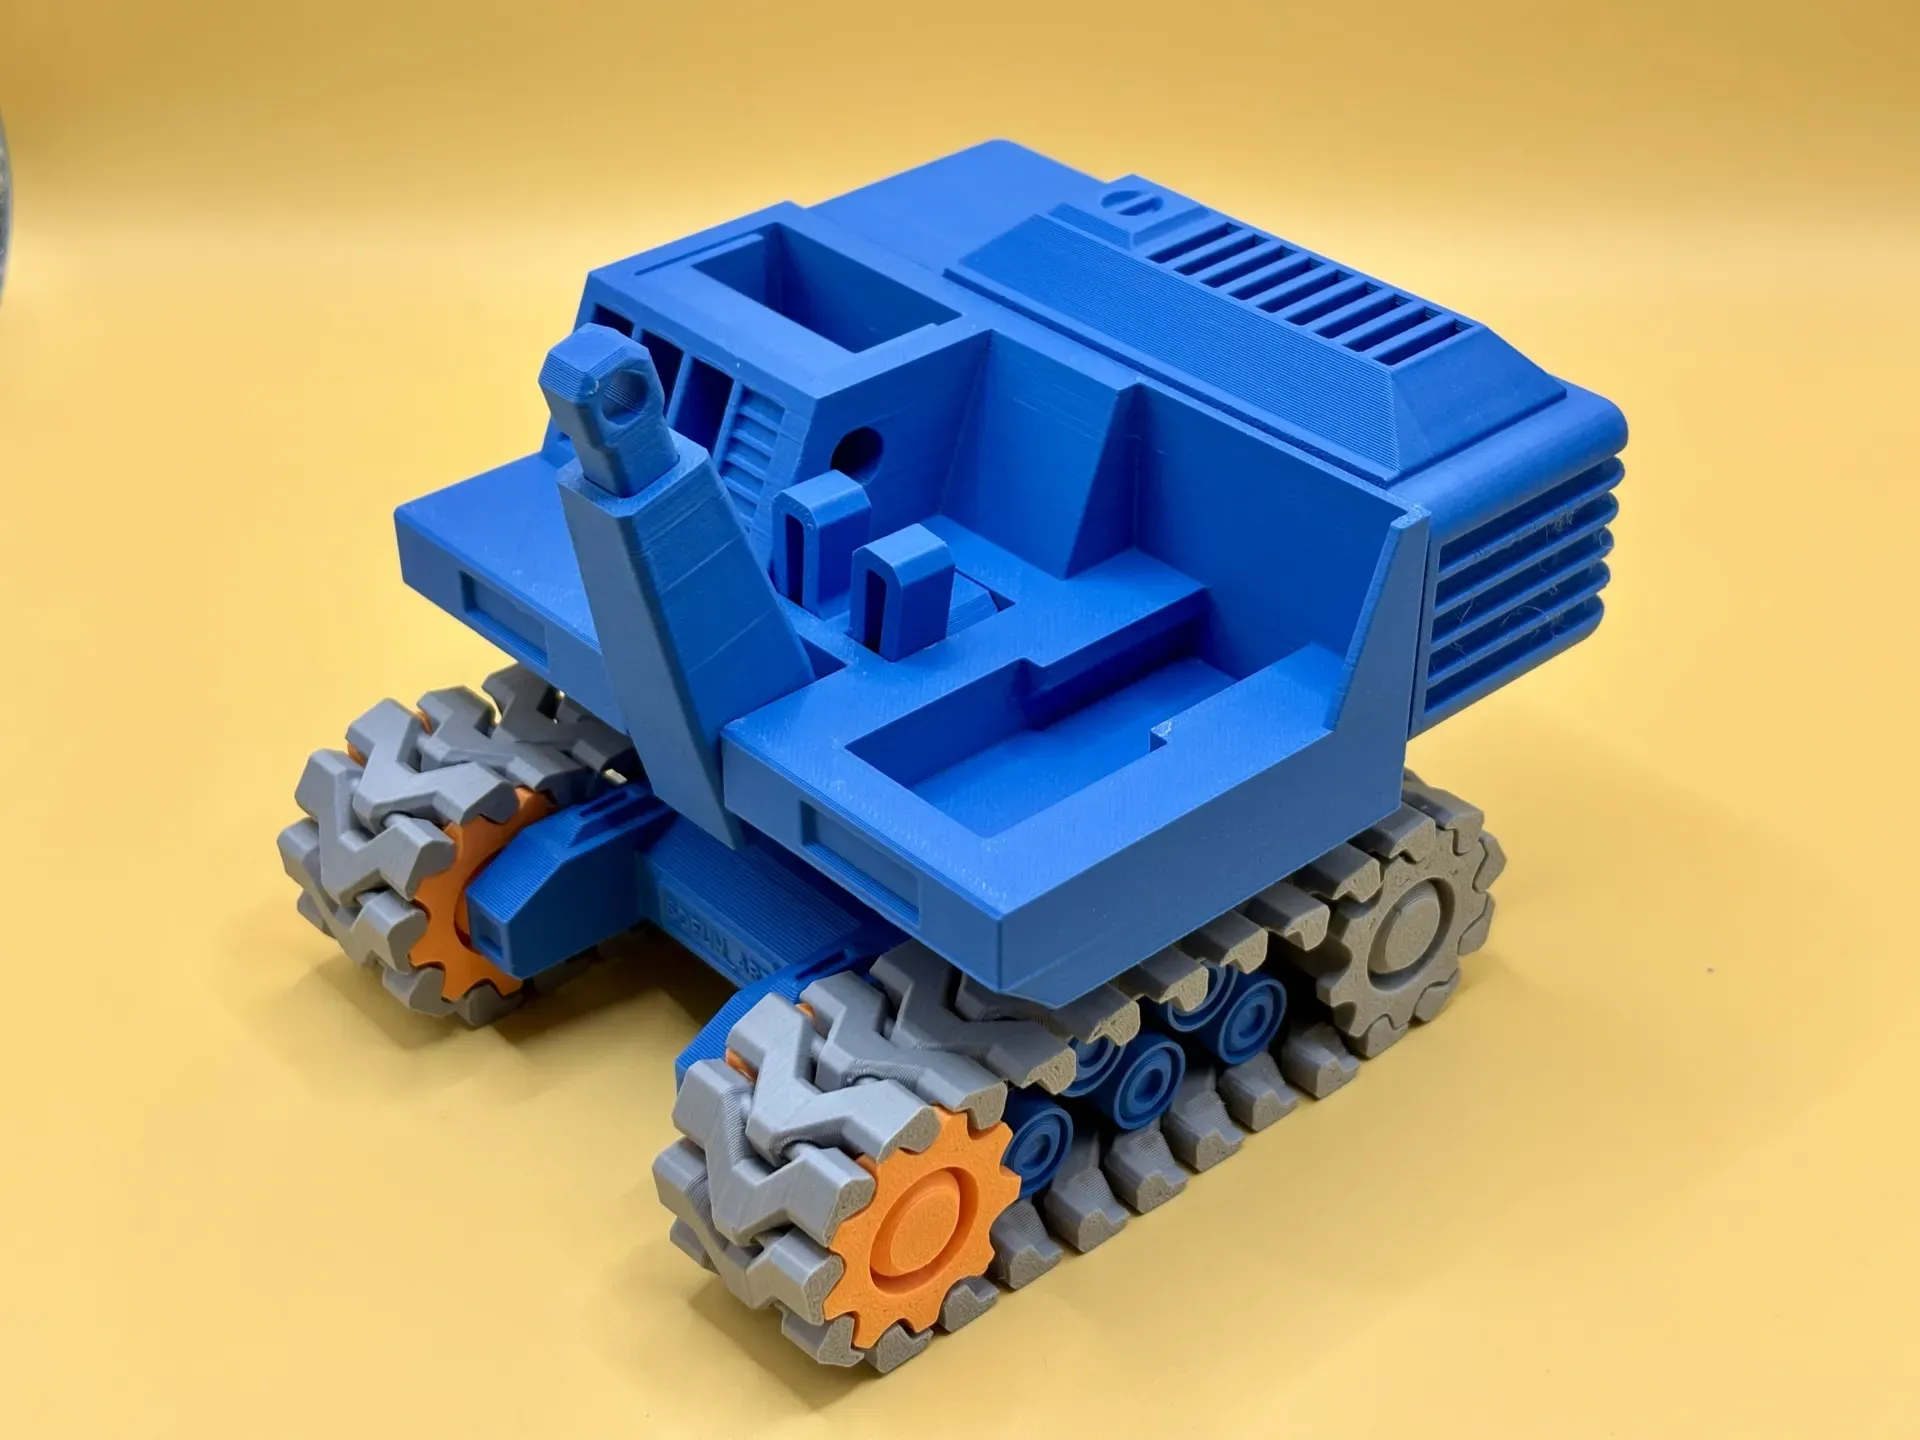
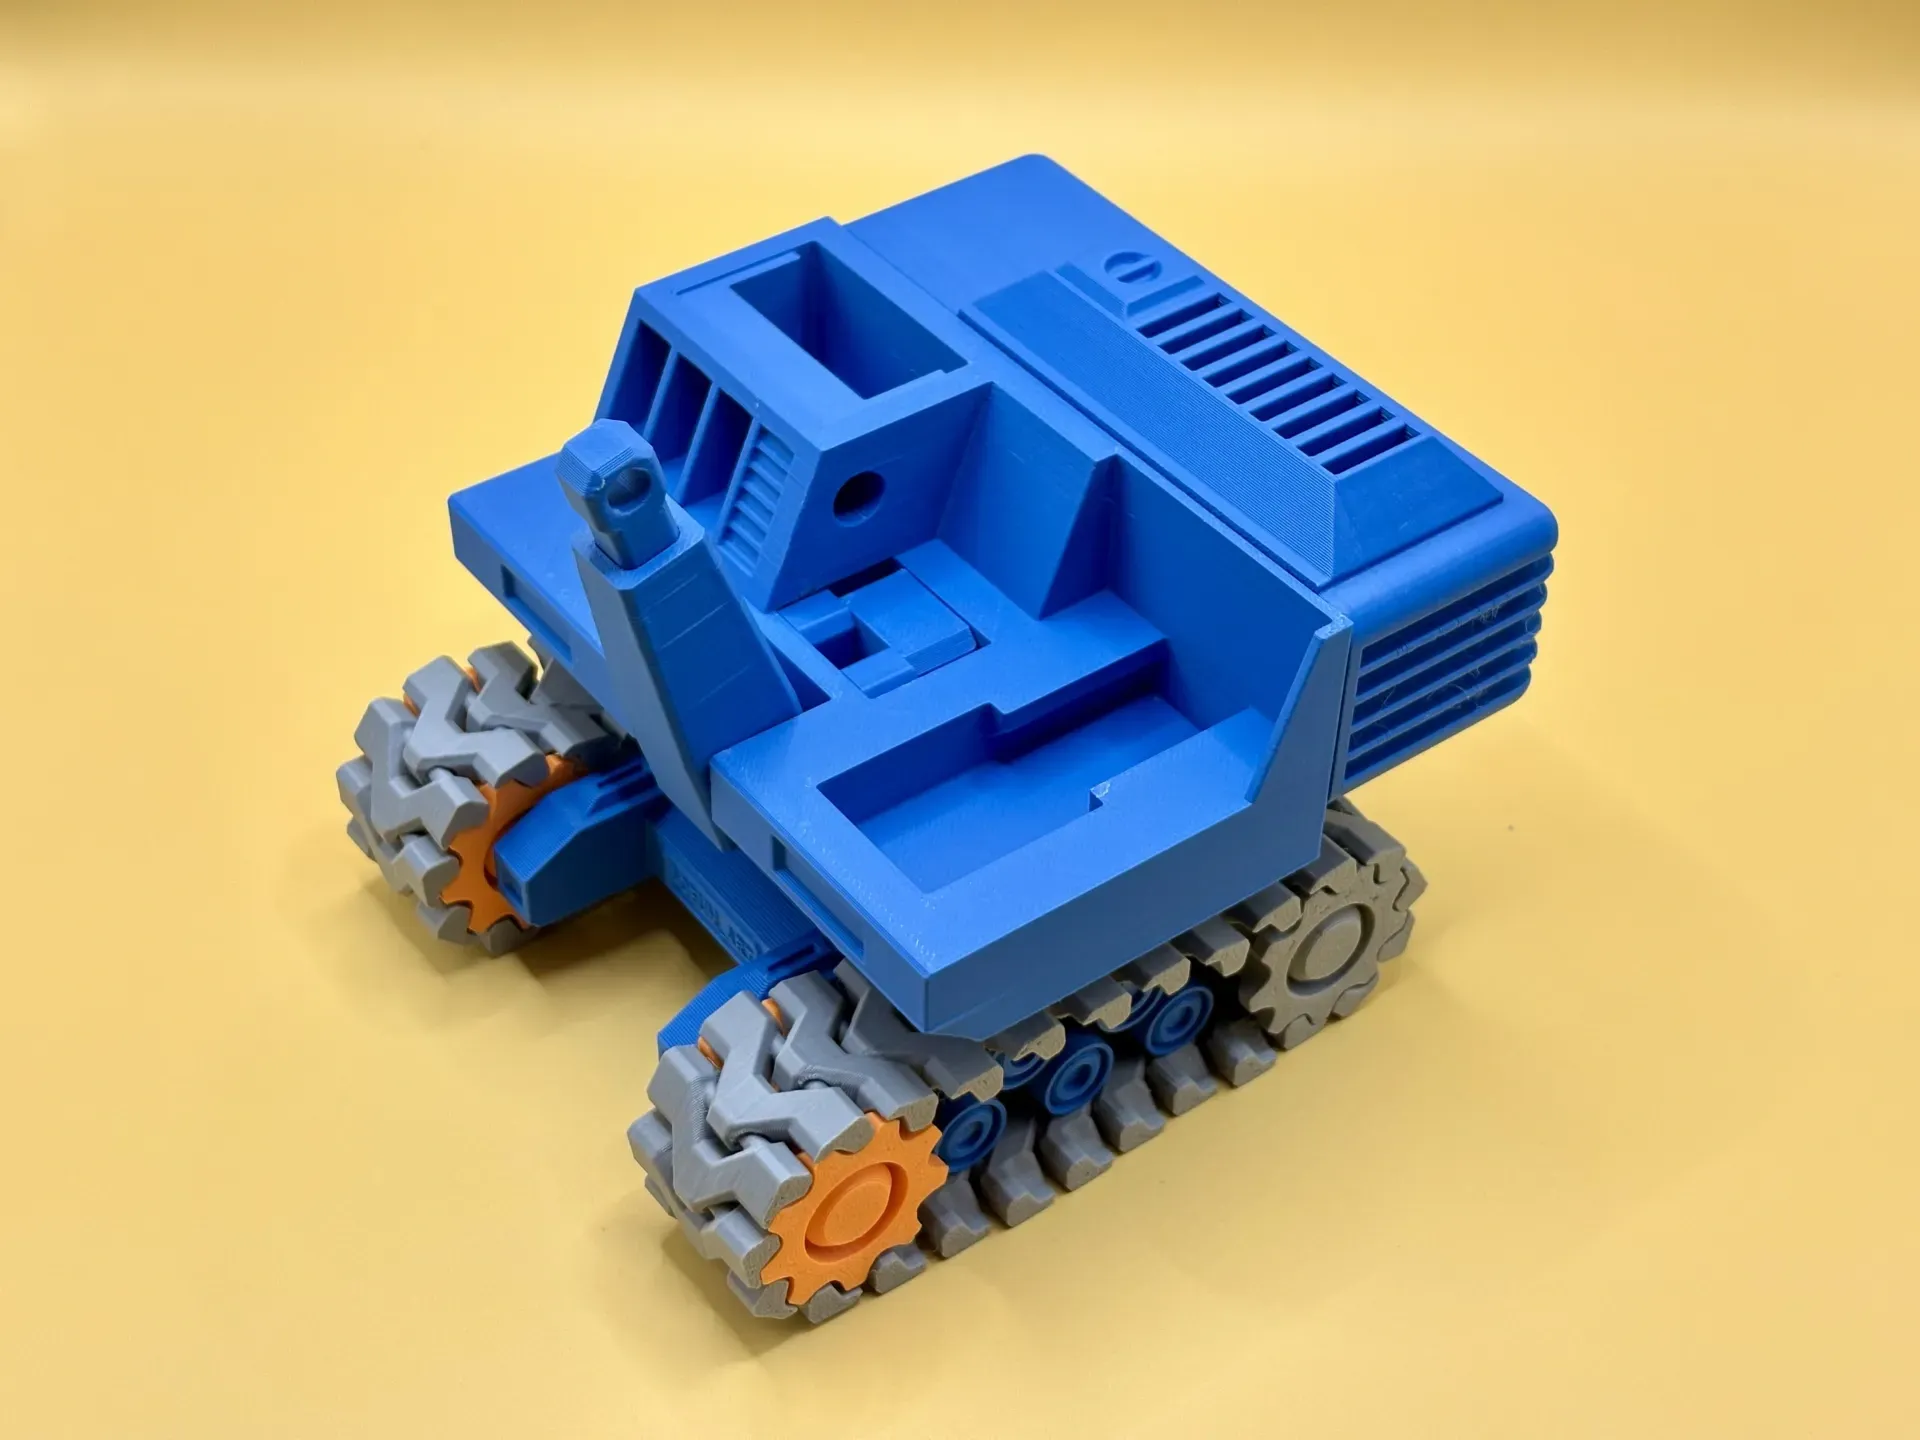
6. Install the robotic arm and shovel as shown.
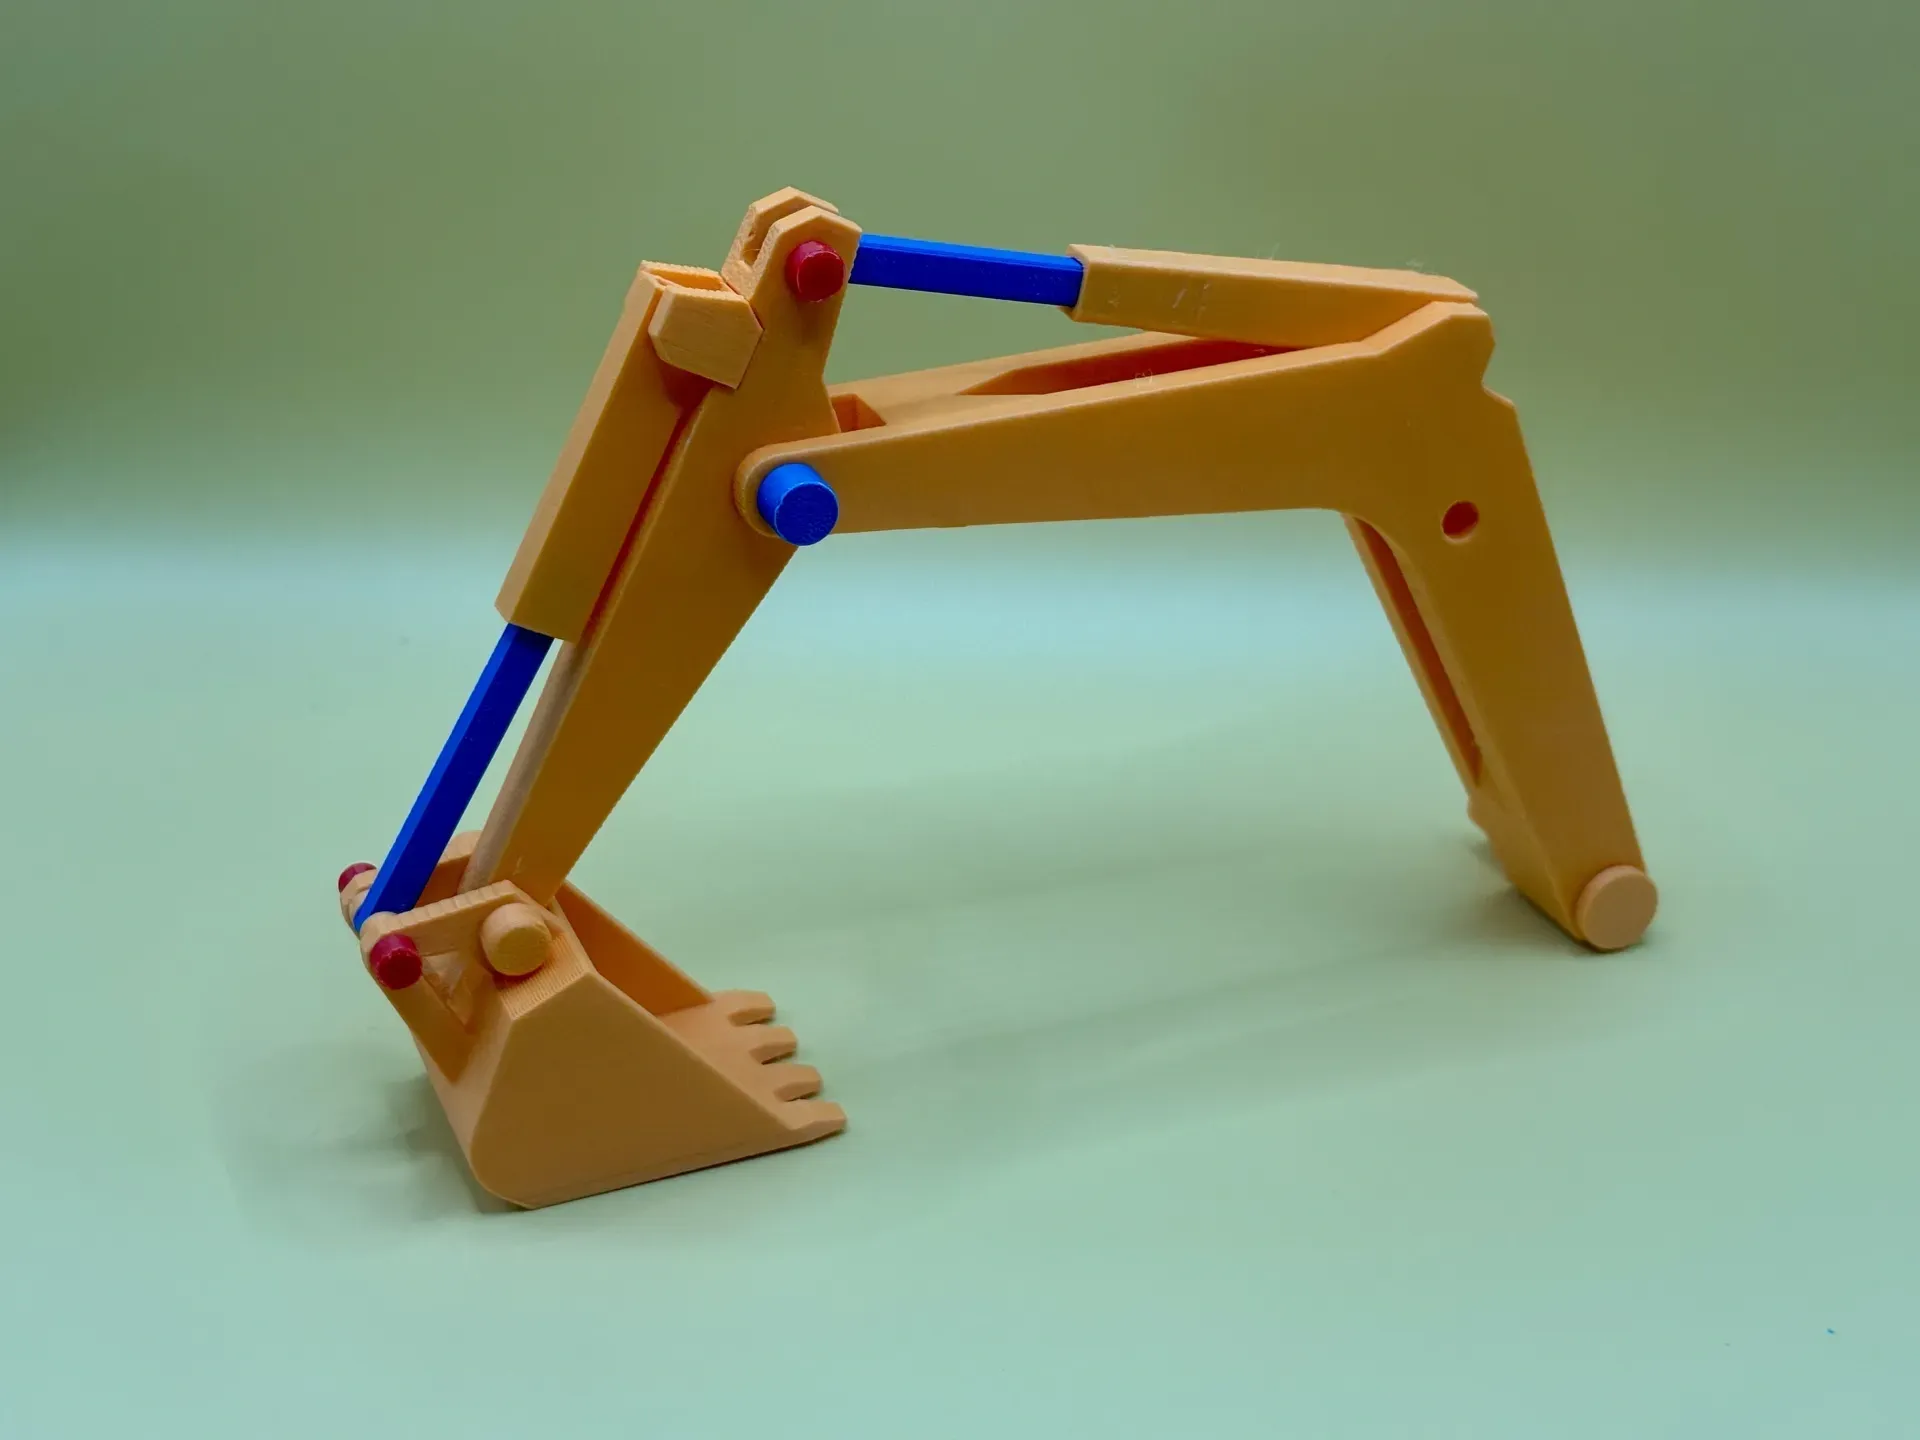
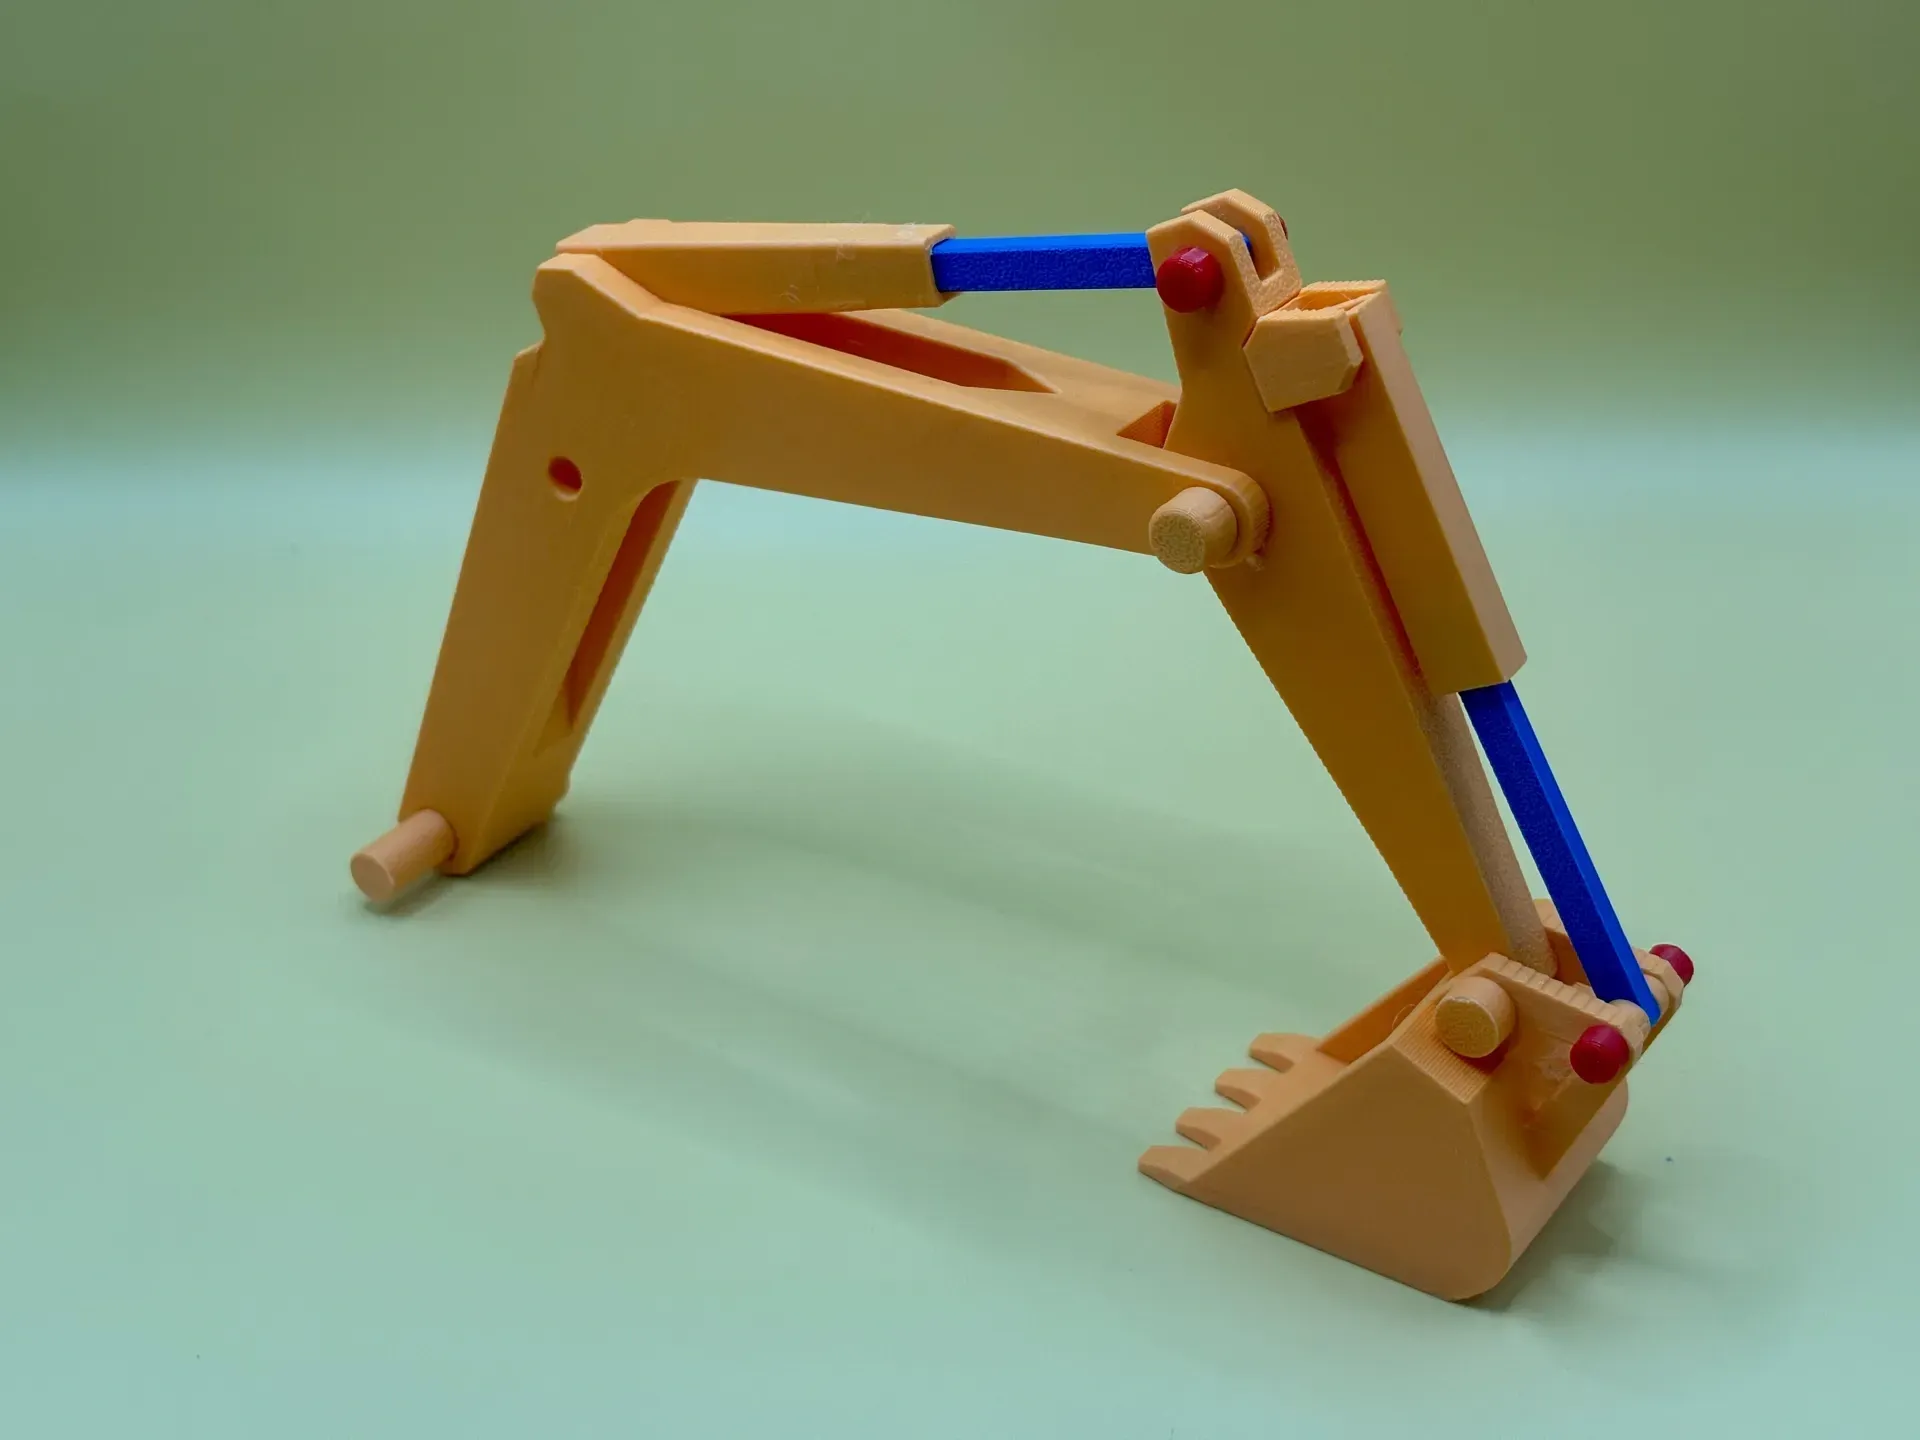
7. Insert the robotic arm into the body.
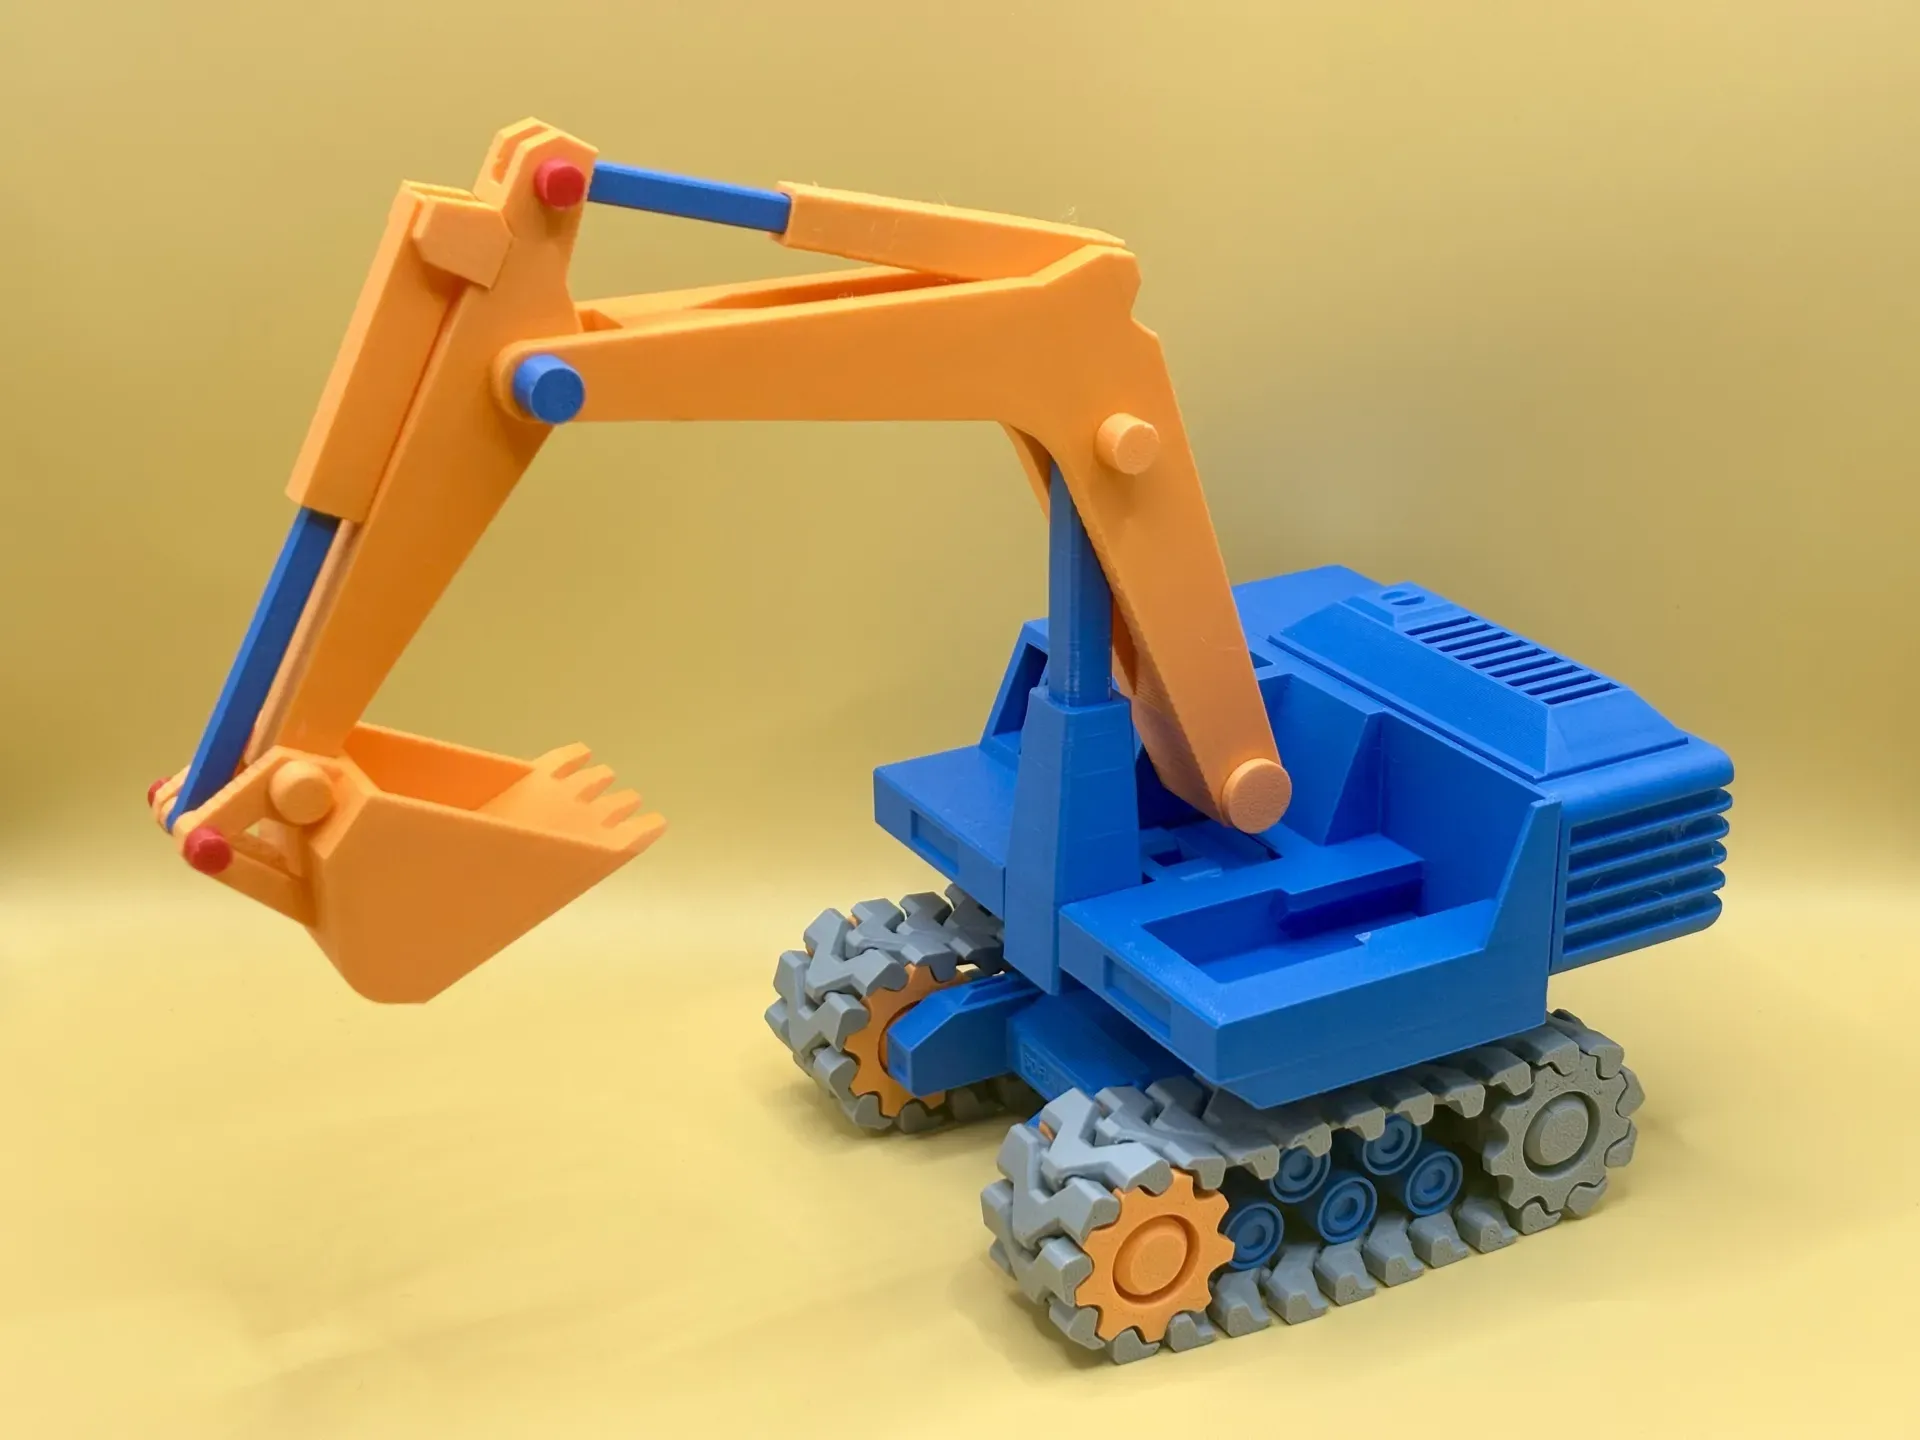
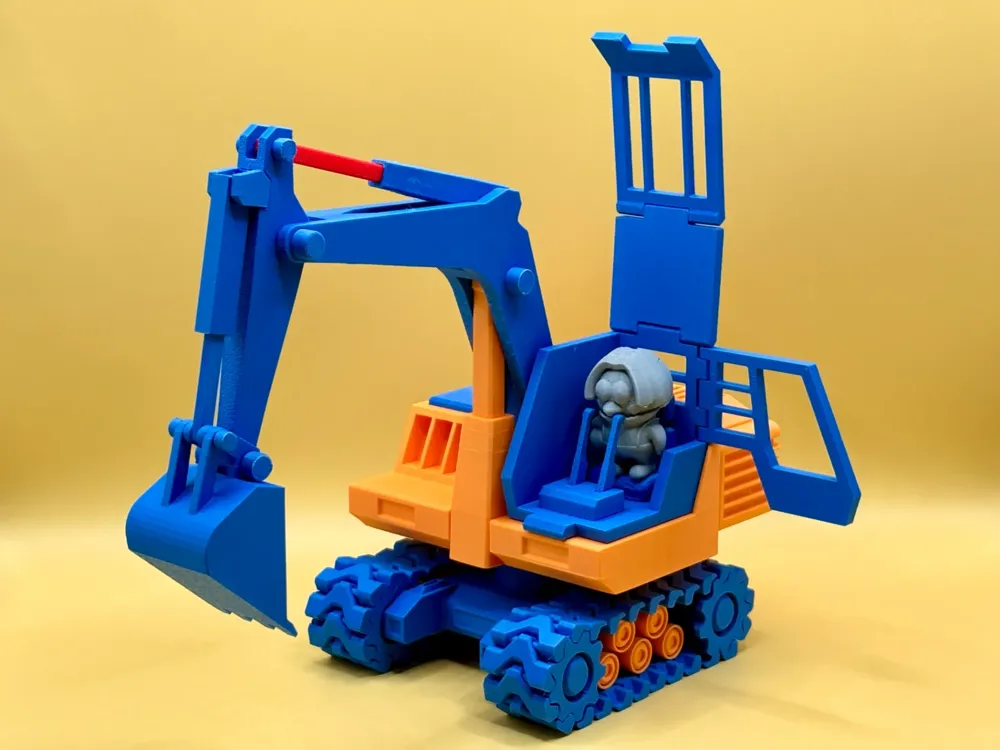
8. Insert the seat and joystick into the cab, and close the cab.
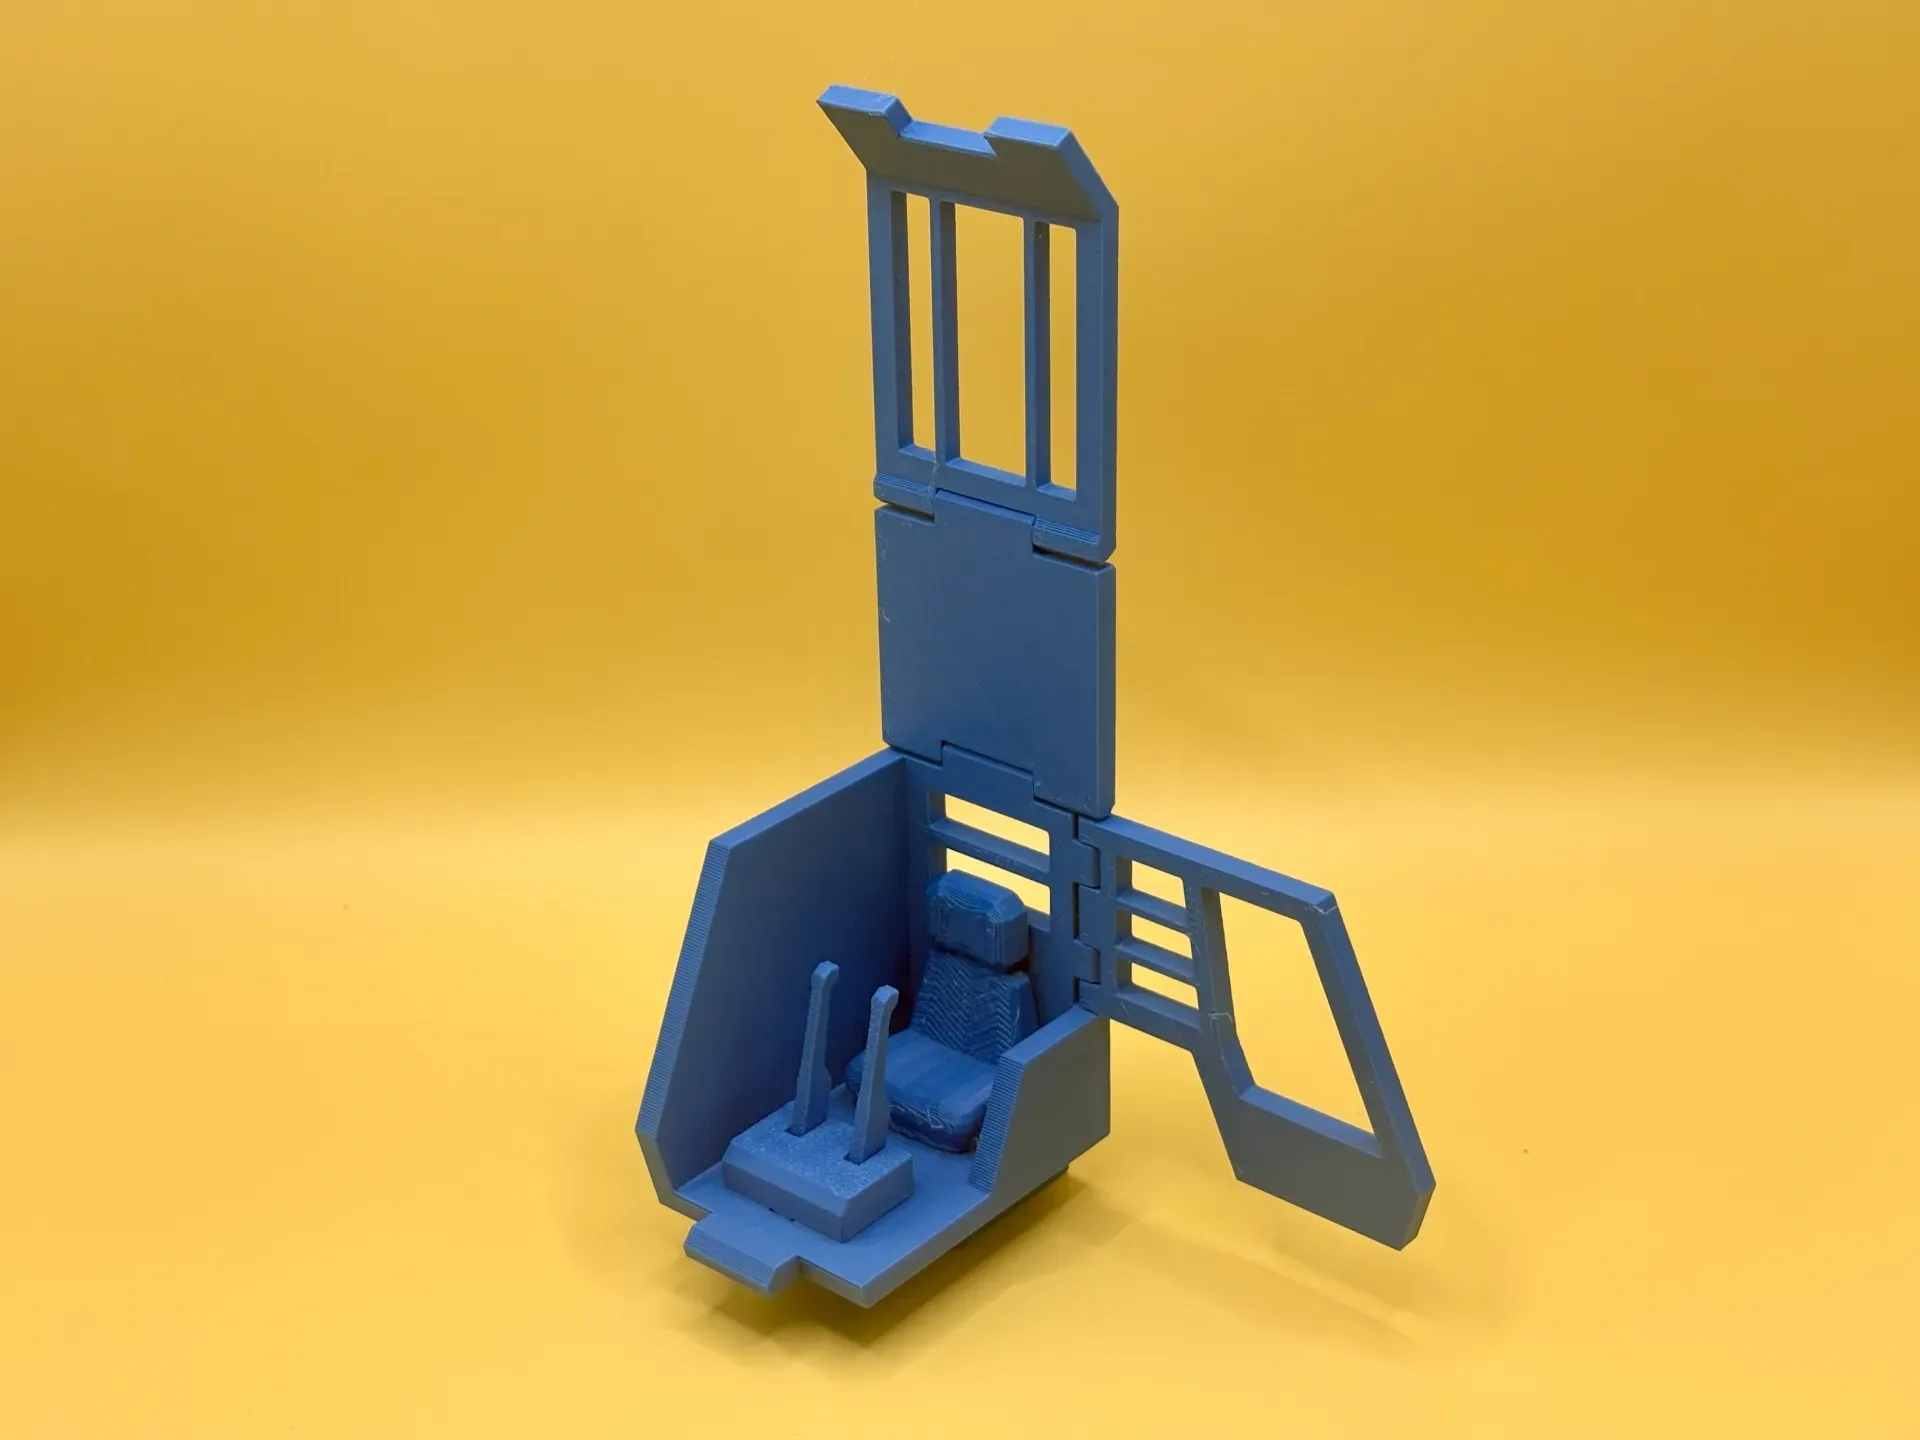
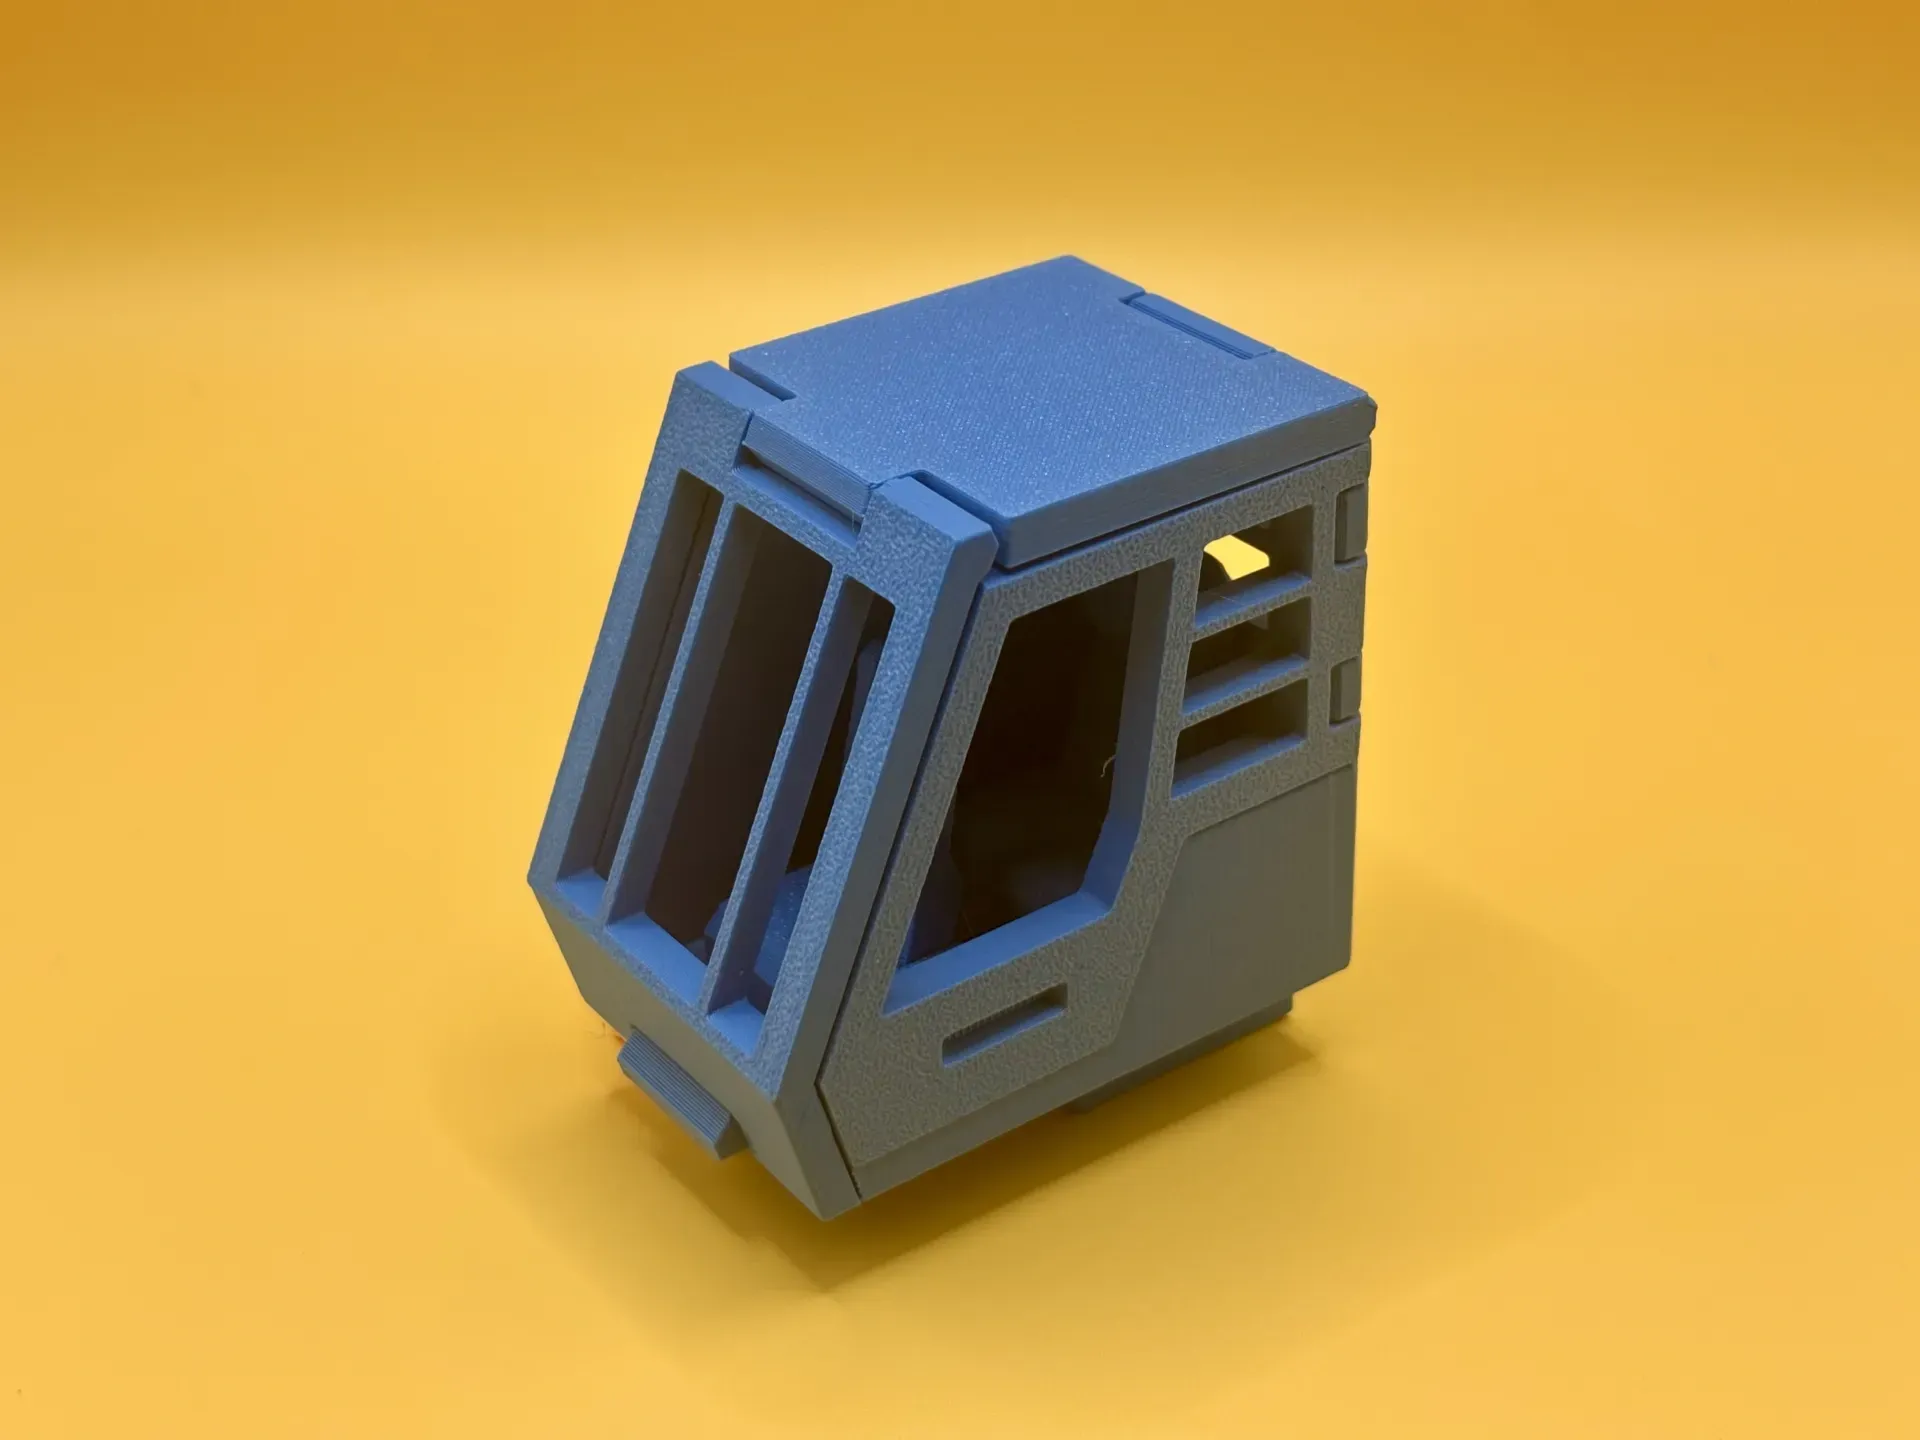
9. Insert the cab into the body.
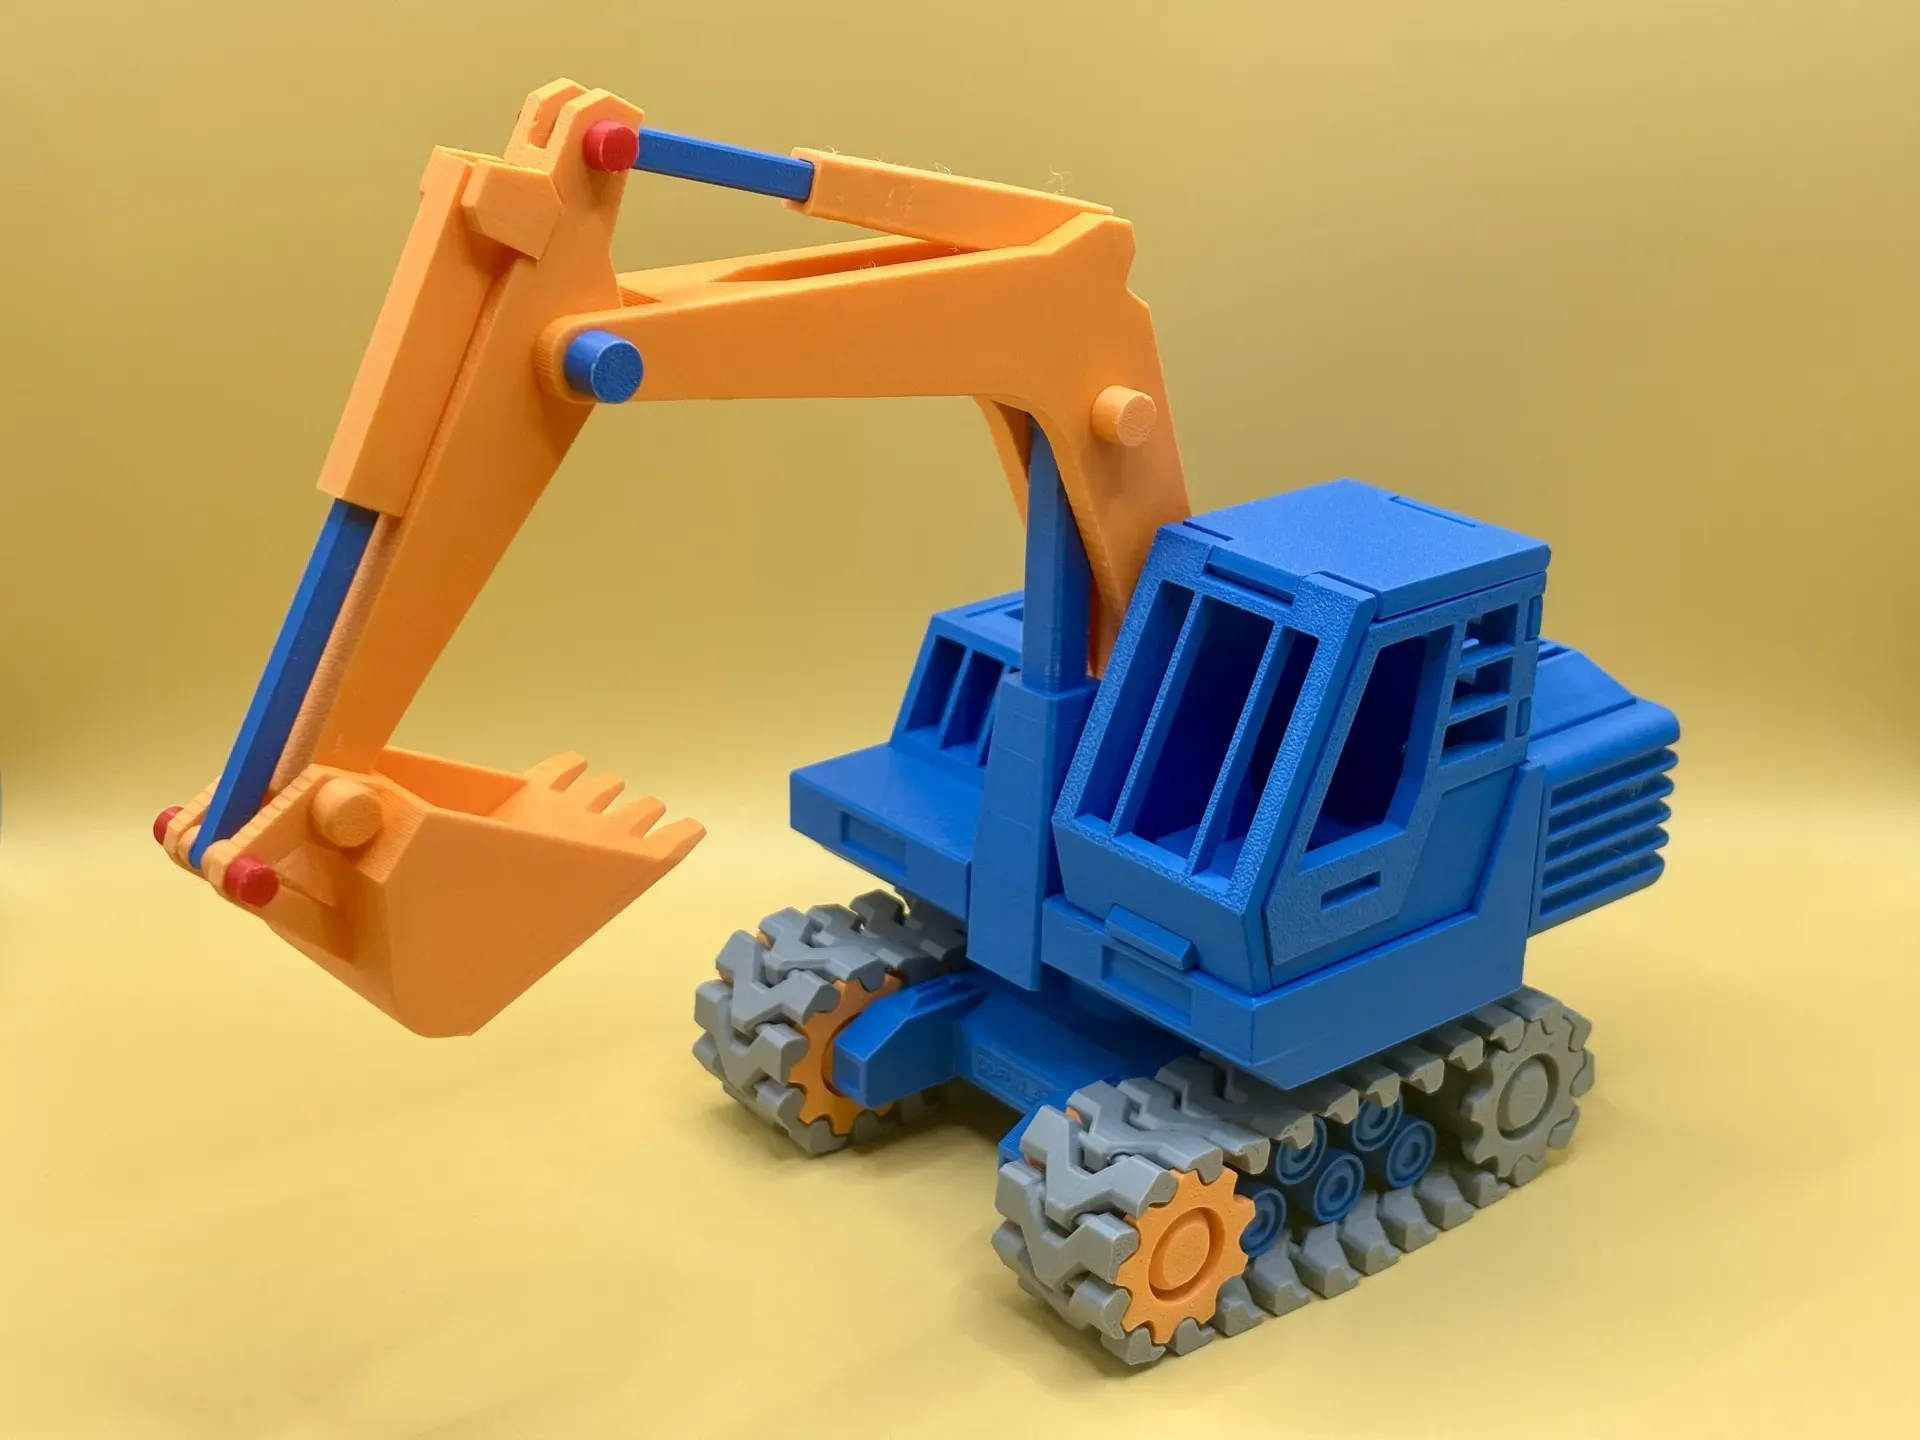
10. Insert the engine cover into the body and close it.
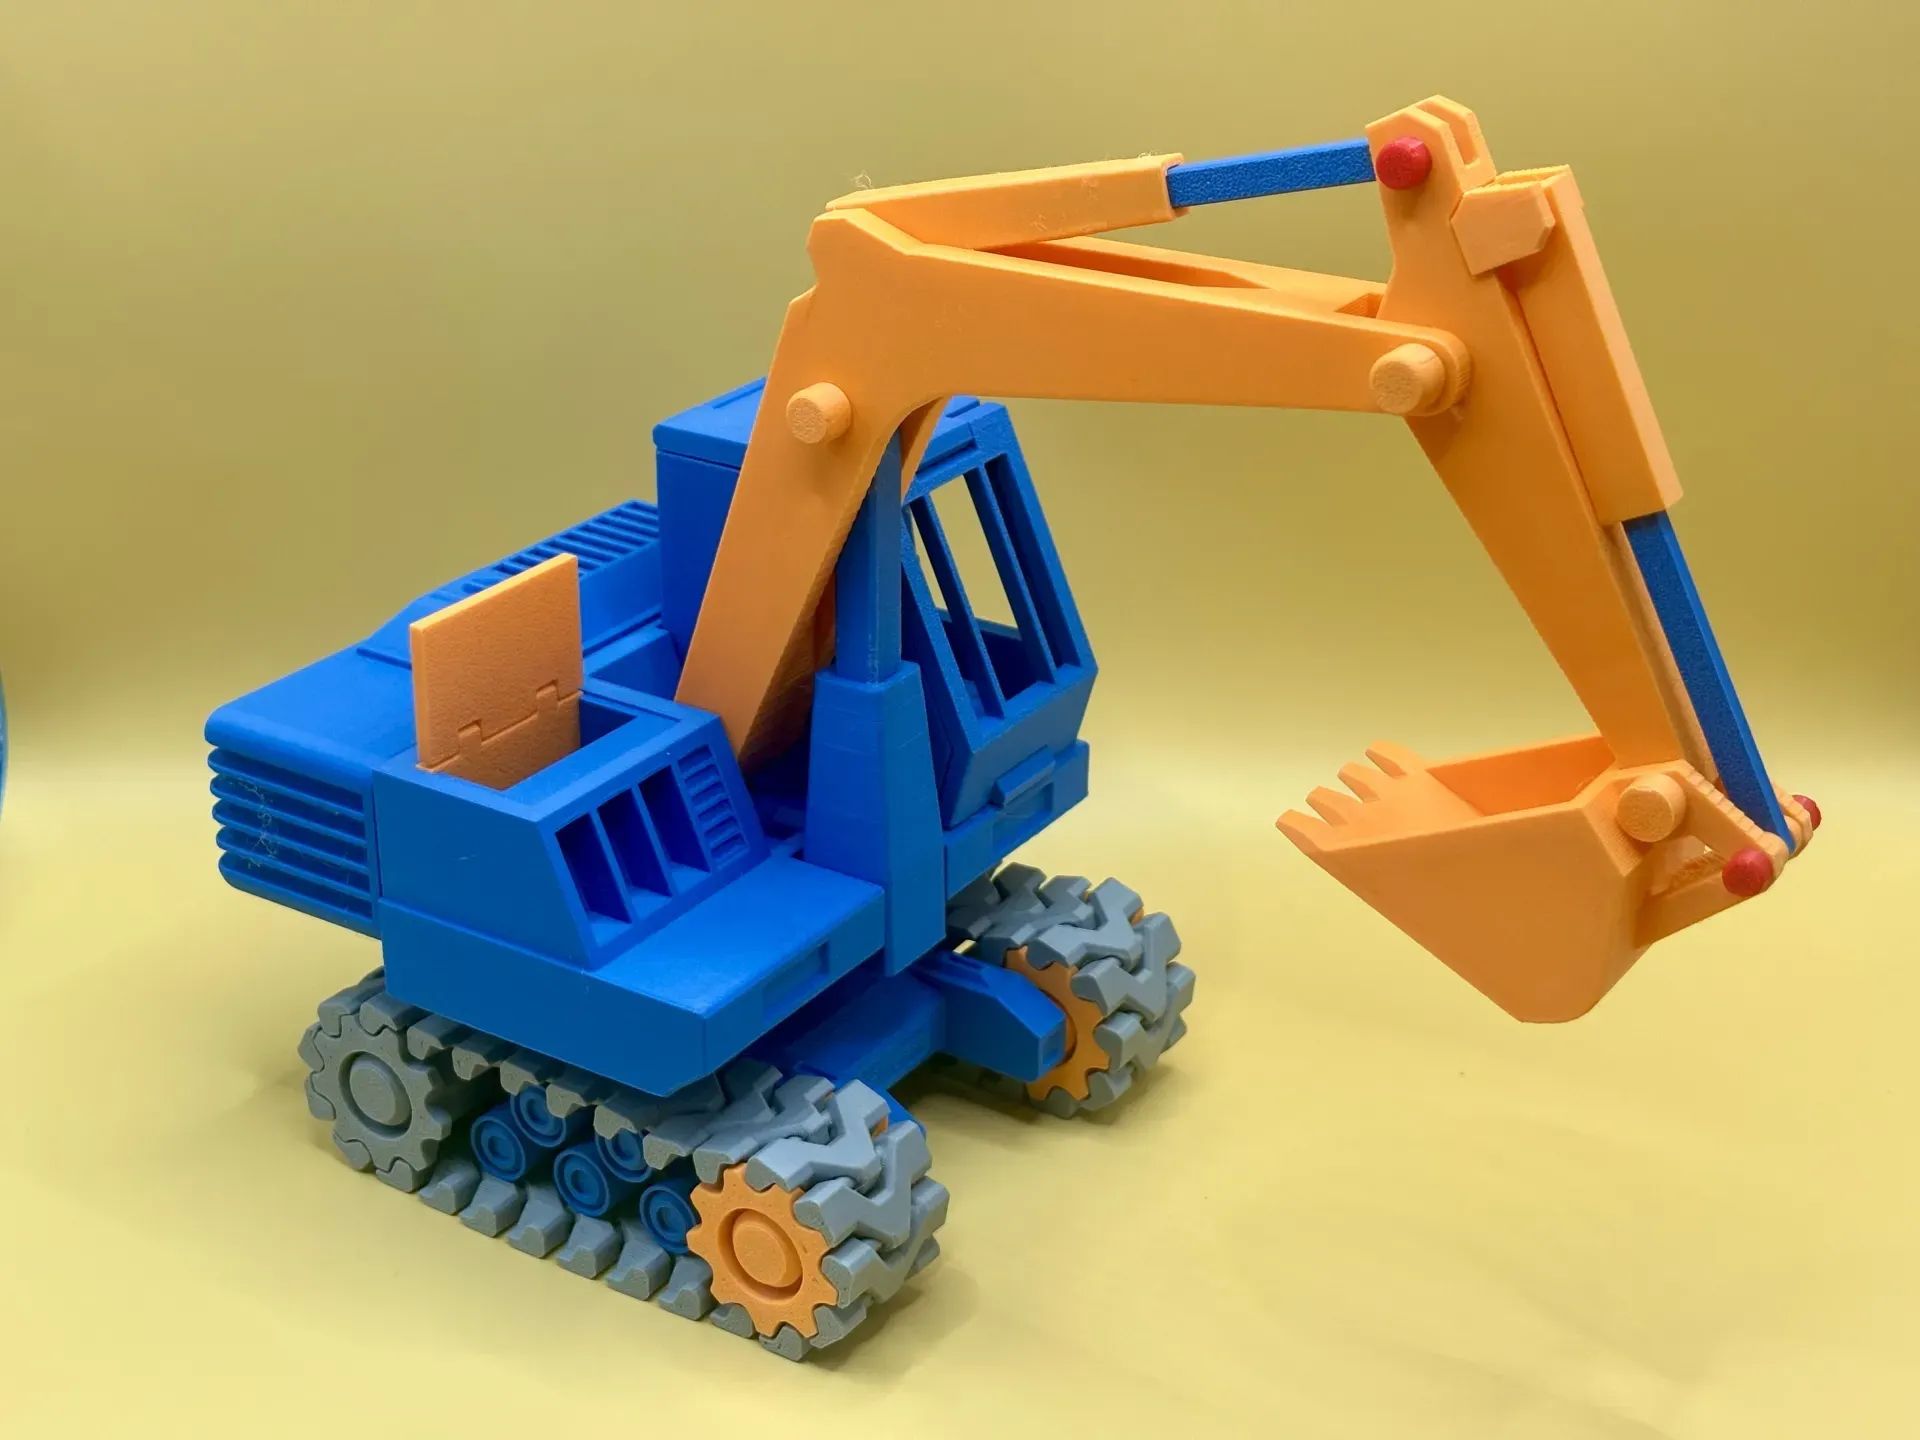
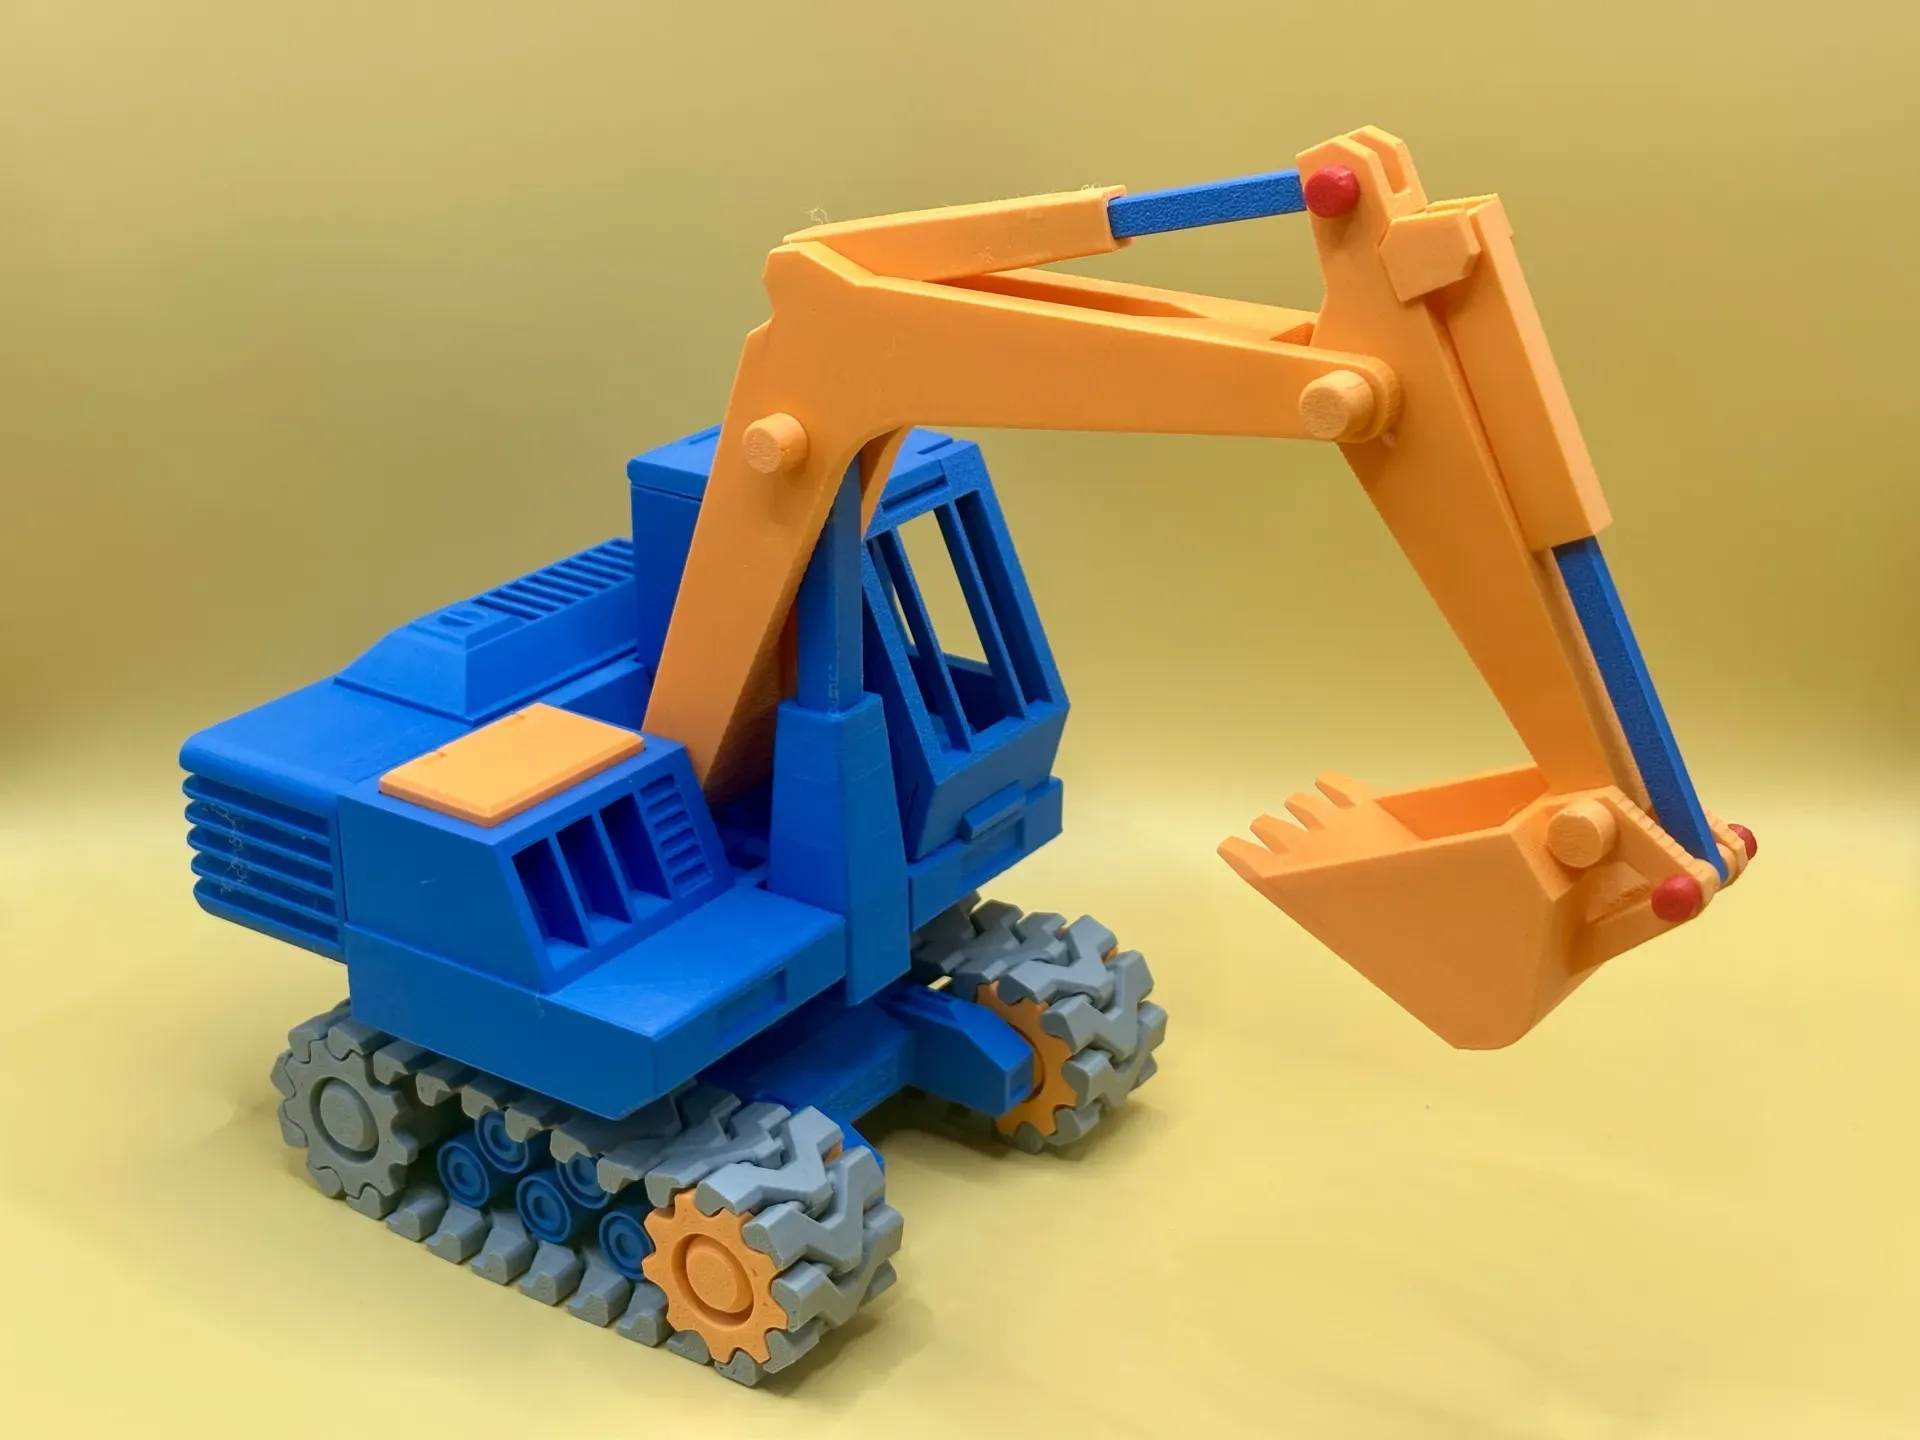
Congratulations!
If you enjoyed this, please like, share, and follow for more fun assembly models, constantly updated!
License

You shall not share, sub-license, sell, rent, host, transfer, or distribute in any way the digital or 3D printed versions of this object, nor any other derivative work of this object in its digital or physical format (including - but not limited to - remixes of this object, and hosting on other digital platforms). The objects may not be used without permission in any way whatsoever in which you charge money, or collect fees.


Comment & Rating (1101)