


Print Profile(1)

Bill of Materials

Description
Welcome,
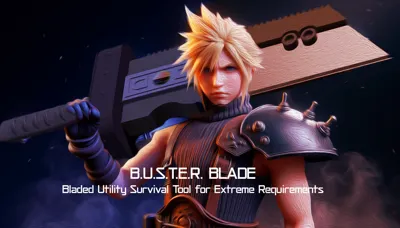
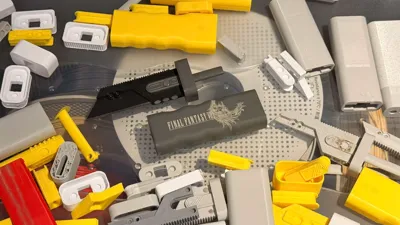
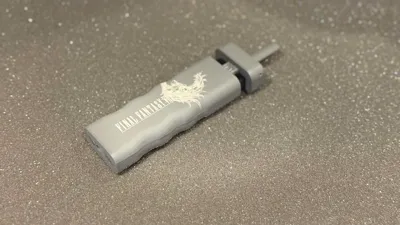
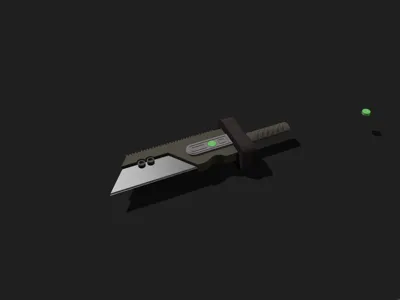
I bring you Bladed Utility Survival Tool for Extreme Requirements, B.U.S.T.E.R. BLADE for short.
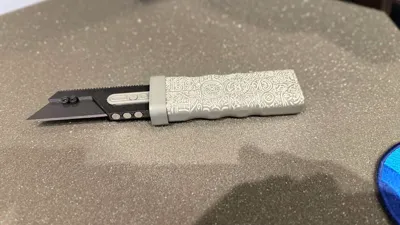
Model is inspired by Final Fantasy 7 Buster Sword, decided to go over the board and instead of one you get hundrets of combinations.
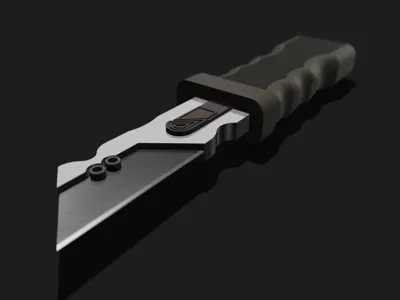
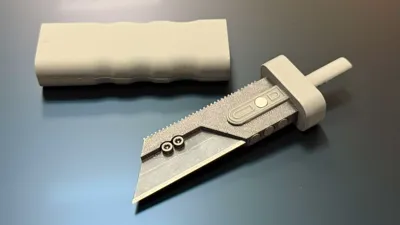
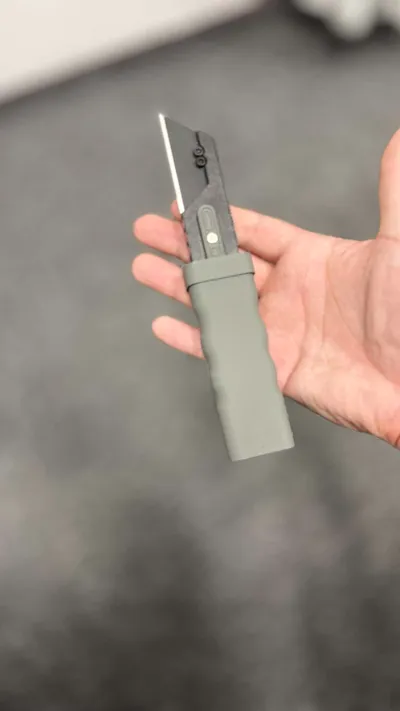
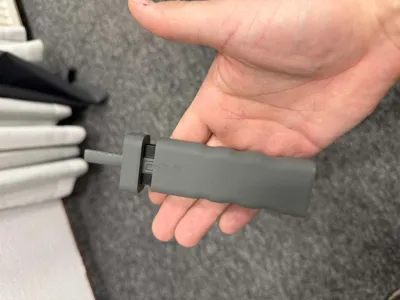
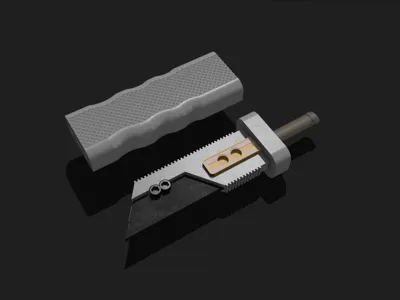
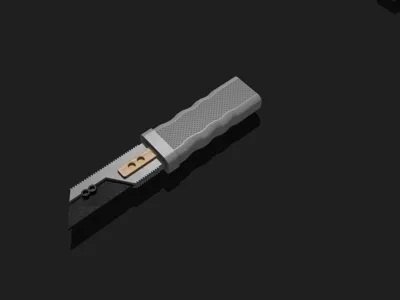
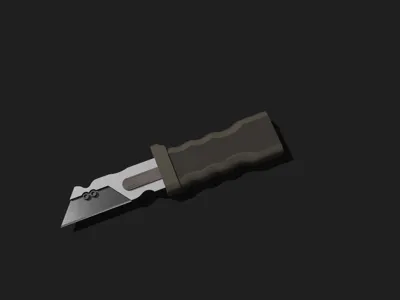
Sheath acts as handle in “Knife mode” you put your “GRIP” into back of “Sheath” and you got your self real utility knife!
“KNIFE MODE” Transformation :

You will need:
Trapezoidal blade 19mm - 1pc
Magnets 6mm x 2mm depending on style taken max combo is 12 pcs
M3 screws - M3x4mm - 2pcs
M3 nut - 2 pcs
GLUE!
and
Patience if you need to have all 3 magnets on sides :) - ONE IS ENOUGH ( CHECK TWICE FOR ORIENTATION! )
"Pro tip: Sheath Sides has 3 magnets each side if you put middle one in reverse orientation there is cool effect of jumping out when pulling blade out and slidding in while putting sword in" - learned by mistake :D
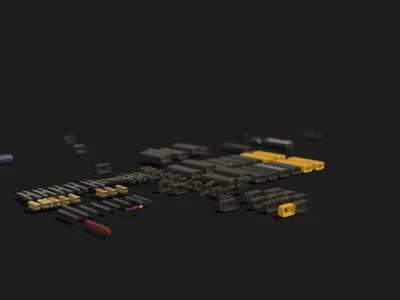
Print settings are set for rather slow printing but that whats works for me all is dialed in just choose your stuff put it on mid plate to keep everything organised for future prints.
There are nine boards where you choose how you want your blade to look :
*NOTE* I WANT YOU TO EXPLORE SHAPES AND CREATE YOUR OWN STYLE BLADE SO I WONT TELL EXACT DETAILS :)
Feel free to PM if you have questions tho.

EACH BLADE CONSISTS OF :
BLADE/HANDGUARD/HG:ORNAMENT/GRIP
*OPTIONAL : SHEATH/MATERIA ORNAMENT
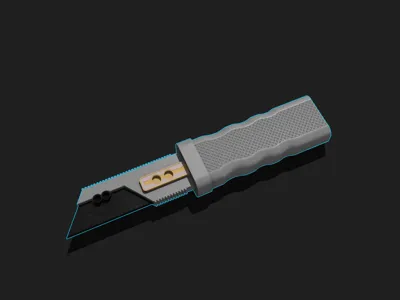
Blade - various types with either finger grooves, more or less holes for magnets, grip textures etc.
Handguard :
Top - compatibile with "KNIFE MODE"
Bottom - plain ones if you want B.U.S.T.E.R. BLADE only
- Hand Guard Ornament - basicly connection between blade and grip with either holes for magnets or finger stopping texture
Sheath - various types grooves, keychain holes and knife mode ones check every one!:
Left - with many hole magnets ( you dont need to fill every hole 1 magnet is enough to hold blade in place )
Right - only have holes for magnets from “Hand Guard Ornaments”

* Many types with grooves/textures/keyring holes/those with 2 magnet at end are fit for "KNIFE MODE"
PERMAMENT KNIFE MODE :
If you plan print only “KNIFE MODE” model without “GRIP” just using “SHEATH” as grip print them 2 times that way you can have grip and sheath for your “KNIFE MODE” blade…. is that clear?!… ^_^
5. GRIP - grip for your B.U.S.T.E.R. Blate acts also as guide when putting it in “KNIFE MODE”
IMPORTANT - only plain grips or ones with detents will fit sheathe from back to transform it to “KNIFE MODE”
6. MATERIA ORNAMENTS - simple round 6mm disks imitating materia from game they fit into magnet holes.
One last thing is PRINTING SEAMS they need to be in print i've set them to aliged since i lasered it anyway but remember about them put them manually in places they won't bother you!
PUTTING YOUR HARD WORK TOGETHER:
1. Glue “HANDGUARD ORNAMENT" to ”BLADE - some "HANDGUARD ORNAMENTS" MIGHT FIT BETTER IN REVERSE ( TOP/BOTTOM )
2. Glue “HANDGUARD” TO “HANDGUARD ORNAMENT"
3. Insert ( ITS TIGHT FIT for a reason = you might want to exchange for different one ) or GLUE “GRIP” into “HANDGUARD ORNAMENT”
4. Install razor blade - nuts from bottom screws from top you went through worse!
*FOR PERMANENT "KNIFE MODE" - glue “HANDGUARD” direcly to "SHEATH" use magnets or even “GRIP” to further strenghten connction.
I can't wait to see what you guys & ladies came up with please post photos!
If you don't find part you are looking for or want something totally different PM me maybe i can model something that suits you!
I printed it too many times, gave it to friends for testing broke more parts than needed… Still if you see something is off please report back!
Boost Me (for free)
You liked it? ^ pu pu pu push it real good.
License
You shall not share, sub-license, sell, rent, host, transfer, or distribute in any way the digital or 3D printed versions of this object, nor any other derivative work of this object in its digital or physical format (including - but not limited to - remixes of this object, and hosting on other digital platforms). The objects may not be used without permission in any way whatsoever in which you charge money, or collect fees.
Comment & Rating (3)