
YIBOX AMS Gen 2 Riser—All-in-one, Low Filament Consumption, Modular, Highly Expandable—Essential Accessory for P1S and X1
Print Profile(2)
Description
Printing Notes: (Please read the instructions carefully)
P2S required!!!! Please click the link below to jump!!!
2.2 version update (2025/07/01):
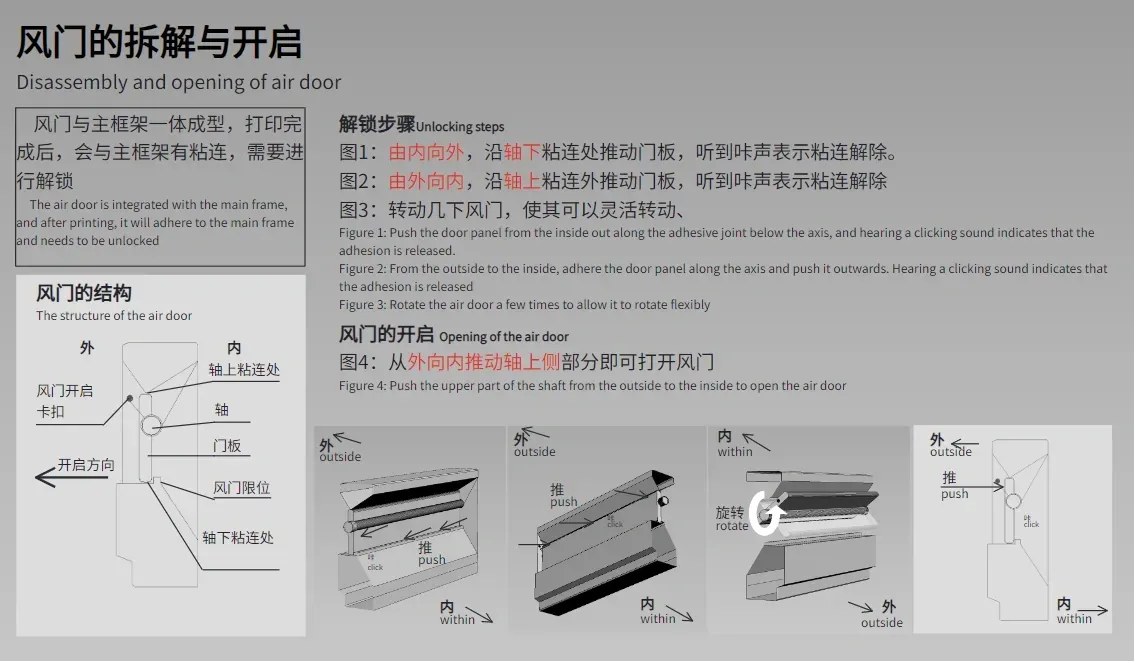
1. Added small support points under each damper, greatly reducing the probability of damper spaghetti. The small dampers are at both ends, and for the large dampers, there are points at both ends plus the middle; just push these points when unlocking the damper
2. The P1S front guard plate has been changed to a guard plate with storage compartments, and the original guard plate has been moved to the last plate
3. Increased the thickness of the minimalist tool box to match the thickness of the tool box (the tool box is in the P1S expansion set), allowing it to directly accommodate solid glue sticks.
2.1 version upgraded: Upgrade content, 1. adjusted the tolerance value of the gaps, making them tighter. 2. The damper shaft has been rounded, making it easier to install and disassemble. 3. Adjusted the rivet model to be less fragile. 4. Fixed some errors.
Expansion set link: YIBOX--Bambu P1S, X1 series AMS all-in-one print riser YBS2.0 Expansion Accessory Set From YiBOX Studio MakerWorld: Free 3D Model Download
2.1 version release video:
Also added a configuration from the video, red and yellow configuration, see configuration 2 The red and yellow configuration is for two-plate ultimate pre-plating, please confirm you have printing experience with this type of pre-plating before attempting it!!!!!!!!!! to prevent material waste. Please refer to the last 6 minutes of the video above
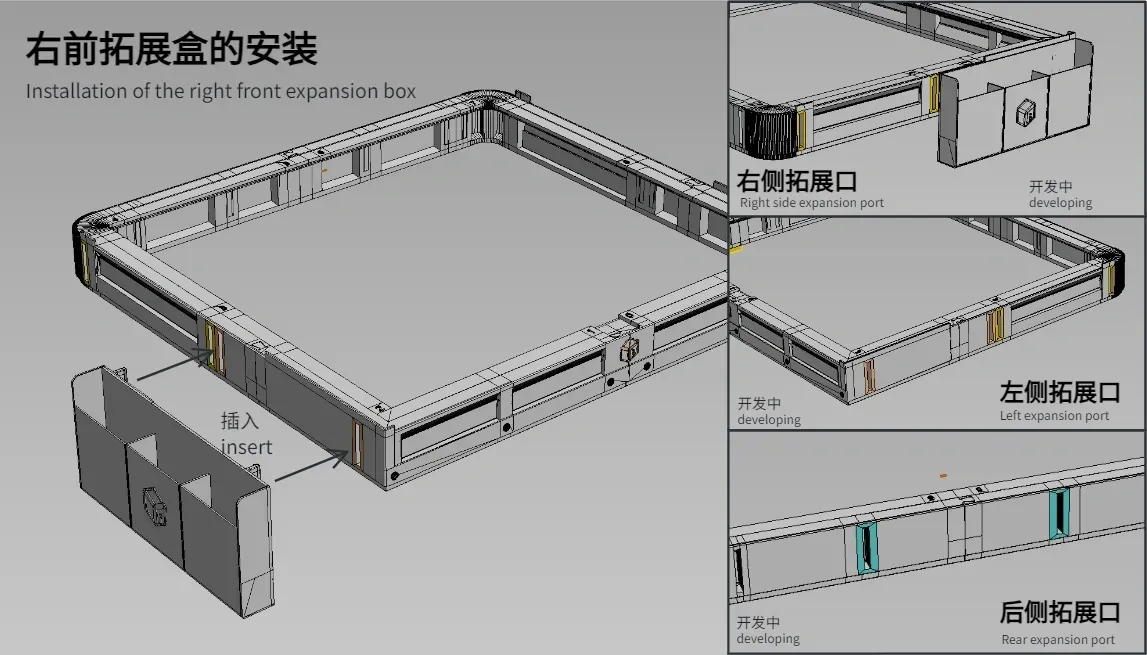
The second wave of expansion accessories has been released: Bambu P1S, X1 series AMS all-in-one print riser YBS2.0 Right front side expansion part From YiBox Studio - MakerWorld
1. Make sure to wipe the plate surface clean!!! 2. Enable bed leveling!!! 3. Materials must be dry 4. Print with the chamber door closed, do not open the door midway unless there is an issue!!!
For installation, please watch the video below carefully, you can skip directly to the installation section, or read the instructions in detail below.
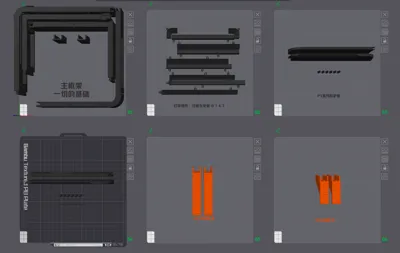
Configuration 1 sliced plate description:
Boost Me (for free)
Your support and recognition are my motivation to create, please support me!!
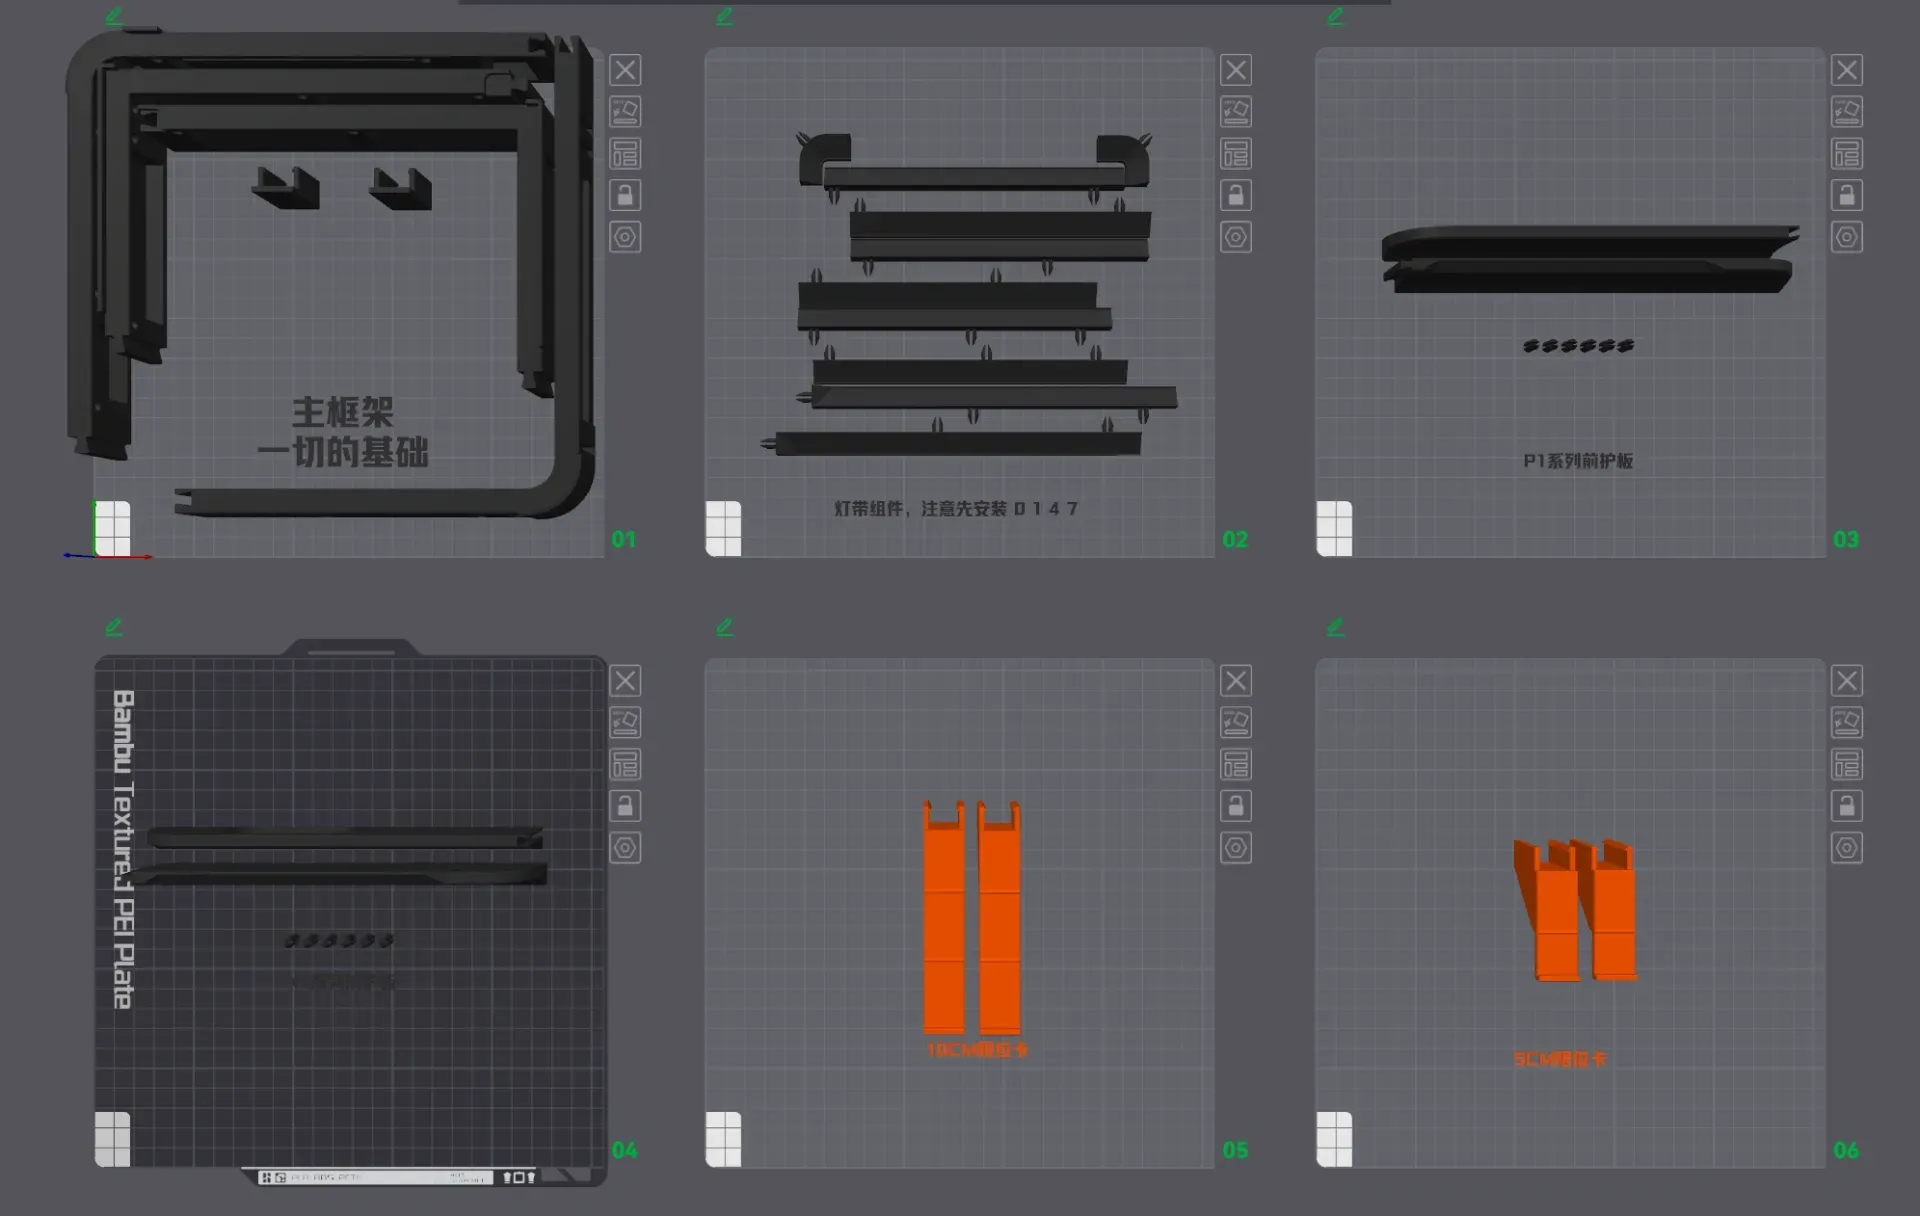
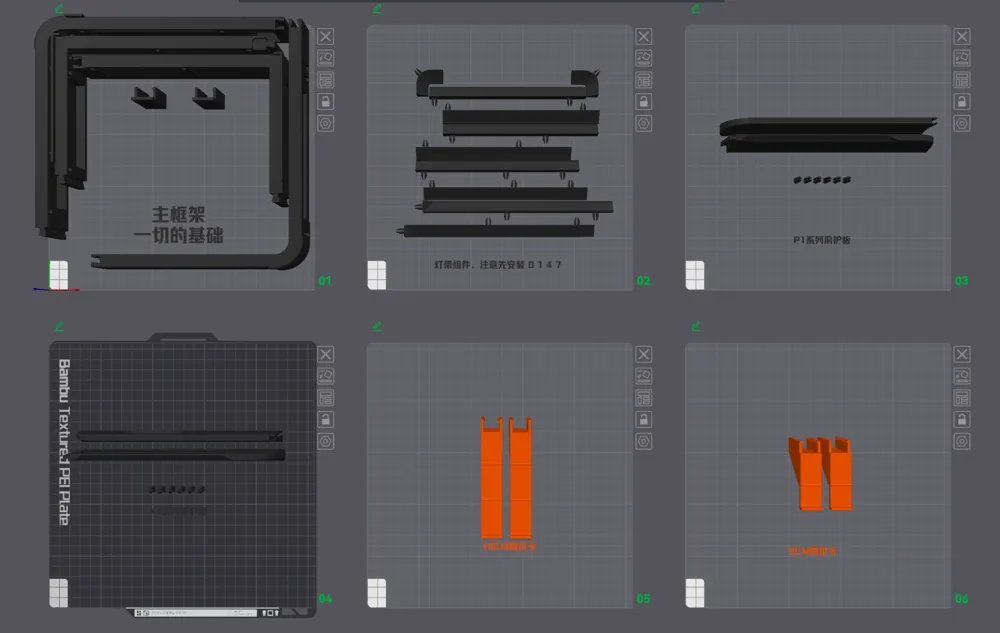
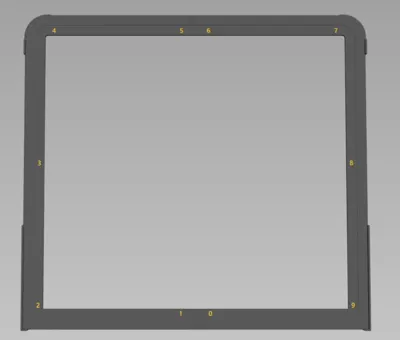
First plate: main frame
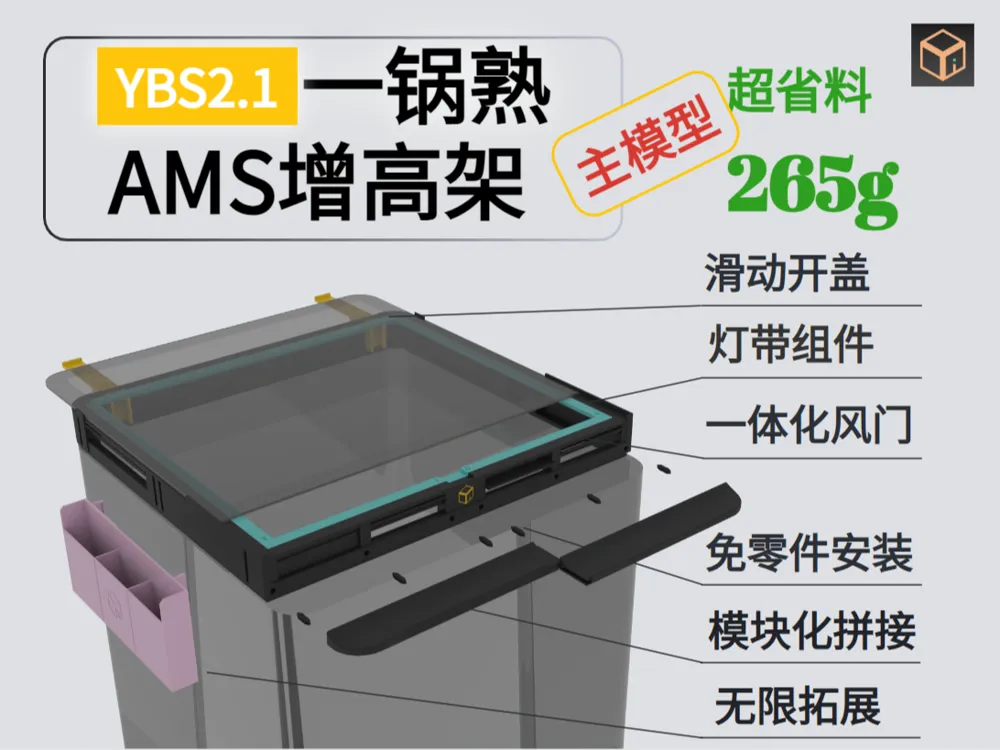
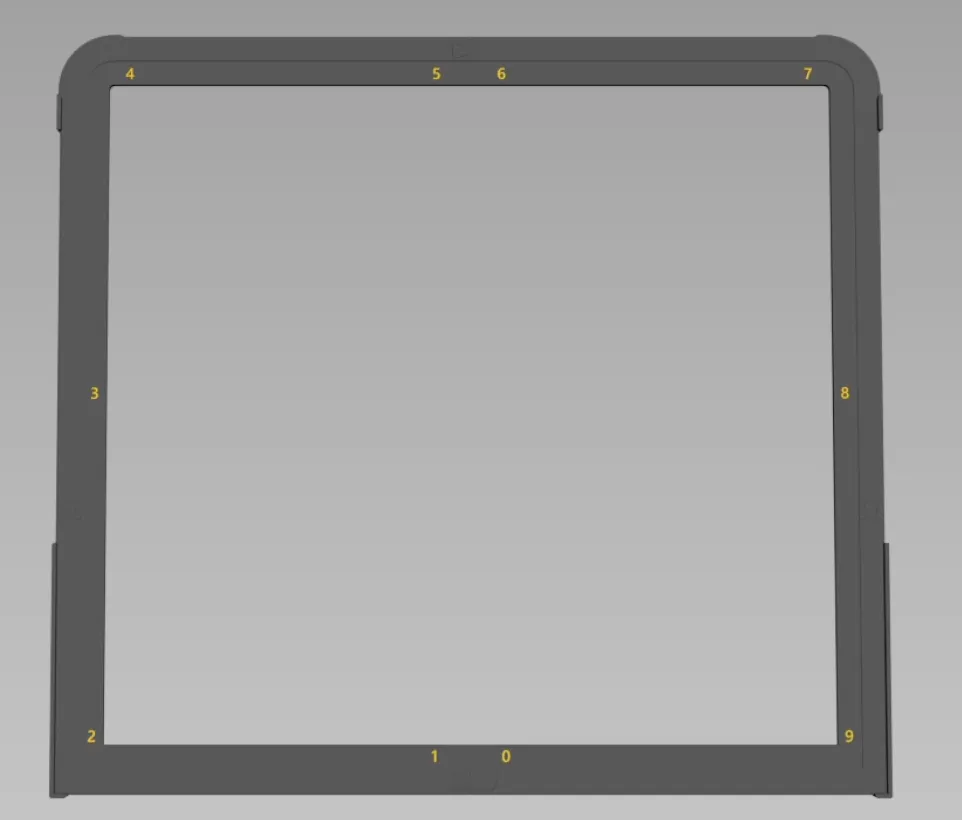
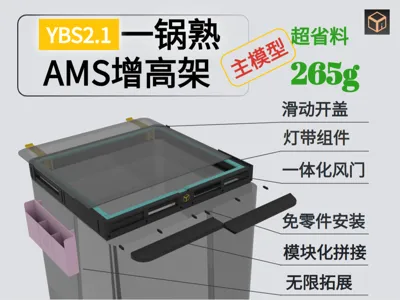
All accessories are installed based on the main frame; if there are no other requirements, this frame can be used once printing is complete. It consists of four components plus two glass limit clips; with a lightweight design ensuring structural strength, it only requires 265g of filament to complete. Installation uses mortise and tenon joints, requiring no other parts
Printing profile: 2 walls, grid infill, 15% infill rate, no supports needed. The slicer will alert about floating areas for accessories, but disregard these as they are for the dampers, and printing will proceed normally. Before printing, please ensure the bed is clean and enable leveling. PLA or PETG materials can be used; please ensure the material is dry to improve print success, otherwise issues like spaghetti, stringing, and damper print failures may occur. If necessary, bed adhesive can be sprayed

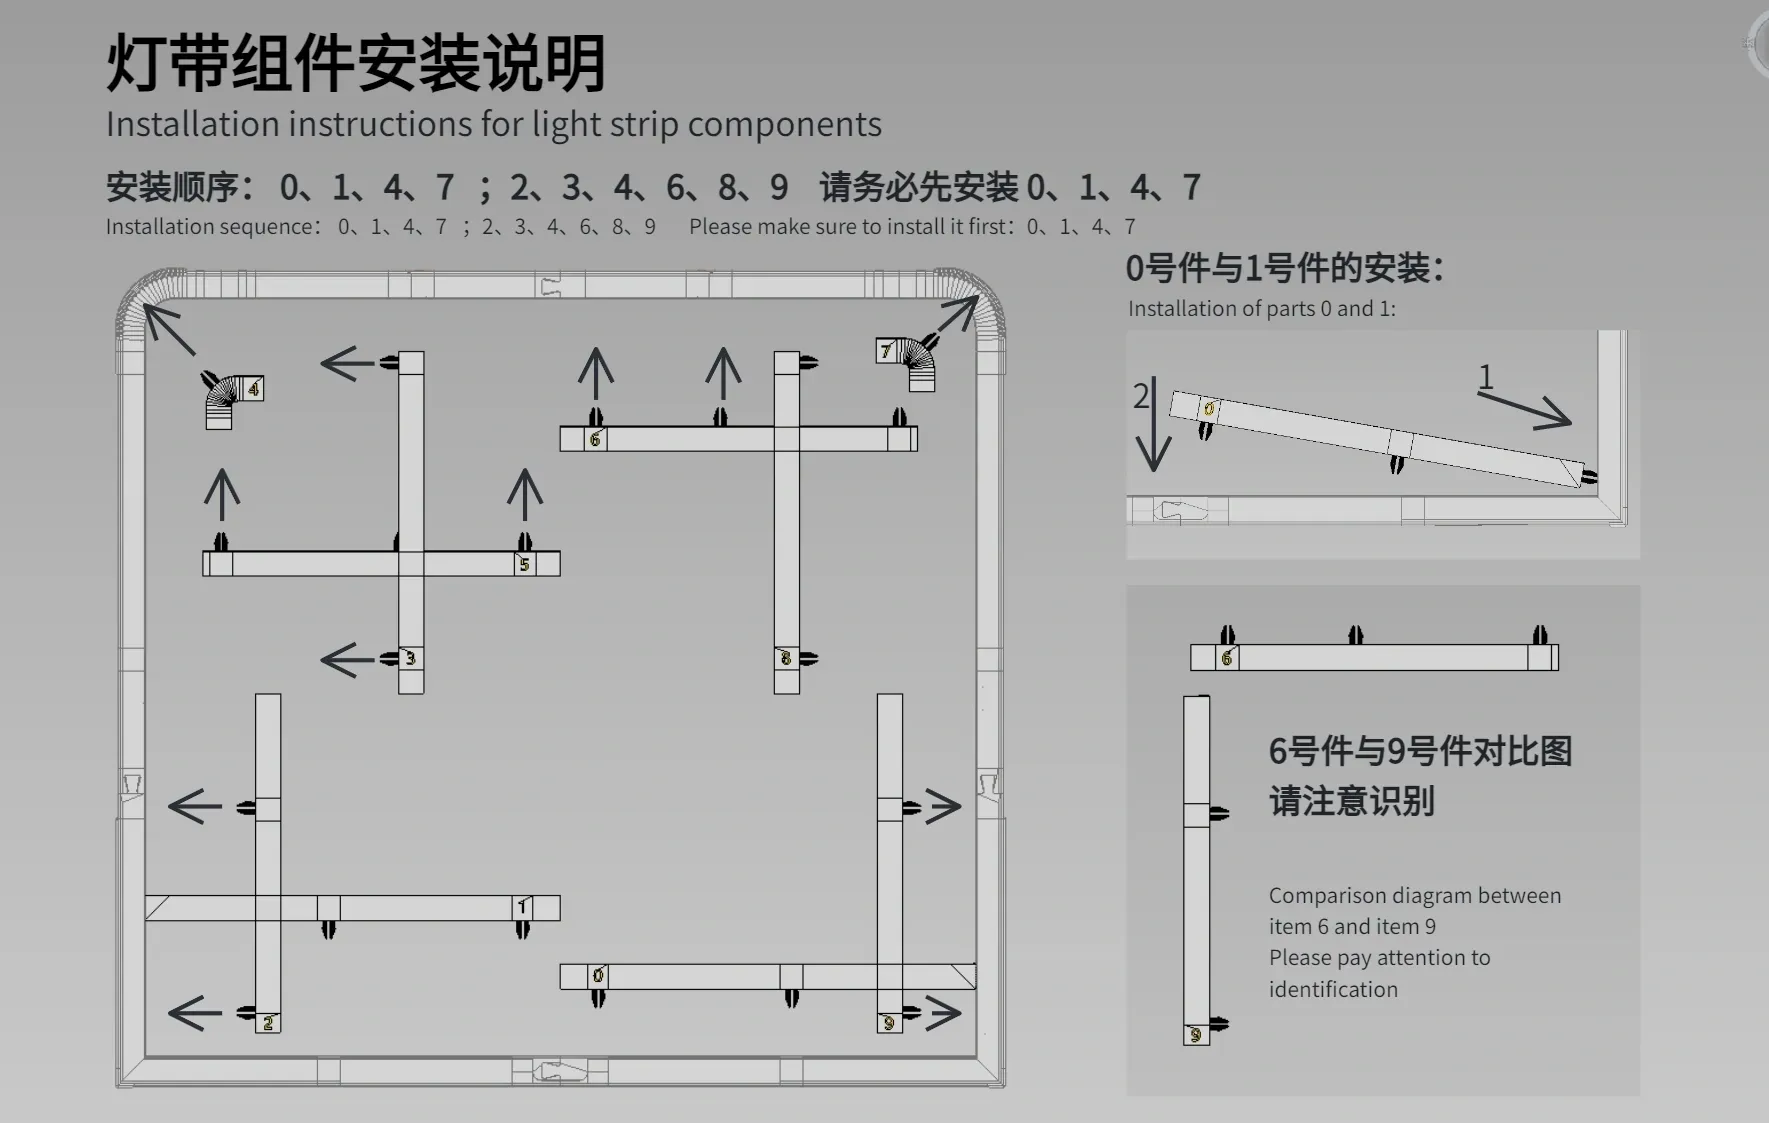
Second plate: LED strip expansion component:
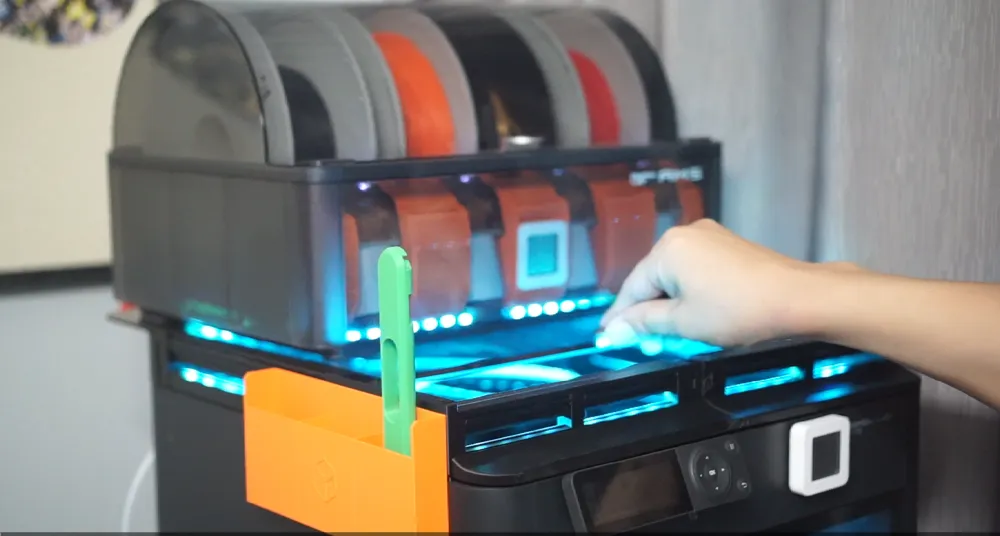
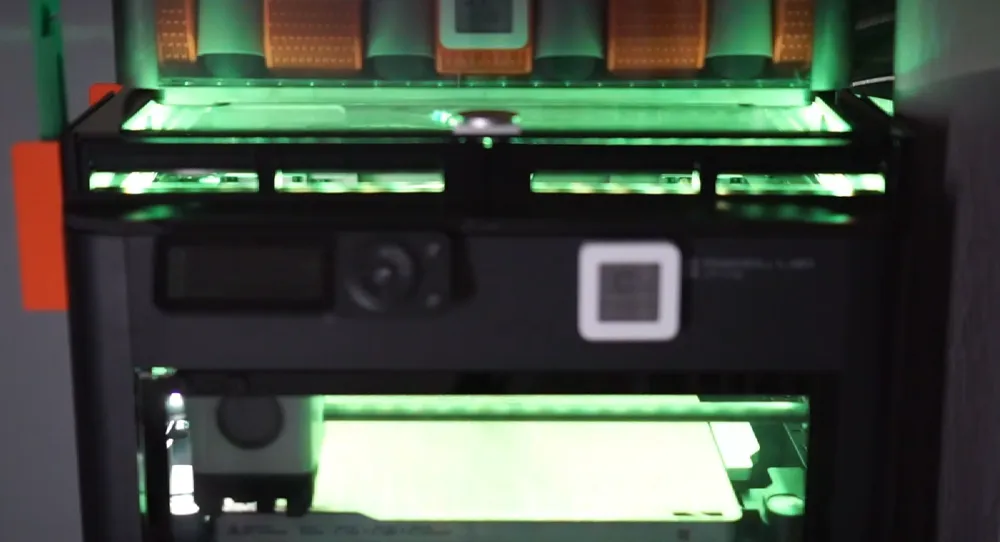
Installed inside the main frame, it consists of 10 components. Each object has individual supports enabled (to facilitate mixed printing, they can be printed together on the first plate). The supports are normal (automatic), mainly located at the rivets connecting the components to the main frame. Support material consumption is minimal, only 2.47g, with a total material usage of 65g
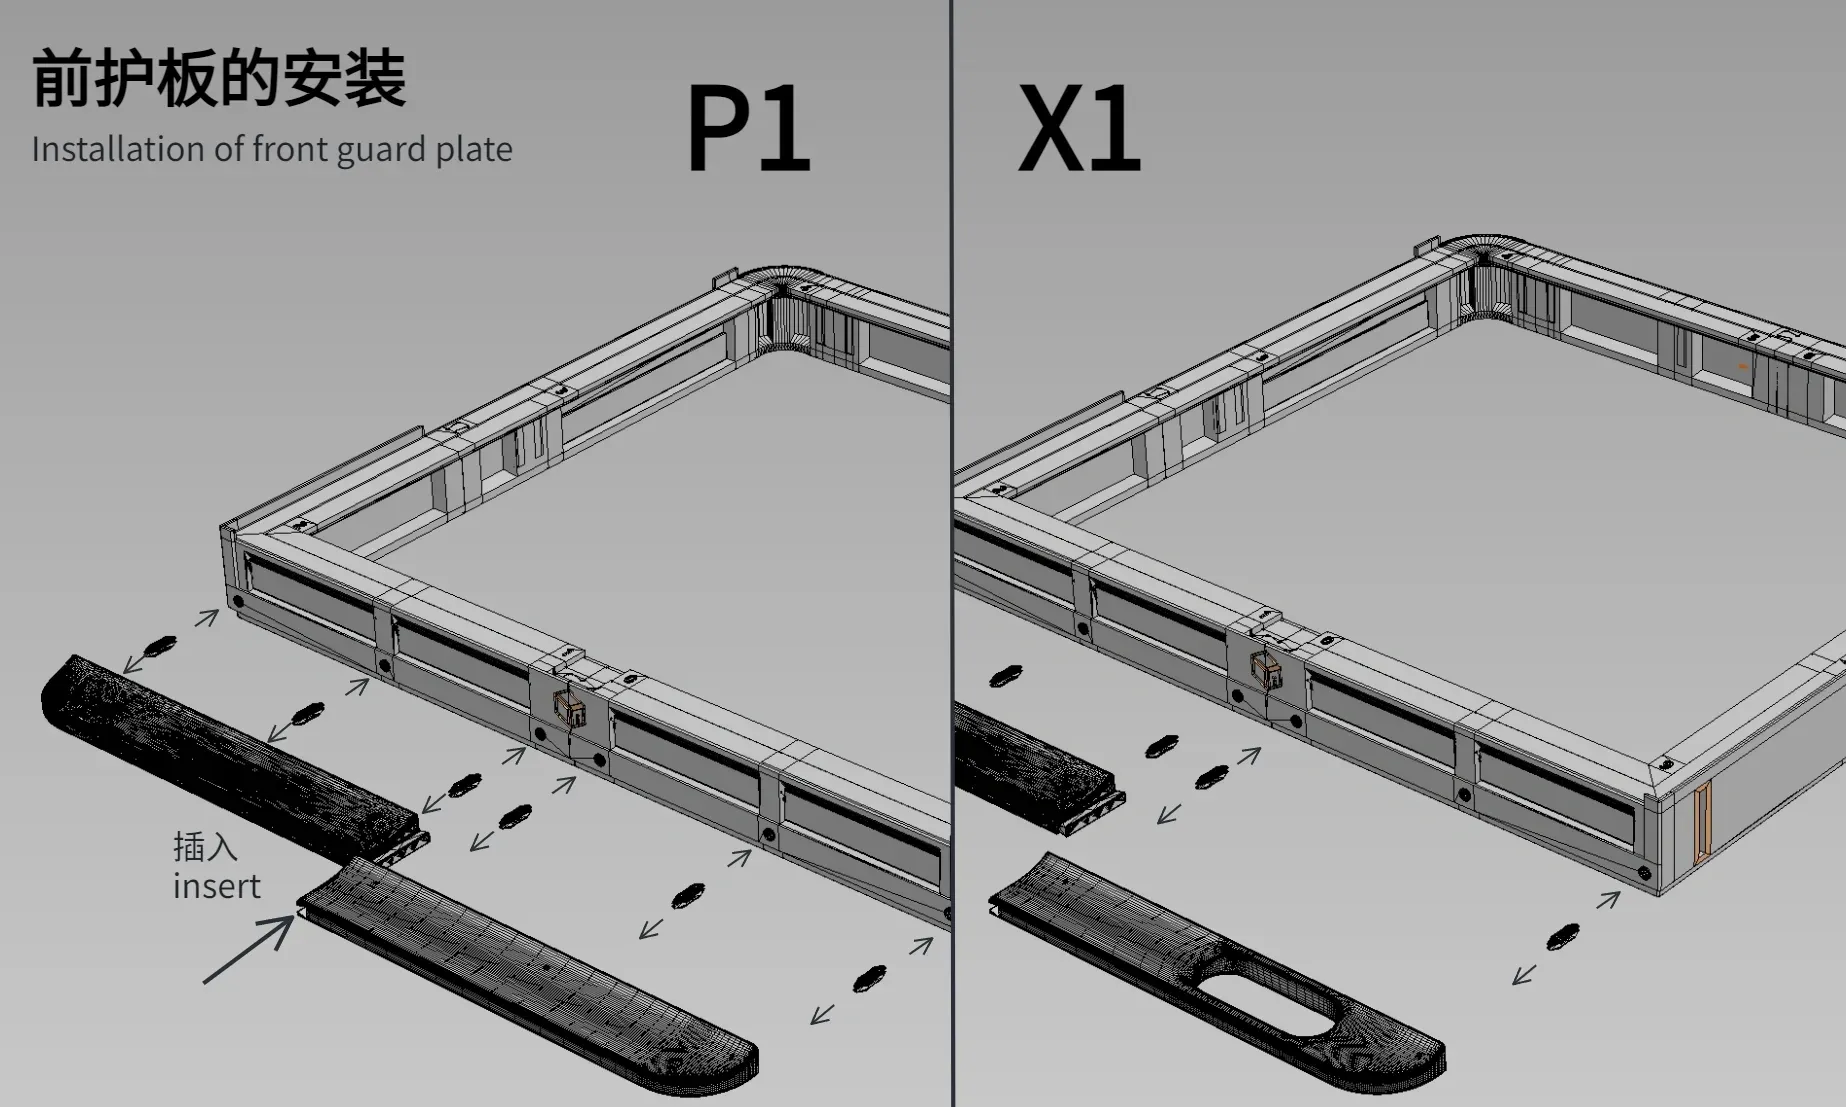
Third and fourth plates: Front guard plate components
To maintain the aesthetic consistency between the entire riser and the host machine, this accessory can be added. The third plate is specifically for the P1 series, and the fourth plate is specifically for the X1 series. Print and install according to your needs:
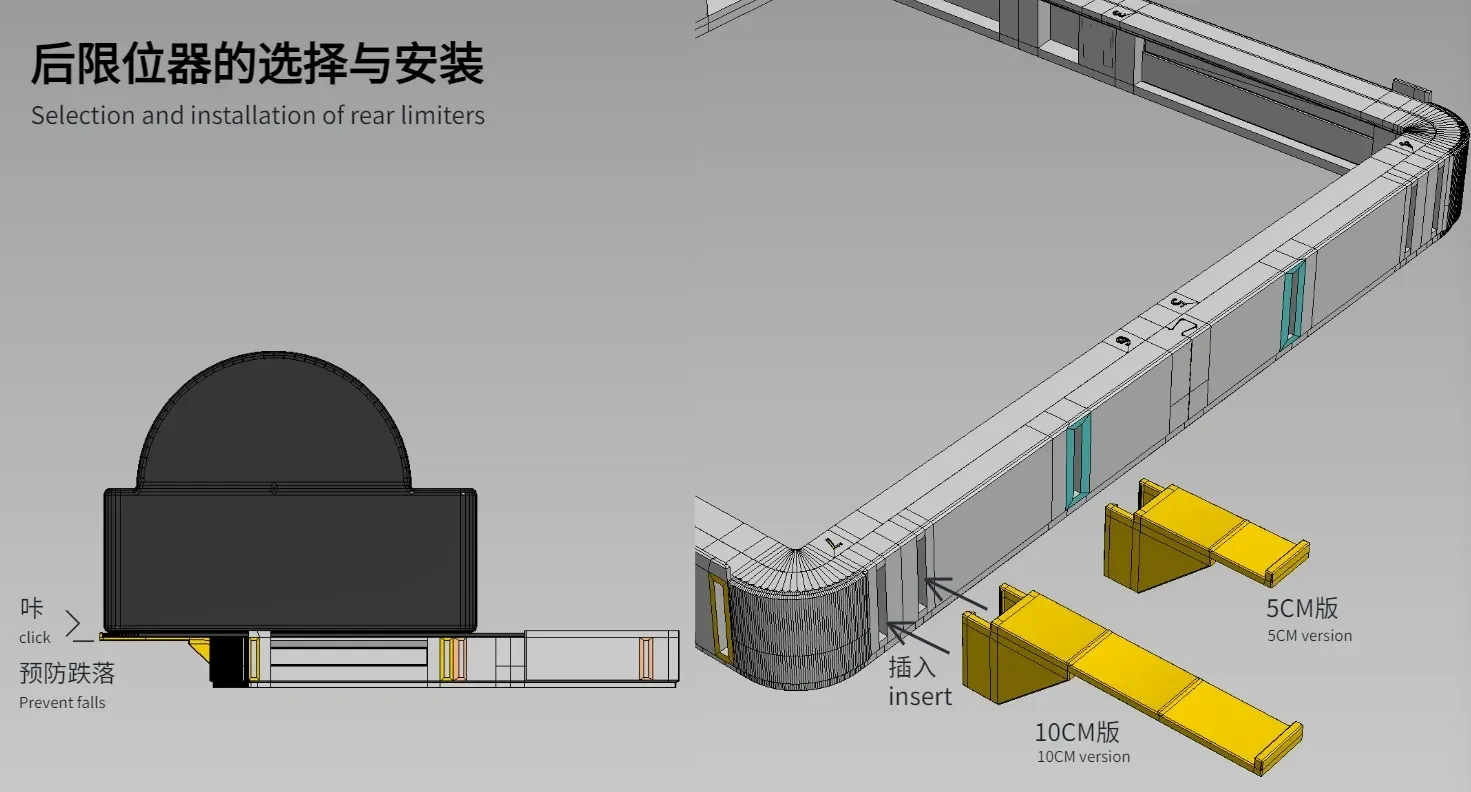
Fifth and sixth plates: AMS sliding limit device
A limit component added to prevent the entire AMS from sliding off due to excessive backward sliding of the glass top cover. The fifth plate provides a 10CM limit, and the sixth plate provides a 5CM limit. If you wish to use the sliding mode, be sure to install a limit device first to prevent injuries and property damage caused by improper use!
Seventh plate: Minimalist parts box
The main frame has five sets of expansion interfaces in total. This release includes a minimalist front left parts box; if you like it, you can print and install it for use
Supports are set for the plug-in part. Due to the model's structure, please do not flip the model's orientation when printing, to avoid print failures or inaccurate installation
Thank you for reading this far, your support is my greatest motivation. Please leave your valuable comments and suggestions, let's optimize and upgrade this model together!
License

You shall not share, sub-license, sell, rent, host, transfer, or distribute in any way the digital or 3D printed versions of this object, nor any other derivative work of this object in its digital or physical format (including - but not limited to - remixes of this object, and hosting on other digital platforms). The objects may not be used without permission in any way whatsoever in which you charge money, or collect fees.


Comment & Rating (21)