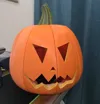
Dwights pumpkin mask


Print Profile(1)
Description
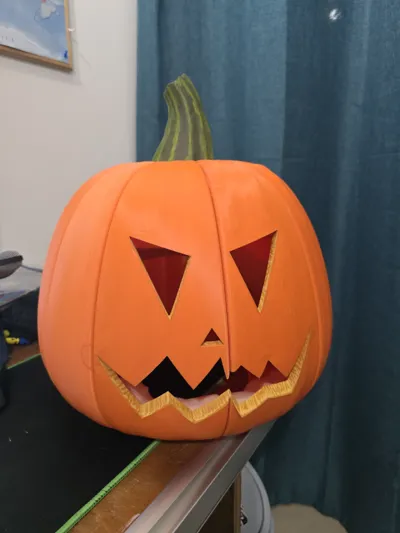
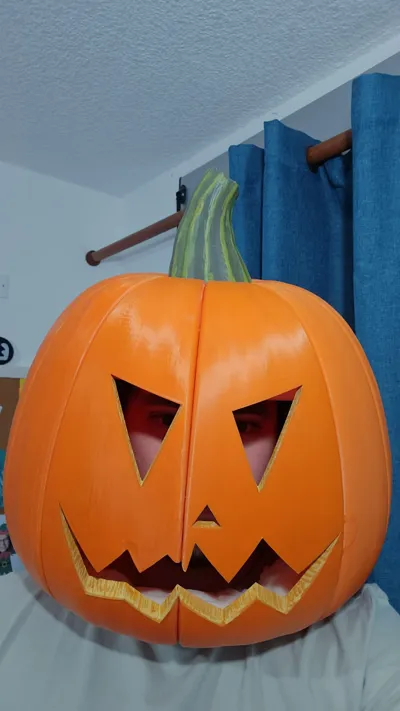
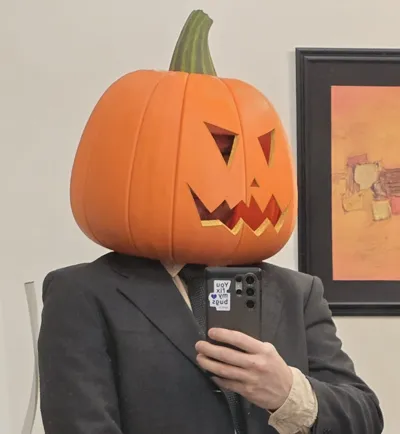
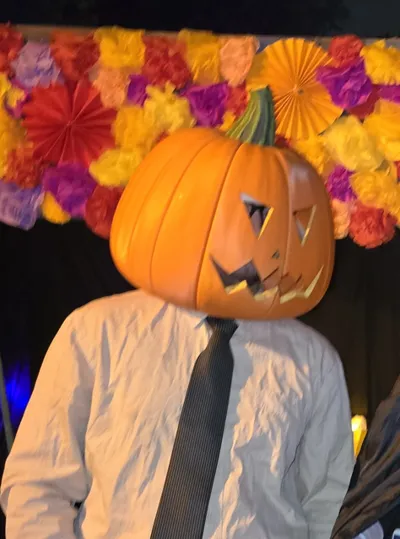
Halloween Dwight Scrhute mask!
Components needed:
- 32 M3x10 (I used m3x12) screws
- 32 M3 nuts
- 56 7x2 round magnets
- 3 small wood screws (I used 3 12mm screws)
- CA glue (superglue) or the adhesive of your choice
I recommend leaving the glueing process for the end of the assembly, so if you get the parts on the wrong position, you can easily swap them around.
To assemble the mask, just follow the print number in an anticlockwise order (looking top down).
Starting with P1, P2 should be the next part, and it will be screwed to the "free" side of P1, P3 should be on the "free" side of P2, and so on. To join these parts, use 3 m3x10 (or m3x12) screws and nuts, don´t tighten the screws just yet.
The first half uses parts from 1 to 6, and the stem will be joined to this half. The second half uses parts from 7 to 11.
The pattern formed on the top hole of the pumpkin should match the shape of the stem.
Once you have all the parts joined by screws, you will have to glue them, so the top portion of the seams get joined together. Do one seam at a time, and after applying the glue hold the pieces in place until they are firm and don't move, then tighten all of the screws in that seam.
The stem can be screwed through 3 of the first half top flaps. Optionally, you can glue it too, at least I glued mine.
After everything is in place you can glue all the magnets on their designated spots. just make sure to get them in the correct polarity so the two halves are strongly secured when joined.
License
You shall not share, sub-license, sell, rent, host, transfer, or distribute in any way the digital or 3D printed versions of this object, nor any other derivative work of this object in its digital or physical format (including - but not limited to - remixes of this object, and hosting on other digital platforms). The objects may not be used without permission in any way whatsoever in which you charge money, or collect fees.
Comment & Rating (3)