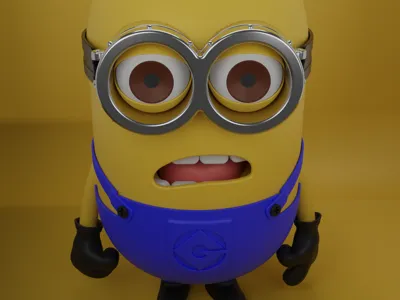
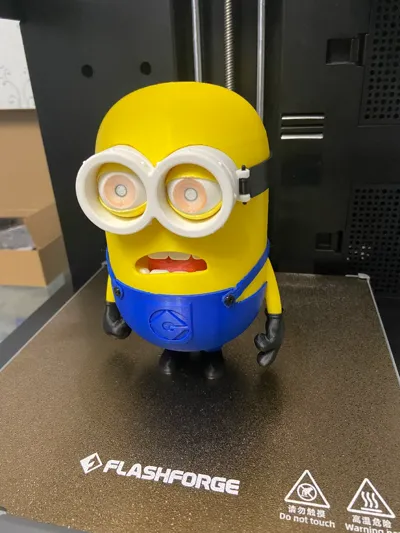
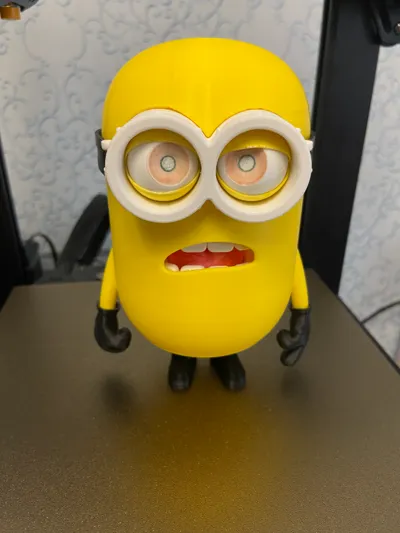
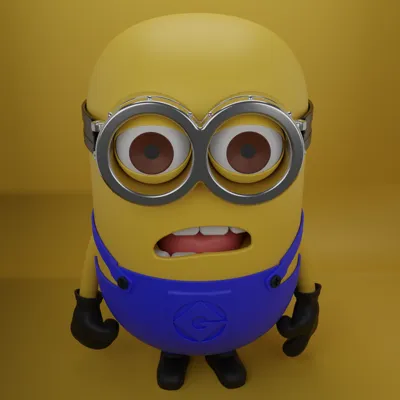
Minion Donny


Print Profile(2)


Description
https://www.printables.com/model/1065225-minion-donny - Printables
https://www.thingiverse.com/keybl1/designs - thingeverse
if you want to support me financially - https://boosty.to/keybl1
This assembly was created entirely by me in CAD, based on the model - https://sketchfab.com/3d-models/minion-donny-4f6fbb3f8d8d46b08e486dce246eb0b7 Thanks to https://sketchfab.com/jaspermateodev for the idea
The assembly consists of 14 of parts. For each individual part, I will attach instructions and possible printing problems that you may encounter. In short, you will need a properly calibrated printer.
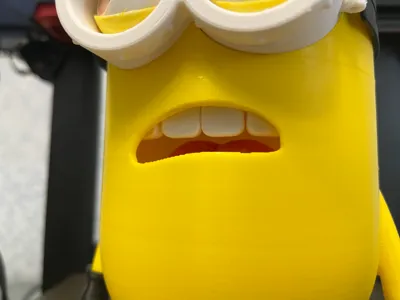
First, you will need to print teeth (12 pcs) and a tongue, it is inserted during the pause when printing the base, find out your pause g-code for your printer in advance
1) Teeth - make sure that the tooth sizes correspond to the CAD sizes, you can measure them in a slicer, otherwise the teeth will not fit into the right grooves during assembly.
2) Tongue - also make sure the x, y dimensions so that it fits into its seat.
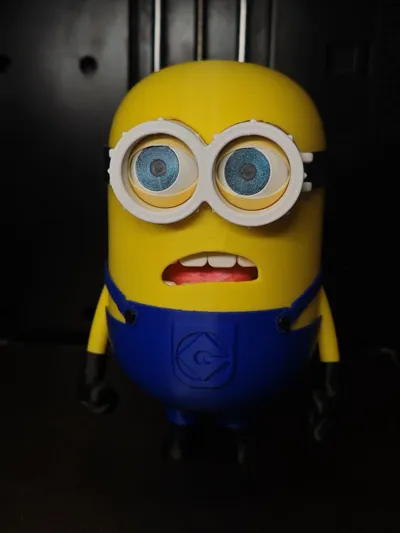
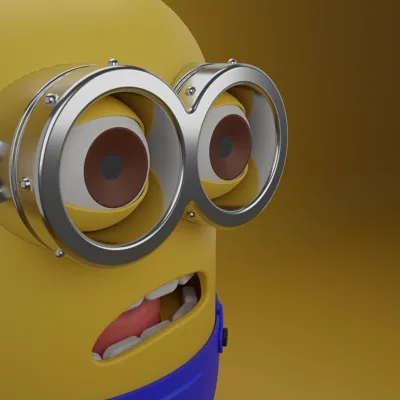
3) Glasses - also watch the sizes of the outer and inner diameters, the gap (outer diameter) between the glasses and the base is 0.1 mm, the gap between the eyelid is 0.25 mm
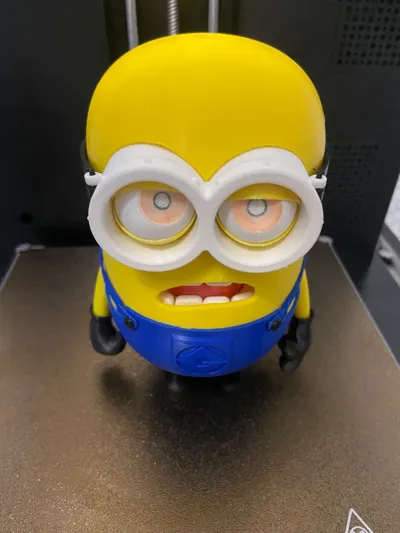
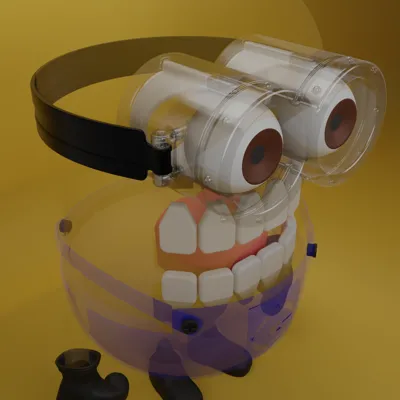
4) Eyes + eyelids - Problems that I encountered when printing the eye + eyelid model.
The required gap between the eye and the eyelid is not provided on the first layers, because of which you simply cannot turn the eye. You need a correctly configured z-offset on your printer, if its value is too low, the eye layers will stick to the eyelid layers (the gap on the model in CAD is 0.25 mm).
Solution:
- select z-offset
- reduce the extrusion width of the first layer
- use XY size compensation of the first layerAlso after printing, you will have to shake this assembly a little so that the eye starts to move, for this there is a hole in the eye into which you need to insert a PIN and shake the eye.
5) Belt - also requires working with a file in the holes.
6) Belt fasteners - a small part that is needed to attach the belt to the glasses. After printing, you may need to work with a round file in the holes. Together with the belt it is connected with a thread 1.75 in diameter
7) Base - during printing there is a pause during which you must insert the lower teeth and tongue, you can glue them, mine inserted with effort and do not fall out.
8) Hands - Left and right hand are printed separately, need supports
9) Legs - printed left and right separately for better quality
10) Plug - this seal is needed to press the eyelids against the glasses from the back side so that the eyes do not push back
11) Pin - needed to stop eye movement in a circle
12) Pants - reduce the speed of the outer perimeters to obtain a quality surface
13) Ribbon - use brim to prevent the parts from coming off the table
14) Button - small parts, use low speeds and acceleration, and also halve all extrusion width parameters, that is, 0.2-0.25
Update 27.03.2025 - Two elements were added to the eye, the pupil and the eyeball. Now Minion looks better (v2 eyelid+eye 3.mf). All dimensions remain the same, the new glasses will fit into the base, the belt will fit into the seat. There is no need to fasten the belt anymore


Comment & Rating (53)