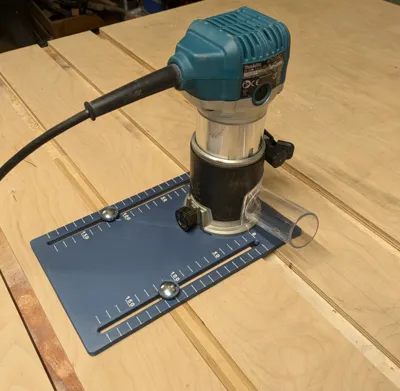
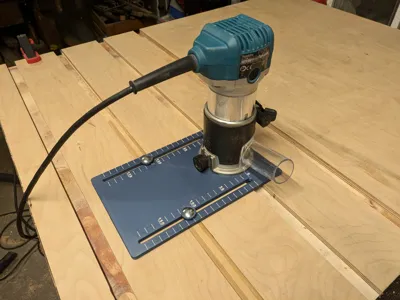
Makita Router Plate for parallel routing


Print Profile(1)

Bill of Materials
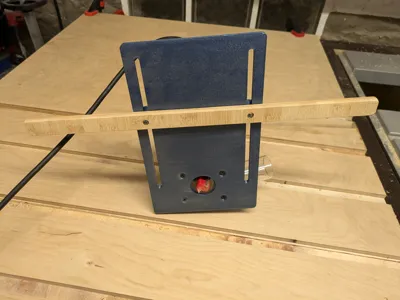
- Scrapwood x 1: Used_to_create_a_Guide
- Screw x 2:
- ScrewSleeve x 2:
Description
This is the first design I would like to share with the community. I will gradually add more pictures and information, but I wanted to give it a try today. :)
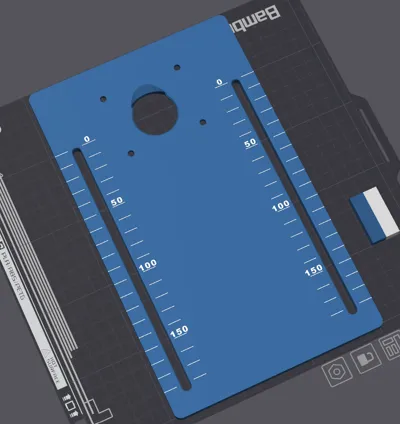
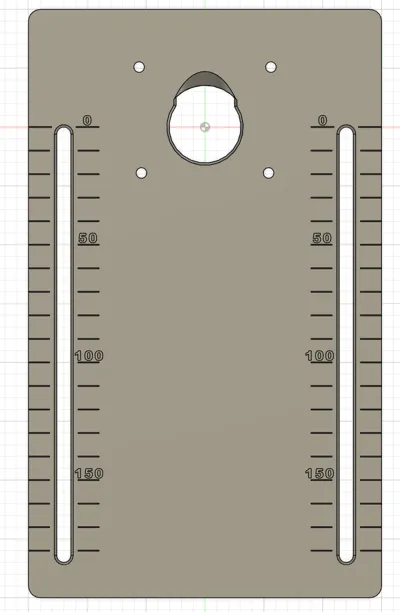
For a project, I wanted to create several parallel grooves with precise repetition. To achieve this, I modeled and printed this milling plate.
The milling plate works by mounting a guide on the underside that is as wide as the groove to be milled. You can then simply slide the guide into an already milled groove, creating wonderfully parallel grooves.
For the guide, I simply cut some scrap wood to the correct width and depth using the table saw. The dimensions of the guide should be chosen so that it can glide smoothly through the milled groove. If the width is too small, it can result in uneven grooves. The length of the guide should be slightly longer than the plate, ensuring it safely passes through the edge of the workpiece.
I equipped the guide with screw sleeves so that I can mount it on the plate with metric screws. I created a small knob for the screws, which I will add soon.
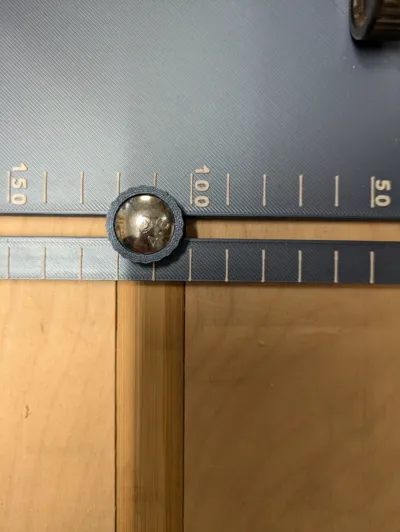
The scale indicates the distance from the guide to the center of the milling head. Therefore, the radius of the milling head should be taken into account when making adjustments.
I hope this model helps some hobbyists, and I would love to hear your feedback!
Comment & Rating (21)