Logitech GPW Charging Dock


Print Profile(1)
Description
The original wireless charging mouse pad and charging module for the Logitech GPW mouse are a bit expensive, and wired charging is not very convenient
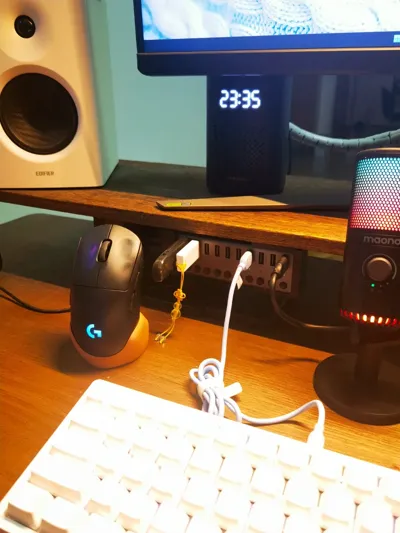
So, I chose a charging dock between the two. After the computer is turned off, you can simply place the mouse on the dock to charge it
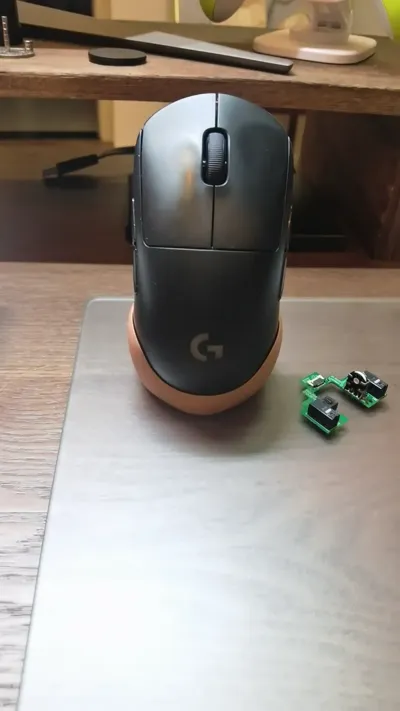
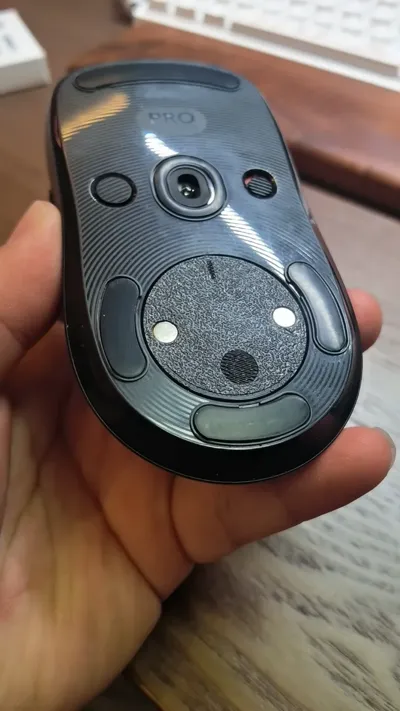
The 3D Printed parts are divided into a charging base and a charging module. Press the spring pins into the small holes on the front of the charging base, and press the magnets into the charging module. Both serve as the positive and negative poles for charging contact (viewing from the front of the base, left is negative, right is positive)
In addition to conducting electricity, the magnets can firmly attach the charging module to the mouse. Considering that the charging base can securely hold and fix the mouse, there is no need for a magnetic design for the base, which saves material costs and provides a more convenient user experience than commercially available magnetic bases
The bill of materials to purchase is as follows
1. Type-C female connector 1 piece (2 RMB)
2. Pogopin spring contact pins, model 2*5, 2 pieces (approx 0.4 RMB)
3. Magnets, model 5*4, 2 pieces (0.28 RMB)
Small parts for items 2 and 3 might not be purchasable individually; purchasing the minimum order quantity will still be within 5 RMB. Extra materials can be kept for future DIY projects
Purchase links posted
Pogopin connector spring pin antenna thimble test pin copper pin power charging thimble - Taobao
Small tips
1. Logitech's built-in charge management will automatically disconnect charging when the mouse reaches 80% charge, so there's no need to worry about overcharging
2. When charging on the base, the mouse will not light up or show any indication. This does not necessarily mean an assembly error. To check if it's working correctly, place the mouse on the base for ten minutes when its battery is below 80%, then check if the battery level has increased
3. You will need a soldering iron to solder the two positive and negative wires from the Type-C female connector to the tail of the spring pins before pressing them into the base. Some DIY skills are required
Comment & Rating (0)