Search models, users, collections, and posts
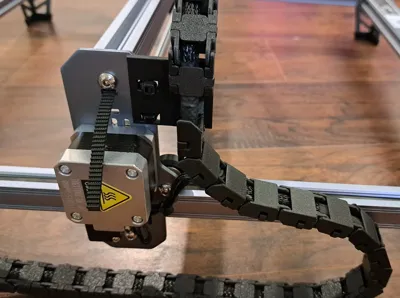
Creality Falcon Laser Engraver Drag Chain
IP Report


Print Profile(1)

0.2mm layer, 2 walls, 15% infill
Designer
7.7 h
3 plates
Open in Bambu Studio
Boost
140
287
35
23
491
229
Released
Description
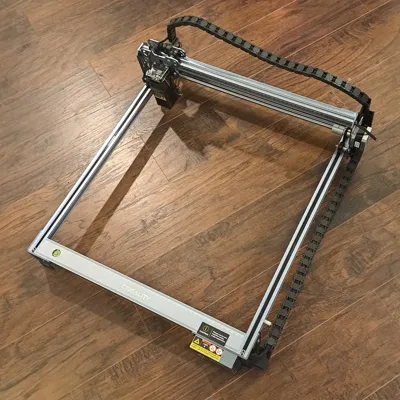
Drag chain for the Creality Falcon Laser Engraver.
Its not perfect, but it keeps things tidy and it works.
- Prep work: You will need to print one of each mount, (32) Drag Chain, (21) Drag Chain Reverse, and (53) Drag Chain Cap. You will also need zip ties. Before assembly, you may consider reorienting your stepper motors so that the plug is out of the way and the cable has more slack. I moved my Y axis motor so that the plug faced down and the X axis motor, so that the plug faced up.
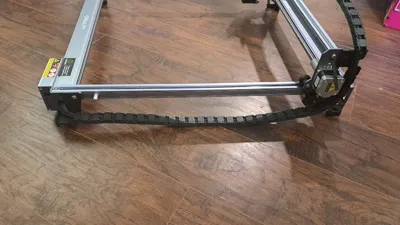
- Attach the Front Right Mount by using the screw on the side. Attach the X and Y axis by securing it with one zip tie each (Y axis used the zip tie in a figure 8 pattern).
- From the front right mount, attach (25) drag chain links, then (3) reversed drag chain links. Then attach the end of the chain to the Y axis mount.
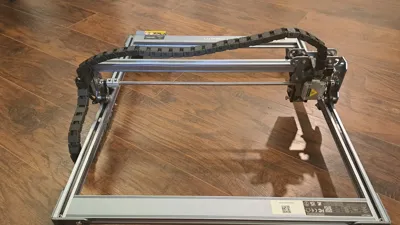
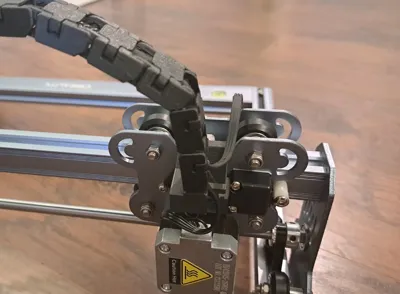
- From the Y Axis mount attach (5) drag chain links, (18) reversed drag chain links, (2) drag chain links. and then attach the chain to the X axis mount.
- Insert the cable into the drag chain channel, and close up the drag chain with the caps.
- Use the zip ties to secure the exposed sections of the cables as needed.
License
This user content is licensed under a
Creative Commons Attribution-Noncommercial
Comment & Rating (35)