
Nintendo DS Unhinged Shell Replacement
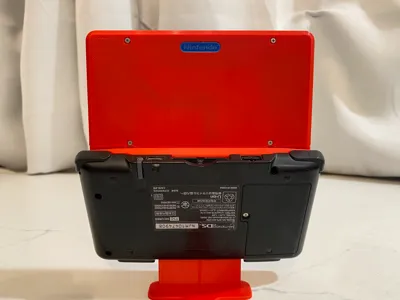
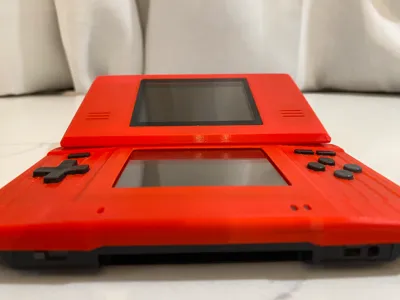
Print Profile(2)


Bill of Materials

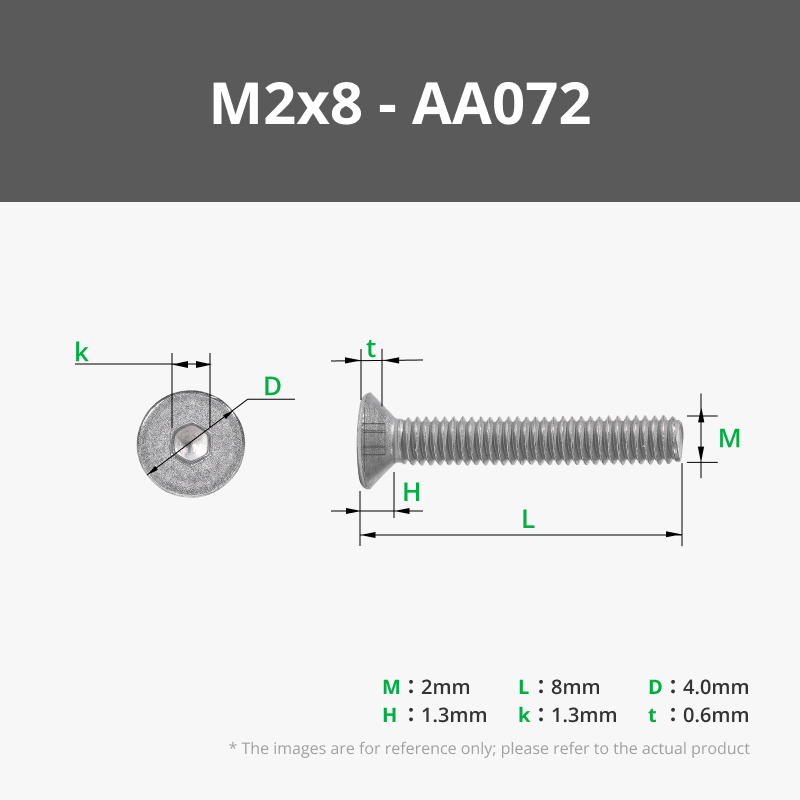
- M2x8mm Flat Head Screws x 2: These are used to fasten the top screen to the bottom. This is replacing the hinge mechanism.
Description
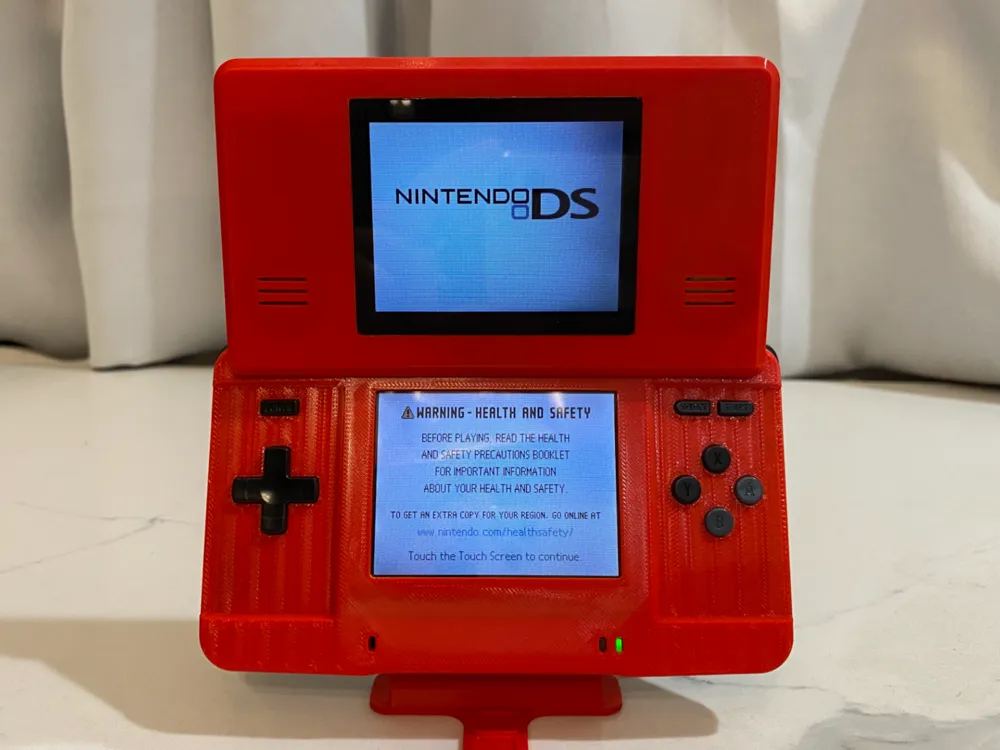
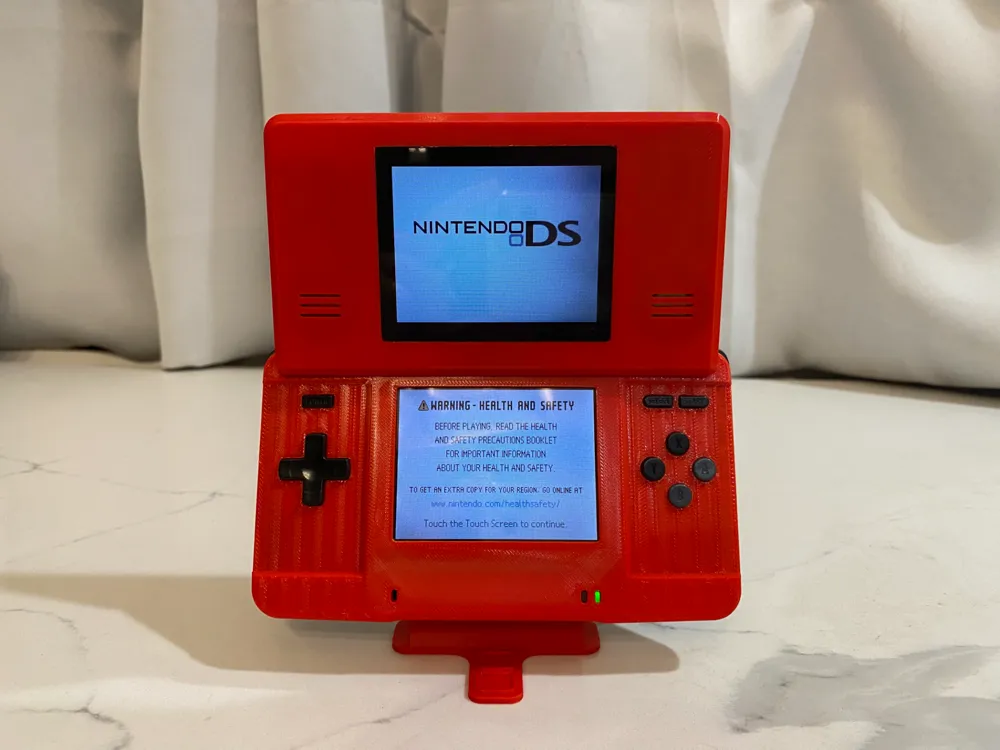
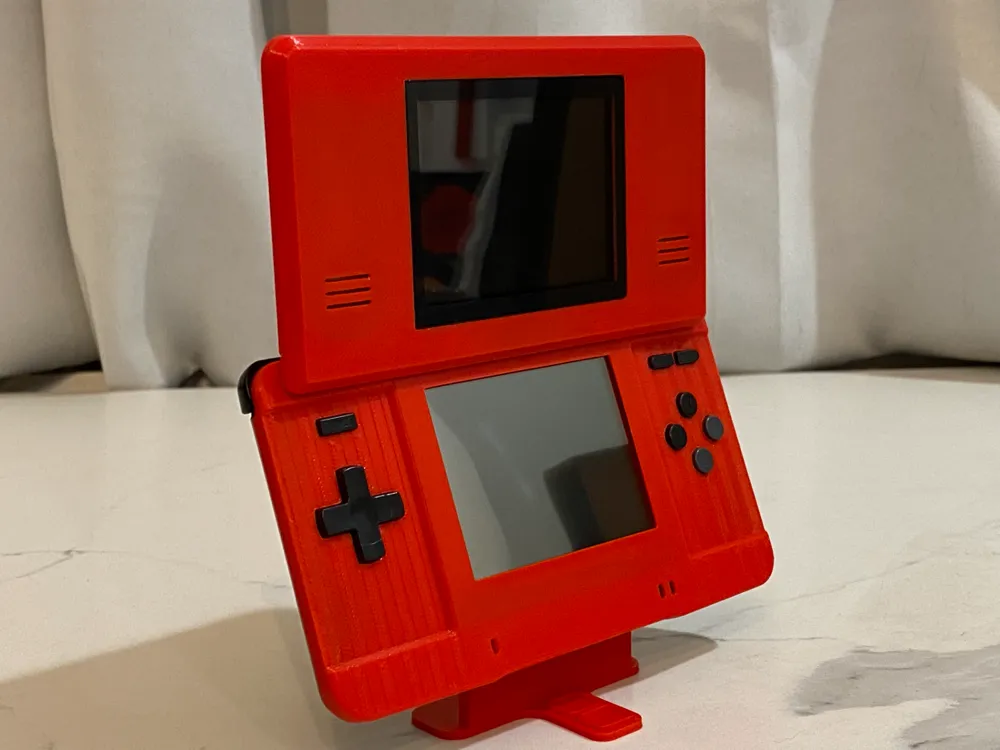
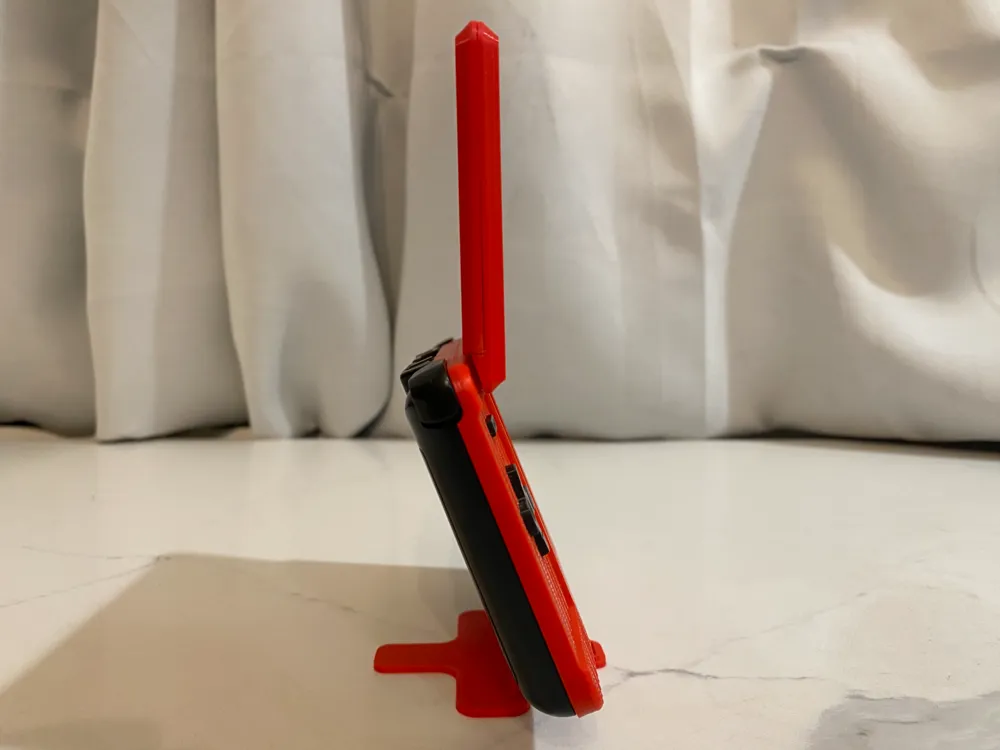
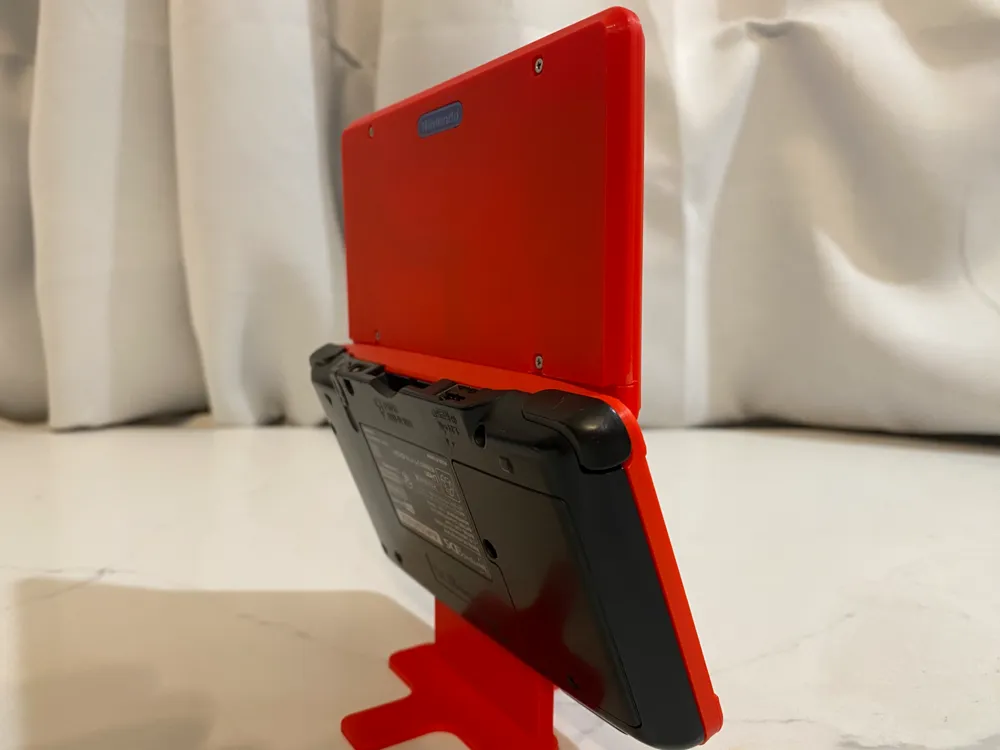
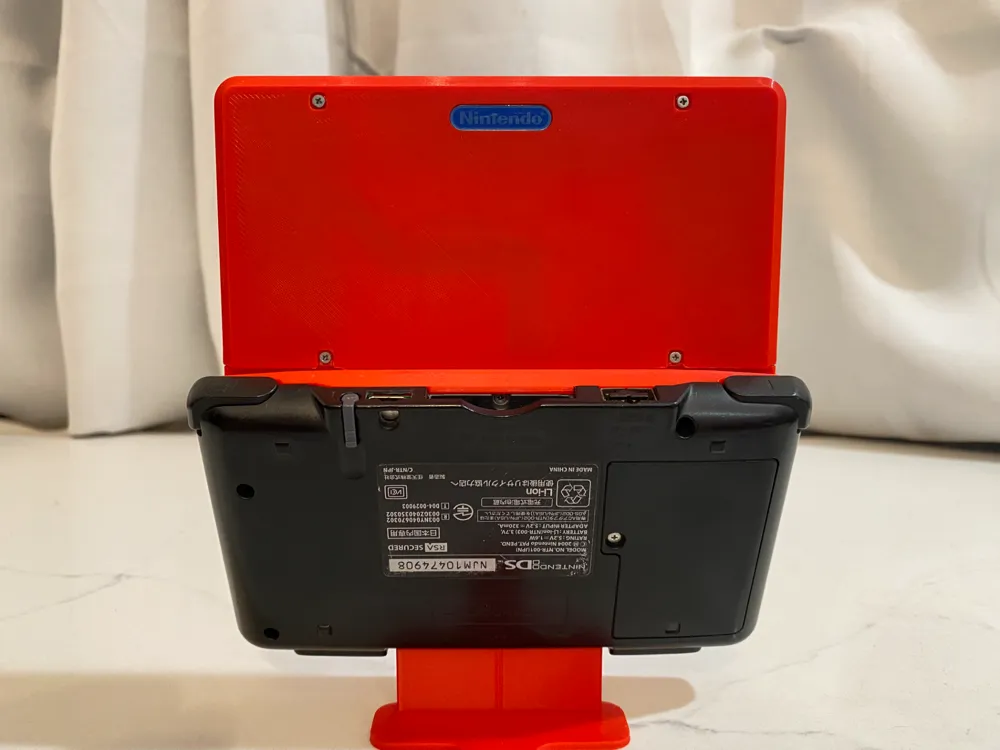
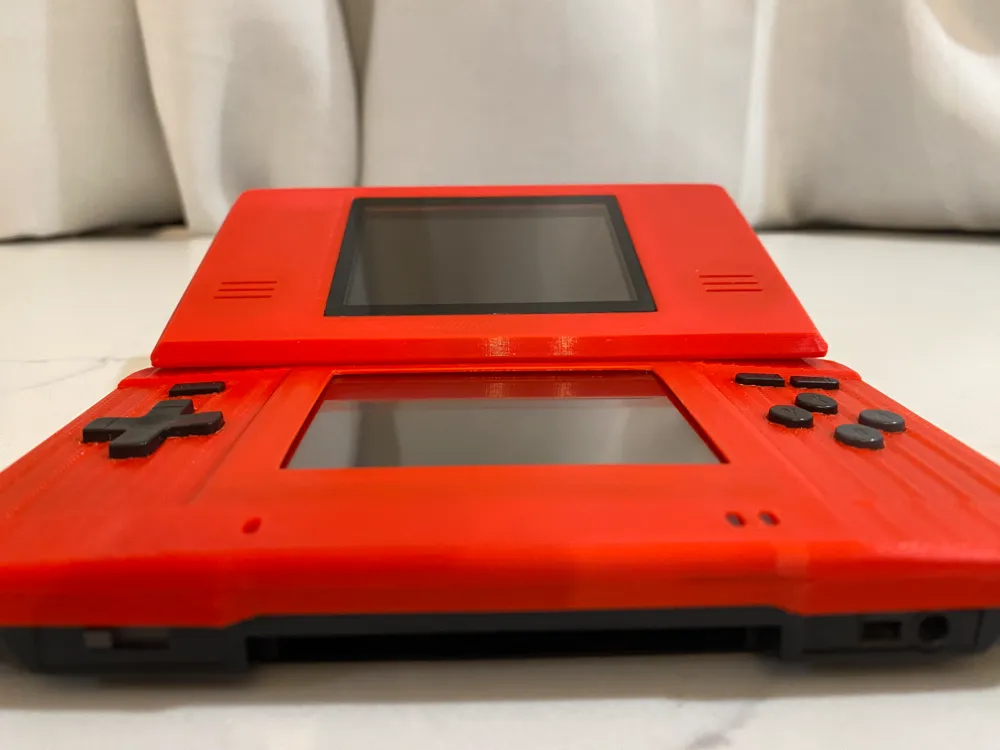
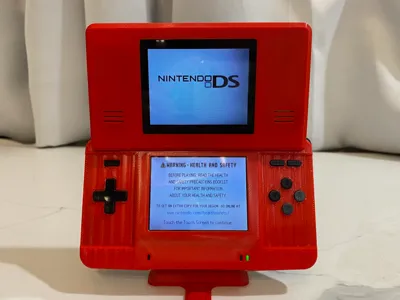
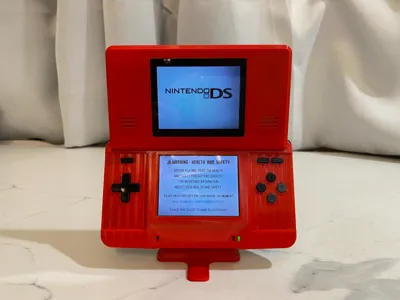
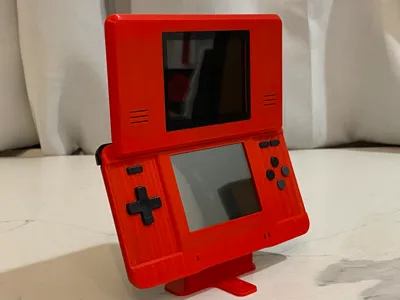
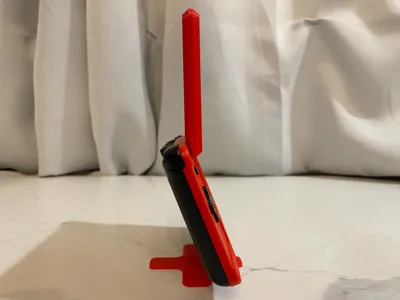
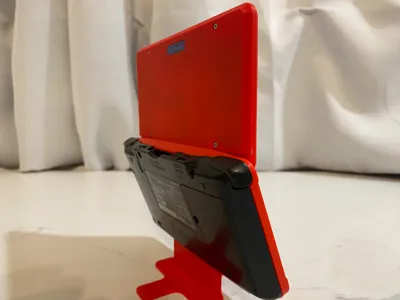
This is a shell replacement for the launch model Nintendo DS (NTR-001 aka DS Phat) that also removes the hinges. This is a hingeless design. The top screen will not fold down.
The original DS console is known to have plastics that have not aged well, causing the shell to become fragile and commonly cracking/breaking where the hinges are. Sometimes the hinges get lost too. It's common to find lots of DSes on eBay that are already broken for cheap.
I designed this with FDM printability in mind at 0.2mm layer height and 0.4mm nozzle diameter. Parts “a” and “b” are meant to be glued/epoxied together. This is to avoid ugly surfaces on the inside/outside and to reduce the supports needed to a bare minimum. I tried my absolute best for these to use as little support as possible. Be extra sure to align all the button holes and edges when gluing these two together.
PARTS B AND X REQUIRE SUPPORTS.
The top screen attaches to the bottom of the shell with two M2 screws. I recommend using a phillips flat head M2x8mm. The screws will cut their own thread into the plastic.
This is designed to reuse the screws from the DS. One of the screwposts that holds the back shell piece next to the stylus is not present to accomodate a Loopy DS capture card.
You may need to sand/file the cutouts for the buttons to ensure proper fitment.
Required:
- Parts “a” “b” “x” “y”
- Glue/epoxy to glue parts “a” and “b” together
- Original buttons, button membranes, triggers, trigger springs, electronics, speakers, battery, top screen lens, etc. (Everything BUT the shell)
- Original black bottom shell piece. (This piece’s plastic is almost always in decent condition and not fragile)
- 2x M2 Screws (M2x8 work great)
- Original screws that come with your DS
- 9x Longer Phillips/JIS screws
- 7x Tri-Wing screws
- 2x Shorter Phillips/JIS screws that attach the speaker PCBs
You will have one longer phillips/JIS screw and one tri-wing screw left over after you fully assemble the DS Unhinged Shell. Feel free to keep them safe in case you strip one, or toss them.
If you have any suggestions or comments, feel free to let me know. Thanks!
License



Comment & Rating (29)