
Modular Cord/Cable Cover w/ Lid & Corner - 10&20mm


Print Profile(4)


Description
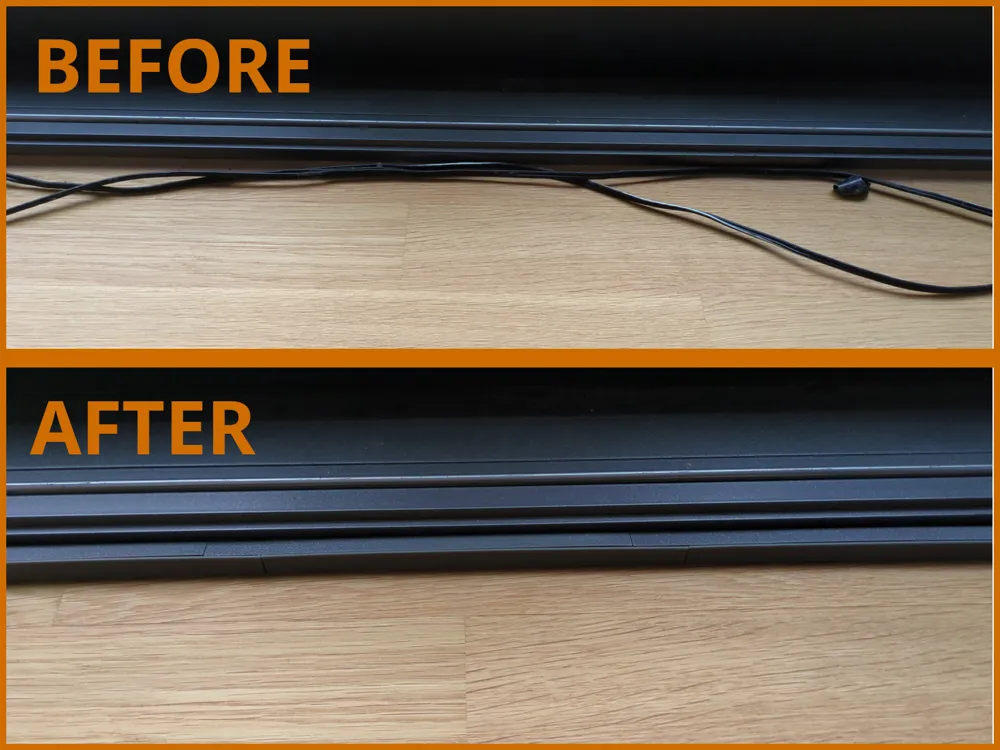
Modular cable duct with lid to hide those unsightly cables running through your house
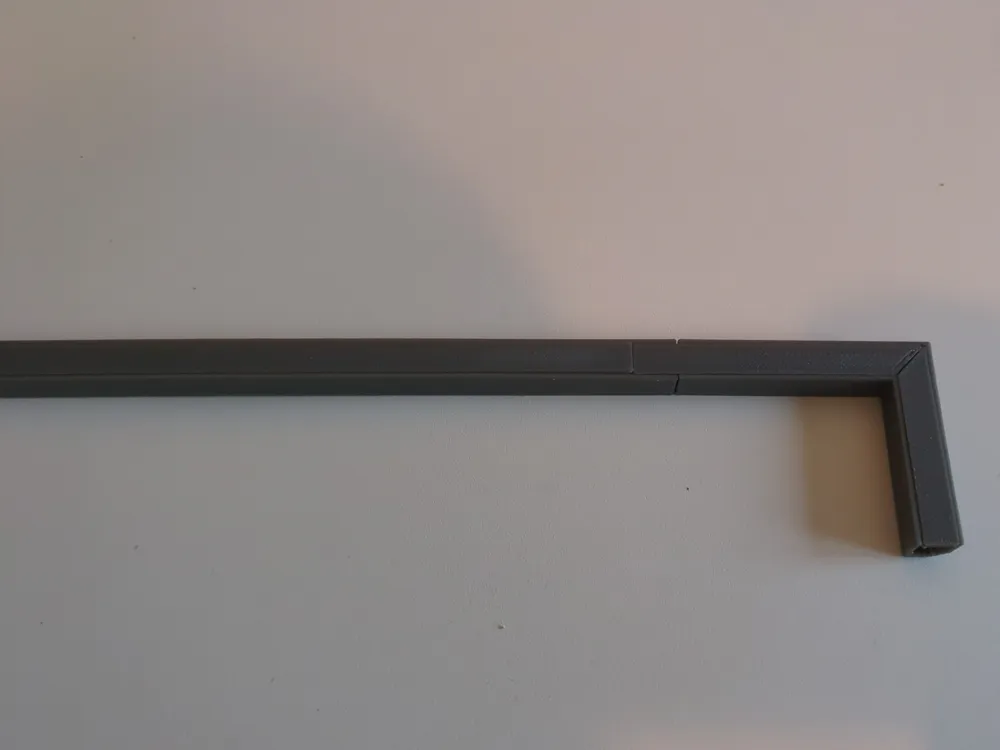
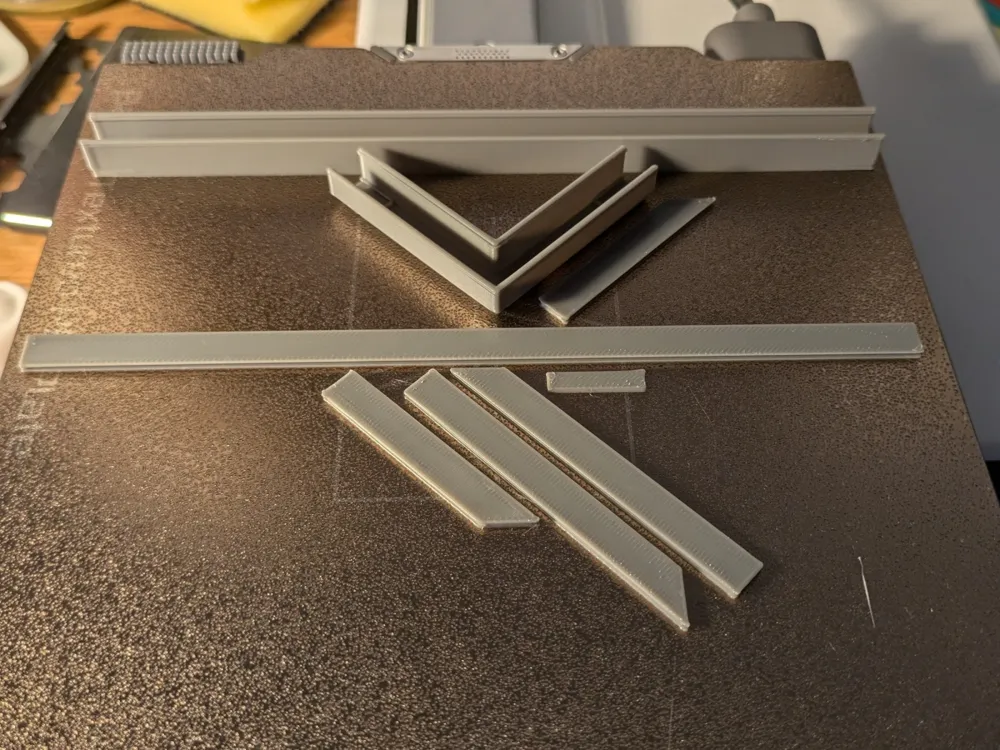
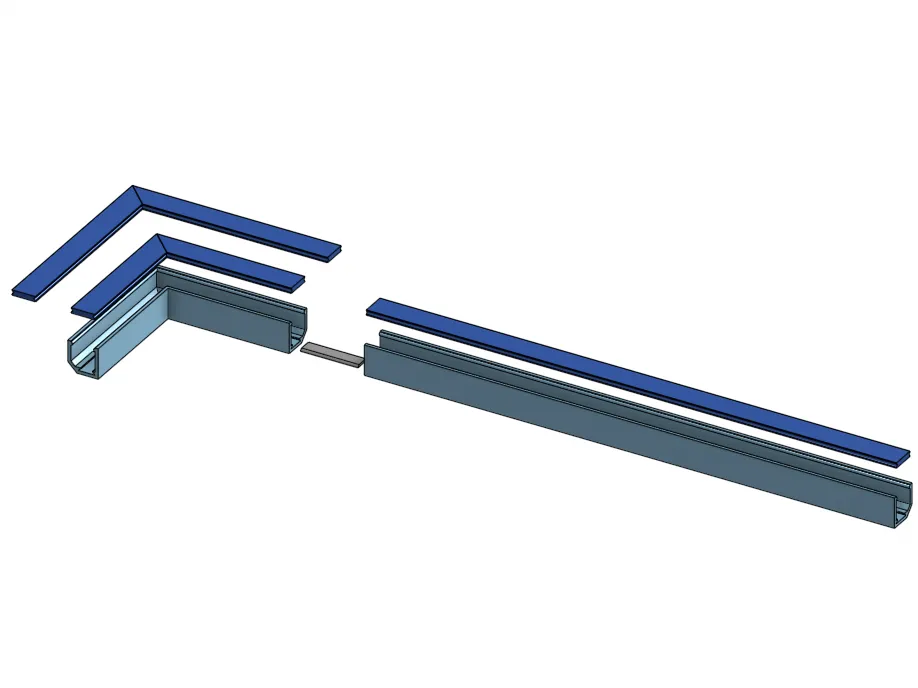
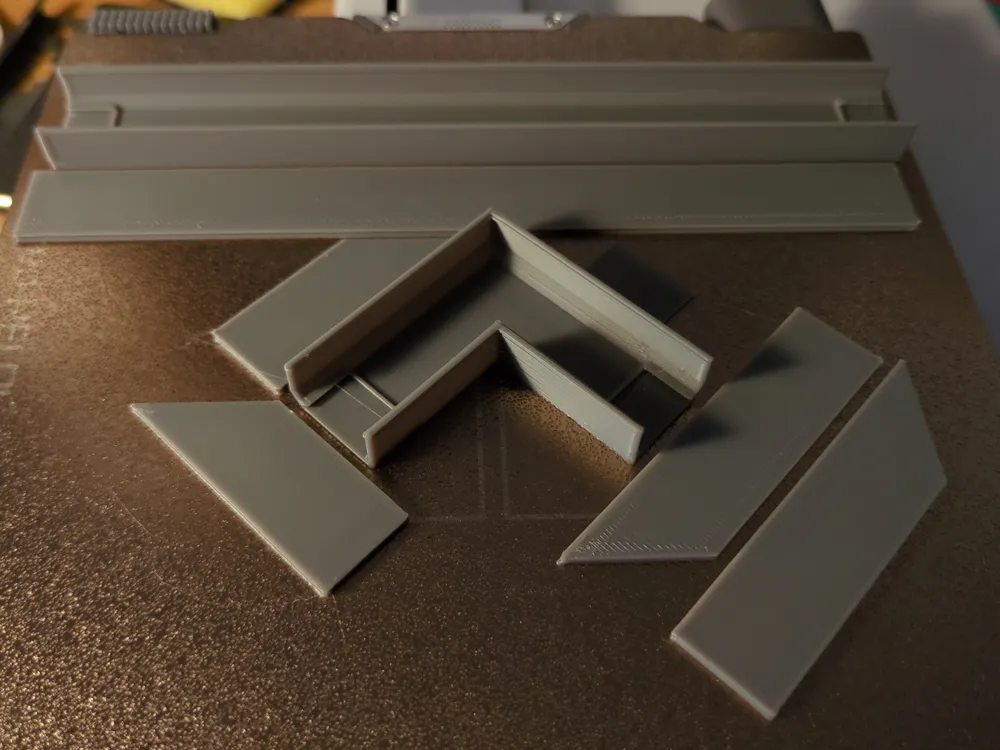
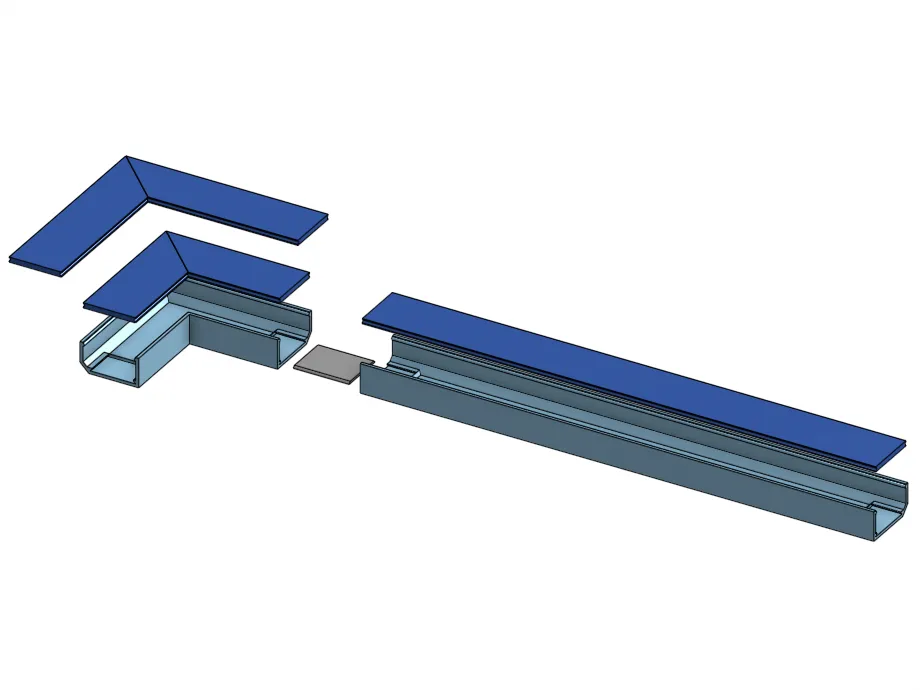
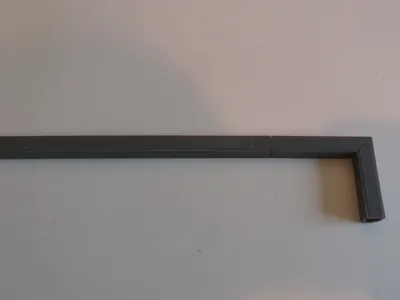
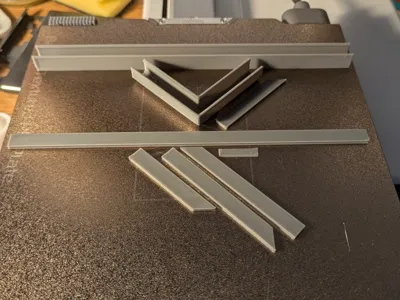
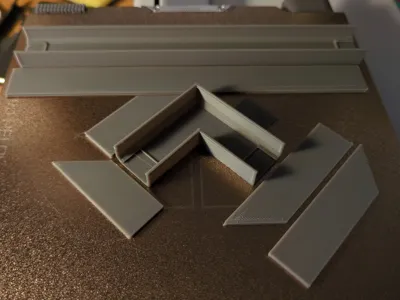
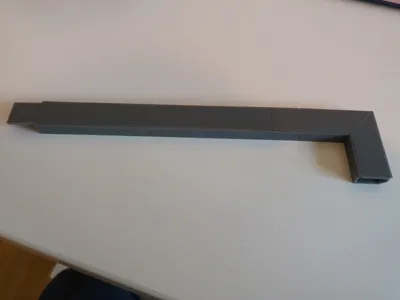
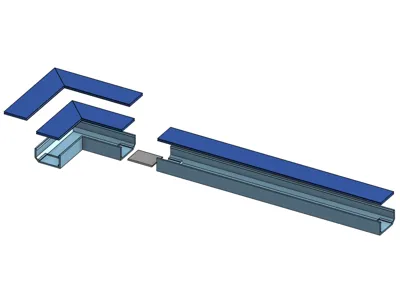
A modular cable duct with straight sections and corner pieces so you can print what you need. Sections are connected with connector pieces making the whole assembly quite rigid. The lid can be slid in from the end or snapped in place from the front.
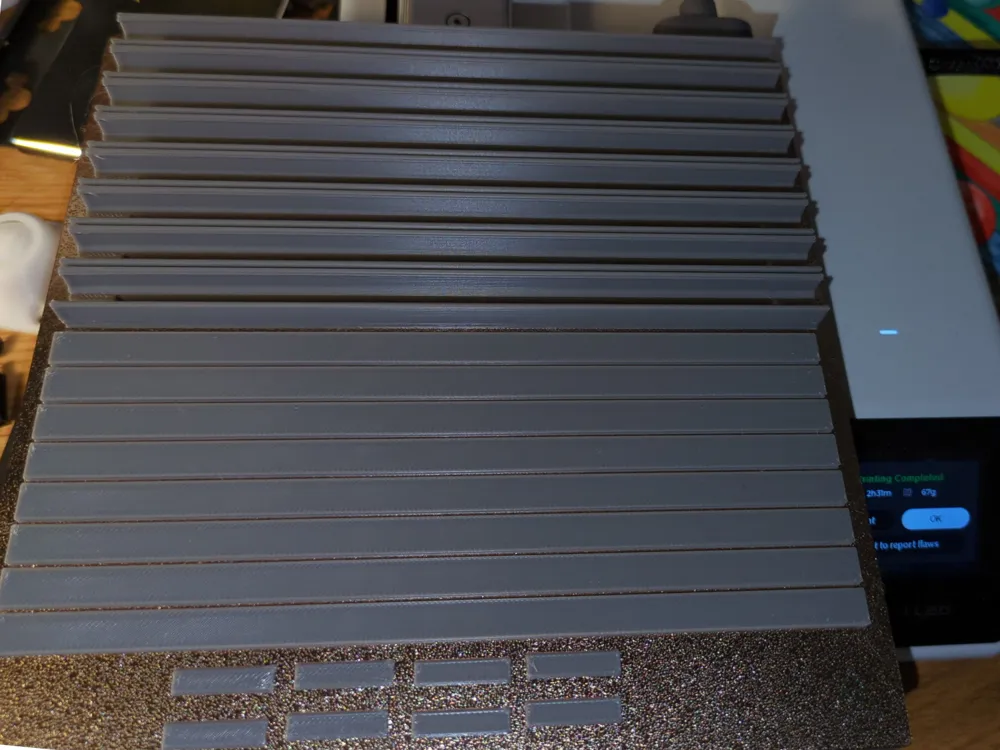
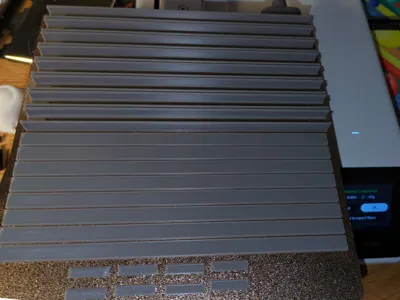
There are versions with a width of 10 mm or 20 mm depending on your needs. The 10 mm duct still easily fits two 2-wire speaker cables. Both versions are 10 mm high. They have a small chamfer on one side so the can fit snugly on the wall even when there is e.g. a silicone bead there. The straight sections are 250 mm long for the larger print plates and 175 mm for the A1 mini.
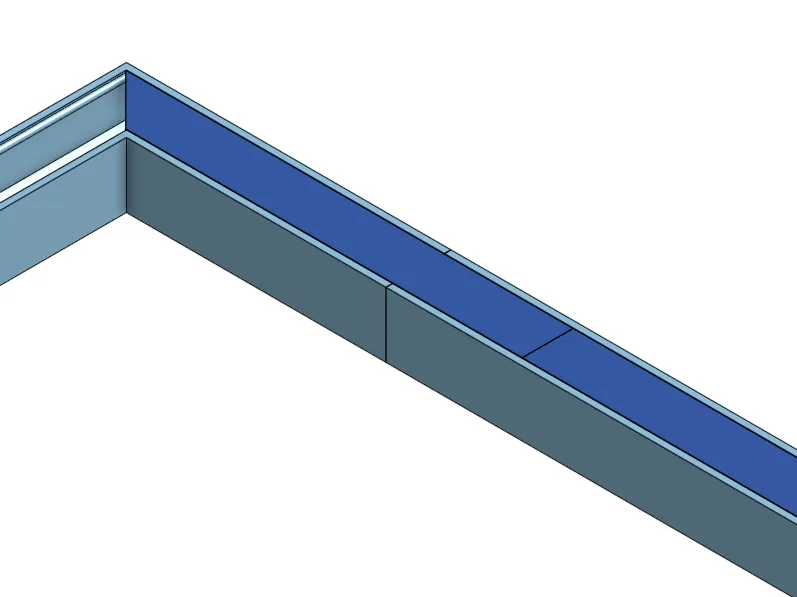
For maximum stability of the assembled duct, I recommend staggering the seams between the lid pieces so they're not in line with the seams between the channel sections. I have included longer corner lids for this purpose.
Boost Me (for free)
If you want to see more models in the future
Assembly Hints
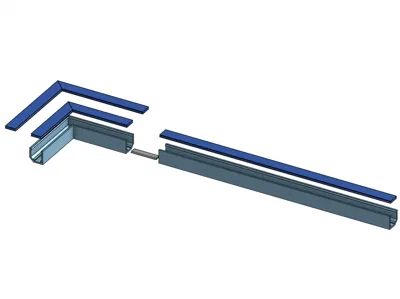

To connect the individual sections together, first slide one of the little connecting pieces into the slot on one of the channels.

Then slide the second channel in place.
To get the lids in place, either slide then in from the end or snap them in from the top.

For maximum stability, stagger the lids from the seams between the channel pieces. If you use a corner piece, you can use the longer lid pieces to achieve this. Otherwise, snip one of the straight lids in half or print one scaled down along its length.
License

You shall not share, sub-license, sell, rent, host, transfer, or distribute in any way the digital or 3D printed versions of this object, nor any other derivative work of this object in its digital or physical format (including - but not limited to - remixes of this object, and hosting on other digital platforms). The objects may not be used without permission in any way whatsoever in which you charge money, or collect fees.


Comment & Rating (49)