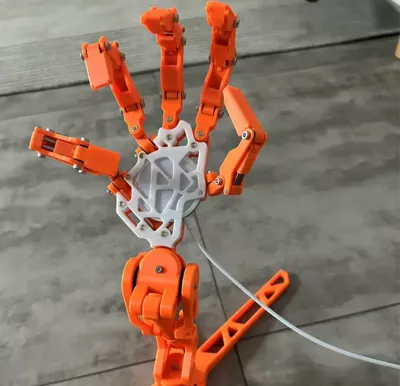
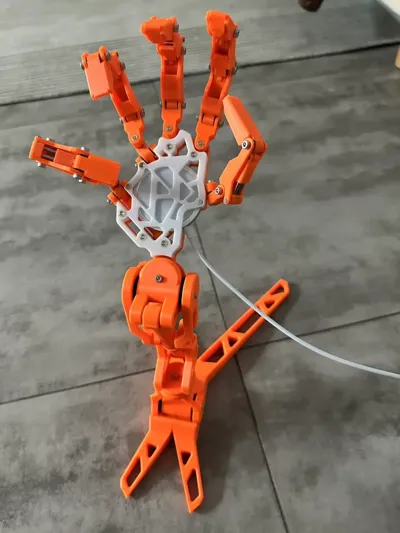
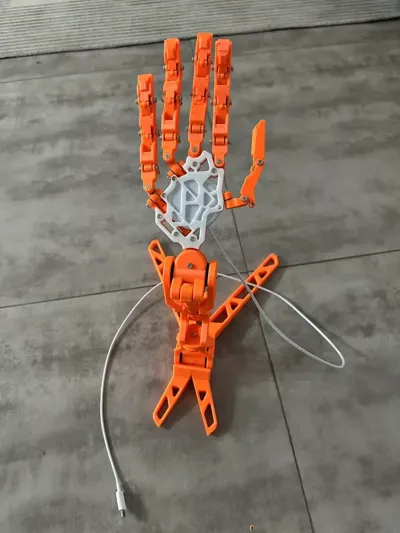
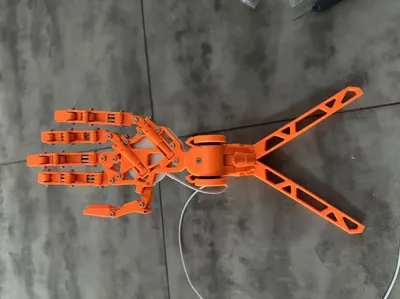
Wireless Charging Full-Power Robotic Arm Third-Party Wireless Charging Civilian Edition


Print Profile(1)
Description


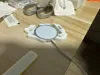
This spacer might cause uneven palm positioning, making charging inconvenient. You can place them all at the back to level the wireless charging surface for a smoother charging experience.

1: The charger chassis has been modified in several iterations of the original design, allowing for direct use of third-party wireless chargers with dimensions of 56mm in diameter and 6mm in height (for example, Apple's MagSafe, or a MagSafe from Huaqiangbei, which costs only 10 yuan).
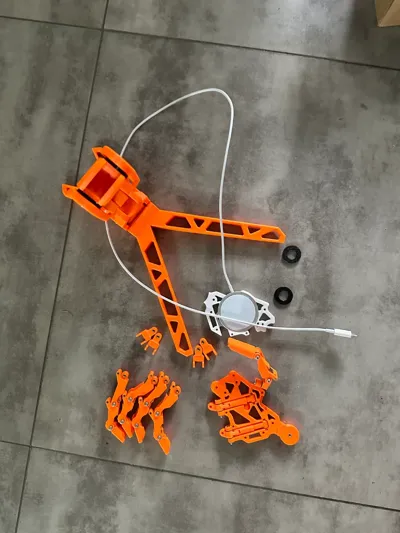
2: The original model's spacer and O-ring are difficult to purchase in suitable sizes. It is recommended to use TPU (Taobao Tianrui 95H TPU, 15 yuan with free shipping for 250g). The model provides a TPU spacer print model. If printing is not an option, you can try finding suitable components. You will need 8 large spacers measuring 14*25*3 and approximately 40 small spacers measuring 8mm*1mm.
3: The hardware required is minimal, costing less than 20 yuan at a single shop. The list below provides details. The postage fees are identical, so it is advisable to purchase in bulk. Some screws may differ in length but are generally interchangeable. Some may not be used, but they are inexpensive, so consider purchasing a few extra for backup:
M3x6 cylindrical head machine screw - 25pcs
M3x14 cylindrical head machine screw - 10pcs
M3x16 cylindrical head machine screw - 5pcs
M3x20 cylindrical head machine screw - 5pcs
M3x8 countersunk head machine screw - 10pcs
M3x12 countersunk head machine screw - 10pcs
M3x30 countersunk head machine screw - 3pcs
M3 flat nut - 10pcs
M3x5x4 double-sided heat-melting nut - 60pcs
14x25x3mm 45A washer - 8pcs
8x1mm O-ring - 40pcs
3x10 mm stainless steel pin - 10pcs
3x16 mm stainless steel pin - 10pcs
3x20 mm stainless steel pin - 10pcs
3x25 mm stainless steel pin - 15pcs
5x30 mm stainless steel pin - 2pcs
Shop address: https://shop3r1u2522b5325.1688.com/page/index.html?spm=a2615.7691456.wp_pc_common_header_companyName.0
4: Regarding the heat-melting copper nut, it is recommended to first insert it into the model and then press it in using a heated soldering tip. This will make the process much easier. Avoid using a lighter. Remember to prioritize safety during the process, as the hot nut can cause burns.
This remix is based on

License
You shall not share, sub-license, sell, rent, host, transfer, or distribute in any way the digital or 3D printed versions of this object, nor any other derivative work of this object in its digital or physical format (including - but not limited to - remixes of this object, and hosting on other digital platforms). The objects may not be used without permission in any way whatsoever in which you charge money, or collect fees.
Comment & Rating (2)