Christmas Tree - Fibonacci Spiral Fidget Tree - Golden Spiral


Print Profile(4)


Description
Boost Me (for free)
Thank you for your support!
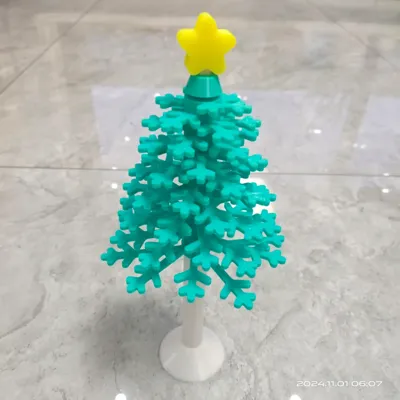
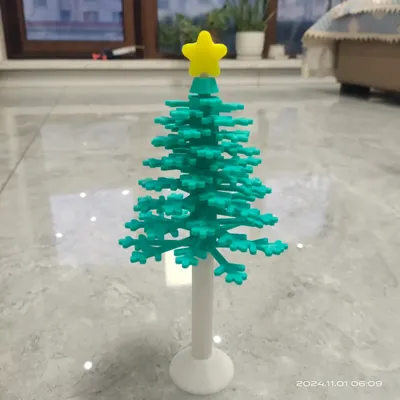
The Fibonacci sequence manifests and finds application throughout our world, a remarkable code embedded within nature itself.
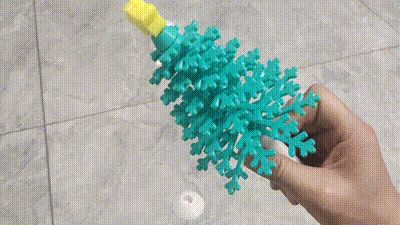
This Christmas tree, crafted according to Fibonacci spiral principles, offers a calming, meditative experience and also serves as an exquisite ornament.
Another creation of mine, a rotating rainbow lollipop
No supports are required for printing.
I've uploaded the STL files; feel free to import your preferred branch files and print branches in various colors for a truly unique and captivating result. I eagerly await your creations in the comments section.
As a novice in model design, I kindly request that you leave any feedback regarding unsatisfactory printing experiences in the comments section. Thank you for your input.
Depending on the filament used, minor adjustments to hole compensation or manual sanding may be necessary. Thank you for your understanding.
I printed mine entirely with PETG filament. Based on user feedback, if using PLA filament, please make appropriate adjustments for hole compensation.
Assembly is straightforward: connect the upper and lower shafts by inserting them into the square holes. (Apply a small amount of adhesive if loose).

Locate the longest branch with a square hole and insert it onto the shaft.


Subsequently, insert the remaining branches in descending order of length, aligning them with the slots. Secure the top limiting module into the square slot. (Tip: pre-sort branches by length).


Fasten the two parts of the star and finally attach it to the square column. Complete.

Upon completion, should you encounter stiffness hindering rotation, remove any central branch to alleviate the tension. A slight looseness ensures smooth rotation.
For any inquiries, please leave a comment. I also look forward to seeing your finished color schemes in the comments section. Thank you all! Wishing you a delightful day!
Boost Me (for free)
Thank you for your support
License
You shall not share, sub-license, sell, rent, host, transfer, or distribute in any way the digital or 3D printed versions of this object, nor any other derivative work of this object in its digital or physical format (including - but not limited to - remixes of this object, and hosting on other digital platforms). The objects may not be used without permission in any way whatsoever in which you charge money, or collect fees.
Comment & Rating (45)