
PlayStation 5 - Better Buttons

Print Profile(9)


Description

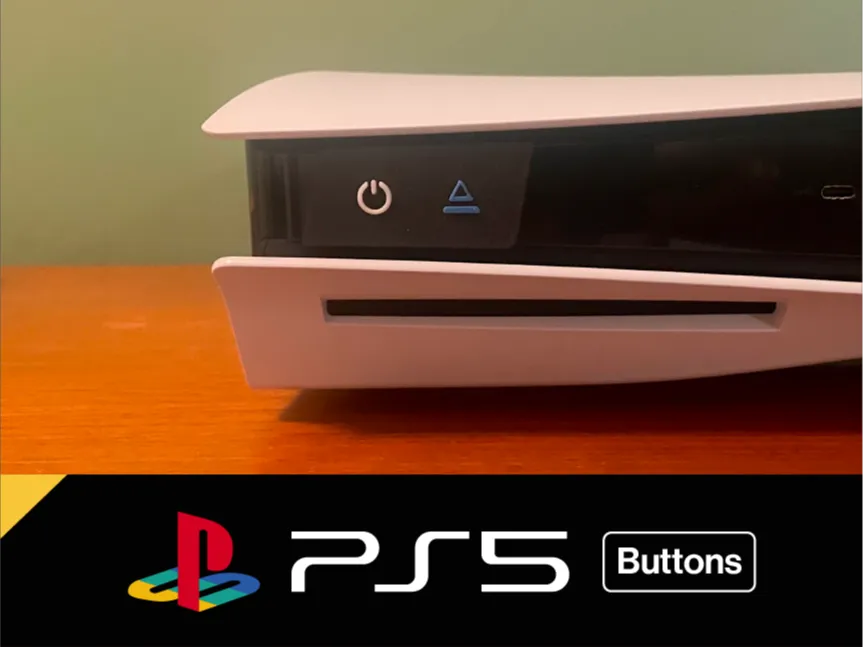
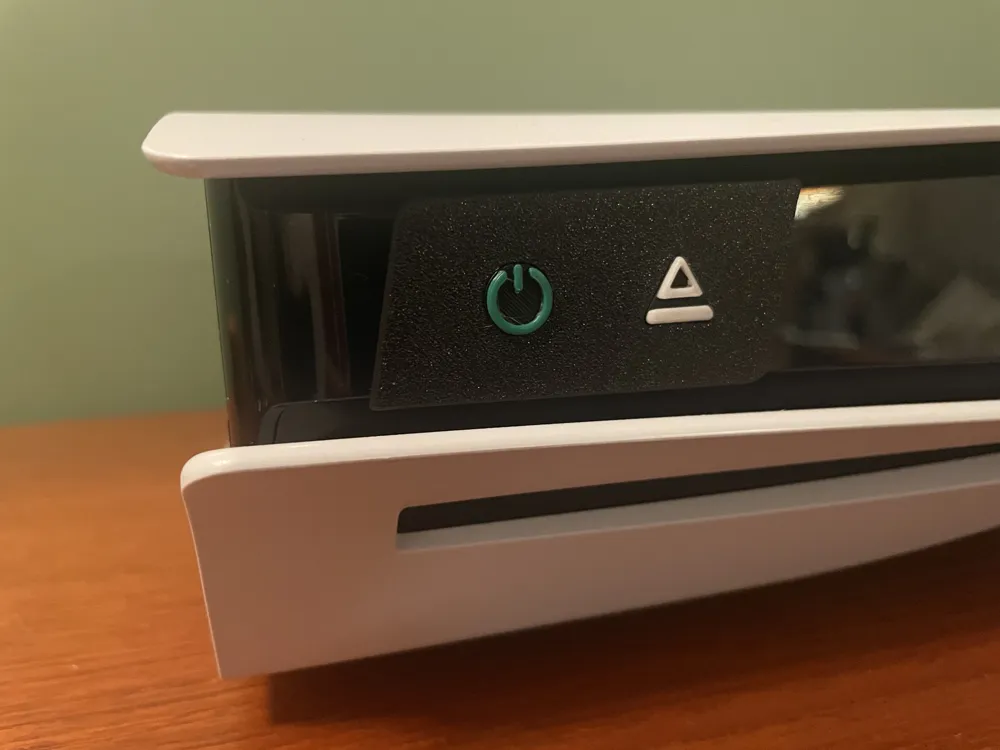
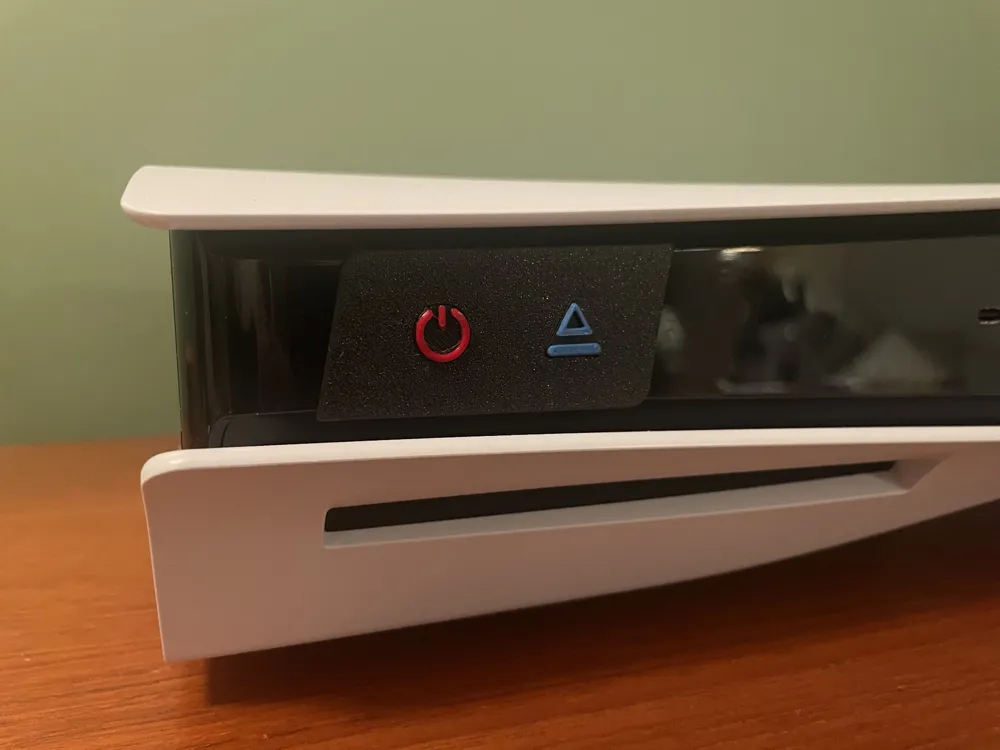
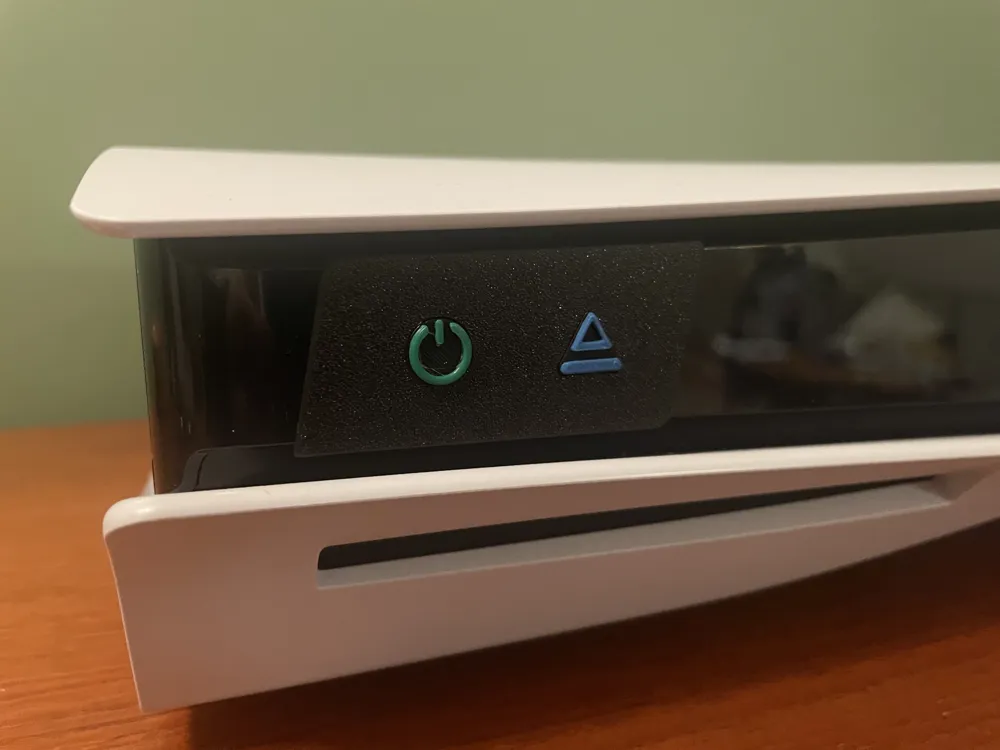
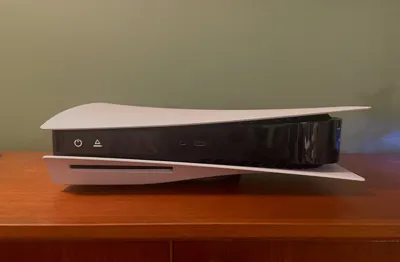
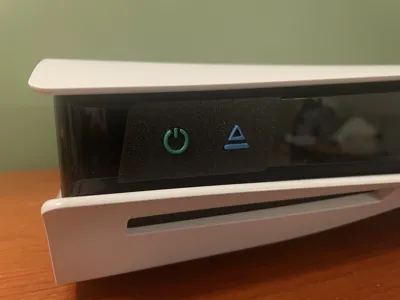
Problem: The eject & power buttons are hard to see and for the user to know what they do.
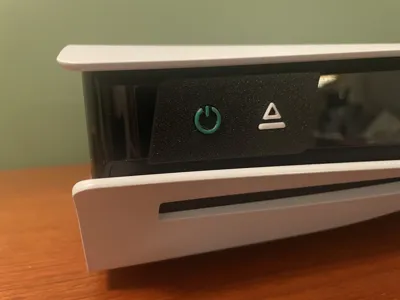
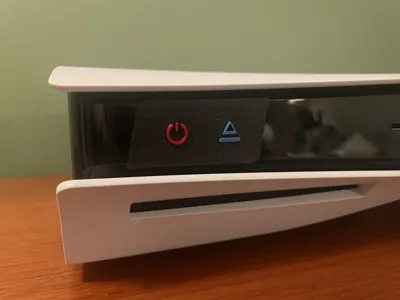
Solution: Color, larger, shapes, symbols.
Boost Me (for free)
If you under any(!) circumstances found this design appealing you are more than welcome to give me a little Boost.
Update
12 feb - 25
Uploaded 2 new print profiles when printing buttons only.
Print sequence - layer by layer or by object depending if you want to have same or different color on the symbols.
Background
The PS5…such a silly looking device in general. But the one thing I've always disliked the most is the design of the power and eject buttons.
They offer an extremely poor user experience since they are:
- Too small
- No color contrast (Both against the background and between the buttons themself)
- Both buttons has the same shape (No readability what actually happens when you push the button)
Every time I was about to eject a disc to play a different game I was unsure which button to press and the risk of instead turning off the whole system. The tiny, tiny symbols next to the buttons are pretty much impossible to see, specially in a often pretty dark gameplaying environment.
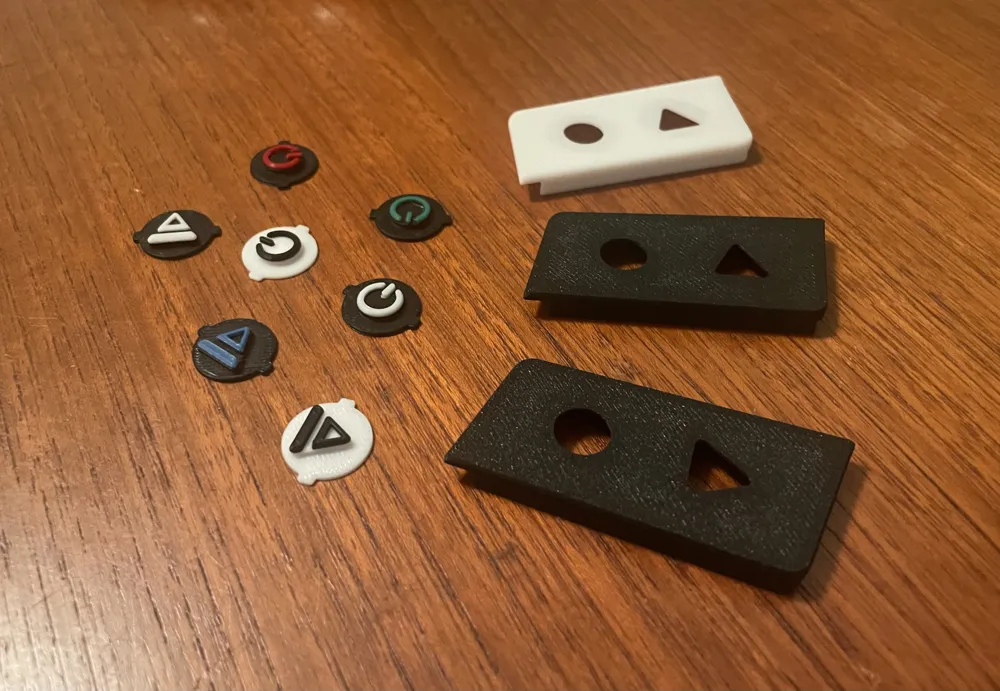
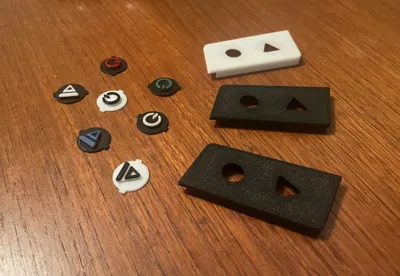
This is my attempt to solve this. I wish it could be done without the plate holding the buttons in place but this is the best I could come up with. Hopefully someone could improve on this.
Lastly, I wanted in a small way try to honor the PlayStation's circle and triangle shapes so that is why the eject symbol is not shaped “correctly”.
Print Profiles
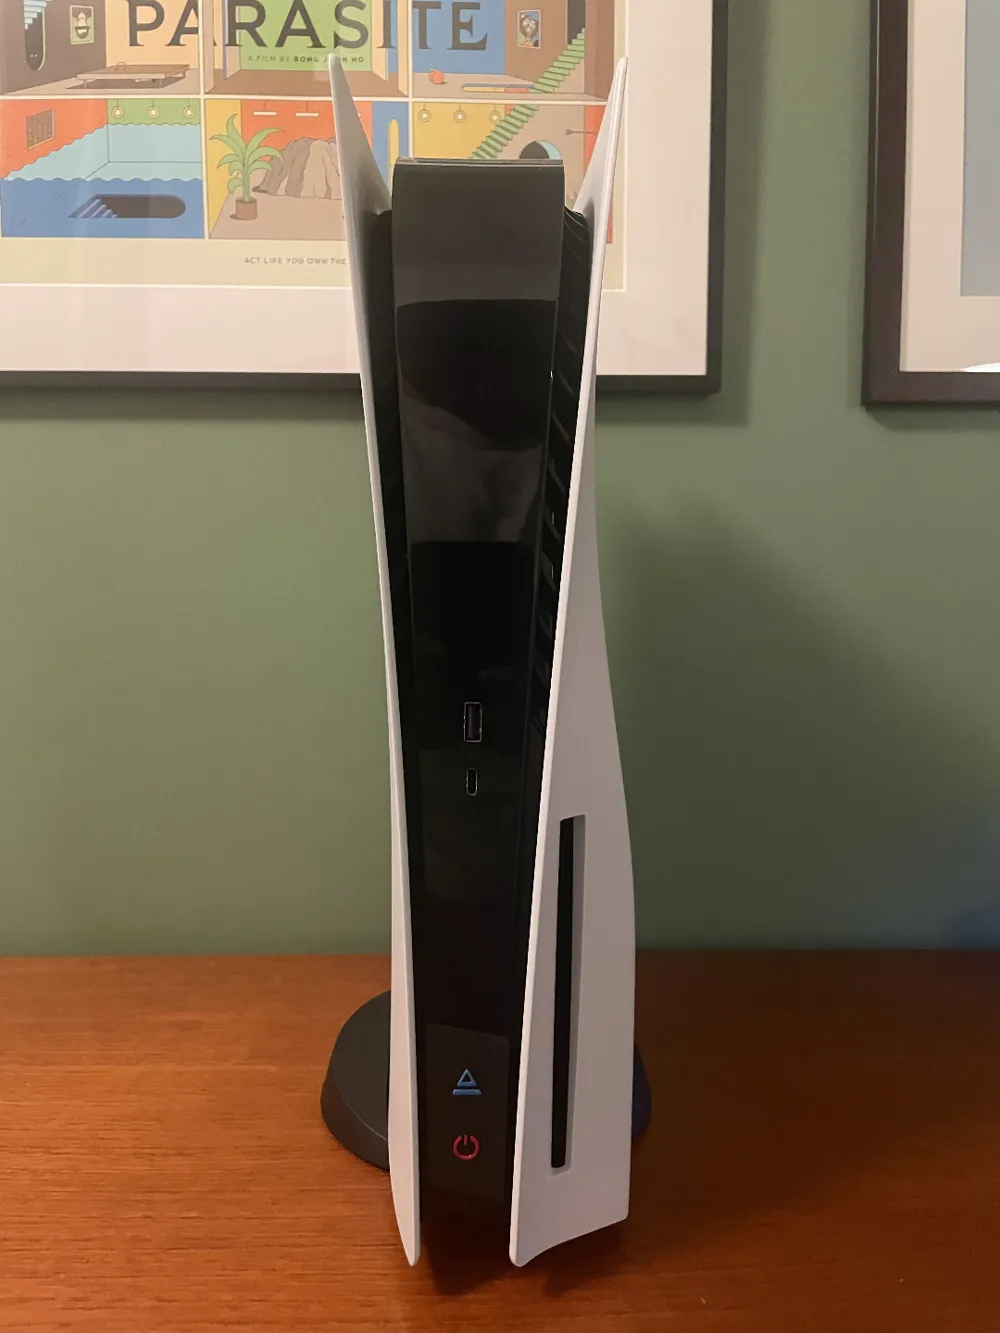
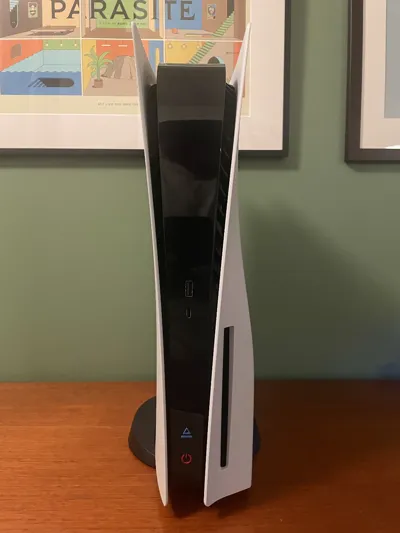
- PS5 standing vertical (Main body + buttons)
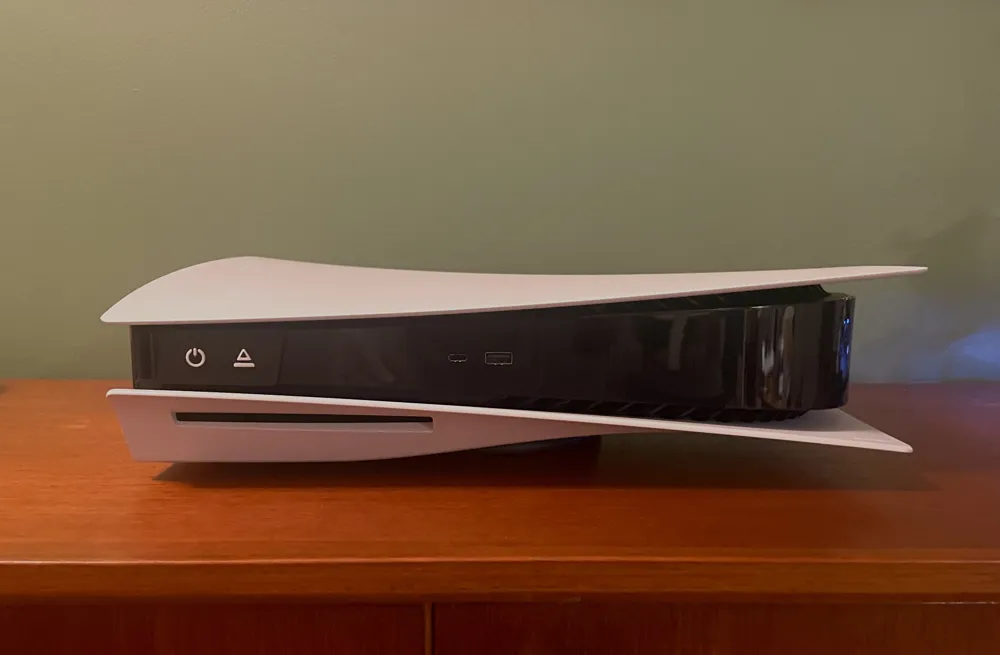
- PS5 laying horizontal (Main body + buttons)
- Buttons only
The buttons are interchangeable between vertical and horizontal bodies.
The symbol/icon part on the buttons are separate objects to make it easy to personalize to the color you want.
Attachment
IMPORTANT (Since I don’t really know what I’m doing…) - if the buttons doesn't feel clicky, try to reapply the main body again or just slide it a bit (often a bit to the left off center in horizontal and down a bit in vertical) until success.
Free bonus tips - If the buttons fall out while attaching either work with patience or if that not your thing try a piece of tape to temporarily hold them in place.
Horizontal
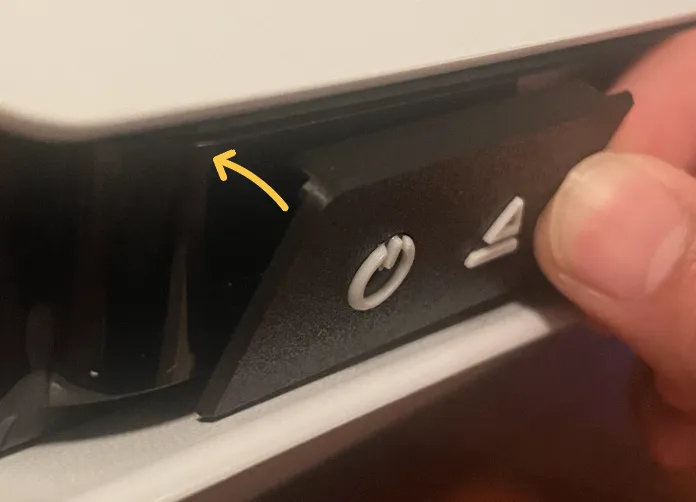
Start from the bottom and click the top in place.
Vertical
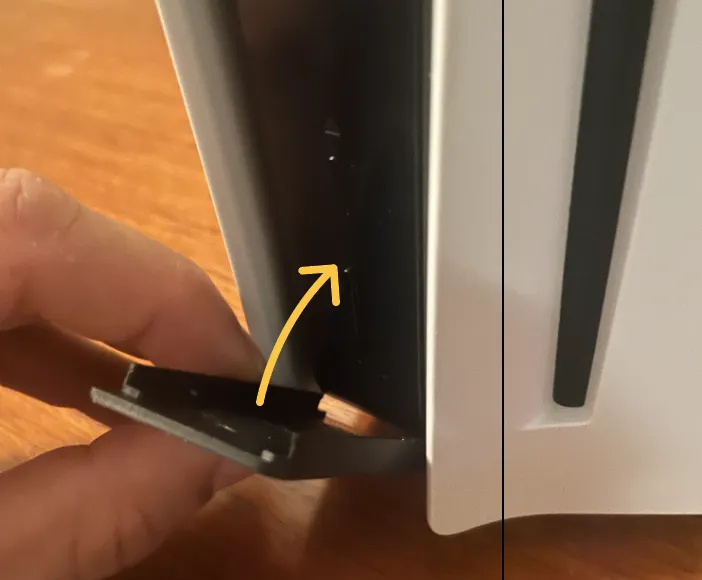
Vertical attachment is a bit more tricky since the buttons has a tendency to fall out during the placement. But you could try to start from the bottom or first place one of the long side and hinge in place.
I am still new within both 3D printing and also working with CAD so if there’s anything, which there probably is, I could improve on and that doesn’t work for you please let me know.
License

You shall not share, sub-license, sell, rent, host, transfer, or distribute in any way the digital or 3D printed versions of this object, nor any other derivative work of this object in its digital or physical format (including - but not limited to - remixes of this object, and hosting on other digital platforms). The objects may not be used without permission in any way whatsoever in which you charge money, or collect fees.


Comment & Rating (559)