
Steam Engine Whistle - Functional with sound

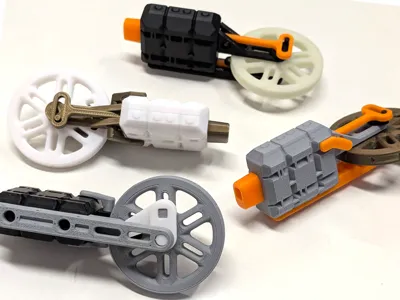
Print Profile(3)


Description
Membership
Print & sell my models with this small monthly membership payment.
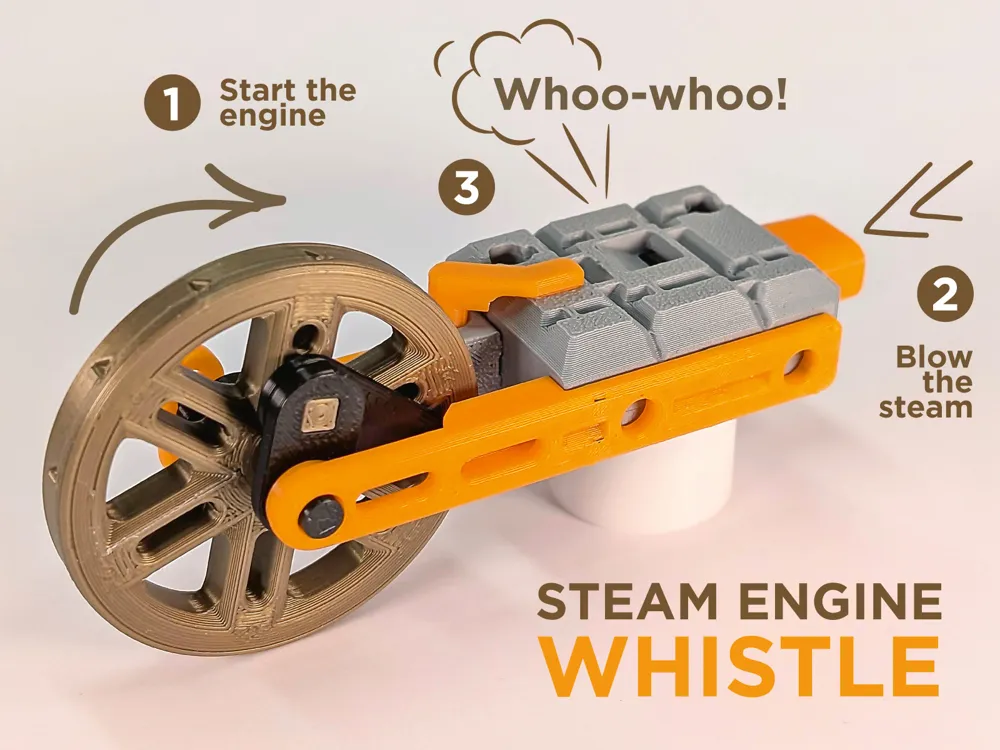

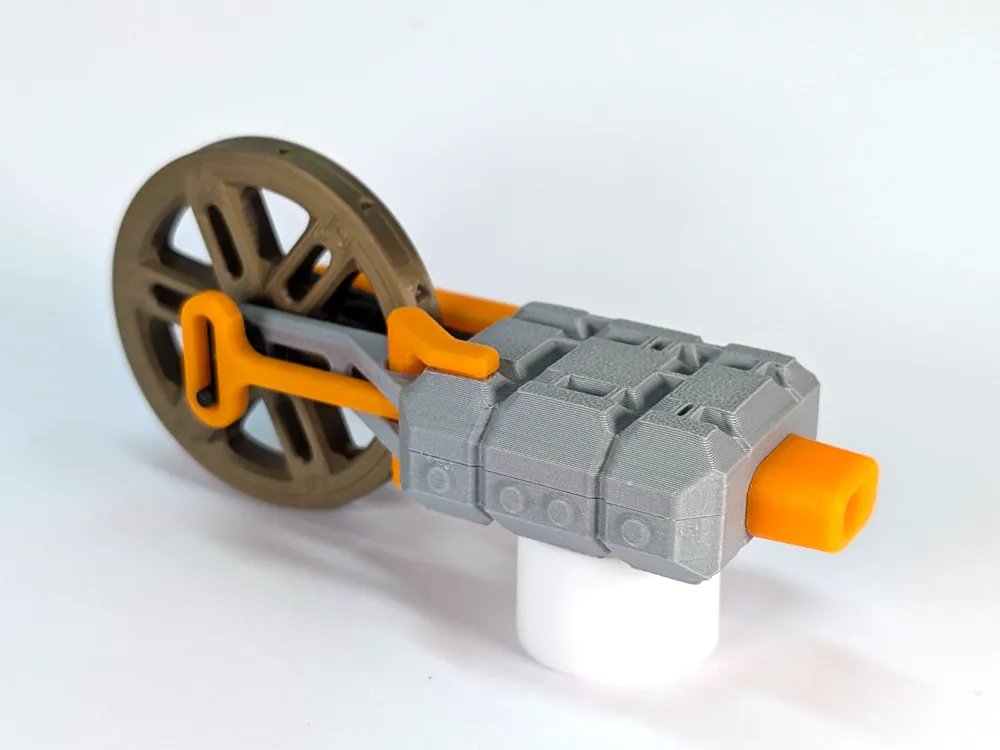
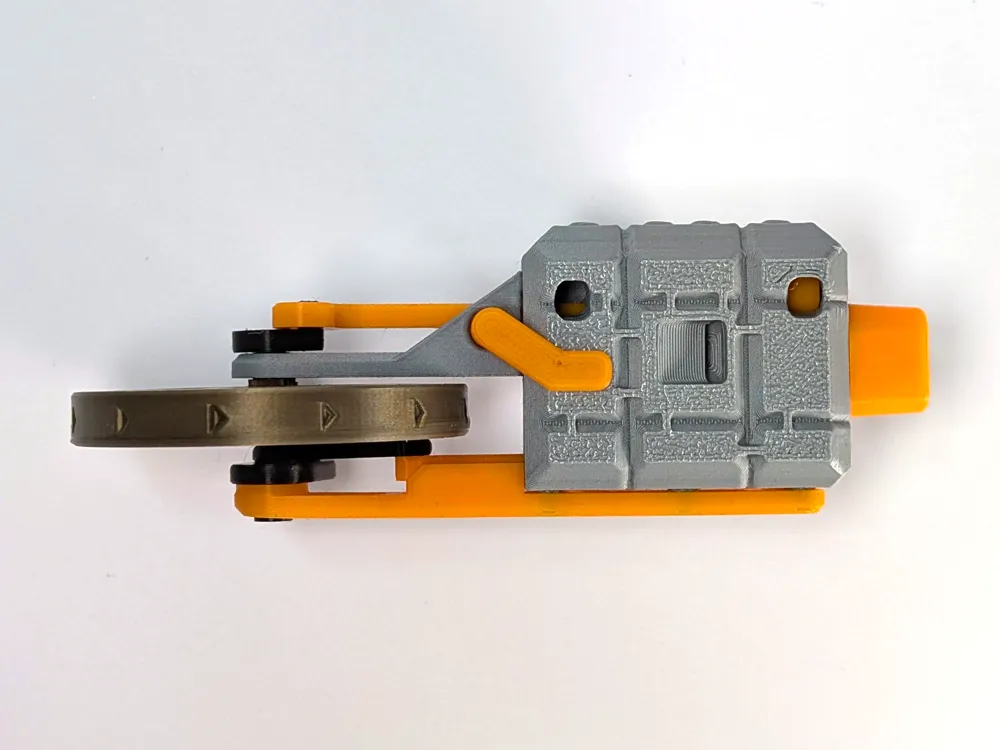
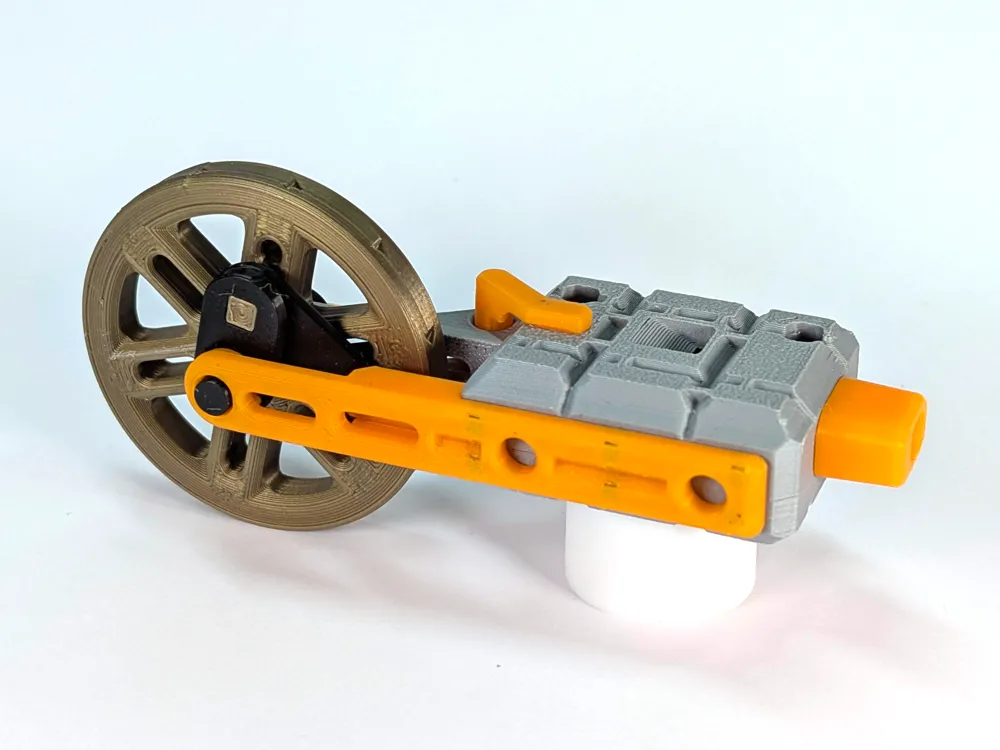
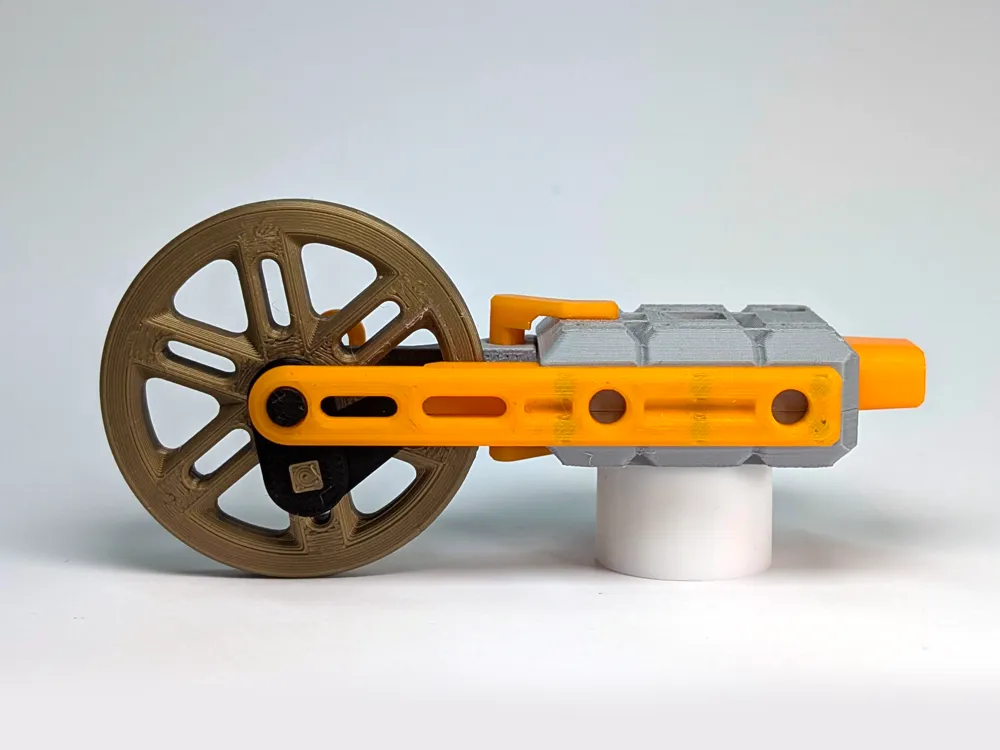
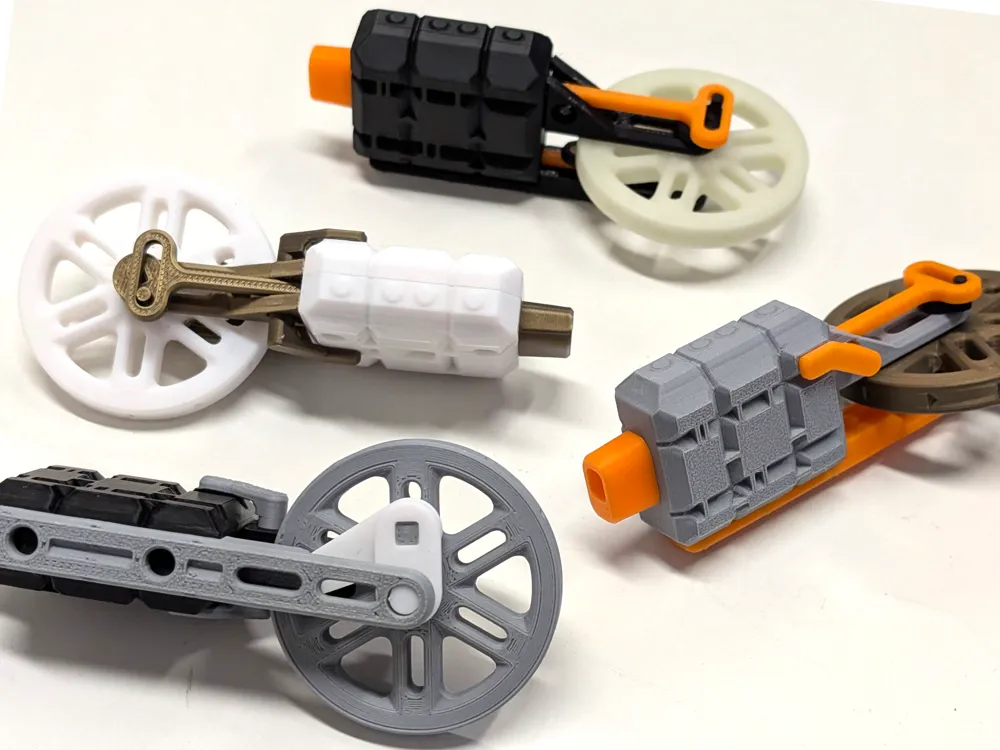
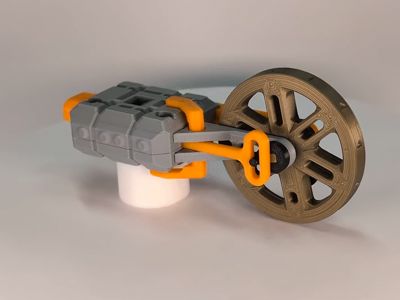
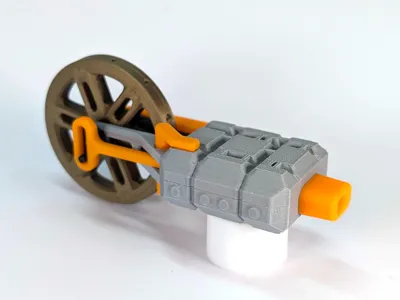
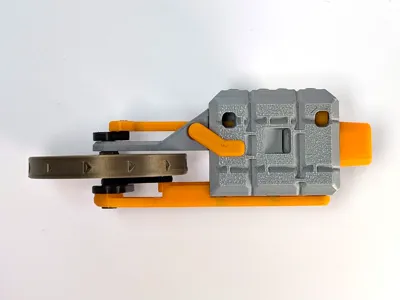
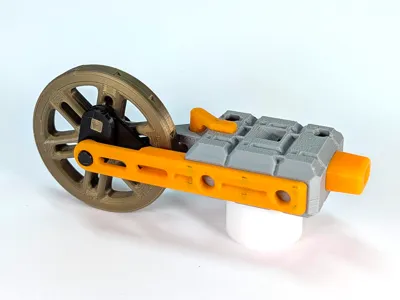
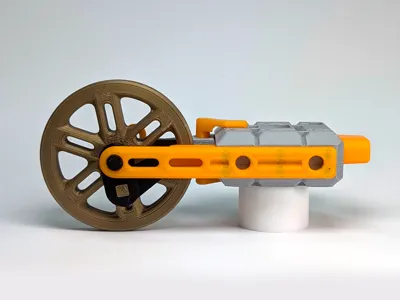
Bring the charm and nostalgia of vintage steam power to life with this functional miniature steam engine whistle. This meticulously crafted model replicates the classic sound and appearance of traditional steam engines, scaled down for ease of use and assembly. Built to function with blowing air.
Each part is carefully crafted to ensure smooth assembly, but as not many printers are calibrated precisely, and for this model even 0.1mm error is bad you need to do some afterwork with sandpaper.
Before printing this model you can check calibration with this model: https://makerworld.com/en/models/893695
It's just few minutes print, and you will see if you need to make some adjustments.
The model is optimized to be printed with PLA without supports. Make sure that your filament flow is calibrated!
Make sure your printer is not over extruding, because cylinders in this engine must be printed very precisely to move freely.
UPDATE! I added 2 additional sizes for Valve and Main Cylinder, so you can just print those all, it will add 10minutes to print time but you can just choose the one that fits best without (much) sanding!
UPDATE 2nd: Replaced few parts with upgraded shafts, so it's not possible to align them in wrong direction.
When putting things together in every step check that everything moves freely!

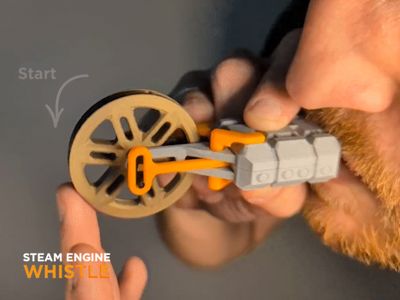
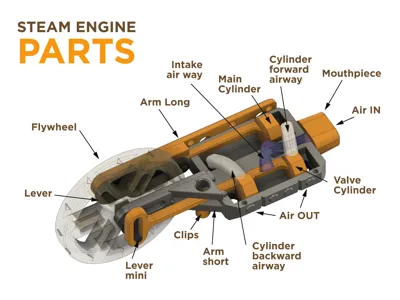
For engine to start rotating you need to blow air into it and move the Flywheel a little bit into direction shown by arrows on its side! If you hold your finger over whistle hole in the center, engine will rotate without sound, but remove finger for whistle sound.
Assembly instructions:
Here is video instructions:
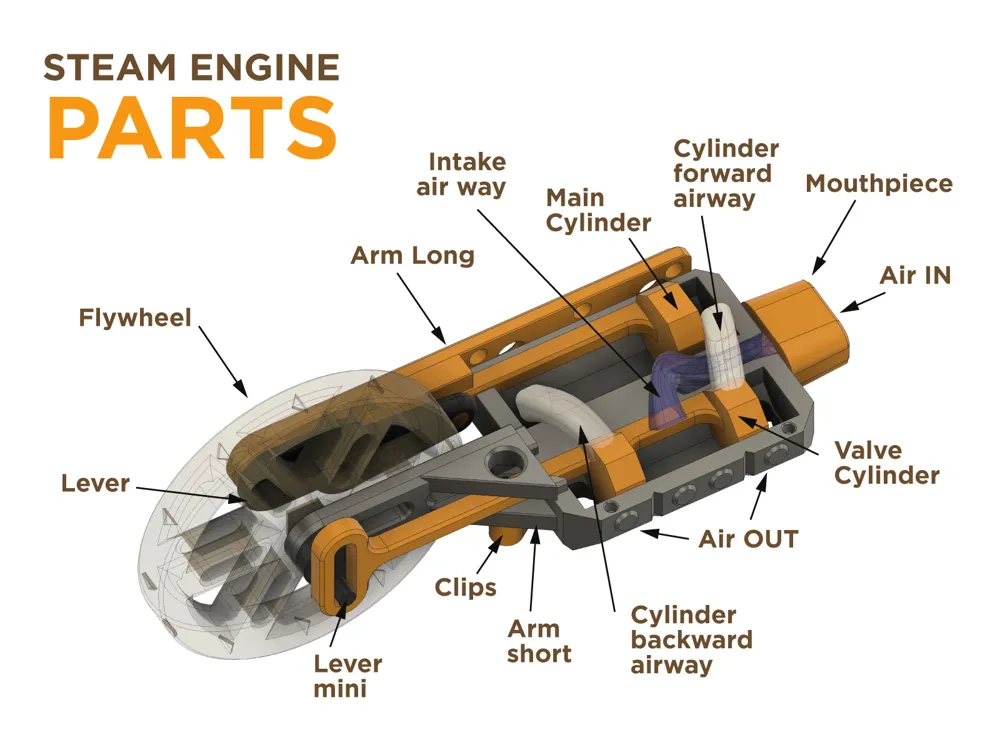
Insert cylinder in they places, and check that they move freely.. if not, than use sandpaper on them a little bit.. and in the end you can use a little bit silicon grease (the one that came with your bambu printer).
In this step you can try to attach long sidearm to check that cylinders still move freely. It is the must for engine to work.
Everything need to slide and rotate freely!!!!
Don't go further if its not moving freely.
UPDATE! I added 2 additional sizes for Valve and Main Cylinder, so you can just print those all, it will add 10minutes to print time but you can just choose the one that fits best!
Its just that every printer adds little bit of overflow at corners, so those cylinders are not perfectly octagonial, you need to sand each of 8 planes so they are flat. It takes just few strokes on sandpaper to make them flat. It's mandatory for air to not go around cylinders.
You can add mouthpiece in this step, to check that body is closed as it should be and cylinders move as they should!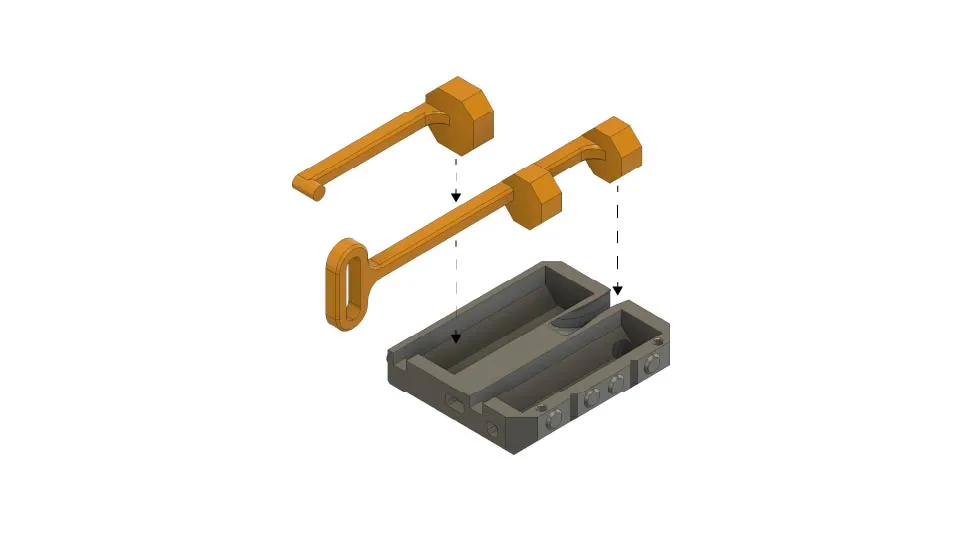
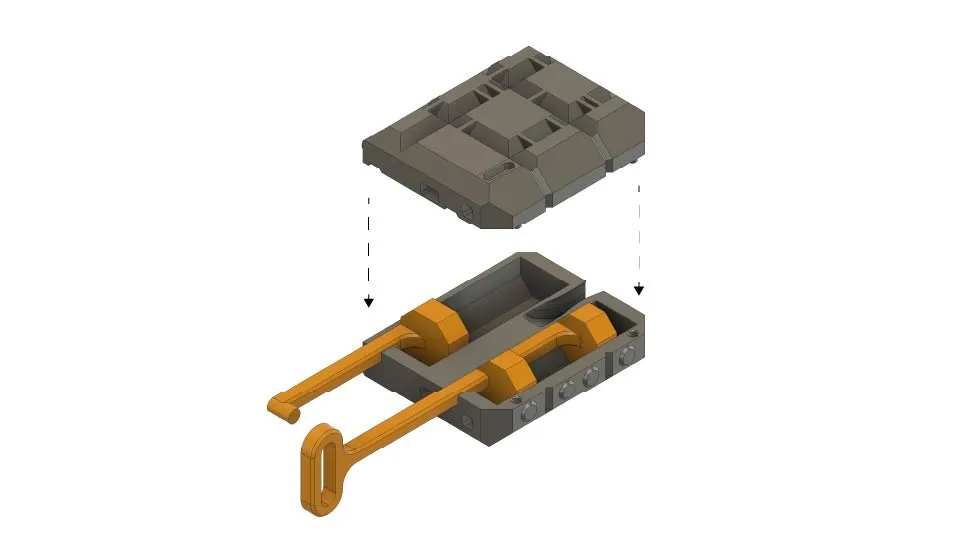
Add center shaft, arm and small lever to the Flywheel. Check that shaft goes fully inside and small lever stays in place. Use superglue if needed.
Add that small washer between flywheel and arm.
When pushing on that small lever check that it leaves space for arm, so that flywheel rotates without friction.
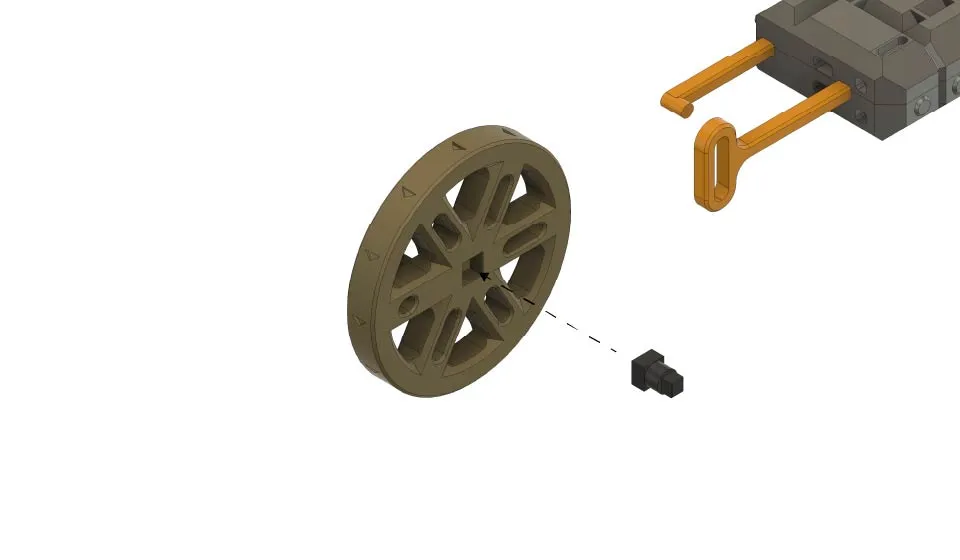
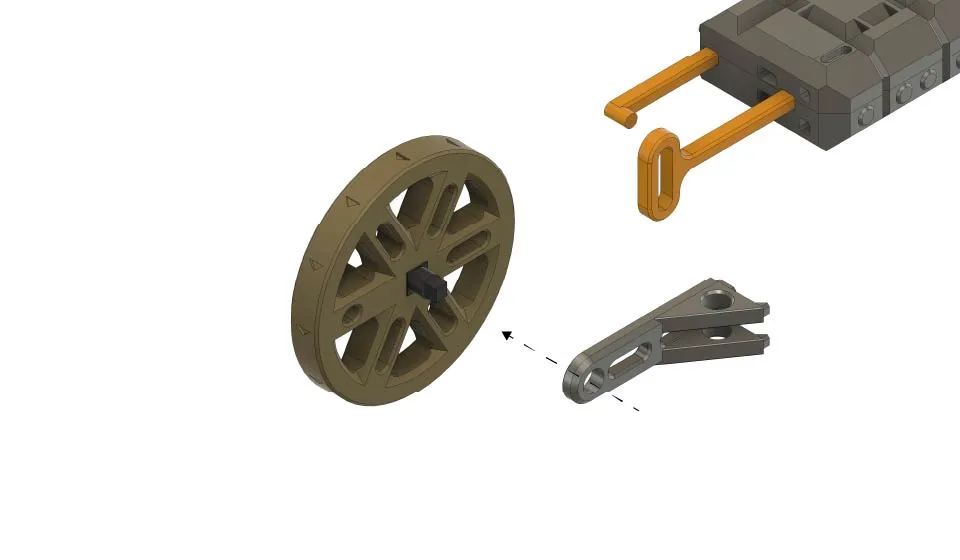
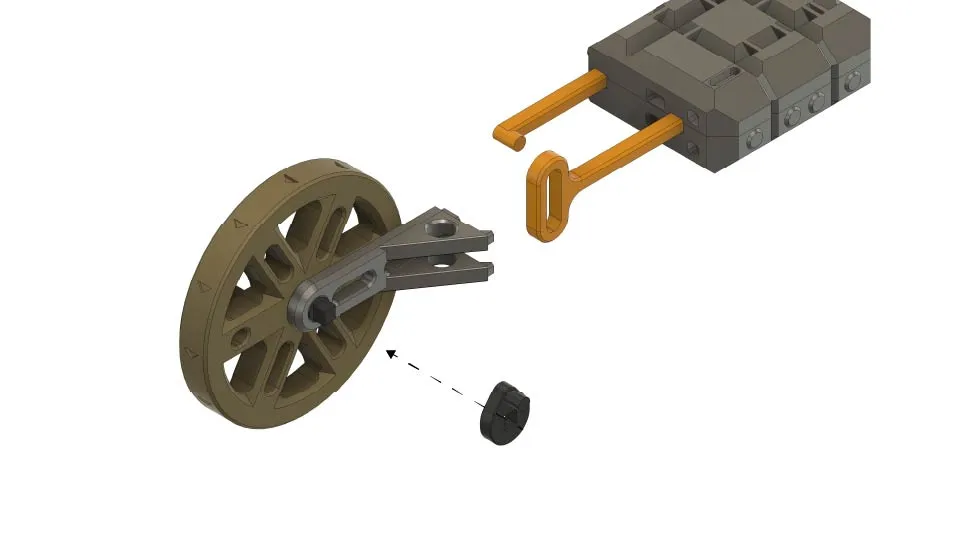
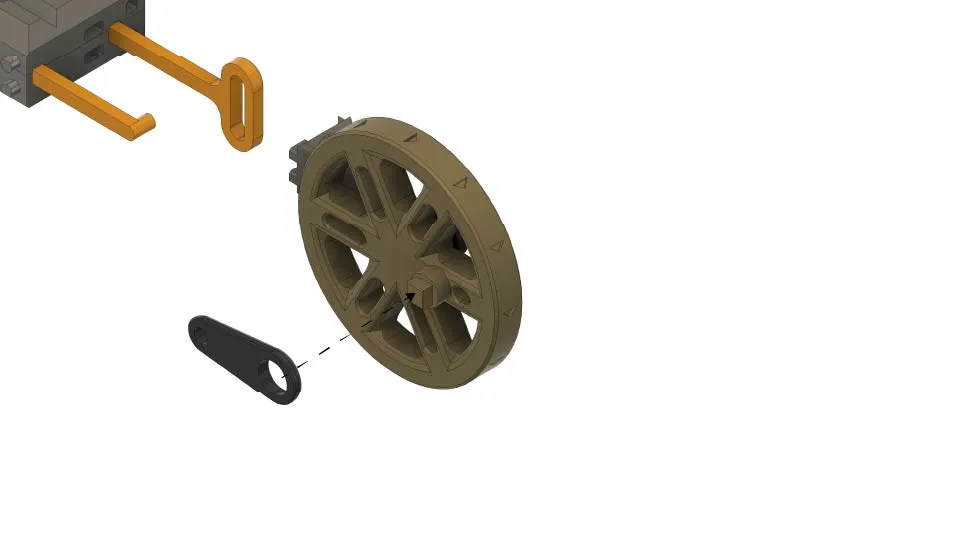
On the other side of the Flywheel add levers.
AND AGAIN Check that everything moves freely!

Attach the flywheel with arm to the body and carrefully hook valve cylinder arm in place. Check that the arm aligns fully to the body. Check that everything moves freely! If not - use sandpaper.
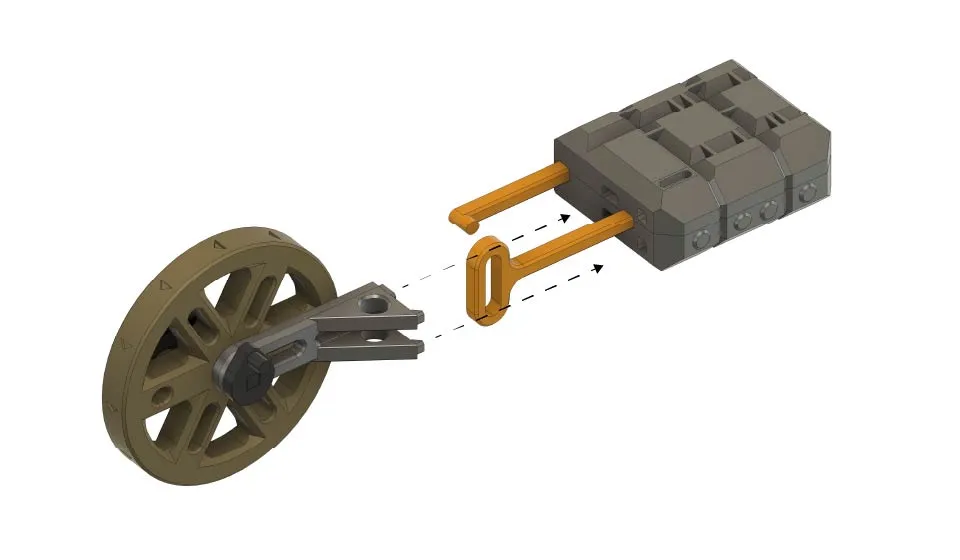
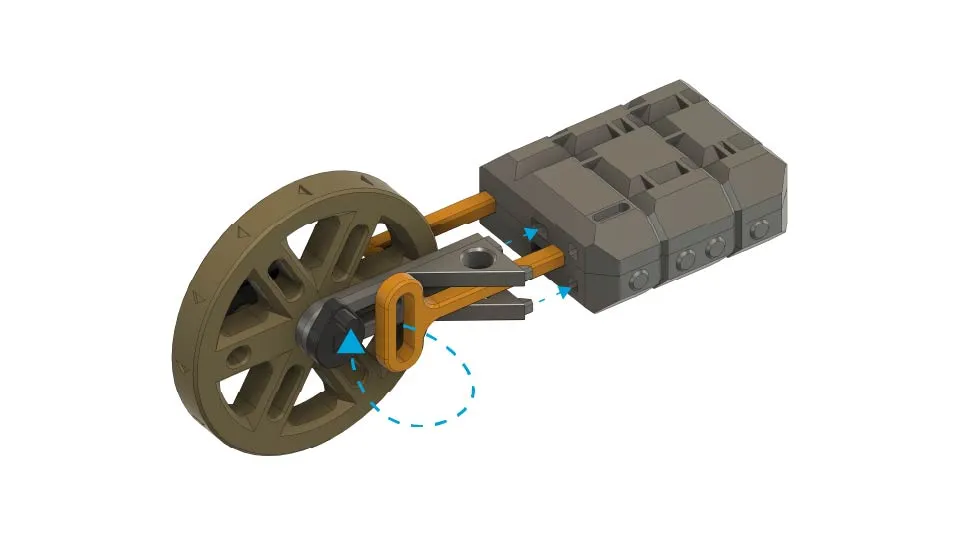
On the other side of flywheel, hook the main cylinder into lever arm and attach long sidearm.
In this step check that after attaching sidearm all elements still moving freely!
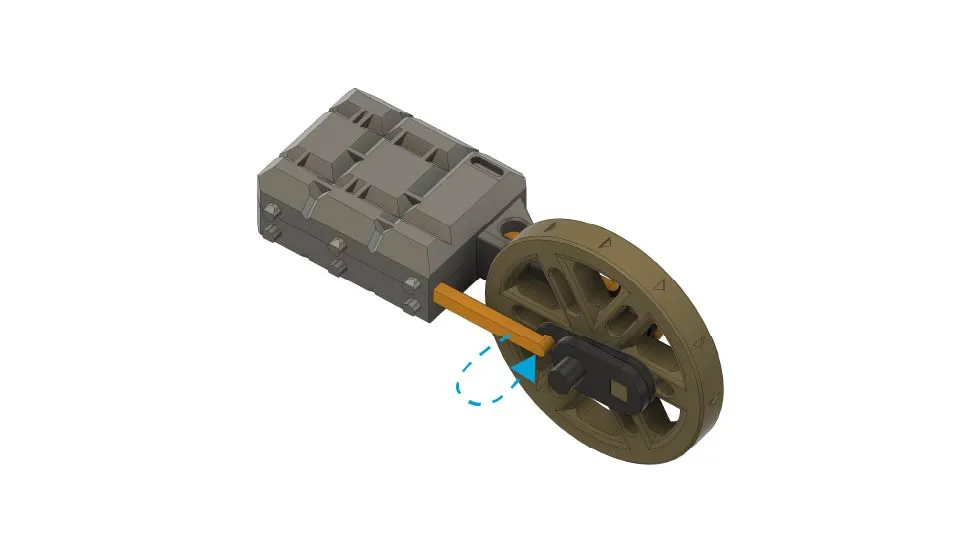
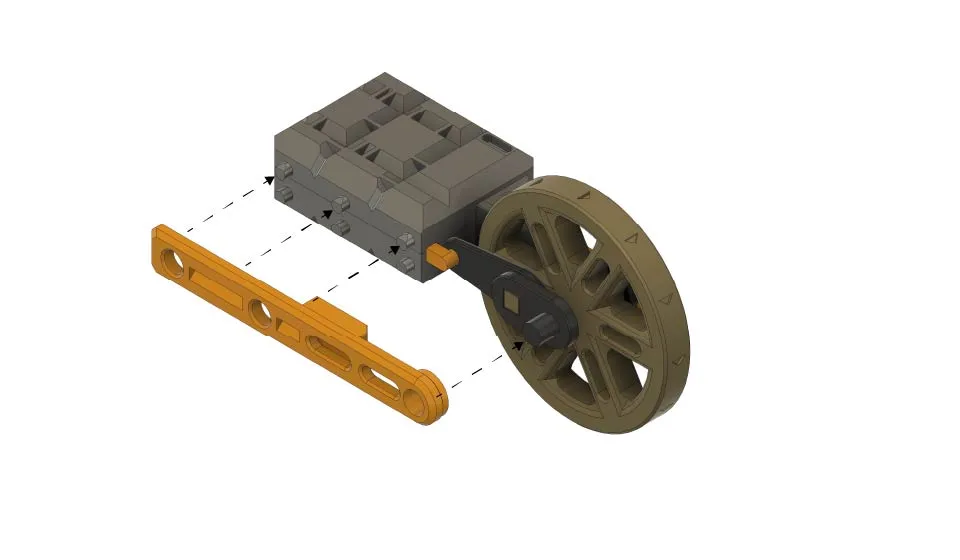
Attach mouthpiece and both clips and your engine is ready!
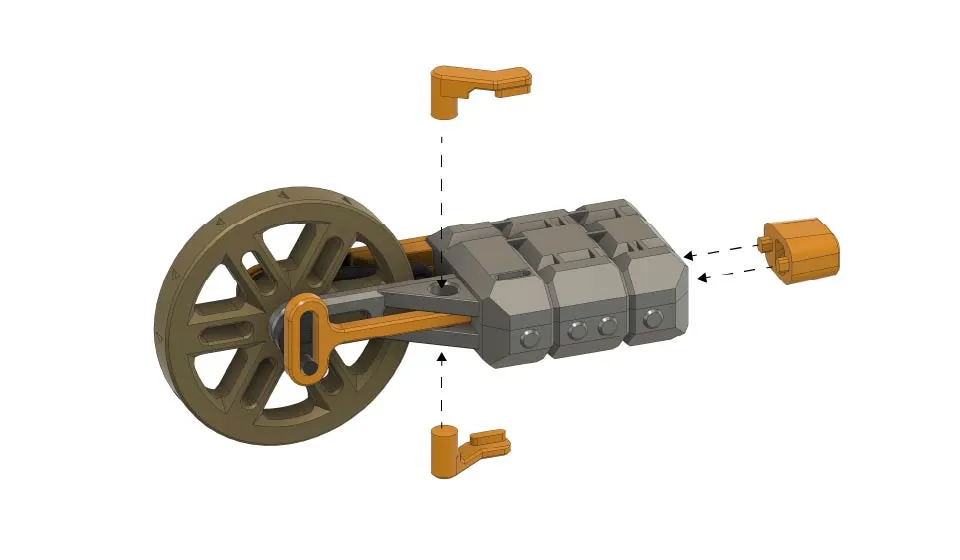
After checking that everything works you can use superglue to fix all in place for ever.
Boost Me (for free)
If you like my model, please boost!
Thank you
Have a look at my other models too!
License

You shall not share, sub-license, sell, rent, host, transfer, or distribute in any way the digital or 3D printed versions of this object, nor any other derivative work of this object in its digital or physical format (including - but not limited to - remixes of this object, and hosting on other digital platforms). The objects may not be used without permission in any way whatsoever in which you charge money, or collect fees.


Comment & Rating (507)