
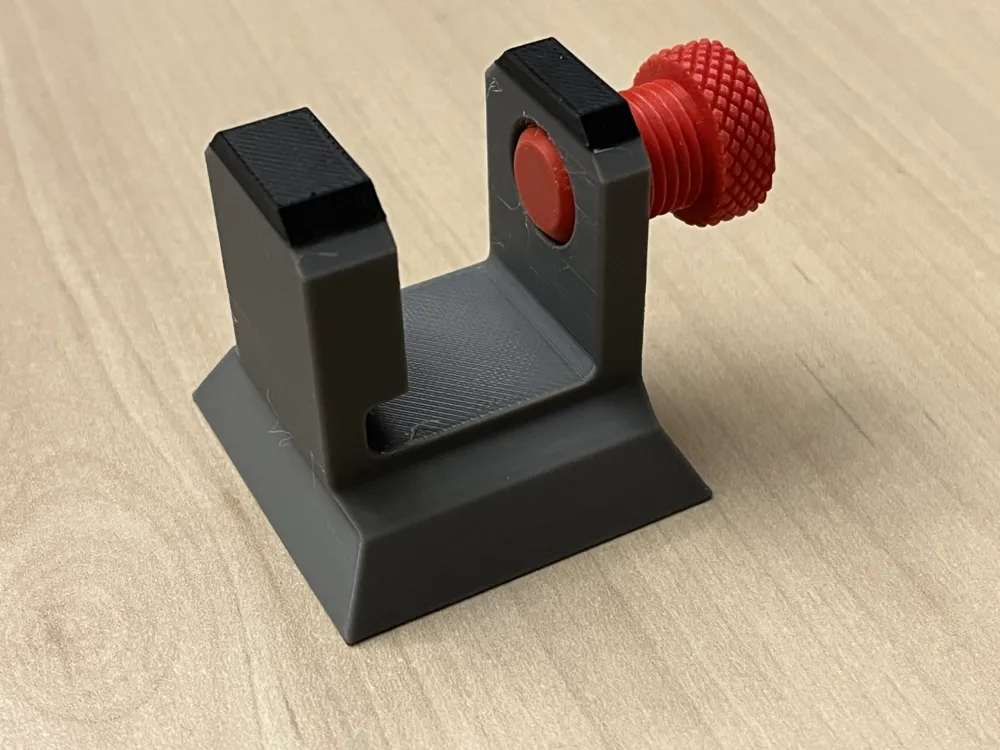
Tripod Quick Release Adapters (44.5mm square base)




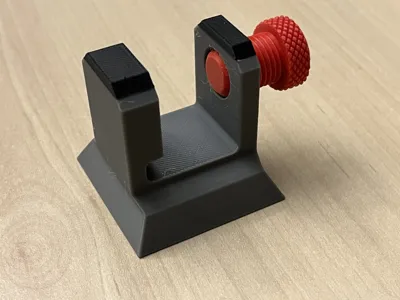
Print Profile(5)


Description
Updates:
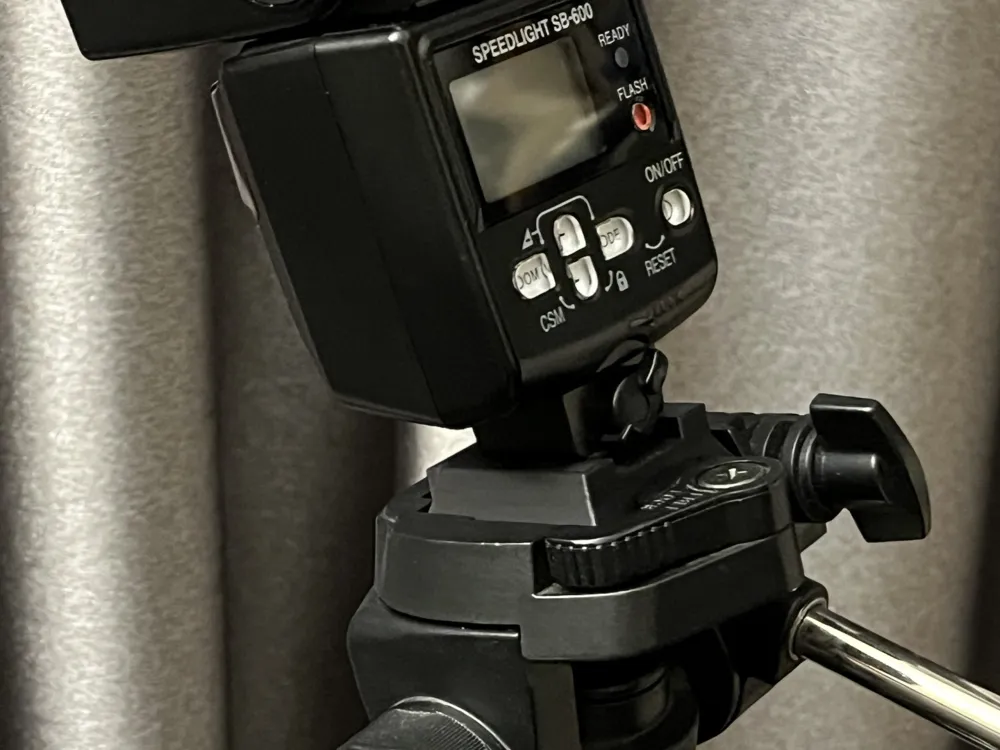
2025-01-24: Added two models as separate print profiles. Instead of making them as stand alone models, I group them all here 😉 . They all share the same tripod quick release adapter size.
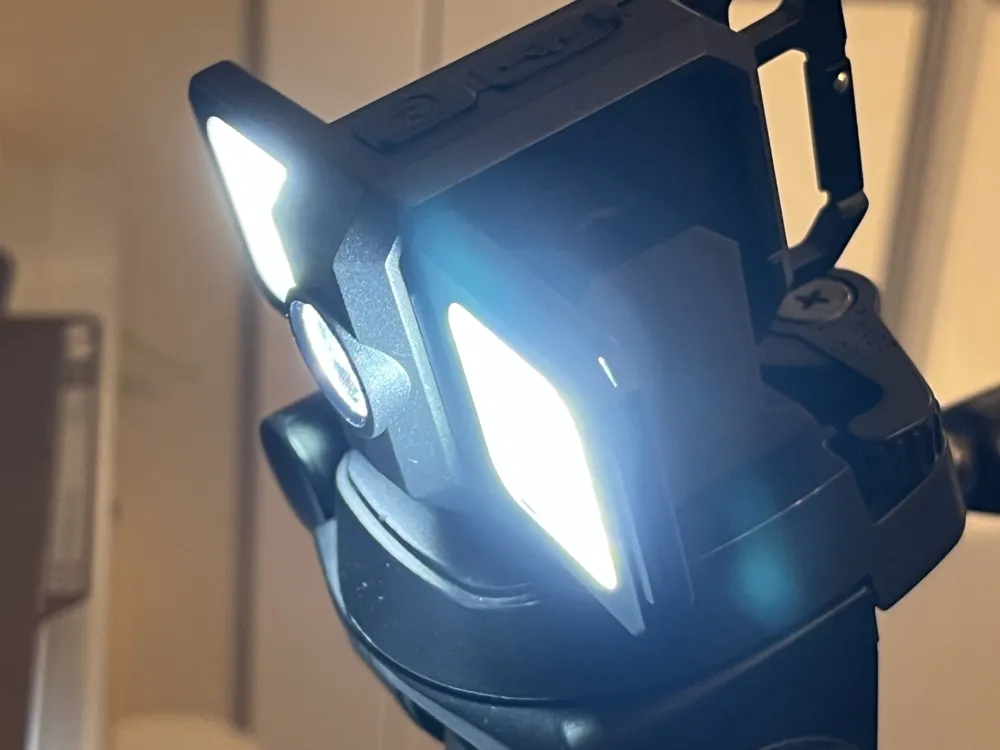
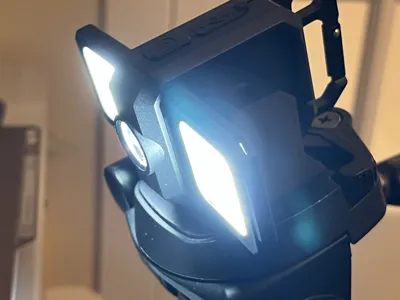
- LED Mount - Use this to mount LED lighting on tripod.
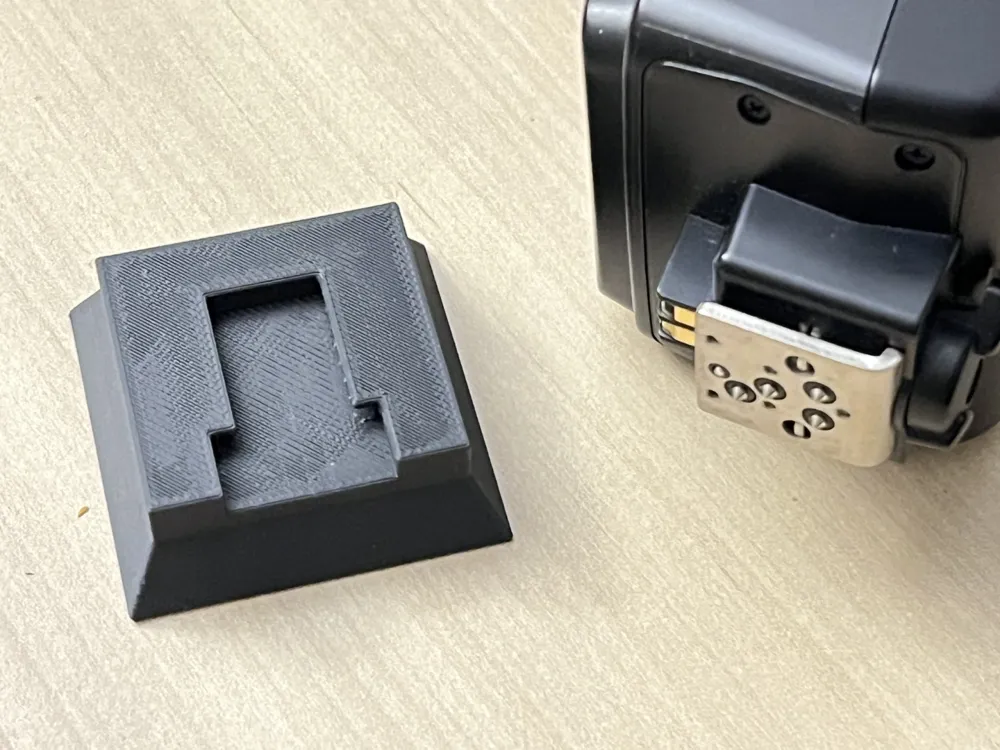
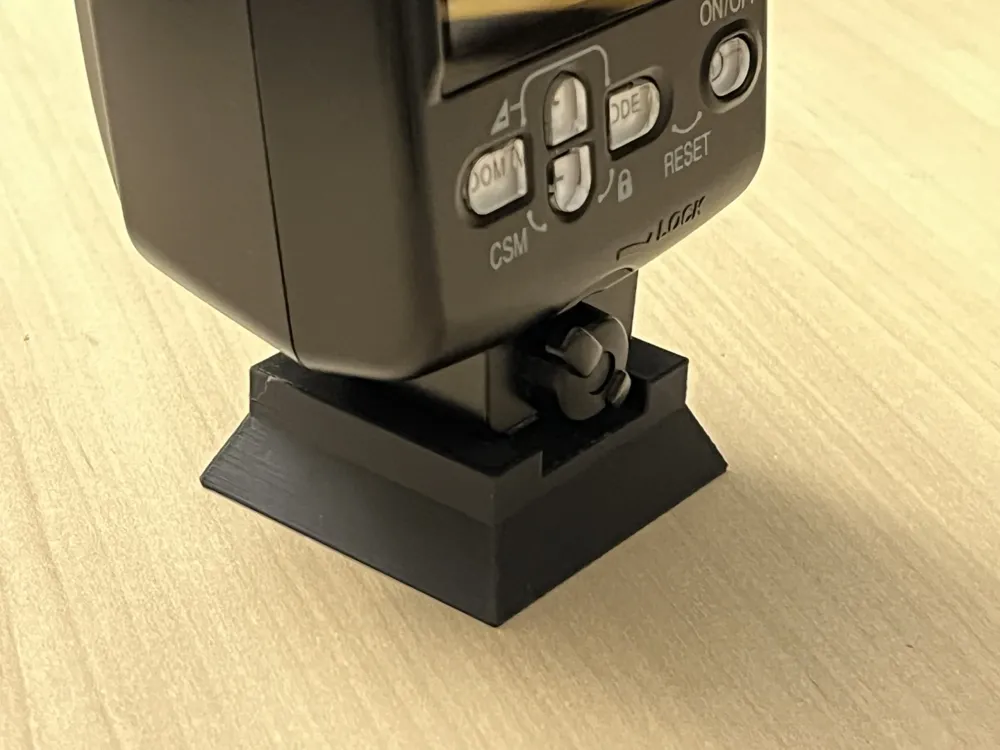
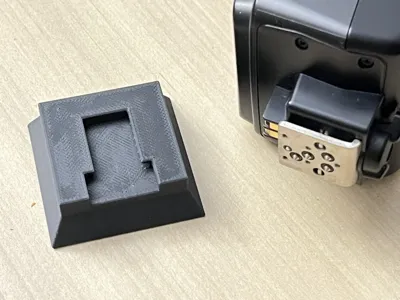
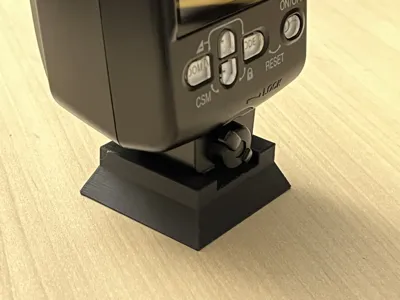
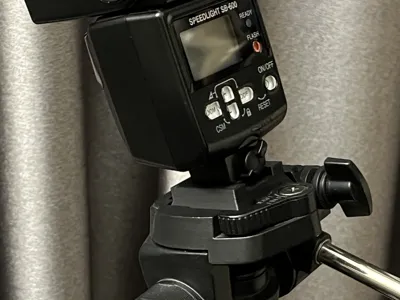
- Cold Shoe - Flashing light with Hot Shoe mount can now be mount on tripod. This is good for mounting multiple flash light to help better photographs taken. Such as Nikon Speedlight or Canon Speedlites.
Background:
My tripod only came with one quick release adapter. It’s great for mounting my camera and quickly releasing it for handheld shots. However, I ran into a problem when I needed to use another camera on the tripod—I had to unscrew the adapter from one camera and remount it to another. This model solved that issue. I printed several adapters and mounted one on each of my cameras, cell phone tripod mount, and GoPro. I hope you find it useful as well.
Dimensions:
It is designed to have two parts, the Bolt (1/4 - 20 UNC) and Base (square 44.5mm).
The threads is standard for most of the camera. Please verify the thread type of our camera before printing.
Although the threads are deigned and printed in stronger orientation, in case you over tighten and stripped the threads (I tried, no failed with hand tight), you can re-print a replacement Bolt easily without the need to re-print the Base.
Asssembly Instruction:
For Screw 1/4 - 20 UNC model only. Before installing the Bolt into the Base, please try the Bolt threads on your camera first. This attempt is to ensure the threads are good and the action will push down the “burrs” from print supports left on thread surfaces (if any).
Print Profiles:
- Screw 1/4 - 20 UNC: The print profile has settings to ensure good prints and good supports. The bolt must be printed in the orientation lay down as shown in the print profile. Supports are easy to be removed by hand when printed with PLA.
- LED Mount: This print profile has setting to ensure threads are printed well. No support is required.
- Cold Shoe: The support is very easy to be removed.
Boost Me (for free)
Your support is much appreciated. It will help me to buy more material for prototyping new models and idea. You'll see more great useful models from me. 😉
License

You shall not share, sub-license, sell, rent, host, transfer, or distribute in any way the digital or 3D printed versions of this object, nor any other derivative work of this object in its digital or physical format (including - but not limited to - remixes of this object, and hosting on other digital platforms). The objects may not be used without permission in any way whatsoever in which you charge money, or collect fees.


Comment & Rating (34)