Search models, users, collections, and posts
Wyze Deco V2 Contact Sensor
IP Report


Print Profile(1)

0.15mm layer, 2 walls, 15% infill
Designer
2.9 h
1 plate
Open in Bambu Studio
Boost
2
4
9
1
5
2
Released
Description
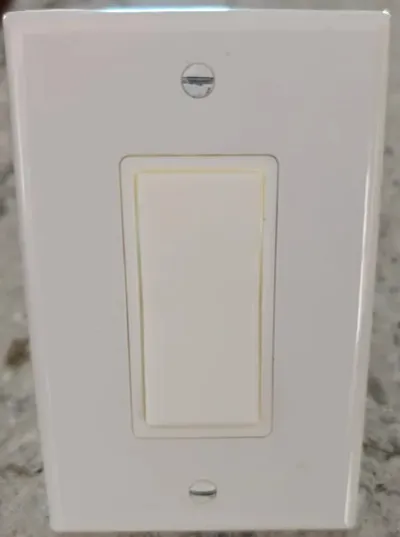
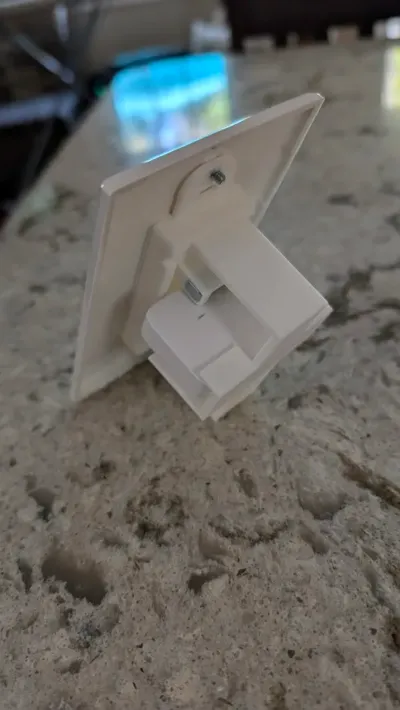
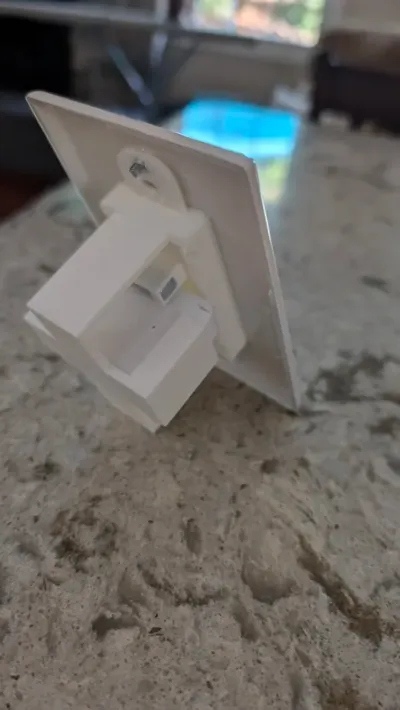
Add a Wyze Contact Sensor as a normal Light Switch. This design allows for the use of a Wyze Contact Sensor v2 to act as a Normal wall switch.
All of the parts are provided in one 3mf file. The Support settings are as follows:
- Enable Support: On
- Type: Tree (Auto)
- Style: Tree Slim
- Threshold angle: 25
- On build plate only: On
- Support Critical regions Only: On
- Remove small Overhangs: Off
Build Instructions
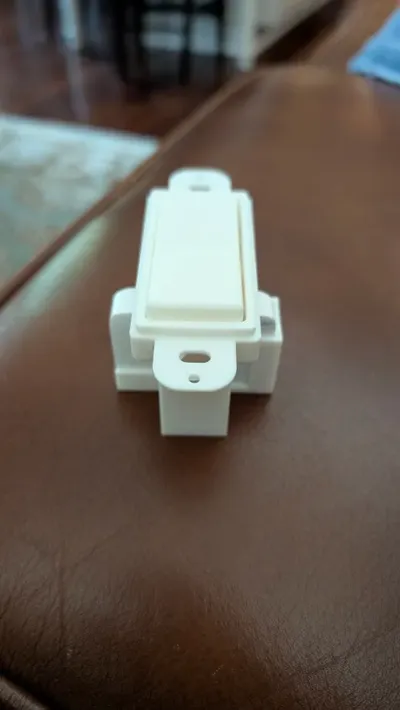
- Have your Wyze V2 Sensor Handy
- Remove the magnet from the Wyze v2 sensor by separating the casing at the seam
- Print all parts then move on…
- Slide the magnet into the holder on the Rocker Switch
- Slide the Rocker Switch under the main housing and clip into center slots.
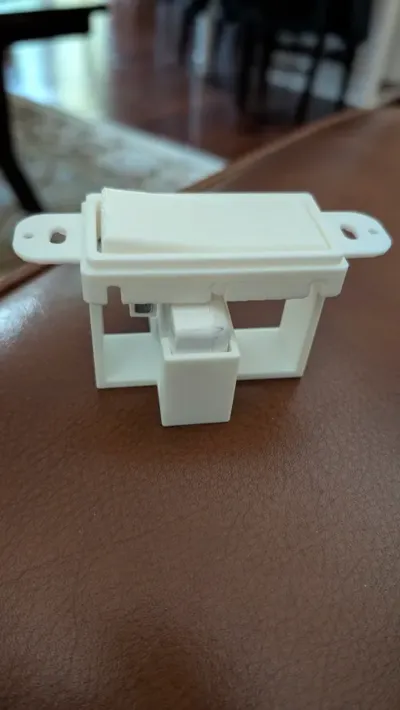
- Take the 2 Edge supports and make sure they are connected into the slots at each end of the housing. Note: The Flat side of the Edge support goes up so the switch taps on it. The rounded edge of the support goes towards the outside of the main housing to match the rounded edge of the housing.
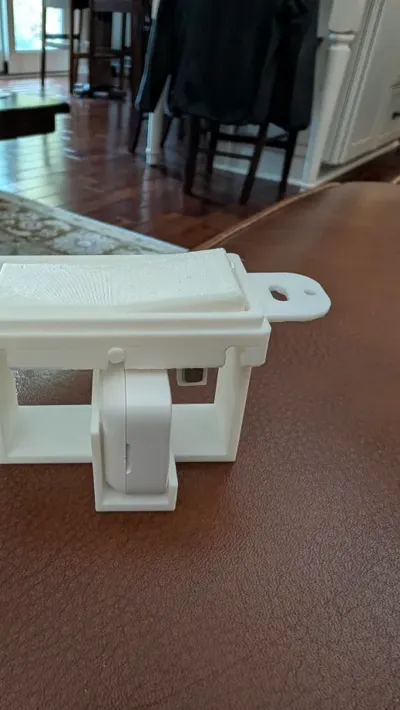
- Slide the Wyze Transmitter into place making sure the light is towards the side with the upright support and the button is near the rocker.
Review the attached images if you have questions or feel free to send questions.
License
This user content is licensed under a
Creative Commons Attribution-Noncommercial
Comment & Rating (9)