
Knotting Star and Knotting Flower - 8 and 16 Slots

Print Profile(1)

Description
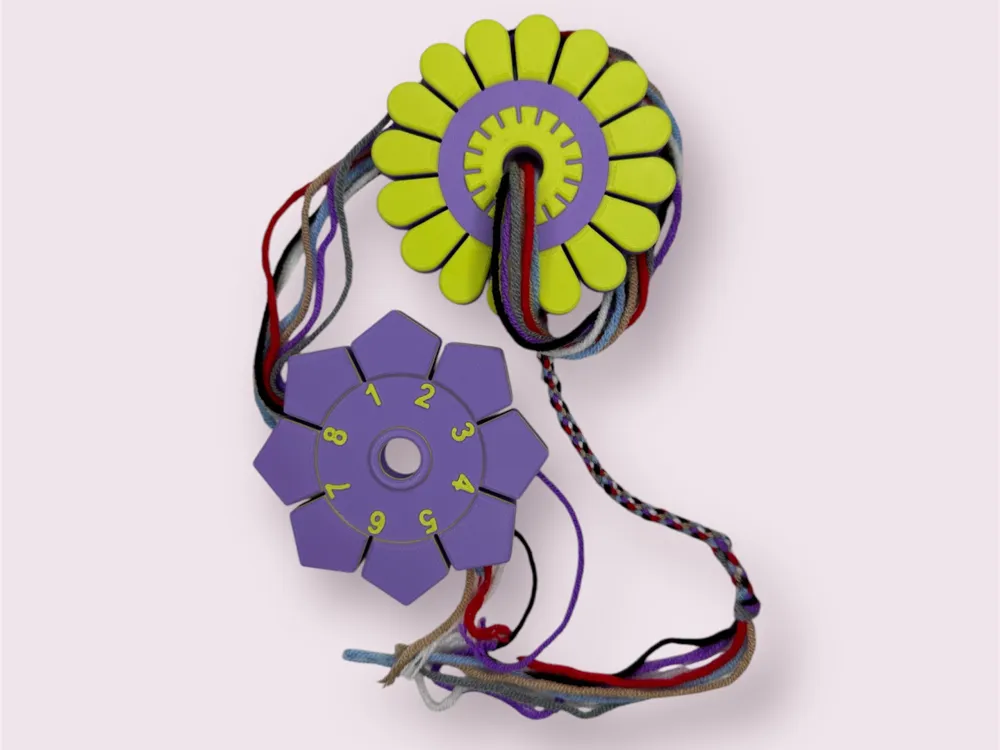
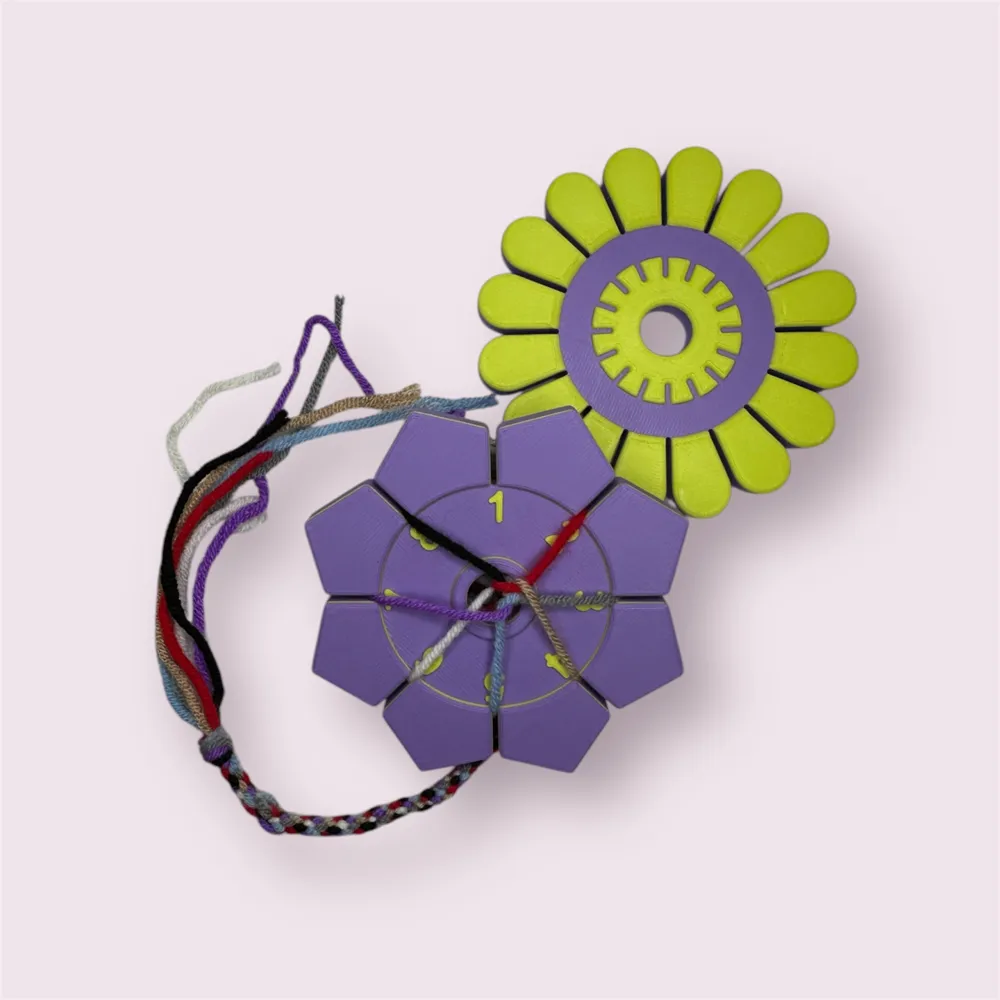
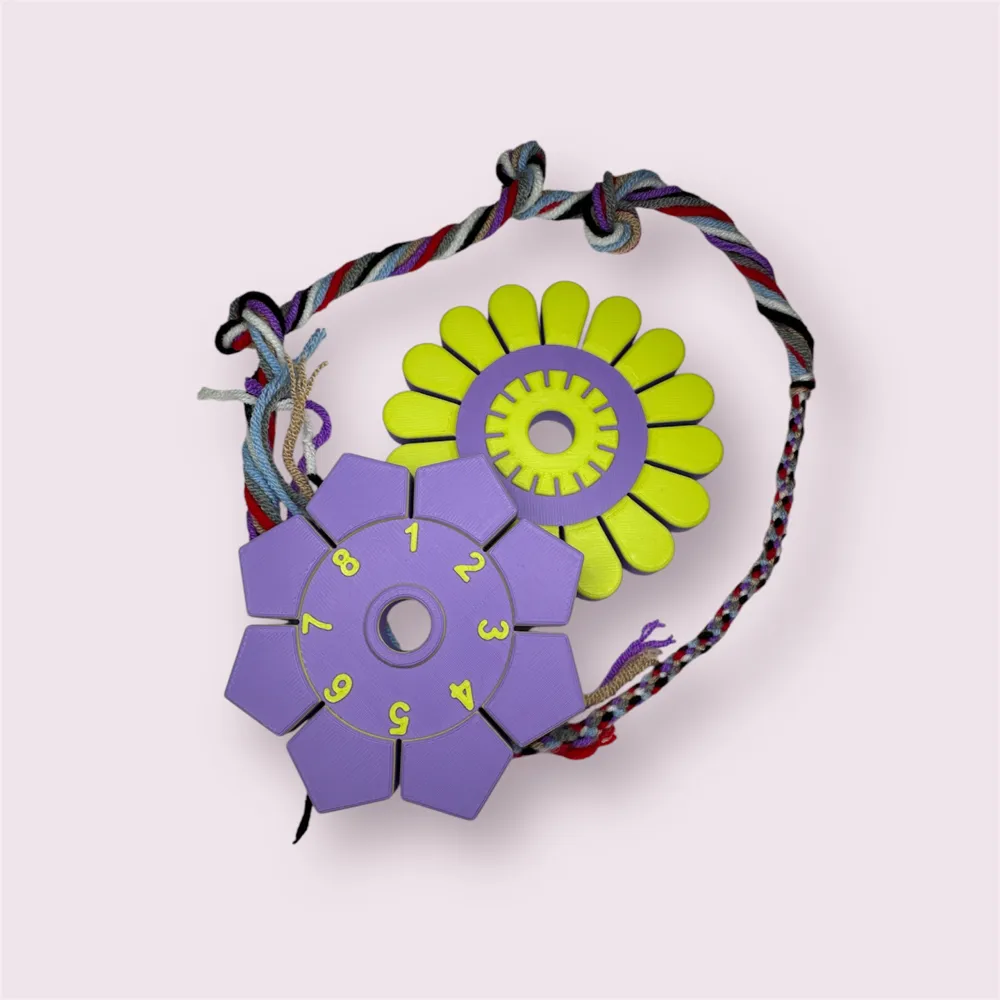
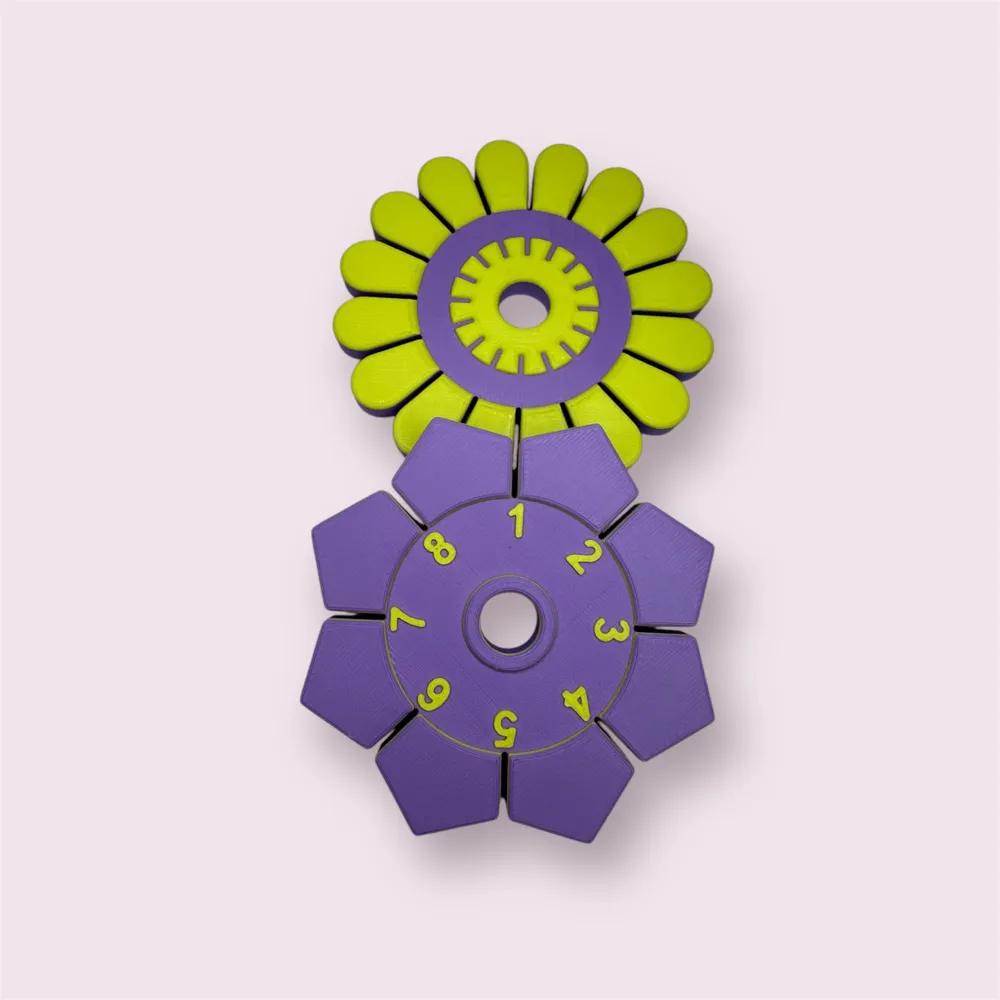
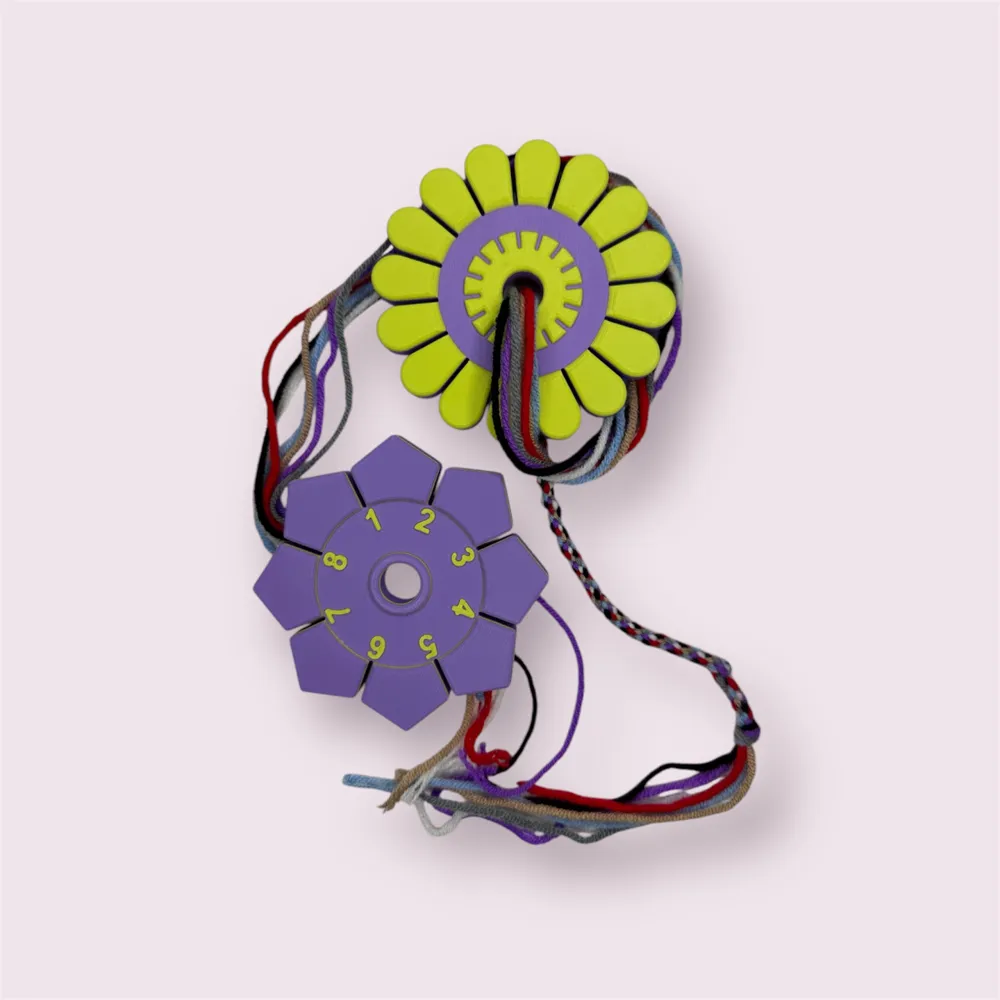
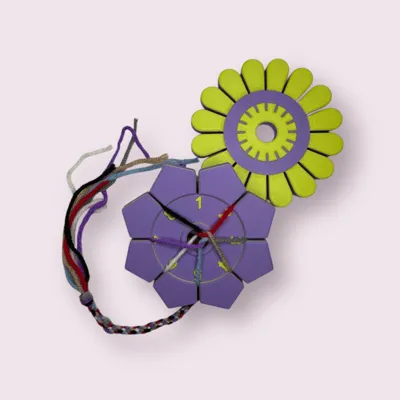
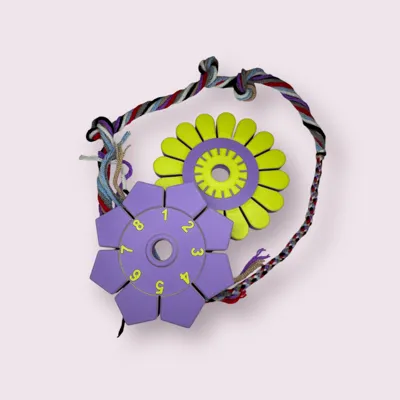
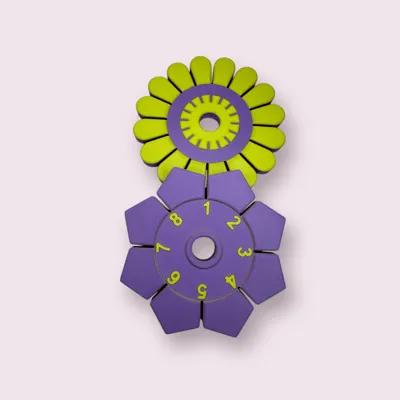
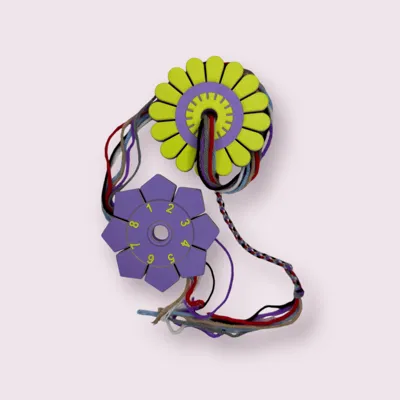
Knotting Star with 8 Slots and Knotting Flower with 16 Slots
The knotting star or knotting flower is a practical DIY tool with which colorful bracelets and creative braiding patterns can be easily created. Due to the 8 or 16 slots, various patterns can be braided – perfect for individual friendship bracelets and creative decorations. Ideal for beginners and advanced crafters who enjoy handcrafts and unique designs.
Instructions for Knotting Star with 8 Slots:
A knotting star with 8 slots is perfect for braiding a beautiful, simple band. Here is a simple instruction for 7 different threads:
What you need:
- Knotting star with 8 slots
- 7 different threads (e.g. wool or yarn in different colors)
- Scissors
Step-by-step instructions:
1. Preparing the threads:
- Cut 7 threads to the desired length (approx. 50 cm or longer, depending on the desired length of the finished band).
- Lay the threads on top of each other and tie them together at one end with a knot. The knot serves as a holding point for the beginning of the band.
2. Arranging the threads in the knotting star:
- Place the knot in the center of the knotting star.
- Distribute the 7 threads in the slots of the knotting star, leaving one slot empty.
- Make sure the colors are evenly distributed and no similar colors are directly next to each other.
3. Braiding the band:
- Choose the empty slot as the starting point.
- Counting from this slot, count three threads counterclockwise and take the third thread.
- Pull the third thread into the empty slot.
- Repeat this process: The empty slot is now in a new position, and you count three threads counterclockwise again, take the third and pull it into the empty slot.
4. Continue:
- Continue this step continuously until your band has reached the desired length.
- Make sure to pull the threads evenly to achieve a clean, even band.
5. Completion:
- When you are finished, carefully remove the band from the knotting star.
- Tie the ends together and trim the threads if necessary.
Instructions for Knotting Flower with 16 Slots:
A knotting flower with 16 slots is ideal for braiding a beautiful, dense and colorful band. Here is a simple instruction for 15 different threads:
What you need:
- Knotting flower with 16 slots
- 15 different threads (e.g. wool or yarn in different colors)
- Scissors
Step-by-step instructions:
1. Preparing the threads:
- Cut 15 threads to the desired length (approx. 50 cm or longer depending on the desired length of the finished band).
- Lay the threads on top of each other and tie them together at one end with a knot. The knot serves as a holding point for the beginning of the band.
2. Arranging the threads in the knotting flower:
- Place the knot in the center of the knotting flower.
- Distribute the 15 threads in the slots of the knotting flower, leaving one slot empty.
- Make sure the colors are evenly distributed and no similar colors are directly next to each other.
3. Braiding the band:
- Choose the empty slot as the starting point.
- Counting from this slot, count three threads counterclockwise and take the third thread.
- Pull the third thread into the empty slot.
- Repeat this process: The empty slot is now in a new position, and you count three threads counterclockwise again, take the third and pull it into the empty slot.
4. Continue:
- Continue this step continuously until your band has reached the desired length.
- Make sure to pull the threads evenly to achieve a clean, even band.
5. Completion:
- When you are finished, carefully remove the band from the knotting star.
- Tie the ends together and trim the threads if necessary.
Have fun knotting your new bracelet!
License

You shall not share, sub-license, sell, rent, host, transfer, or distribute in any way the digital or 3D printed versions of this object, nor any other derivative work of this object in its digital or physical format (including - but not limited to - remixes of this object, and hosting on other digital platforms). The objects may not be used without permission in any way whatsoever in which you charge money, or collect fees.


Comment & Rating (67)