
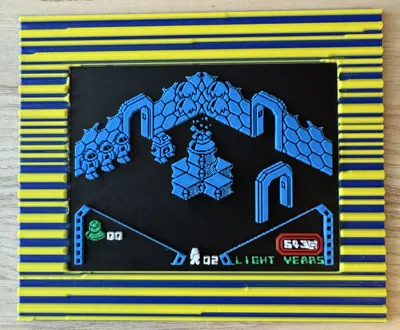
ZX Spectrum Alien 8 Ultimate with border - 2 Sizes

Print Profile(1)

Description
*** Please read carefully BEFORE printing. - There is a manual filament swap required in order to print this ***
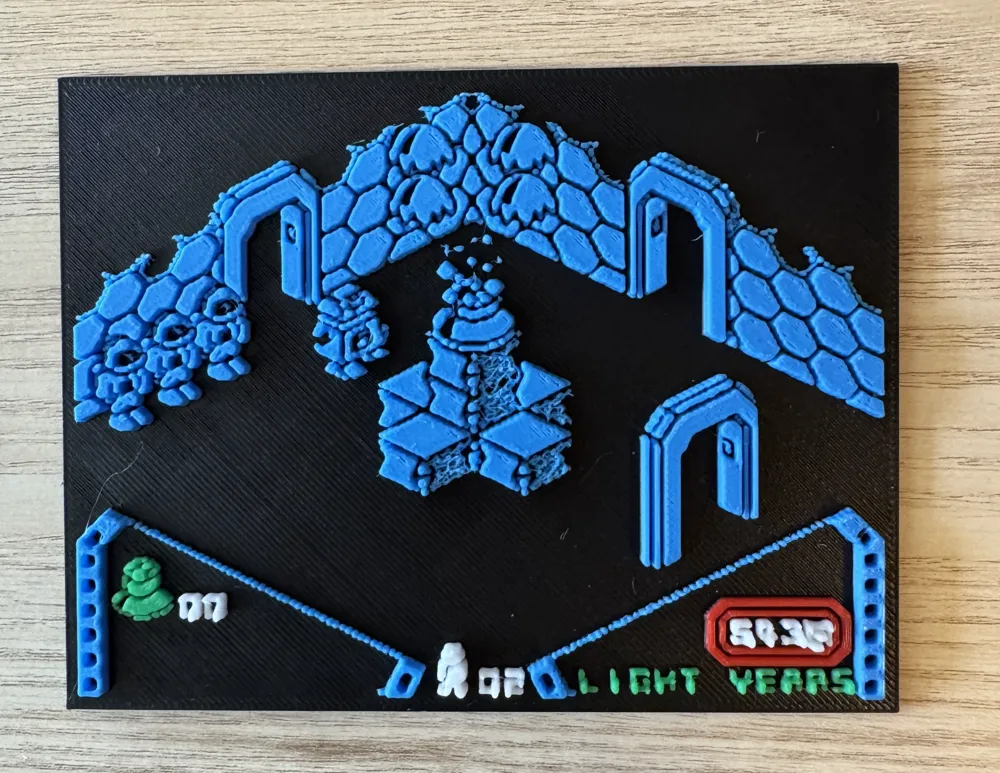
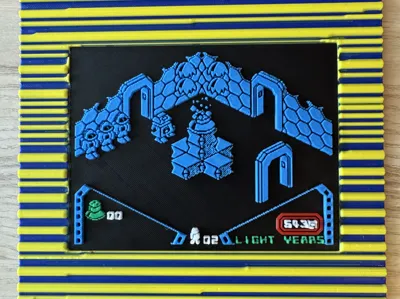
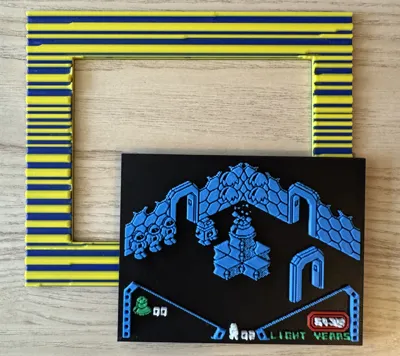
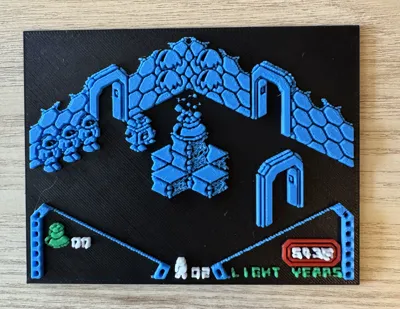
Alien 8 - A true classic ZX Spectrum game, featuring Ultimate's 'Filmation' isometric graphics, first shown off in a game you may have heard of, by the name of Knight Lore…
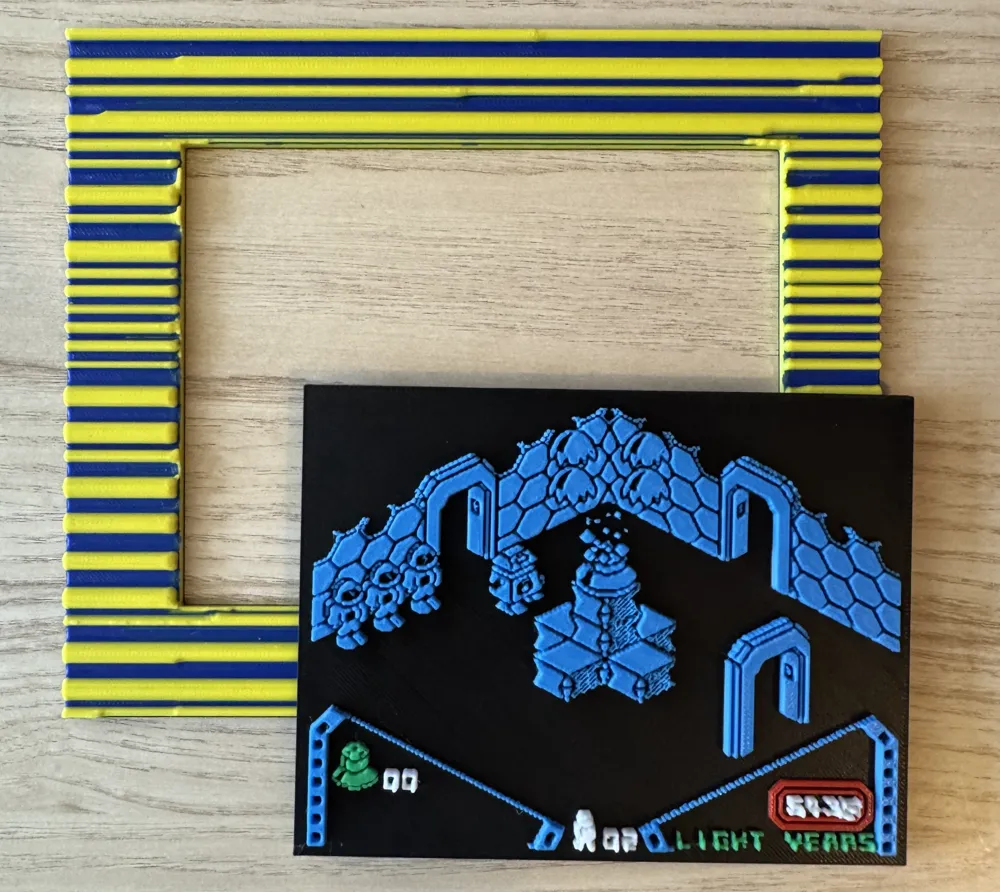
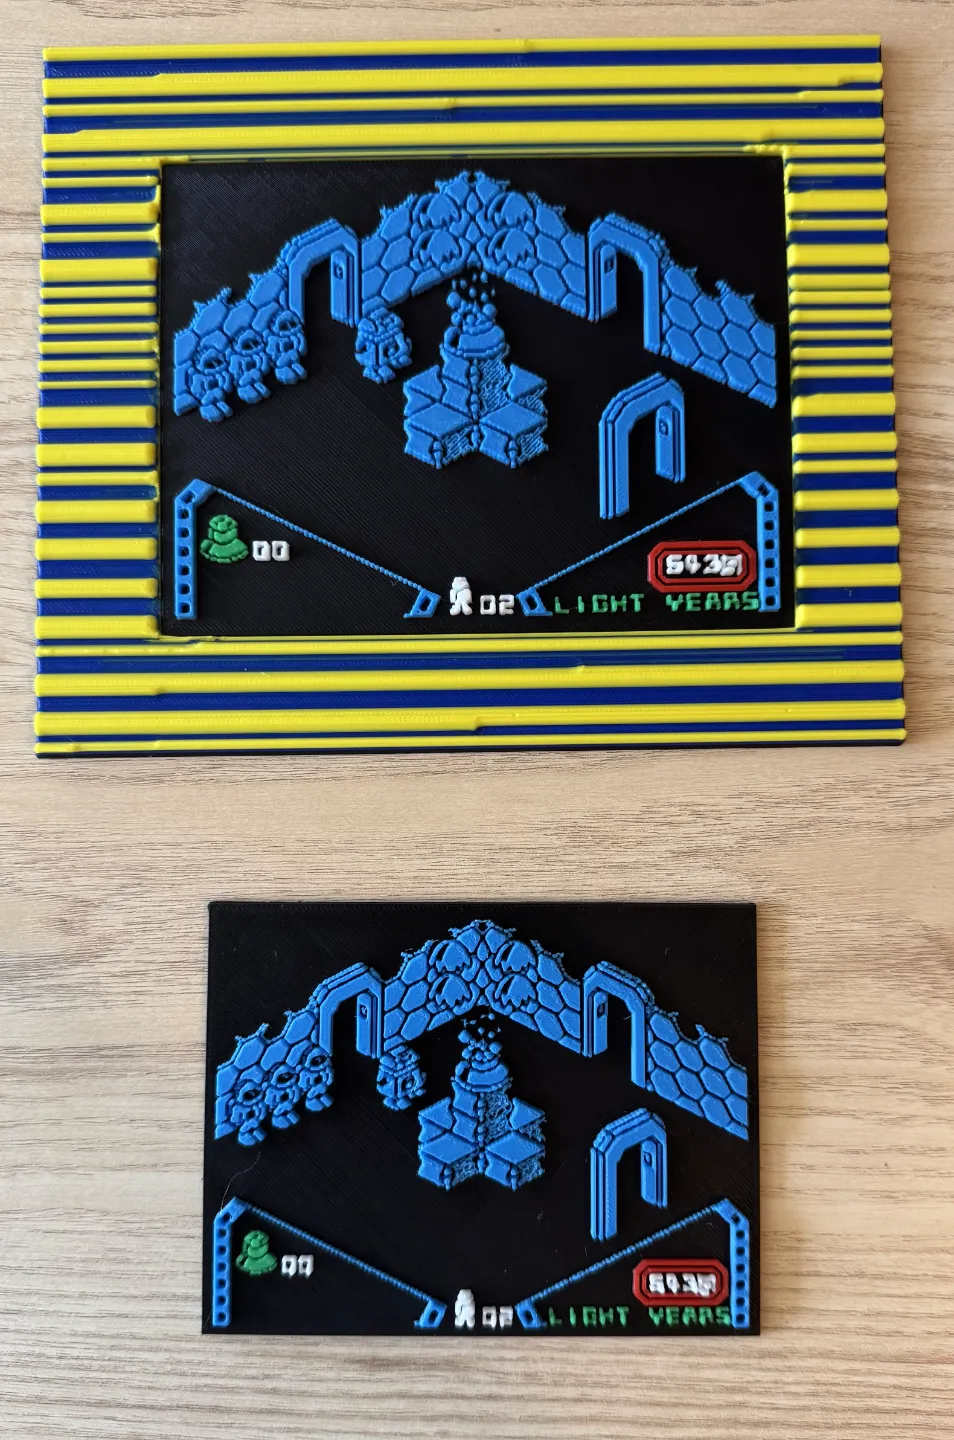
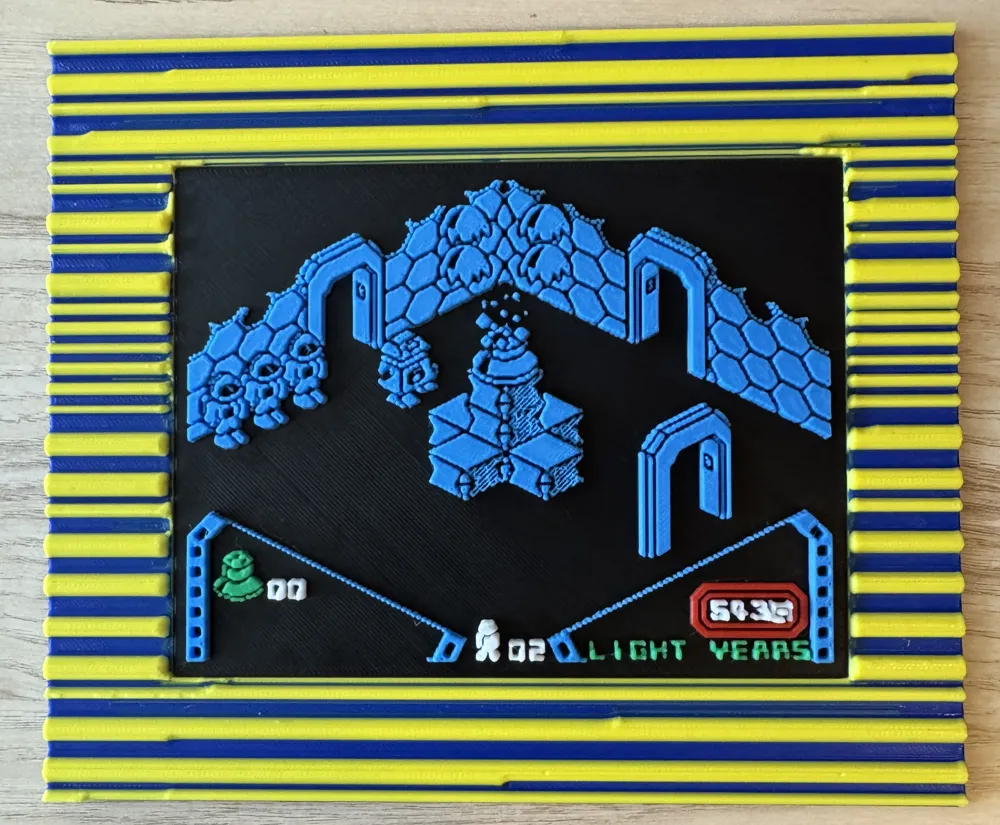
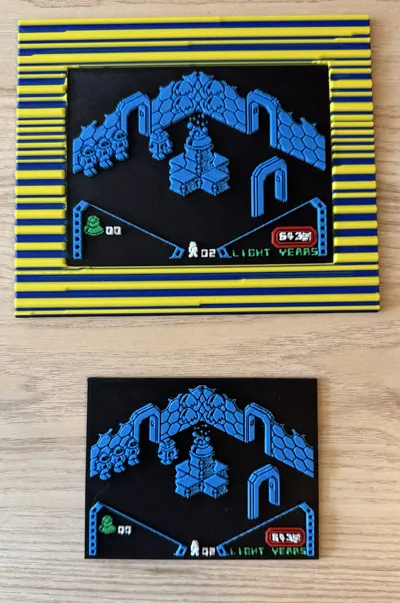
Here we have large and small versions with printable snap on ‘loading borders’ - an idea which I had some considerable time ago (it's hardly revolutionary), which I can assure you is not copied from anywhere else.
Re: the filament swap…
[These are based on using an AMS Lite - The ‘big’ AMS process will differ slightly, but I don't have one, so I can't help you there. - The principal will be the same though] .
The main print (not the border) will pause automatically at layer 13. At this point:
1./ Manually press in the filament cutter and ensure it then releases. This cuts the black filament.
2./ Push left on the filament release lever on top of the extruder (it's the bit next to, but lower than, the four tube holder) and with that still depressed, manually roll back the black filament. You can release the lever pretty much as soon as the filament starts to move back onto the reel, as the filament will then be clear of the extruder grips.
3./ Fully retract (roll back onto the reel) the black filament and replace that spool on the AMS Lite with red.
4./ Press the button on the relevant AMS Lite feeding port (as you do each time you put new filament in) and manually push in the red filament right up until it butts against the inside of the extruder. You will know, as you won't be able to push it any further!
5./ Finally, go to the machine's screen, your pc, or the app (whichever you prefer) and resume printing. - It will proceed to print red all over the place and you will think that it has gone wrong, but fear not, as this will all be overprinted with the correct colours (as per my pictures). Have faith and all will be well!
In case you're wondering, the Atic Atac loading screen part in the border models won't print, as it is blocked out with a ‘negative part’.
The main screens can both be printed on an A1 Mini, but just check that the location of the purge tower isn't too close before you print. In theory you could probably print the smaller border on an A1 Mini, but the purge tower is an issue, so you'd probably need to angle and support it ridiculously - maybe just cut it instead if you're really interested…
Enjoy.
License

You shall not share, sub-license, sell, rent, host, transfer, or distribute in any way the digital or 3D printed versions of this object, nor any other derivative work of this object in its digital or physical format (including - but not limited to - remixes of this object, and hosting on other digital platforms). The objects may not be used without permission in any way whatsoever in which you charge money, or collect fees.


Comment & Rating (0)