
Life Counter v2

Print Profile(6)


Description
What it is
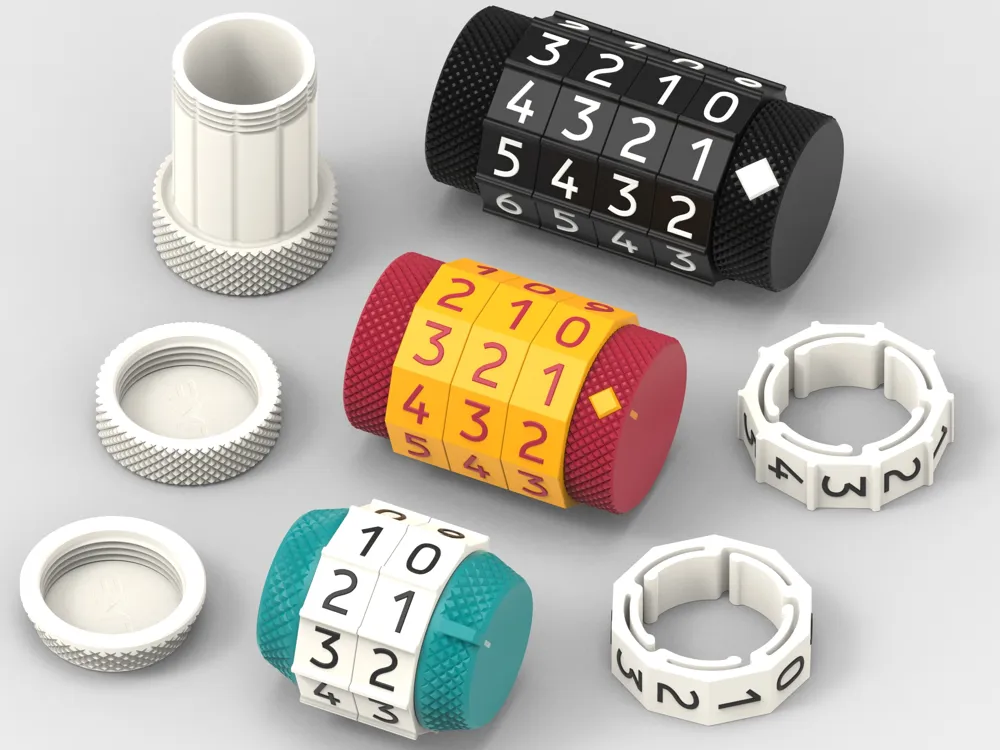
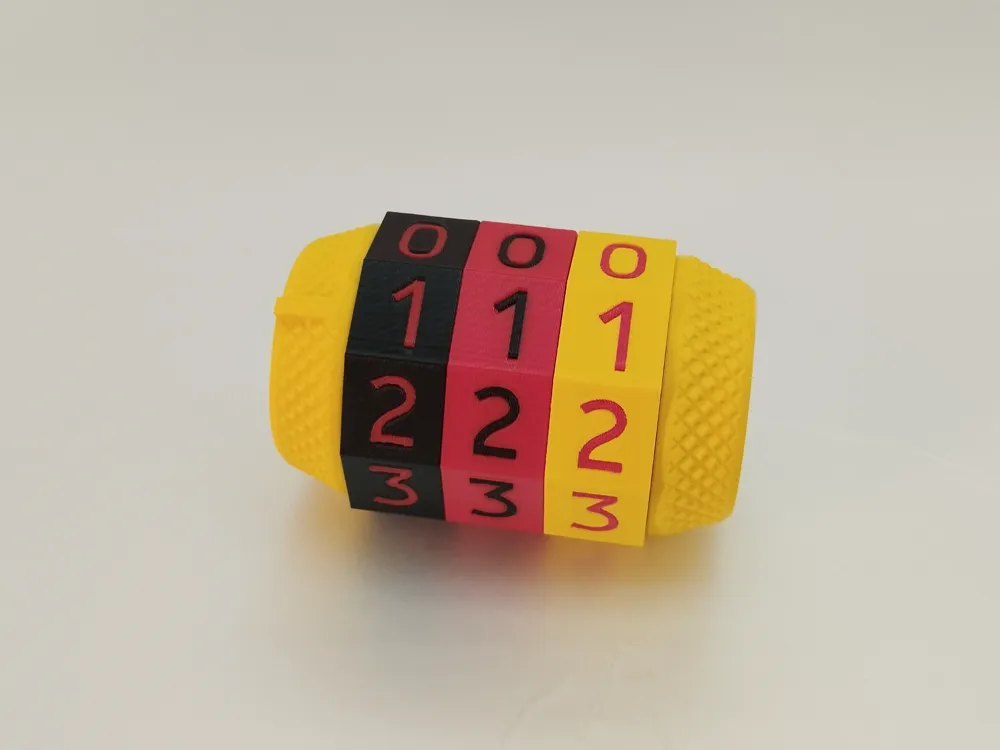
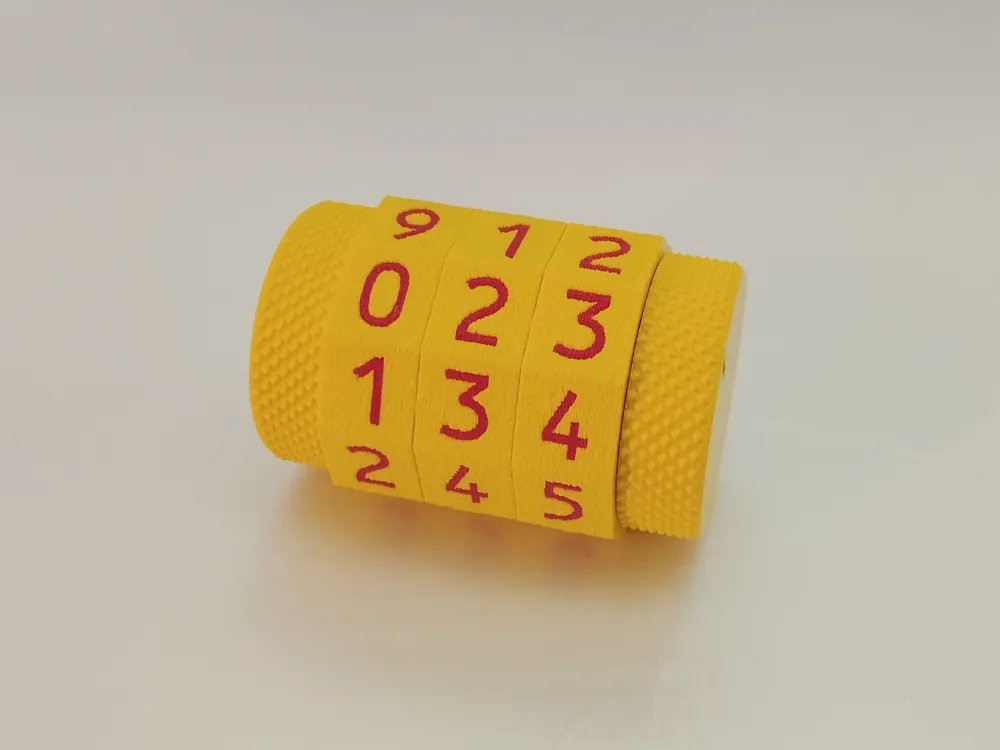
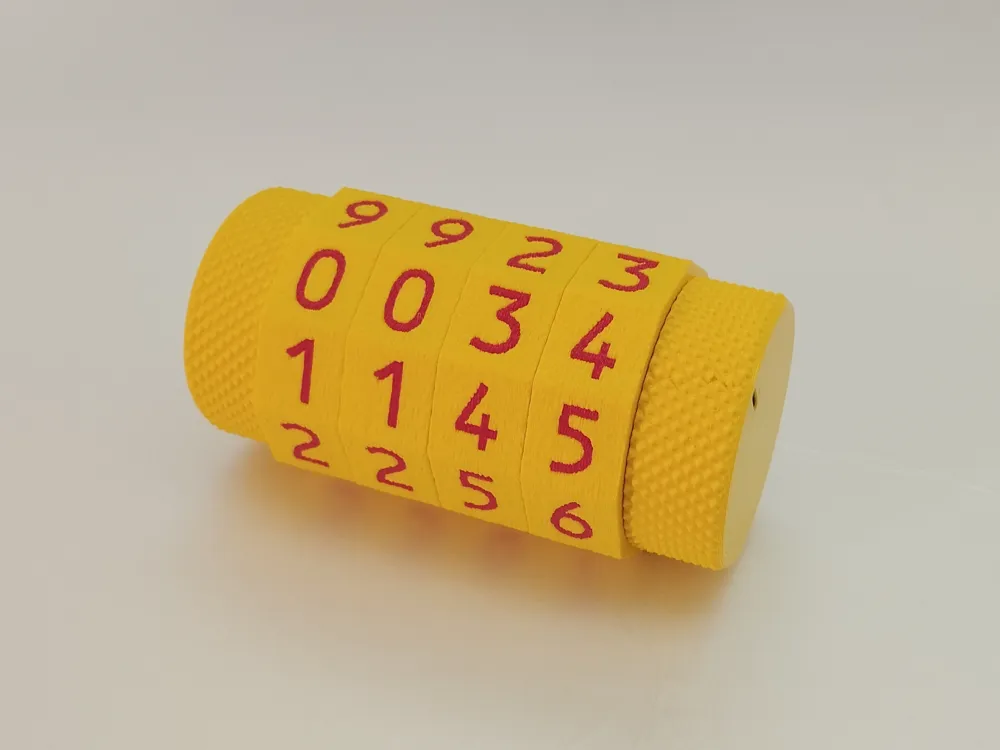
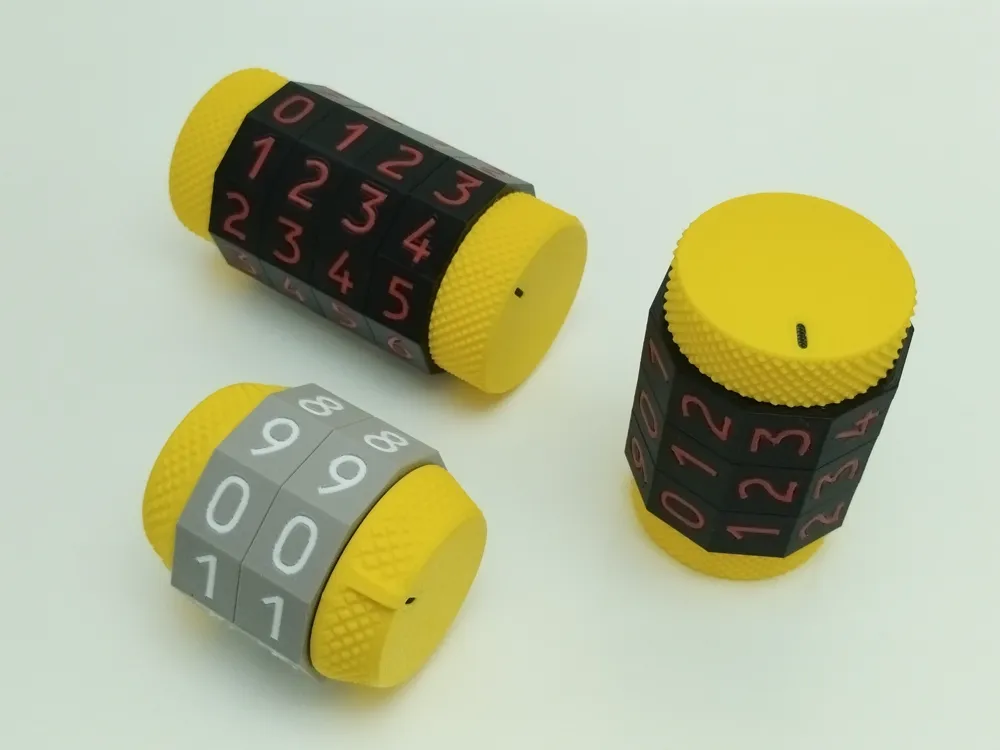
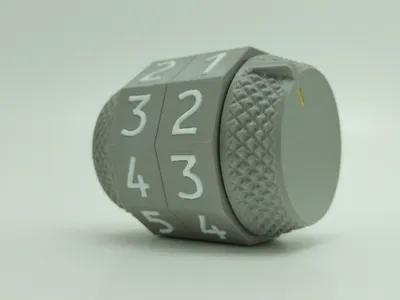
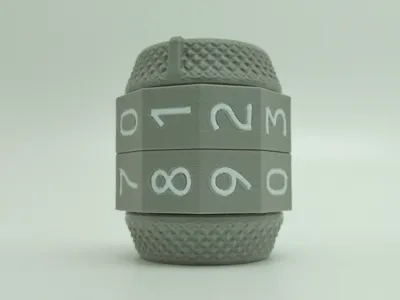
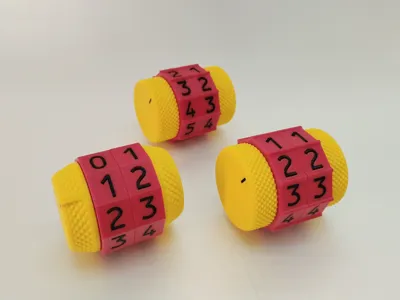
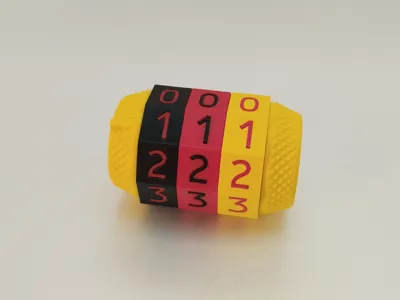
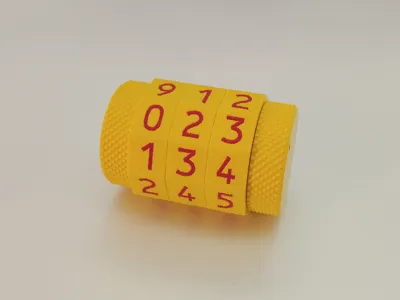
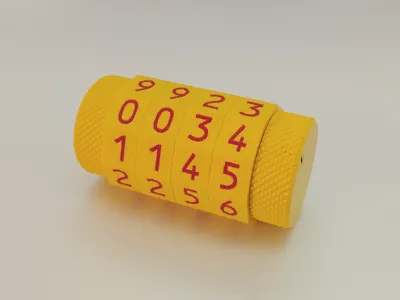
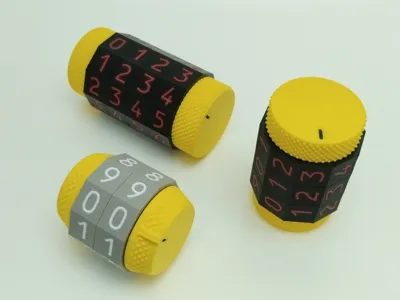
A simple two to four digit counter with a small compartment inside, a screw on lid and detents for the number positions.
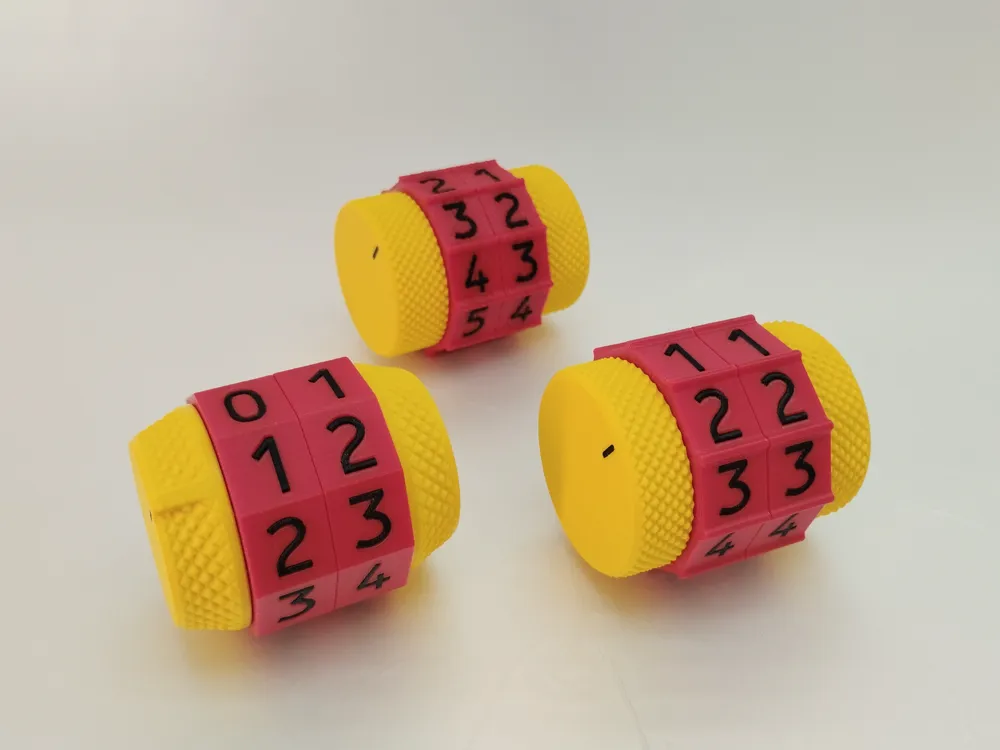
It is part of a design family, so you do have a few options if you want something different.
Scoreboard variants of this design are available here.
Differences to v1
- further optimized for better haptics and printing
- bigger inner diameter of ⌀ 28mm ≈ ⌀ 1.1inch
- with outer dimensions nearly the same
- snap action now with hardness levels to choose from
- choice of gripping ends
What to print
For multicolor printing and convinience, 3MF files are provided. There are several modifiers present, deactivate or change them to get your desired outcome.
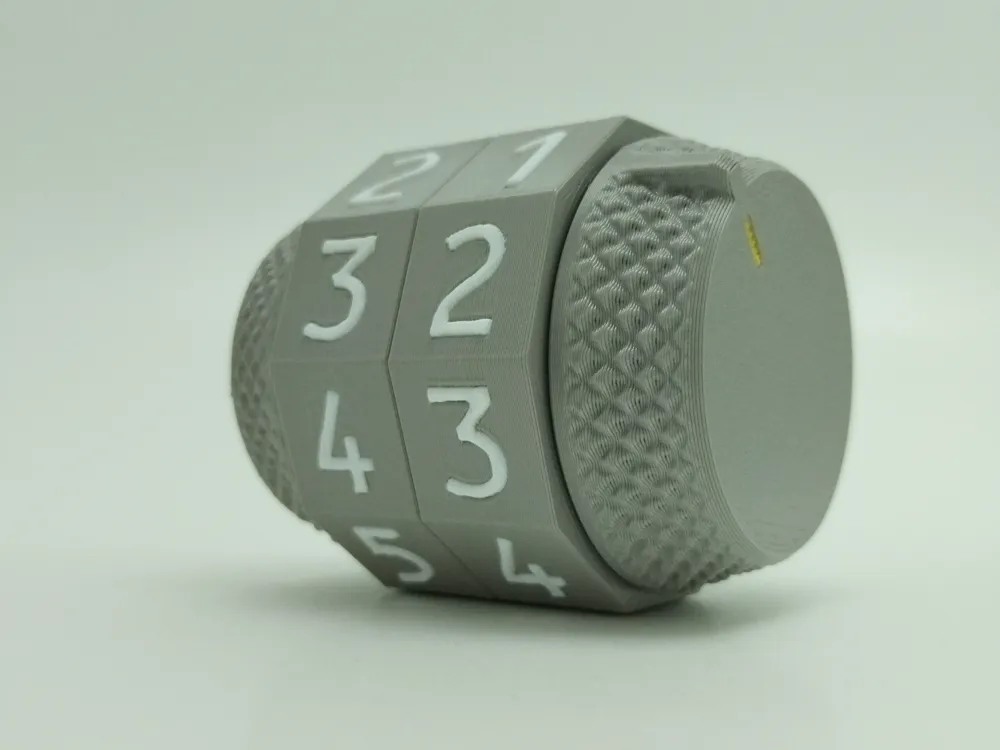
Axle - Shape of the ends

- Angled grips → less grippy but I like them a lot
- Standard grips → equivalent to v1
- Long grips → a popular request with the hard v1 snap action
Axle - Front indicator
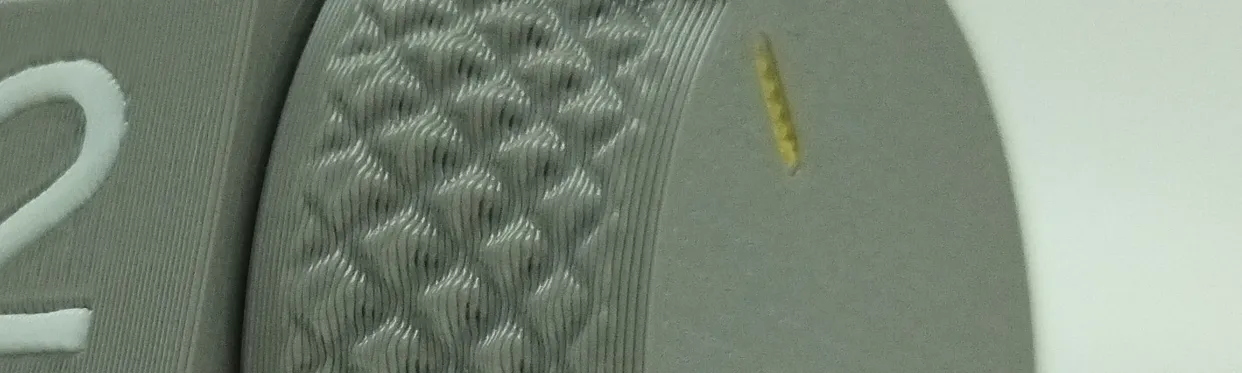
- Consists of a negative volume and color modifier → delete both if unwanted
Axle - Side indicators

- There are two rhombic shapes provided as modifiers, if you change them to “part” they localy cover the knurling as a whole.
- To get custom patterns just paint individual pyramids of the knurling.
Wheels - Stiffness snap action
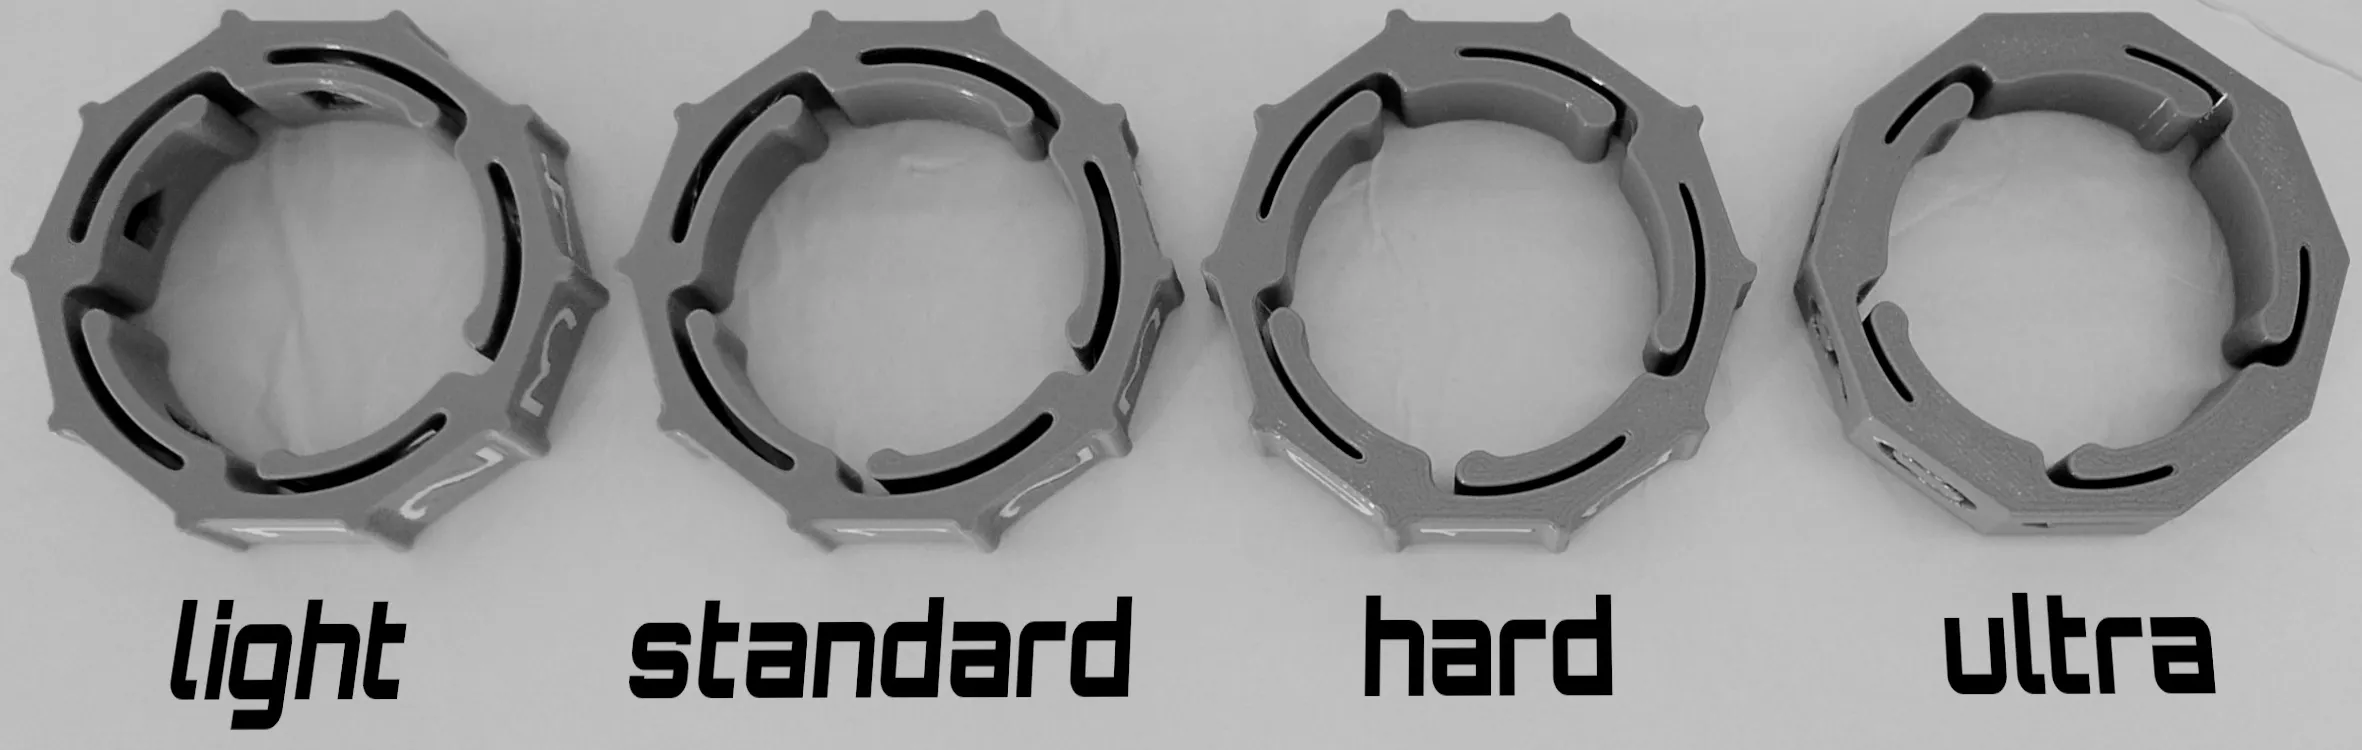
- Light snap → change the “Light_detent” modifier to a negative volume
- Standard snap → provided as default because it felt nice in PLA & PETG
- Hard snap → not as strong as the v1 but nice
- Ultra snap → equivalent or slightly harder compared to the v1 action, v1 got a few “too hard of a snap” comments
Wheels - Plain, with ridges, fuzzy

- If “optional_ridges” is set to “part” they will be printed → delete if you want plain wheels
- Activate fuzzy skin for the wheel and its countur only! - The values of the depicted wheels are: PD=0.2 and T=0.3.
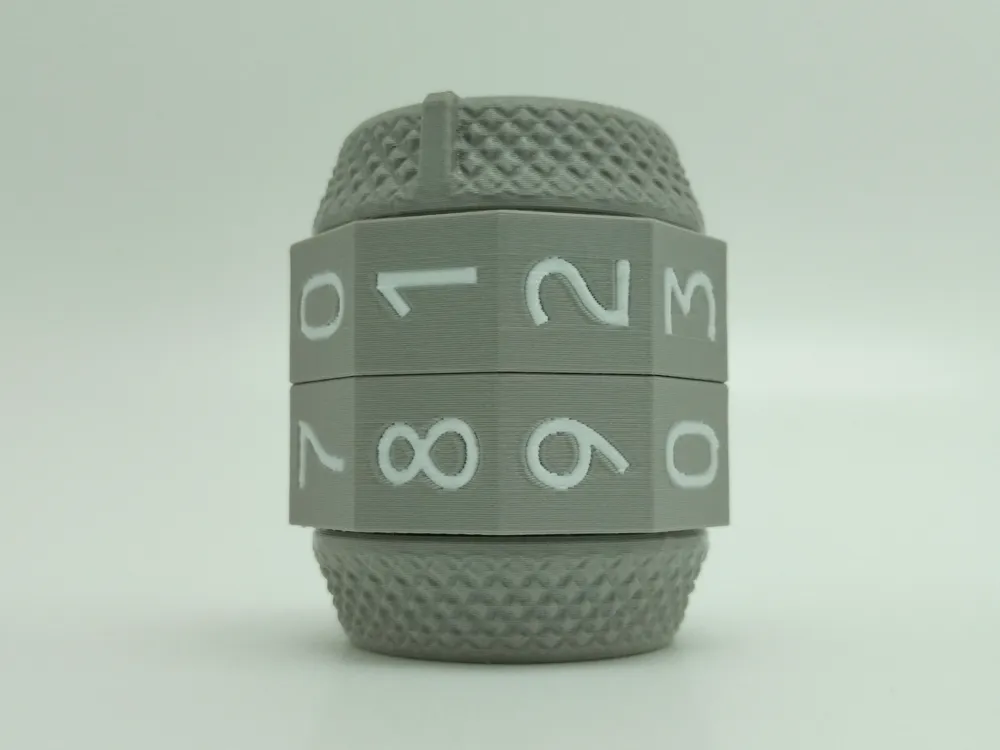
Wheels - Numbers
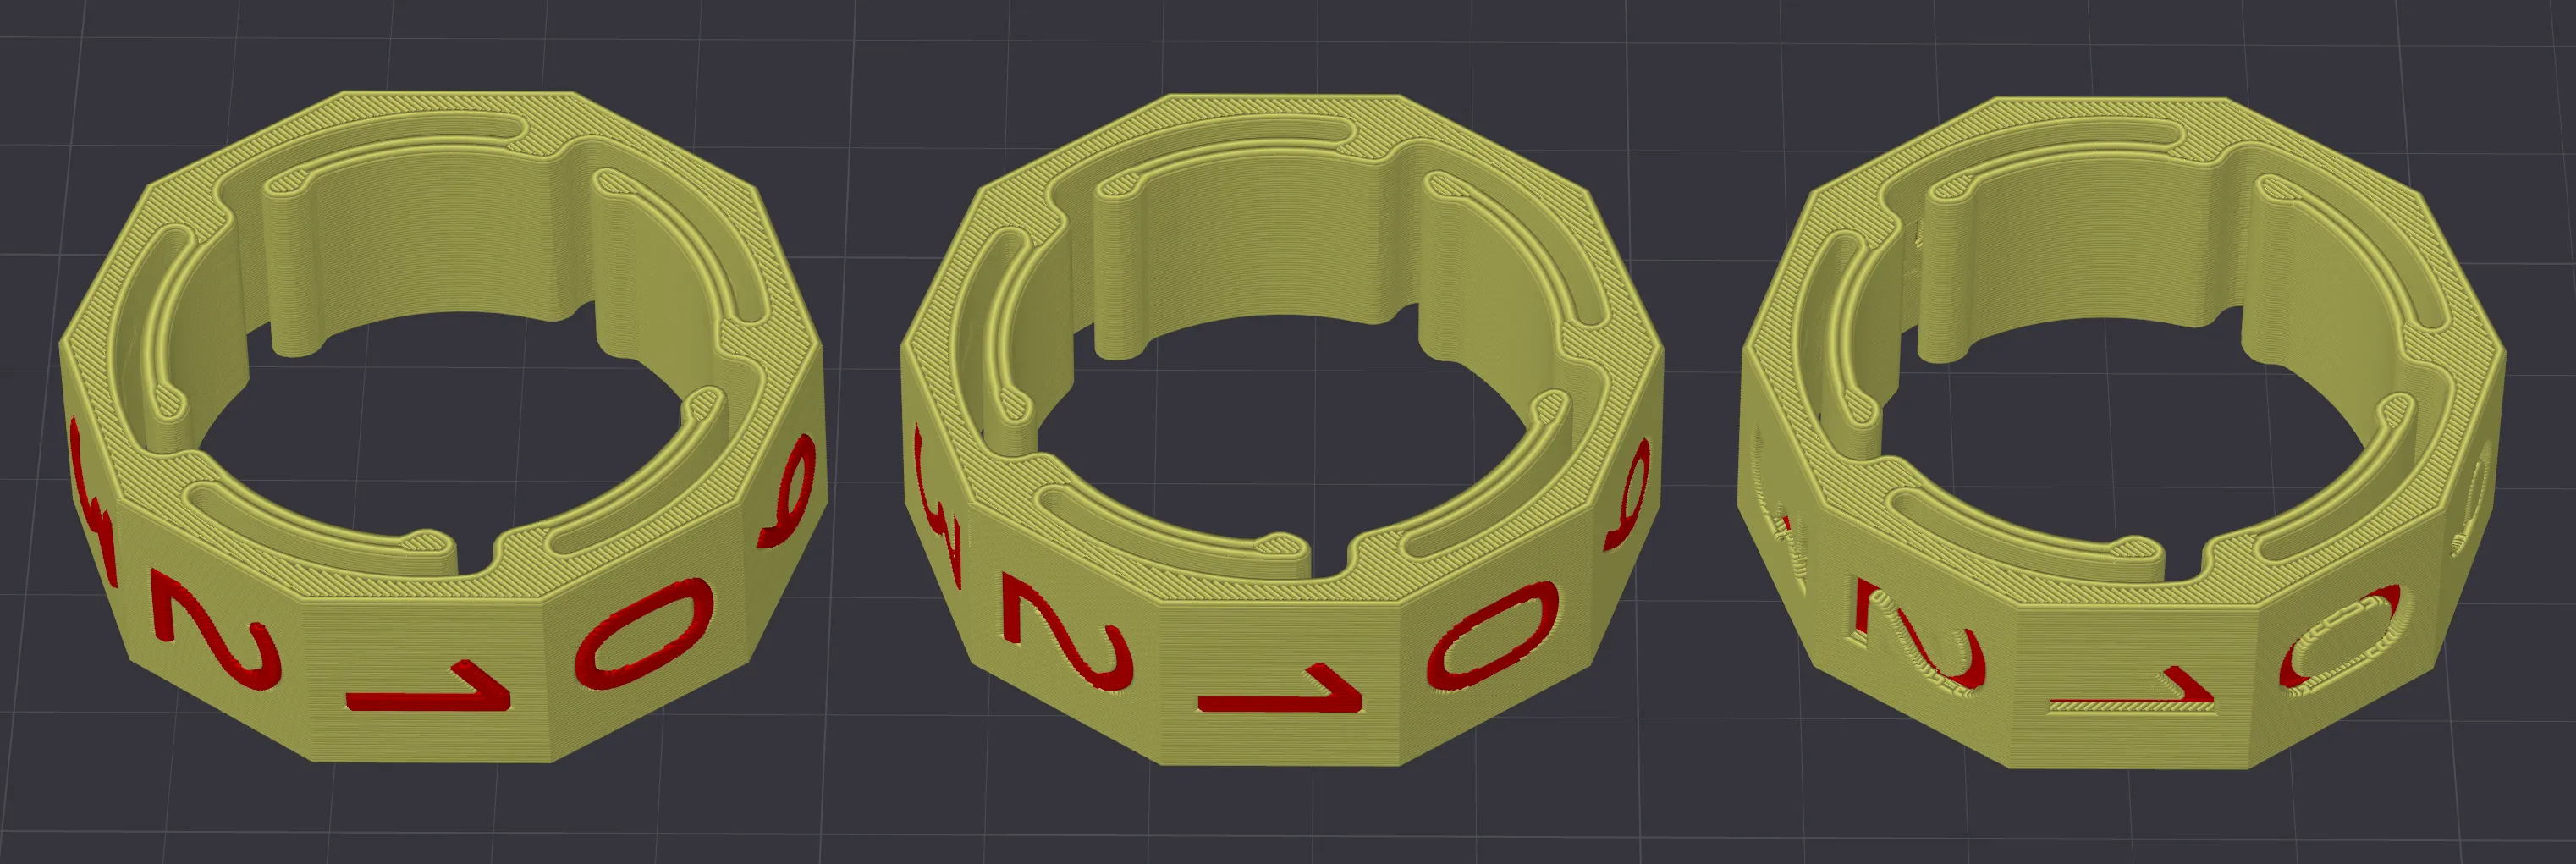
Depending on the numbers modifier:
- Part → embossed,
- Modifier with color → flush
- Negative part → debossed
Lids
In general, choose the type designed for its axle. However, an angled lid will work with a standard axle and vice versa.
How to print
The design is optimized for extrusion width of 0.21mm, 0.42mm and 0.63mm.
It also is divisible without remainder by any of the "standard" layer heights 0.08mm, 0.10mm, 0.16mm, 0.20mm, 0.24mm, and 0.30mm.
For a perfect result the first layer needs to match the other layer heights and needs to adhere well to the built plate. → Keep it slow at least for the first layer.
If you like fuzzy skin, you may want to turn it on for the wheels (only!) with “Contour” and values of around PD=0.2 T=0.2.
Material at one's discretion, I opted for PETG.
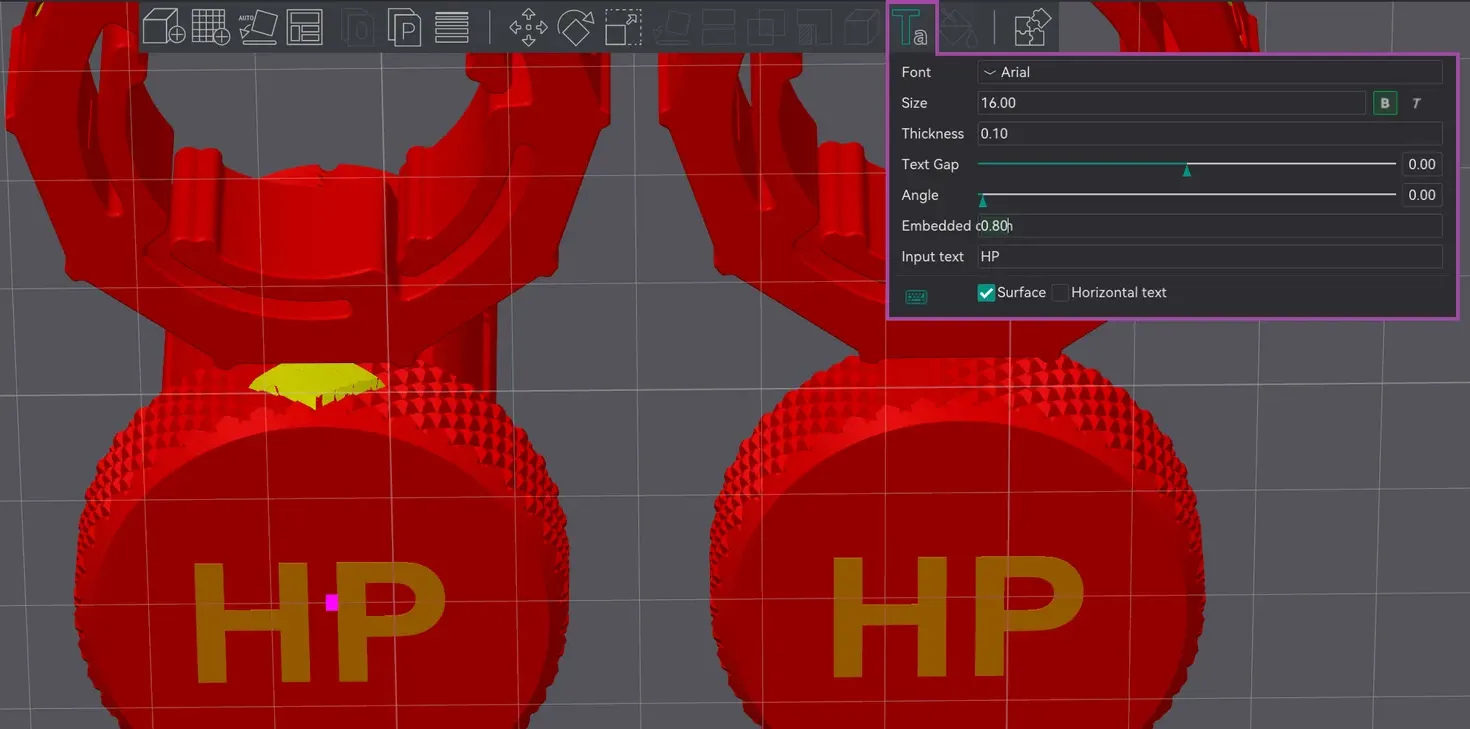
Optional text on the lid or Axle (like HP & XP) can simply be added via the text shape tool of the slicer. Any font you have installed is possible.
Any chance to get it a bit different?
Scaling it has partially been tested. A few % usually work well, please report back in case you tried.
The formula to scale this model to your desire is:
- [desired inner diameter in mm] / 28mm = scaling factor
- [desired outer diameter in mm] / 45mm = scaling factor
Blank wheels allow for custom modifications via the text shape tool of the slicer.
Remixes are not allowed, but if you feel like sharing parts with added/changed/customized details or fonts you're welcome to do so as print profile. - If in doubt, please ask beforehand.
If you still want more out of the design, stay tuned for additional releases on my Ko-fi page.
Without MMU or AMS
If not already printed as multicolor, nail polish or model paint works well to highlight debossed glyphs. For text on the axle or lid a manual filament swap is still advised, using the text shape tool to deboss your text may also be an option.
What next
There may be improvements and modifications based on feedback given here.
Maybe, take a look at my other designs ;-)
License

You shall not share, sub-license, sell, rent, host, transfer, or distribute in any way the digital or 3D printed versions of this object, nor any other derivative work of this object in its digital or physical format (including - but not limited to - remixes of this object, and hosting on other digital platforms). The objects may not be used without permission in any way whatsoever in which you charge money, or collect fees.


Comment & Rating (325)