
Robotic Arm with Hydraulics
Print Profile(1)

Bill of Materials
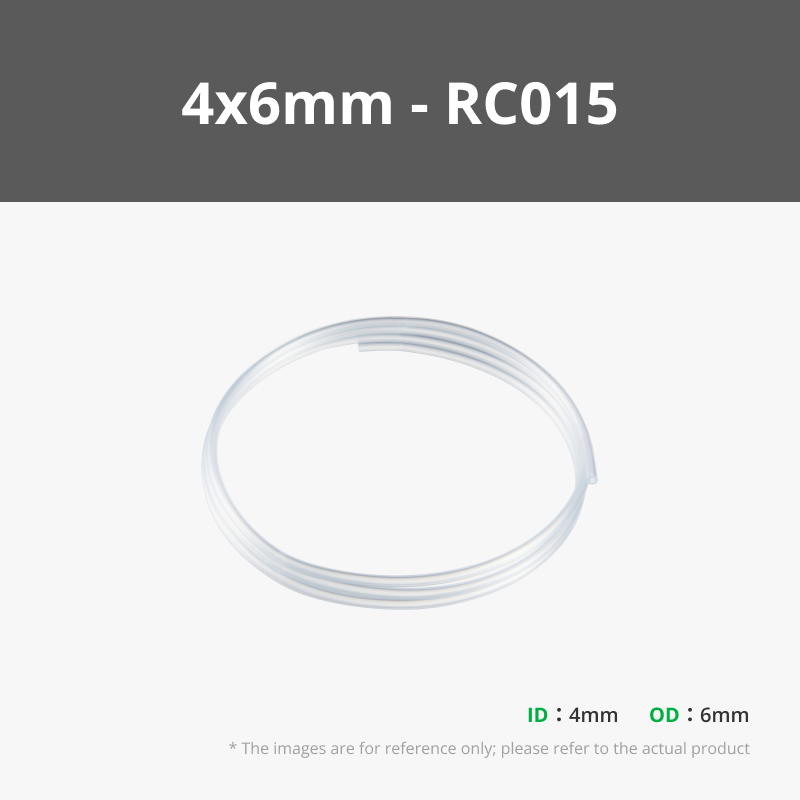
- 3mm wooden dowel x 1:
- Syringe x 8:
Description
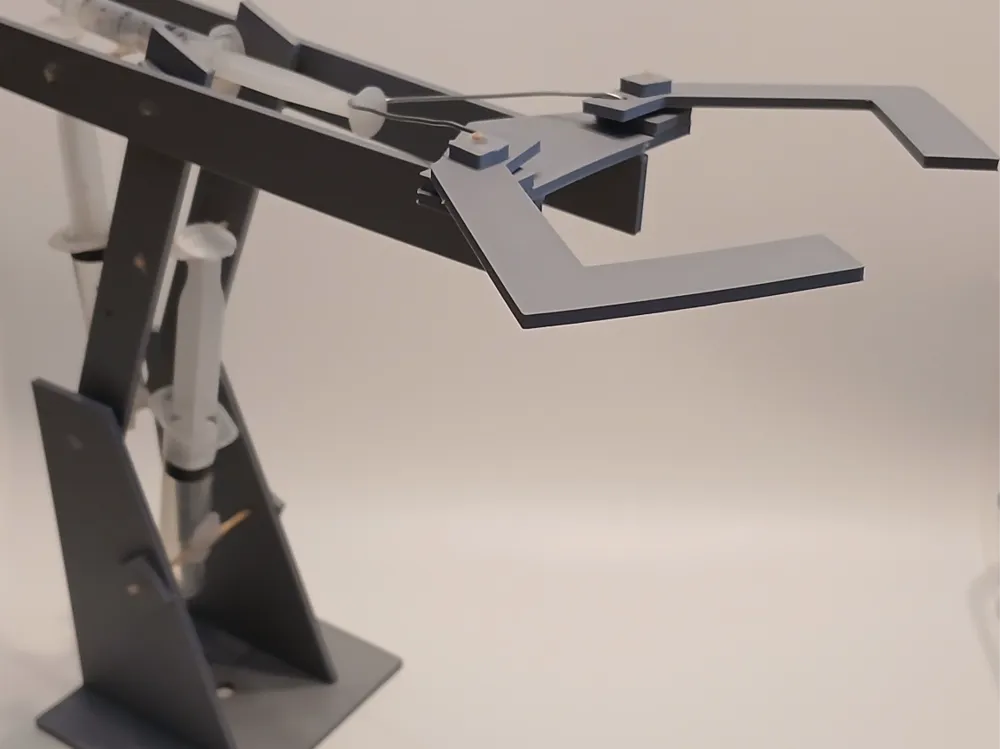
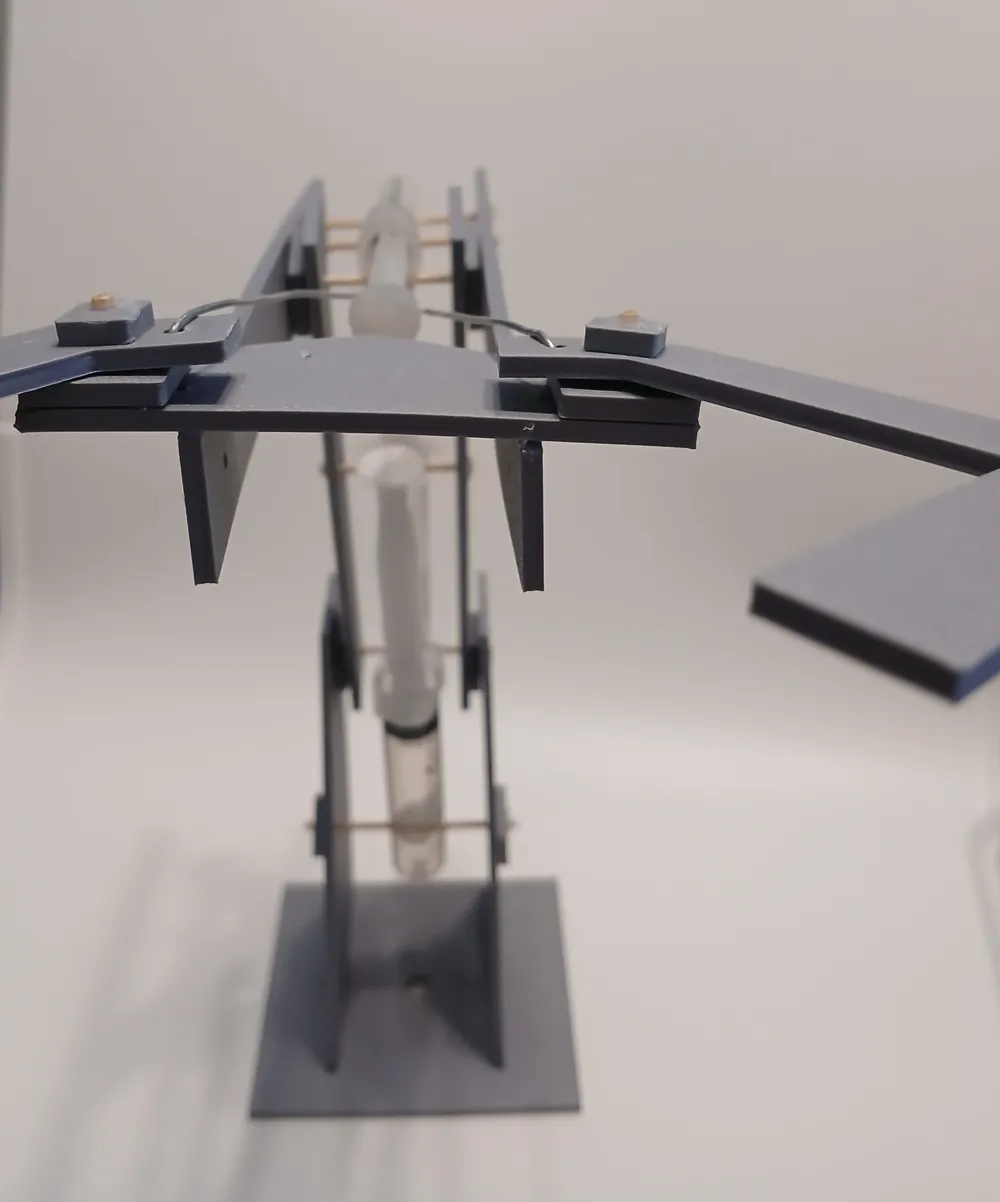
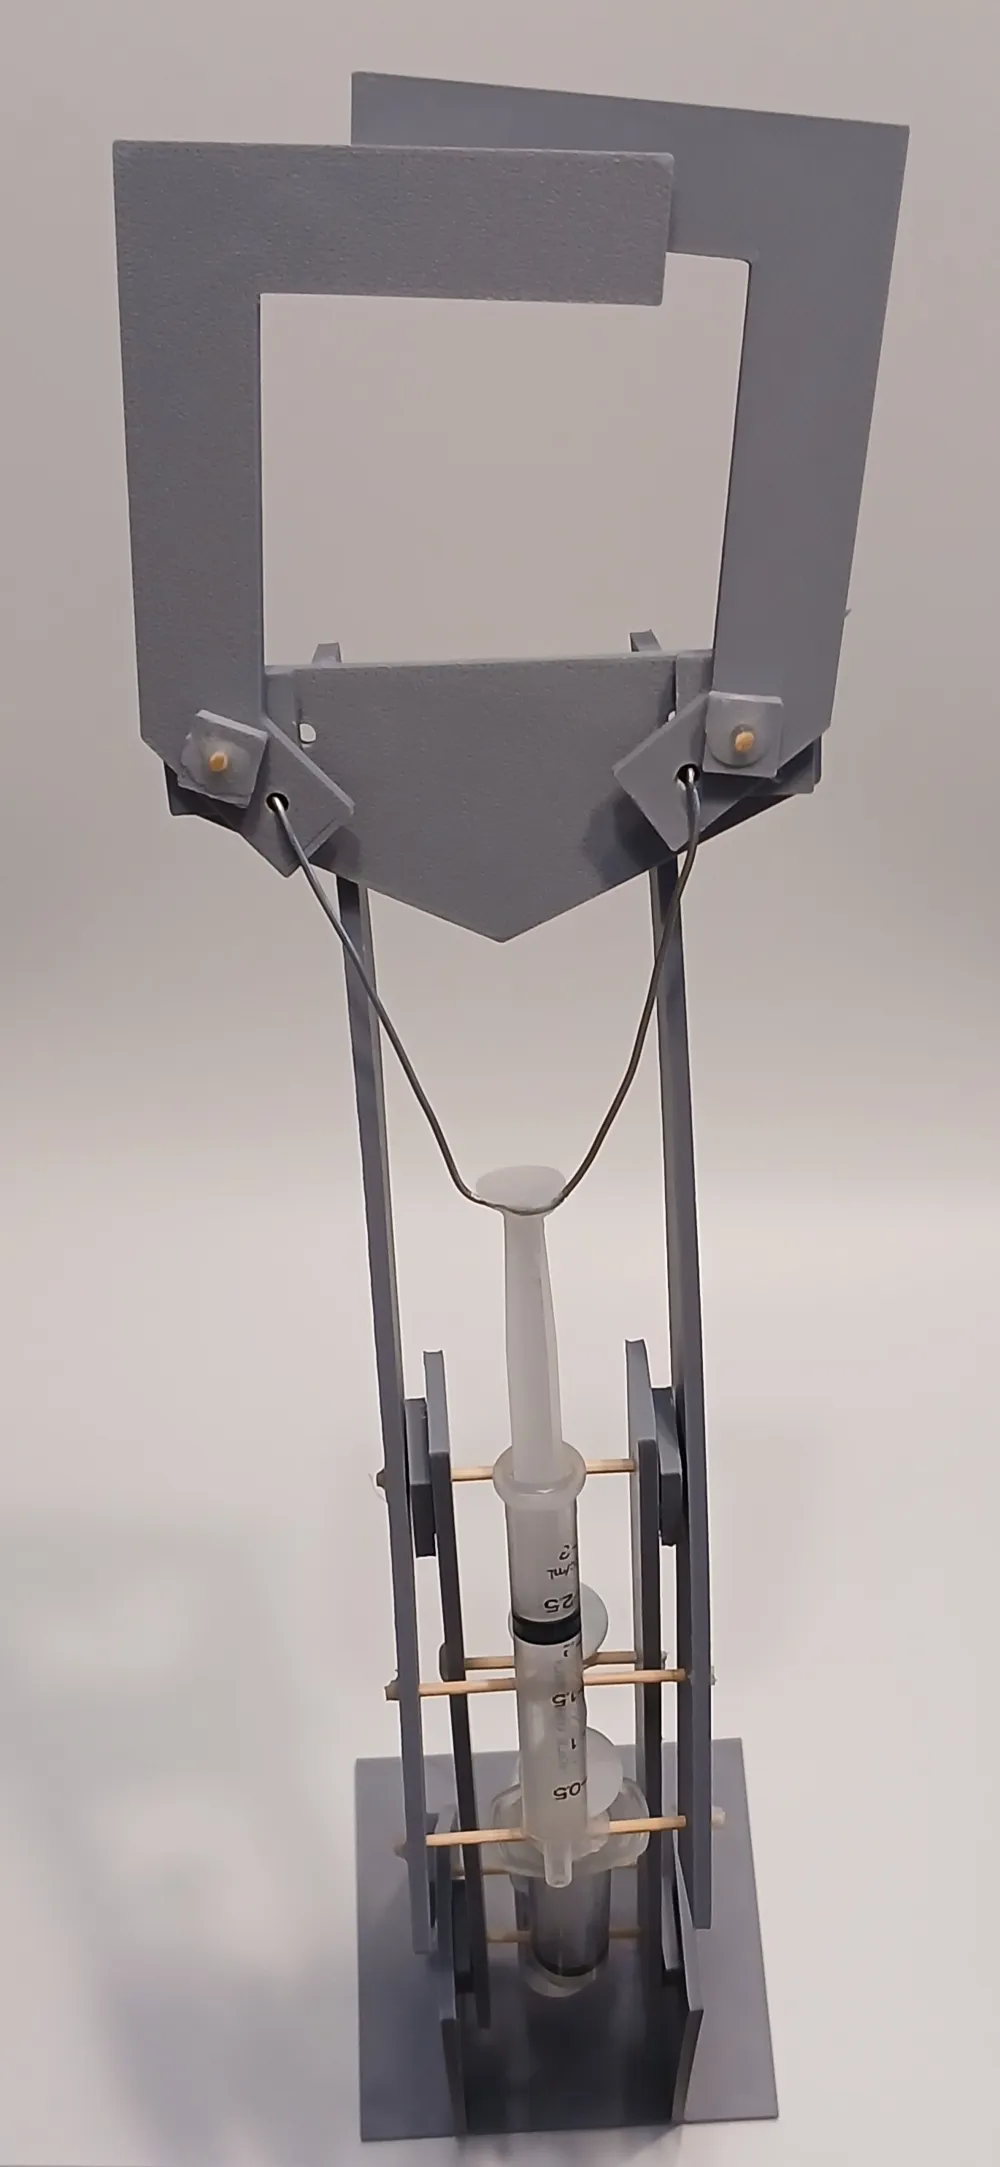
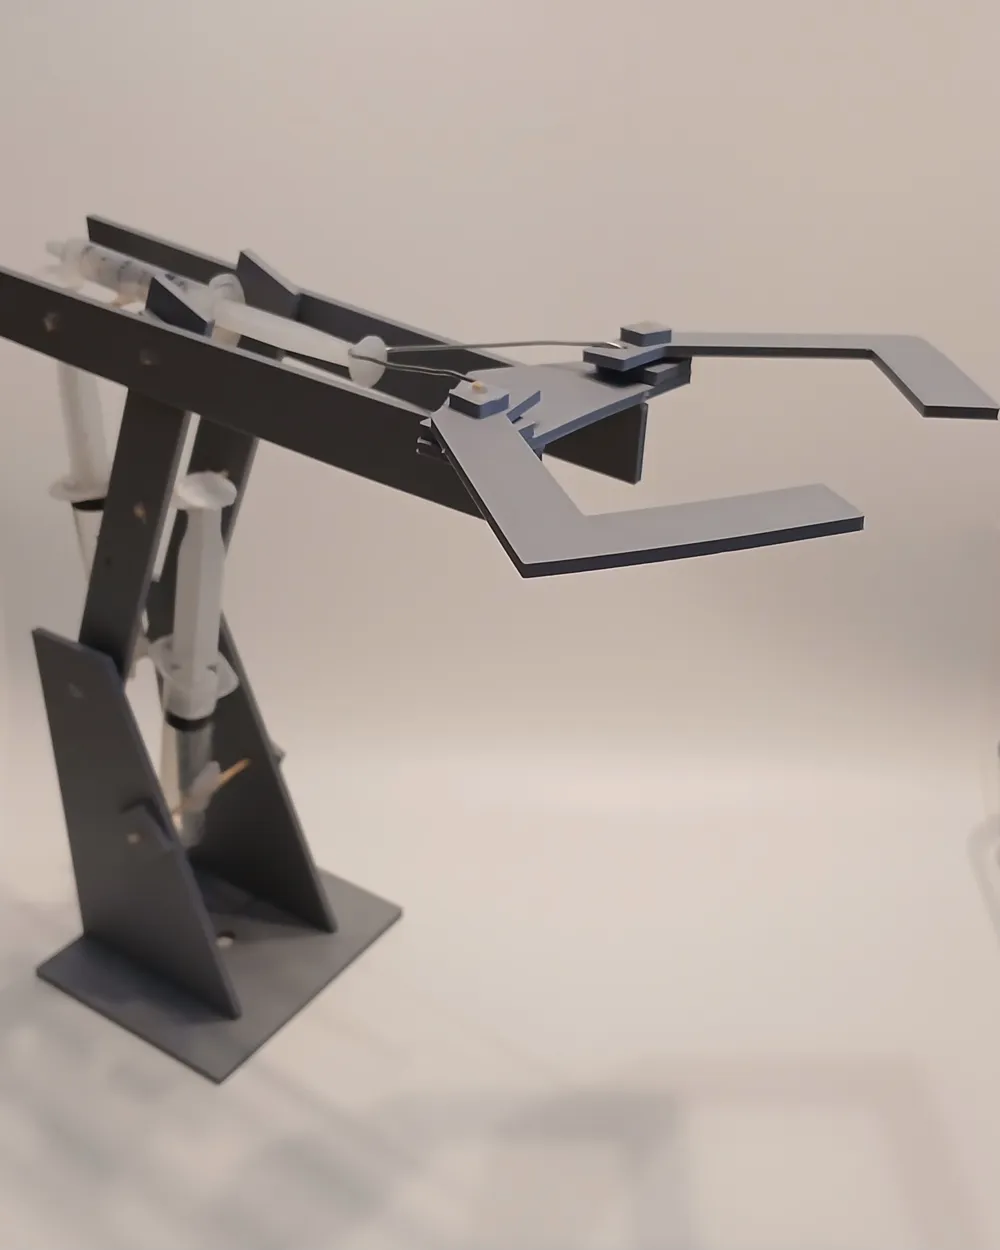
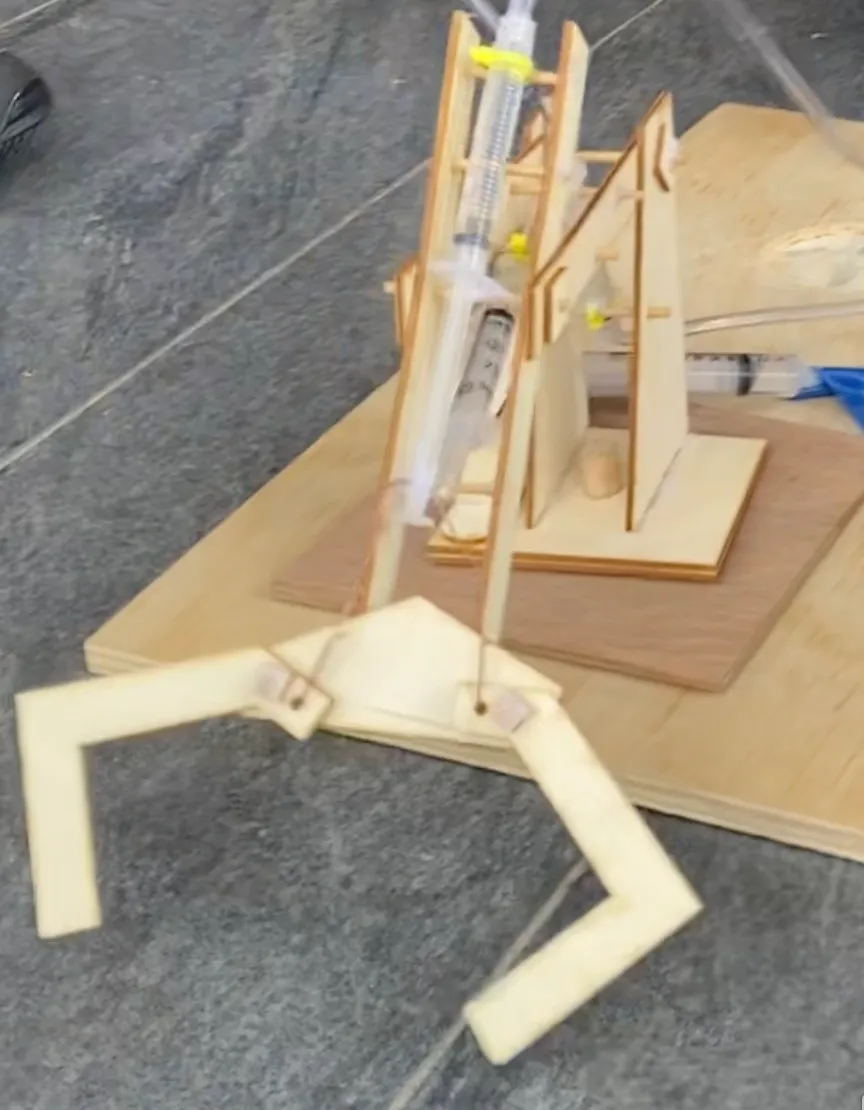
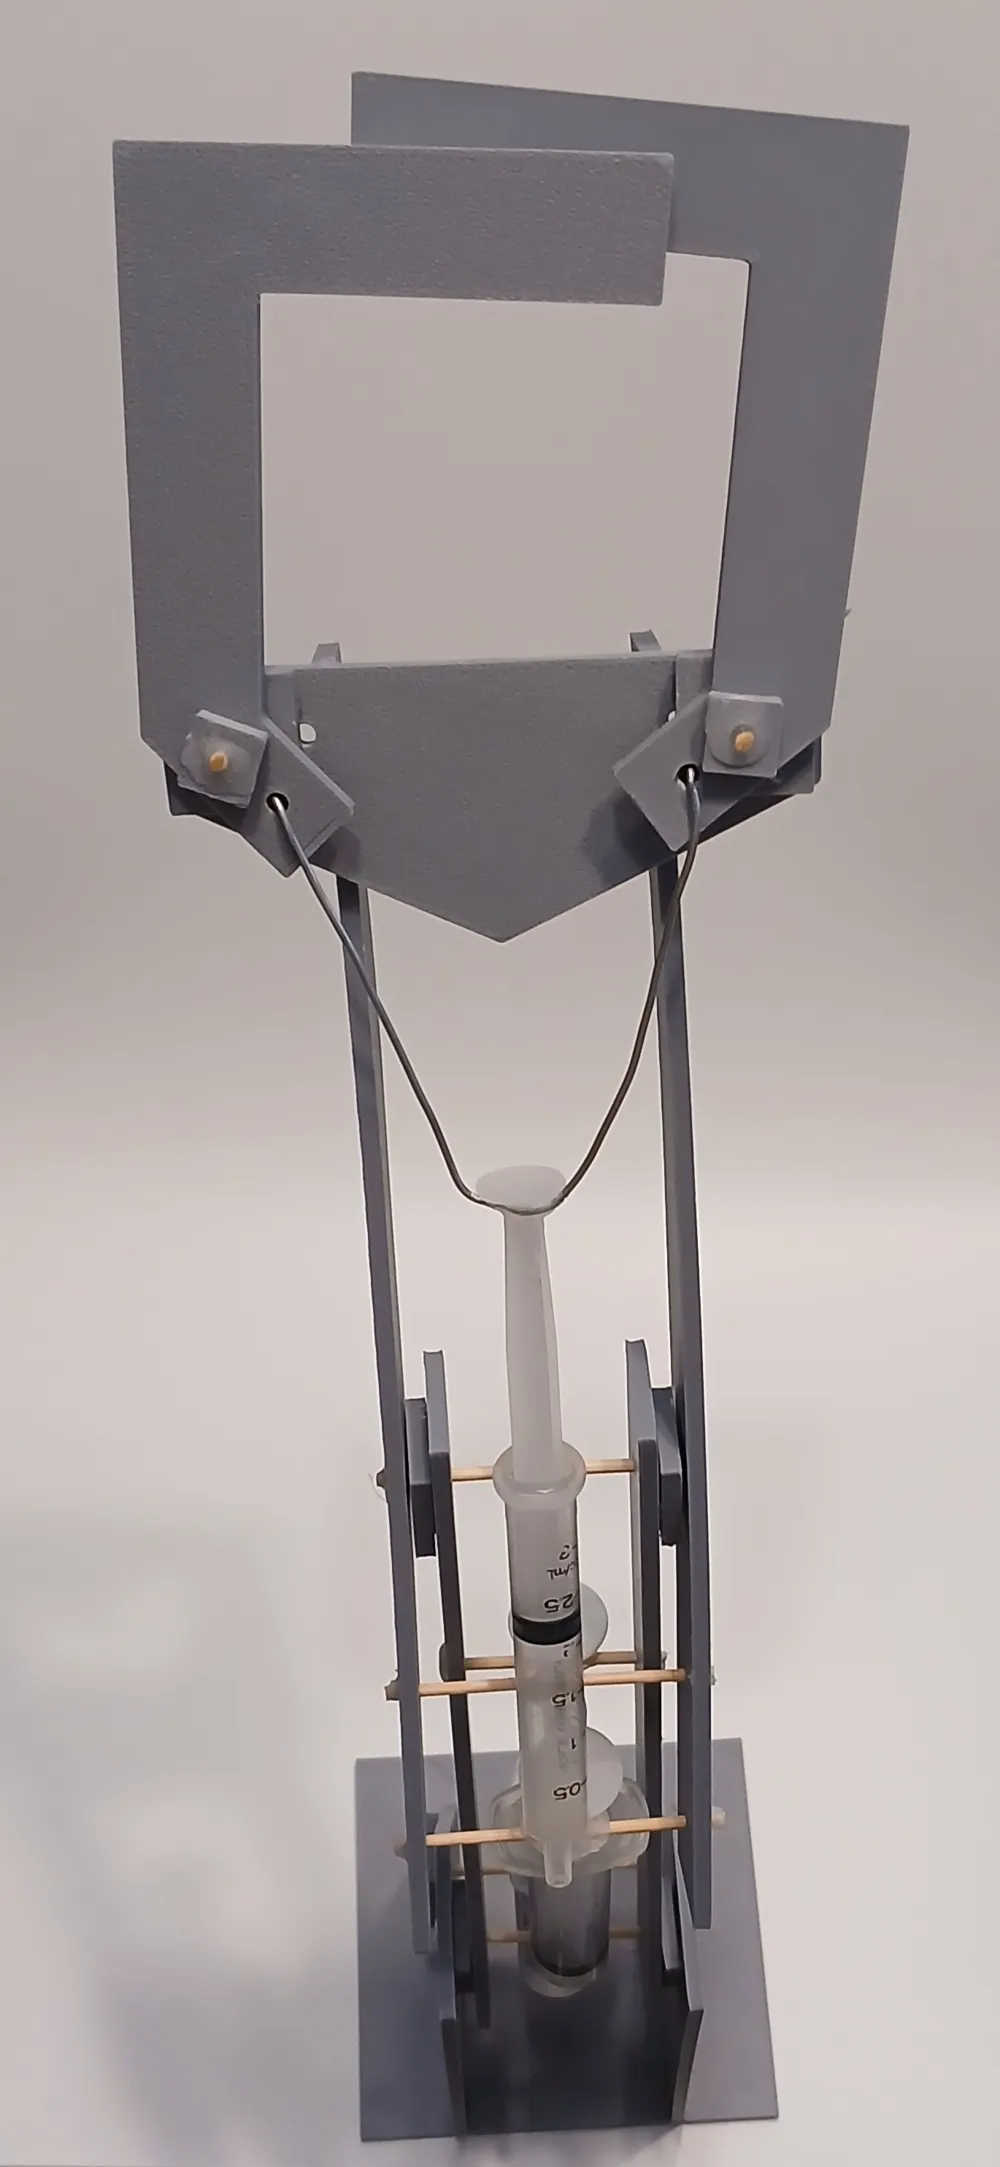
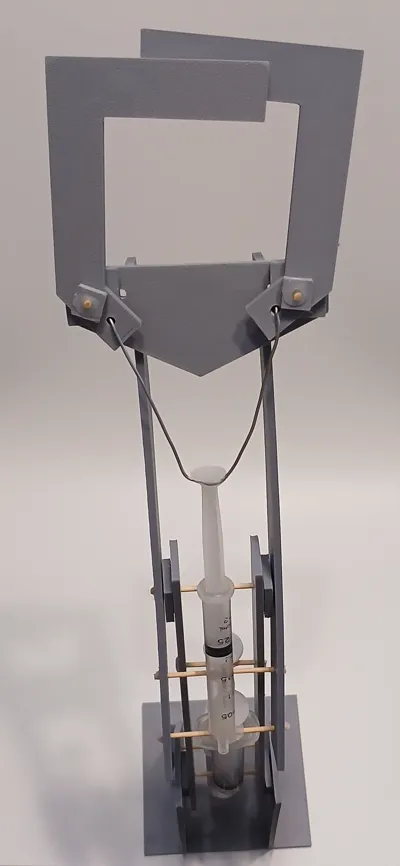
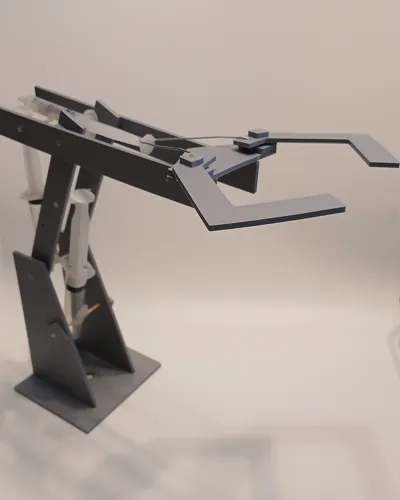
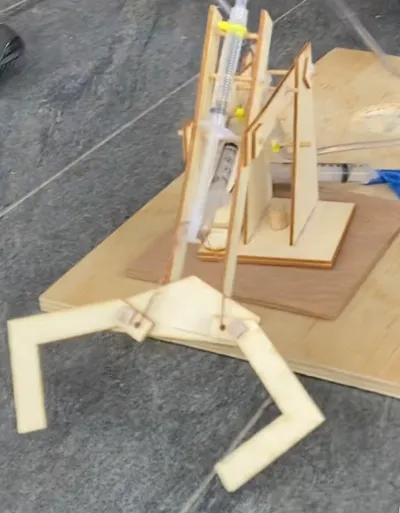
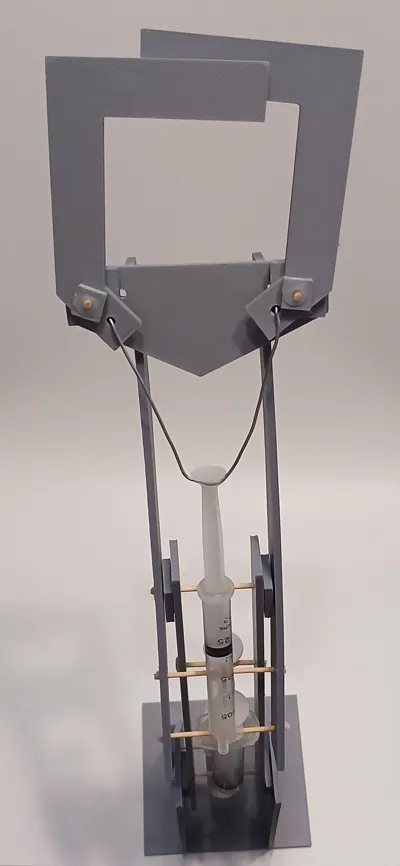
Flat parts to assemble your own hydraulic robot arm. The model is designed to teach you about hydraulics in a simple way. The model requires hot glue, 6 syringes, some plastic tubing and a small piece of wire. Make sure to only glue where it is absolutely needed; if too many parts are glued together, it will stop the arm from functioning. When attaching the syringes, make sure to thoroughly test the movement before gluing.
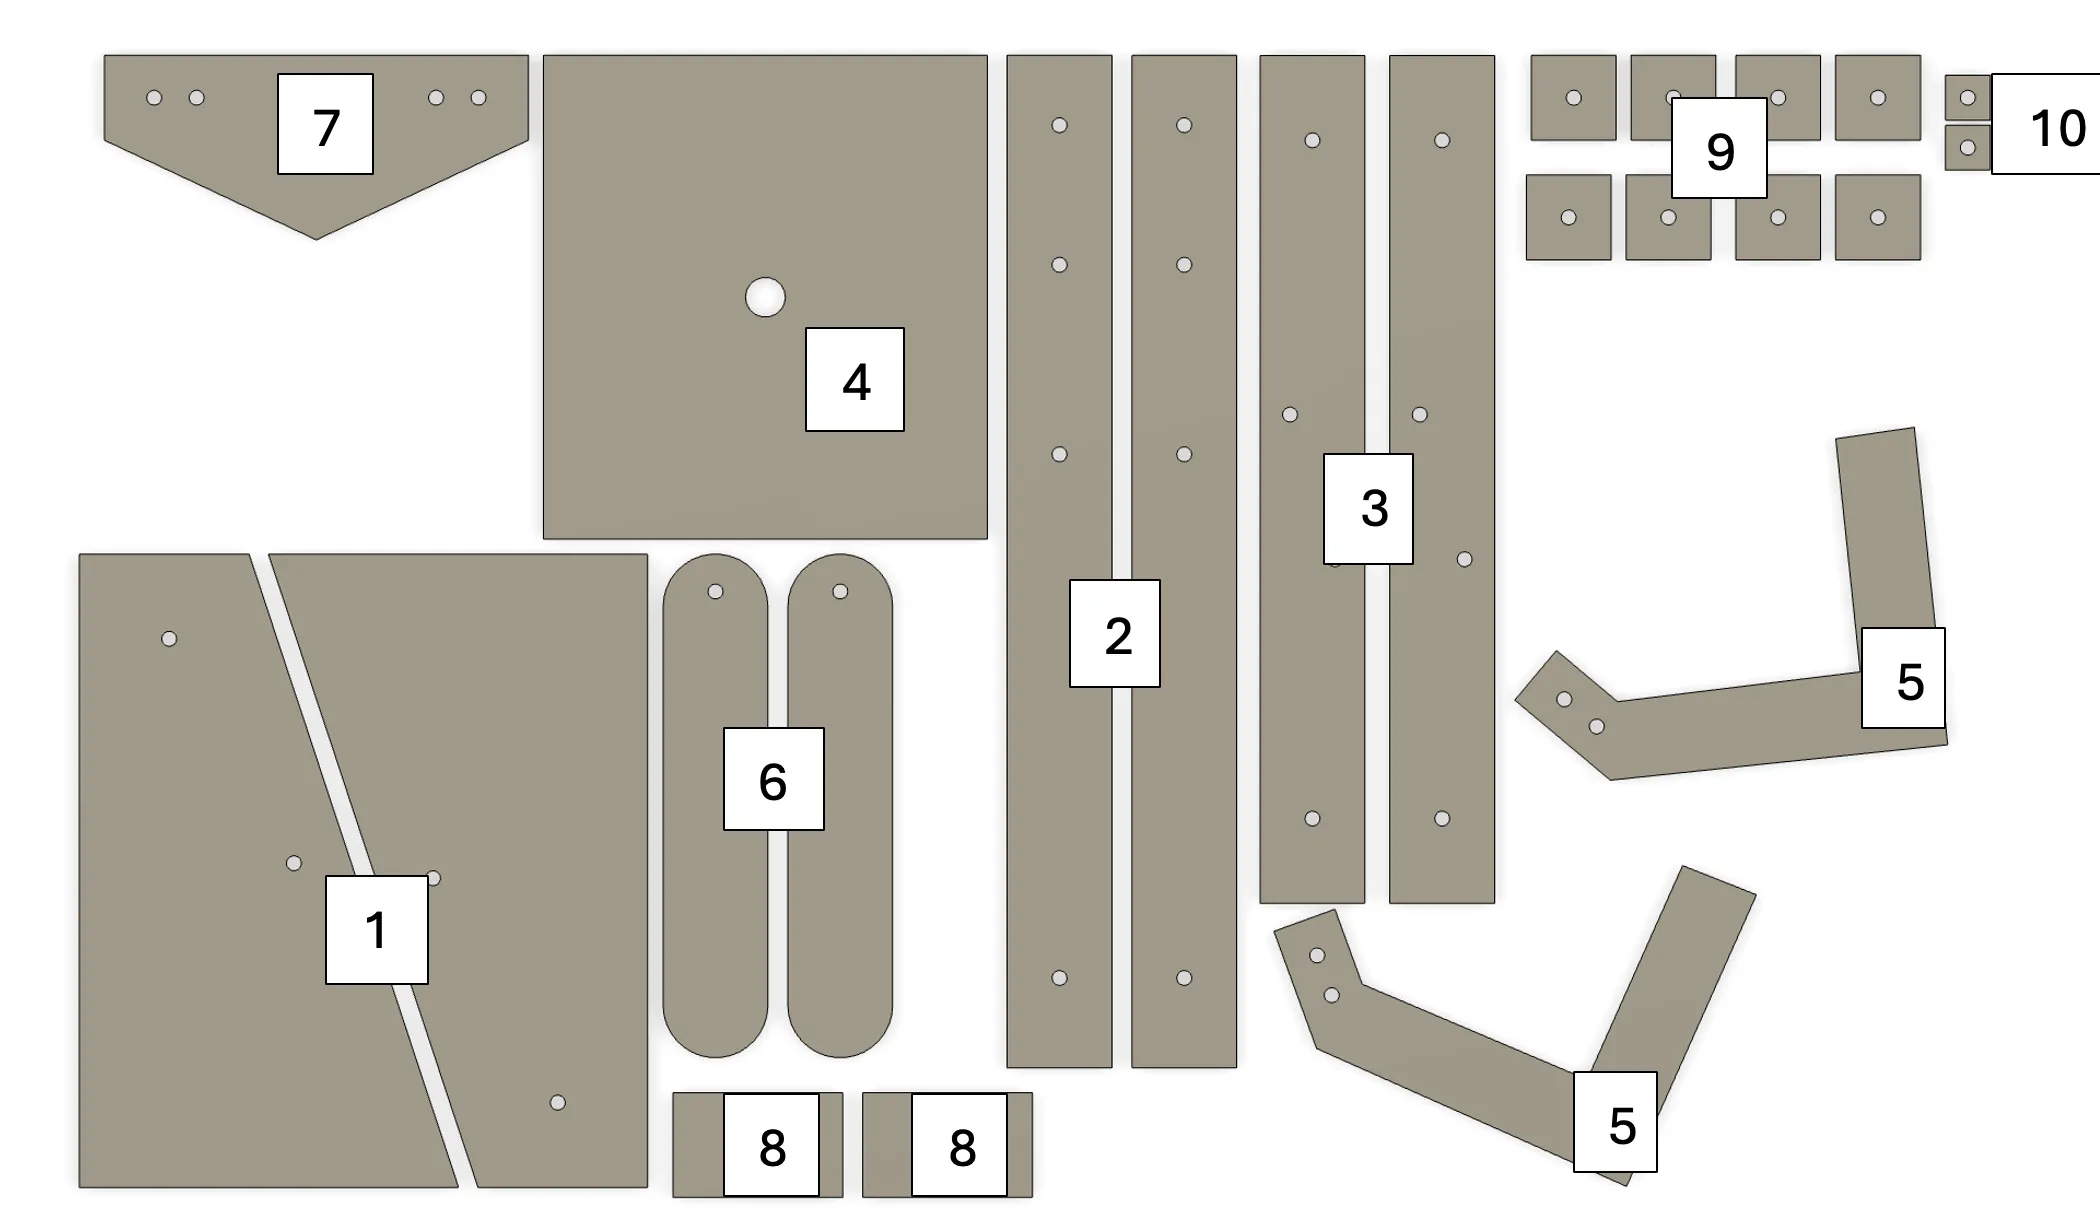
Assembly Guide:
Step 1: Attach parts 1 to part 4, ensuring there is room to fit the syringe between.
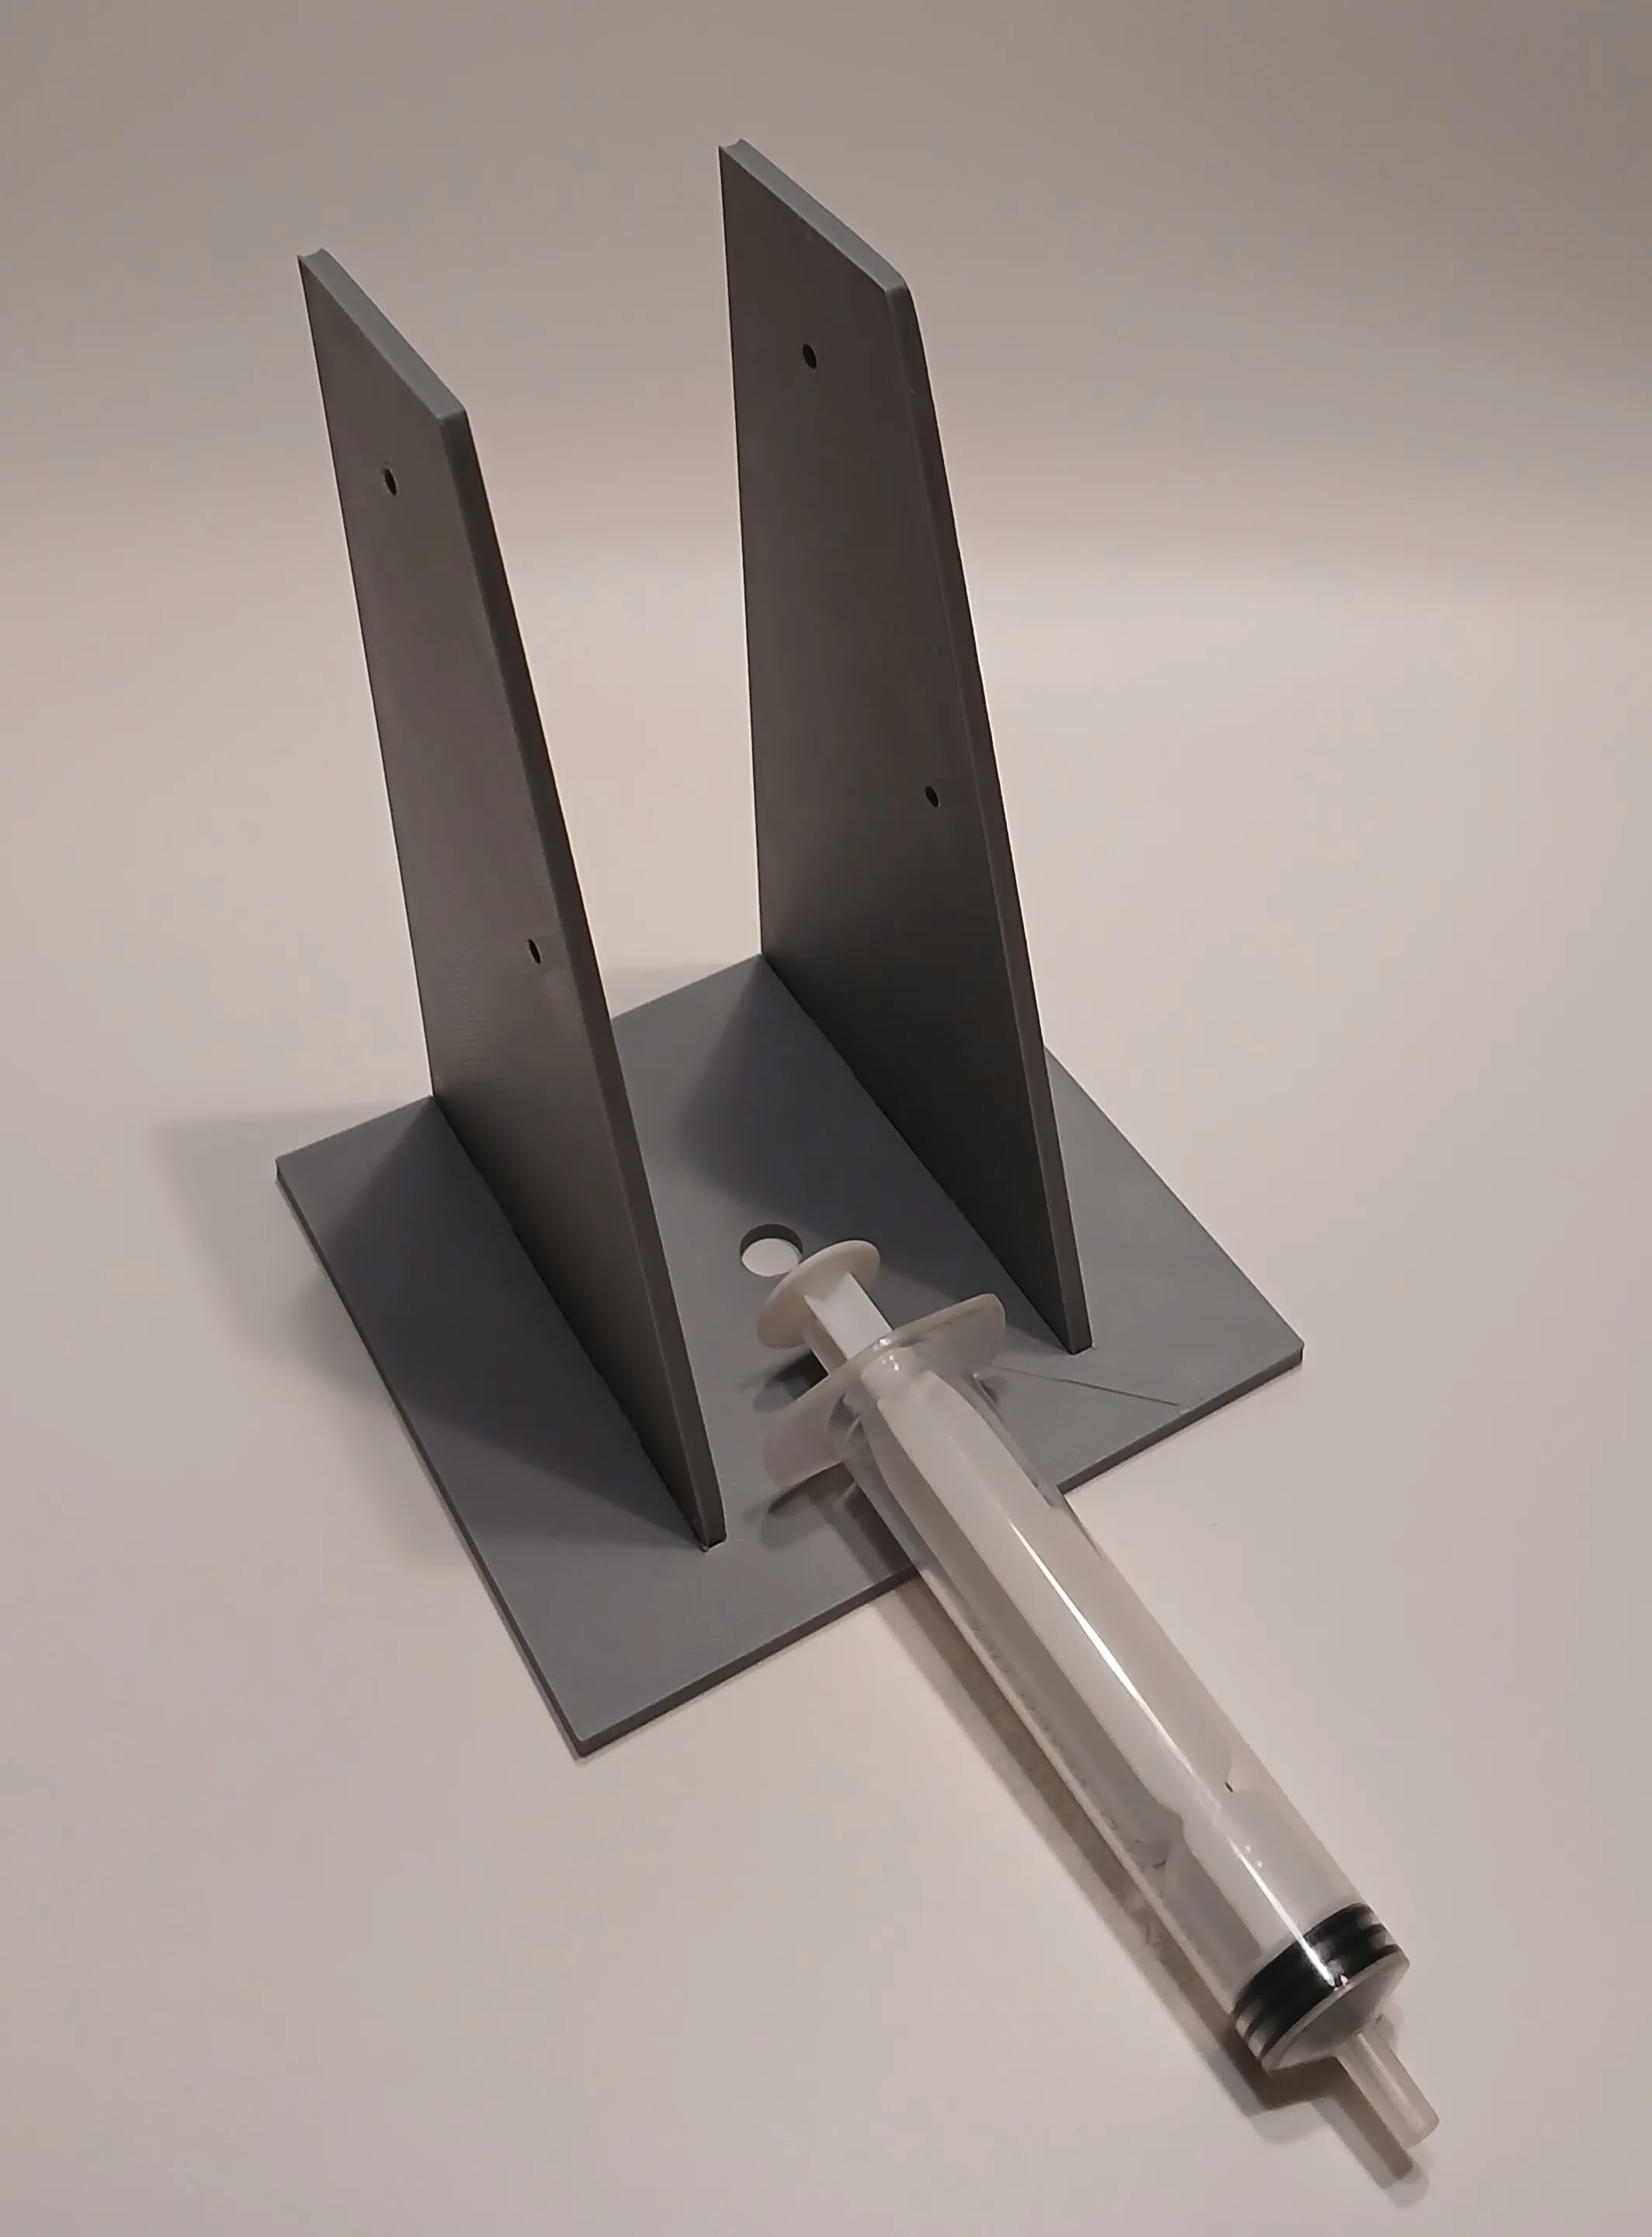
Step 2: Attach parts 9 as spacers on parts 1. Put part 3 between parts 1 and secure it on the dowel.
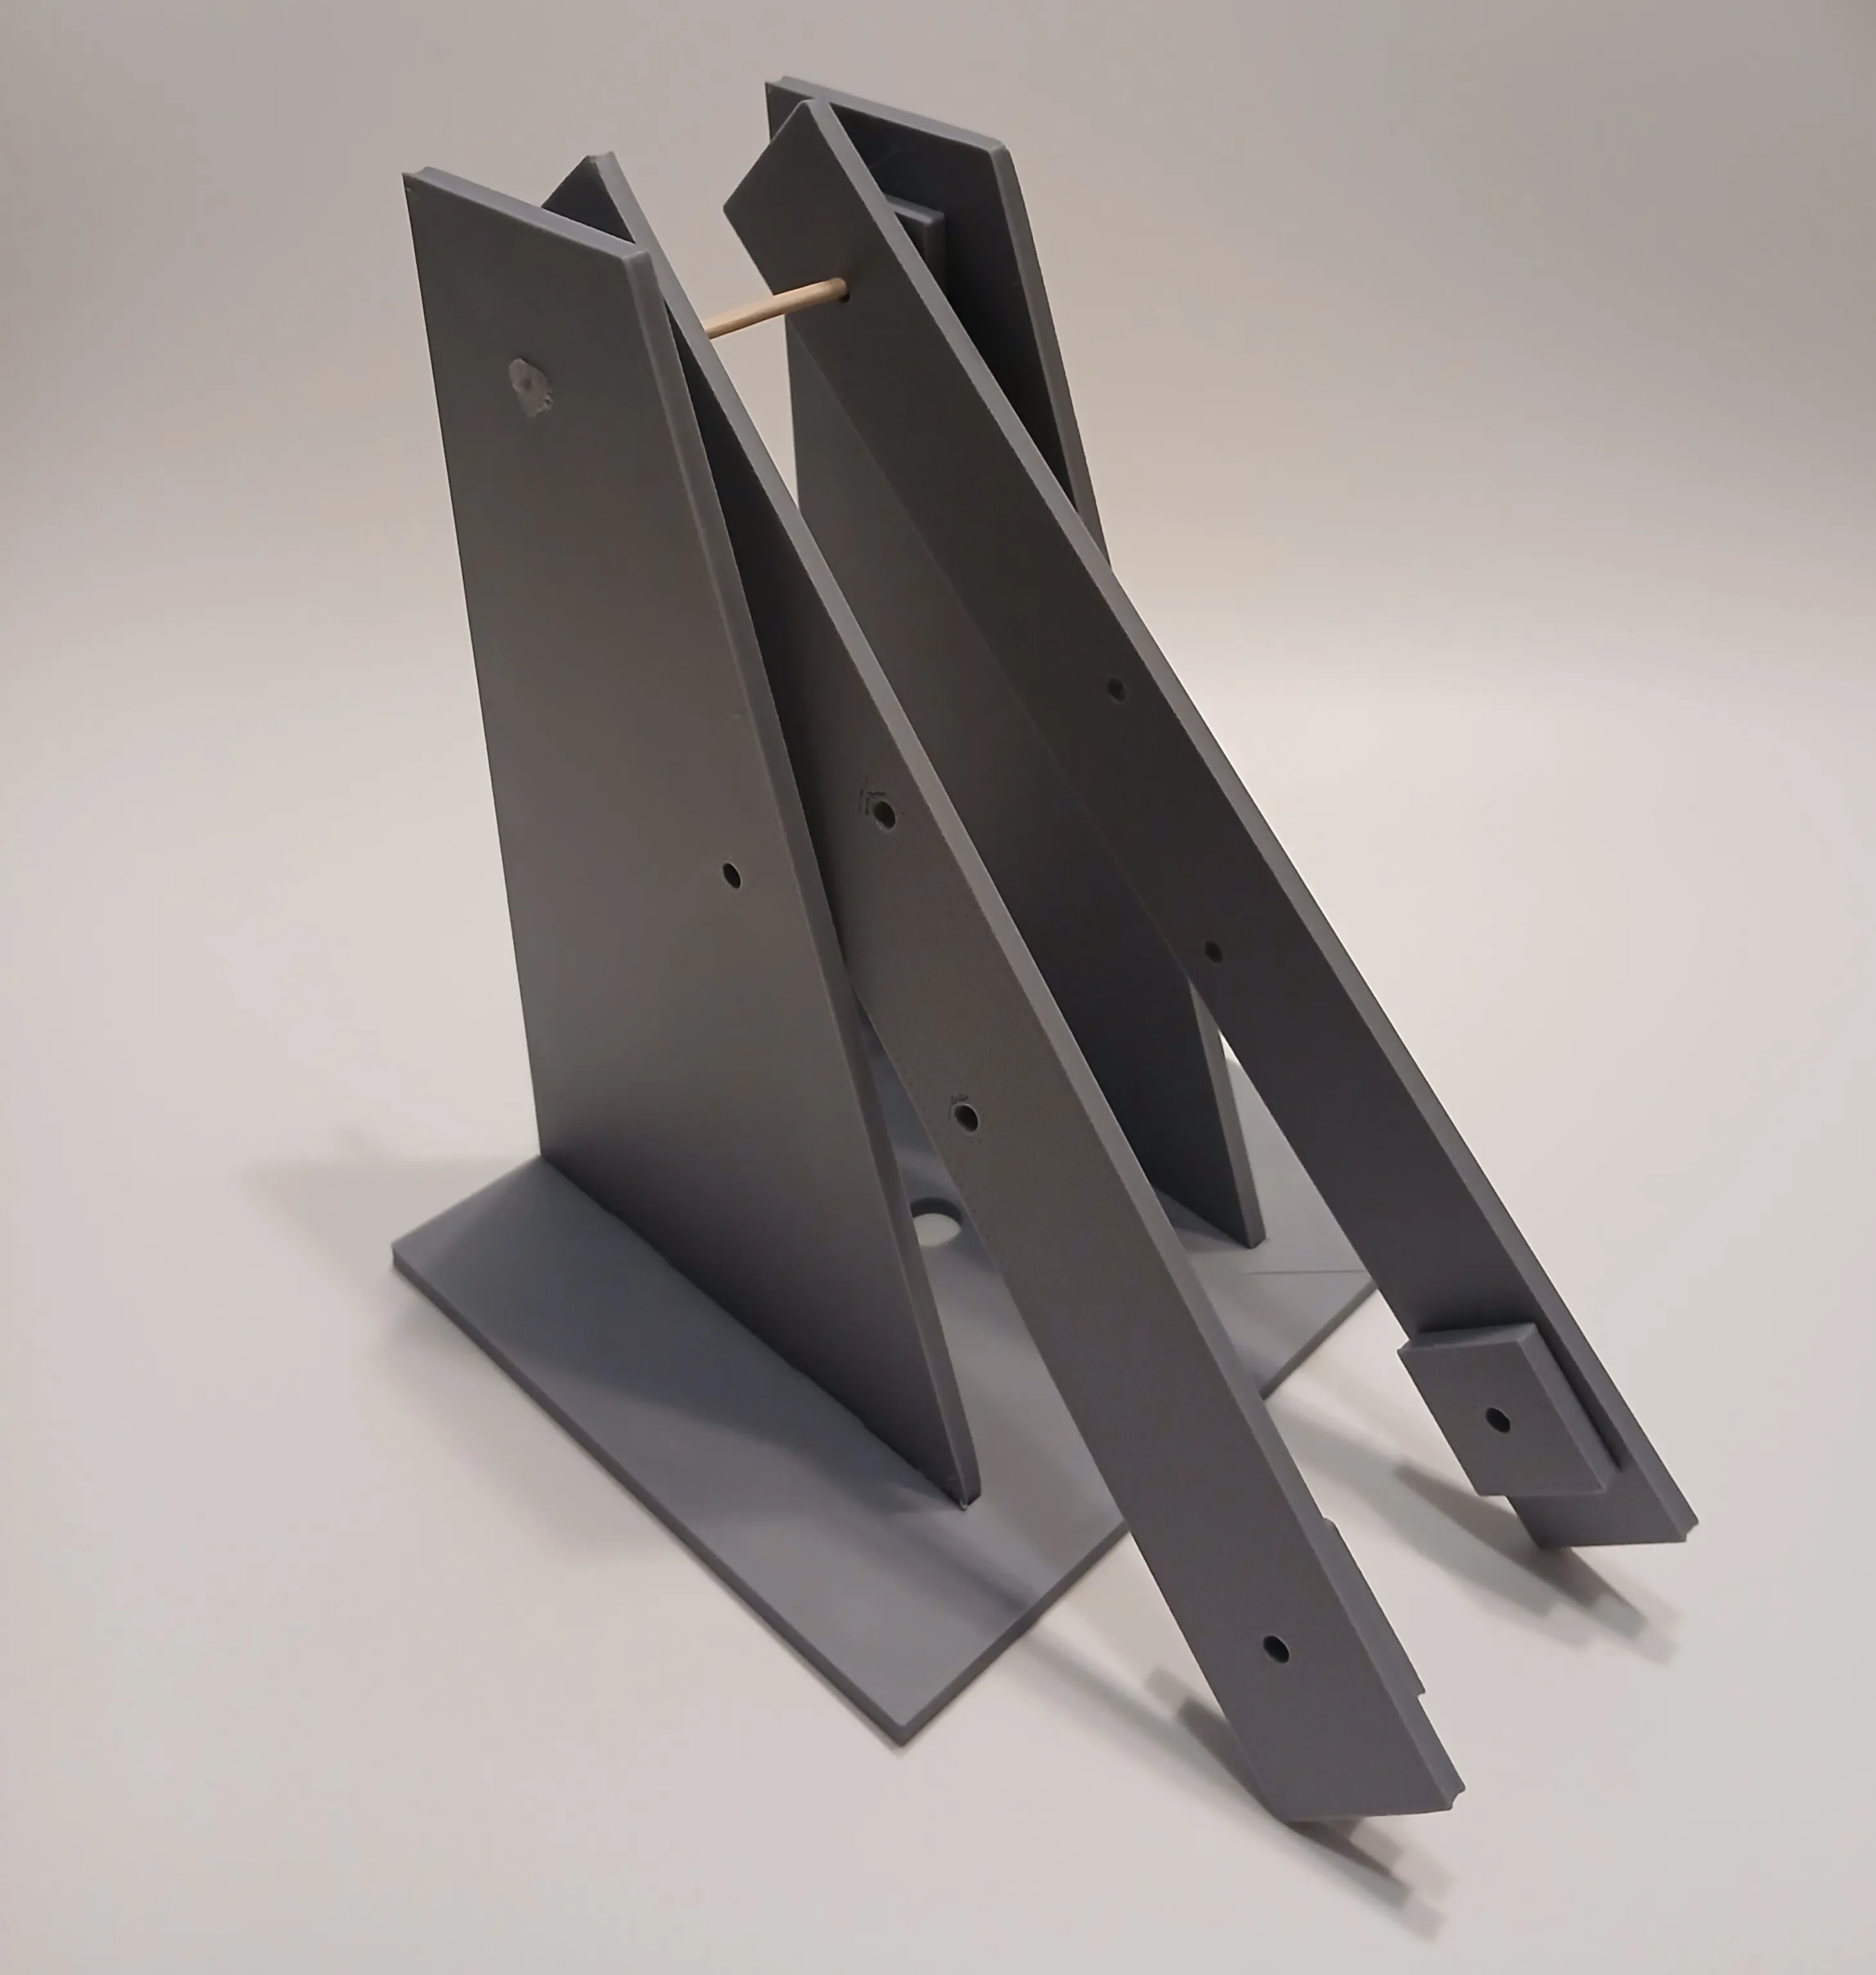
Step 3: Attach two more spacers on the outside of part 3 and attach part 2 using a dowel through part 3 and the spacers.
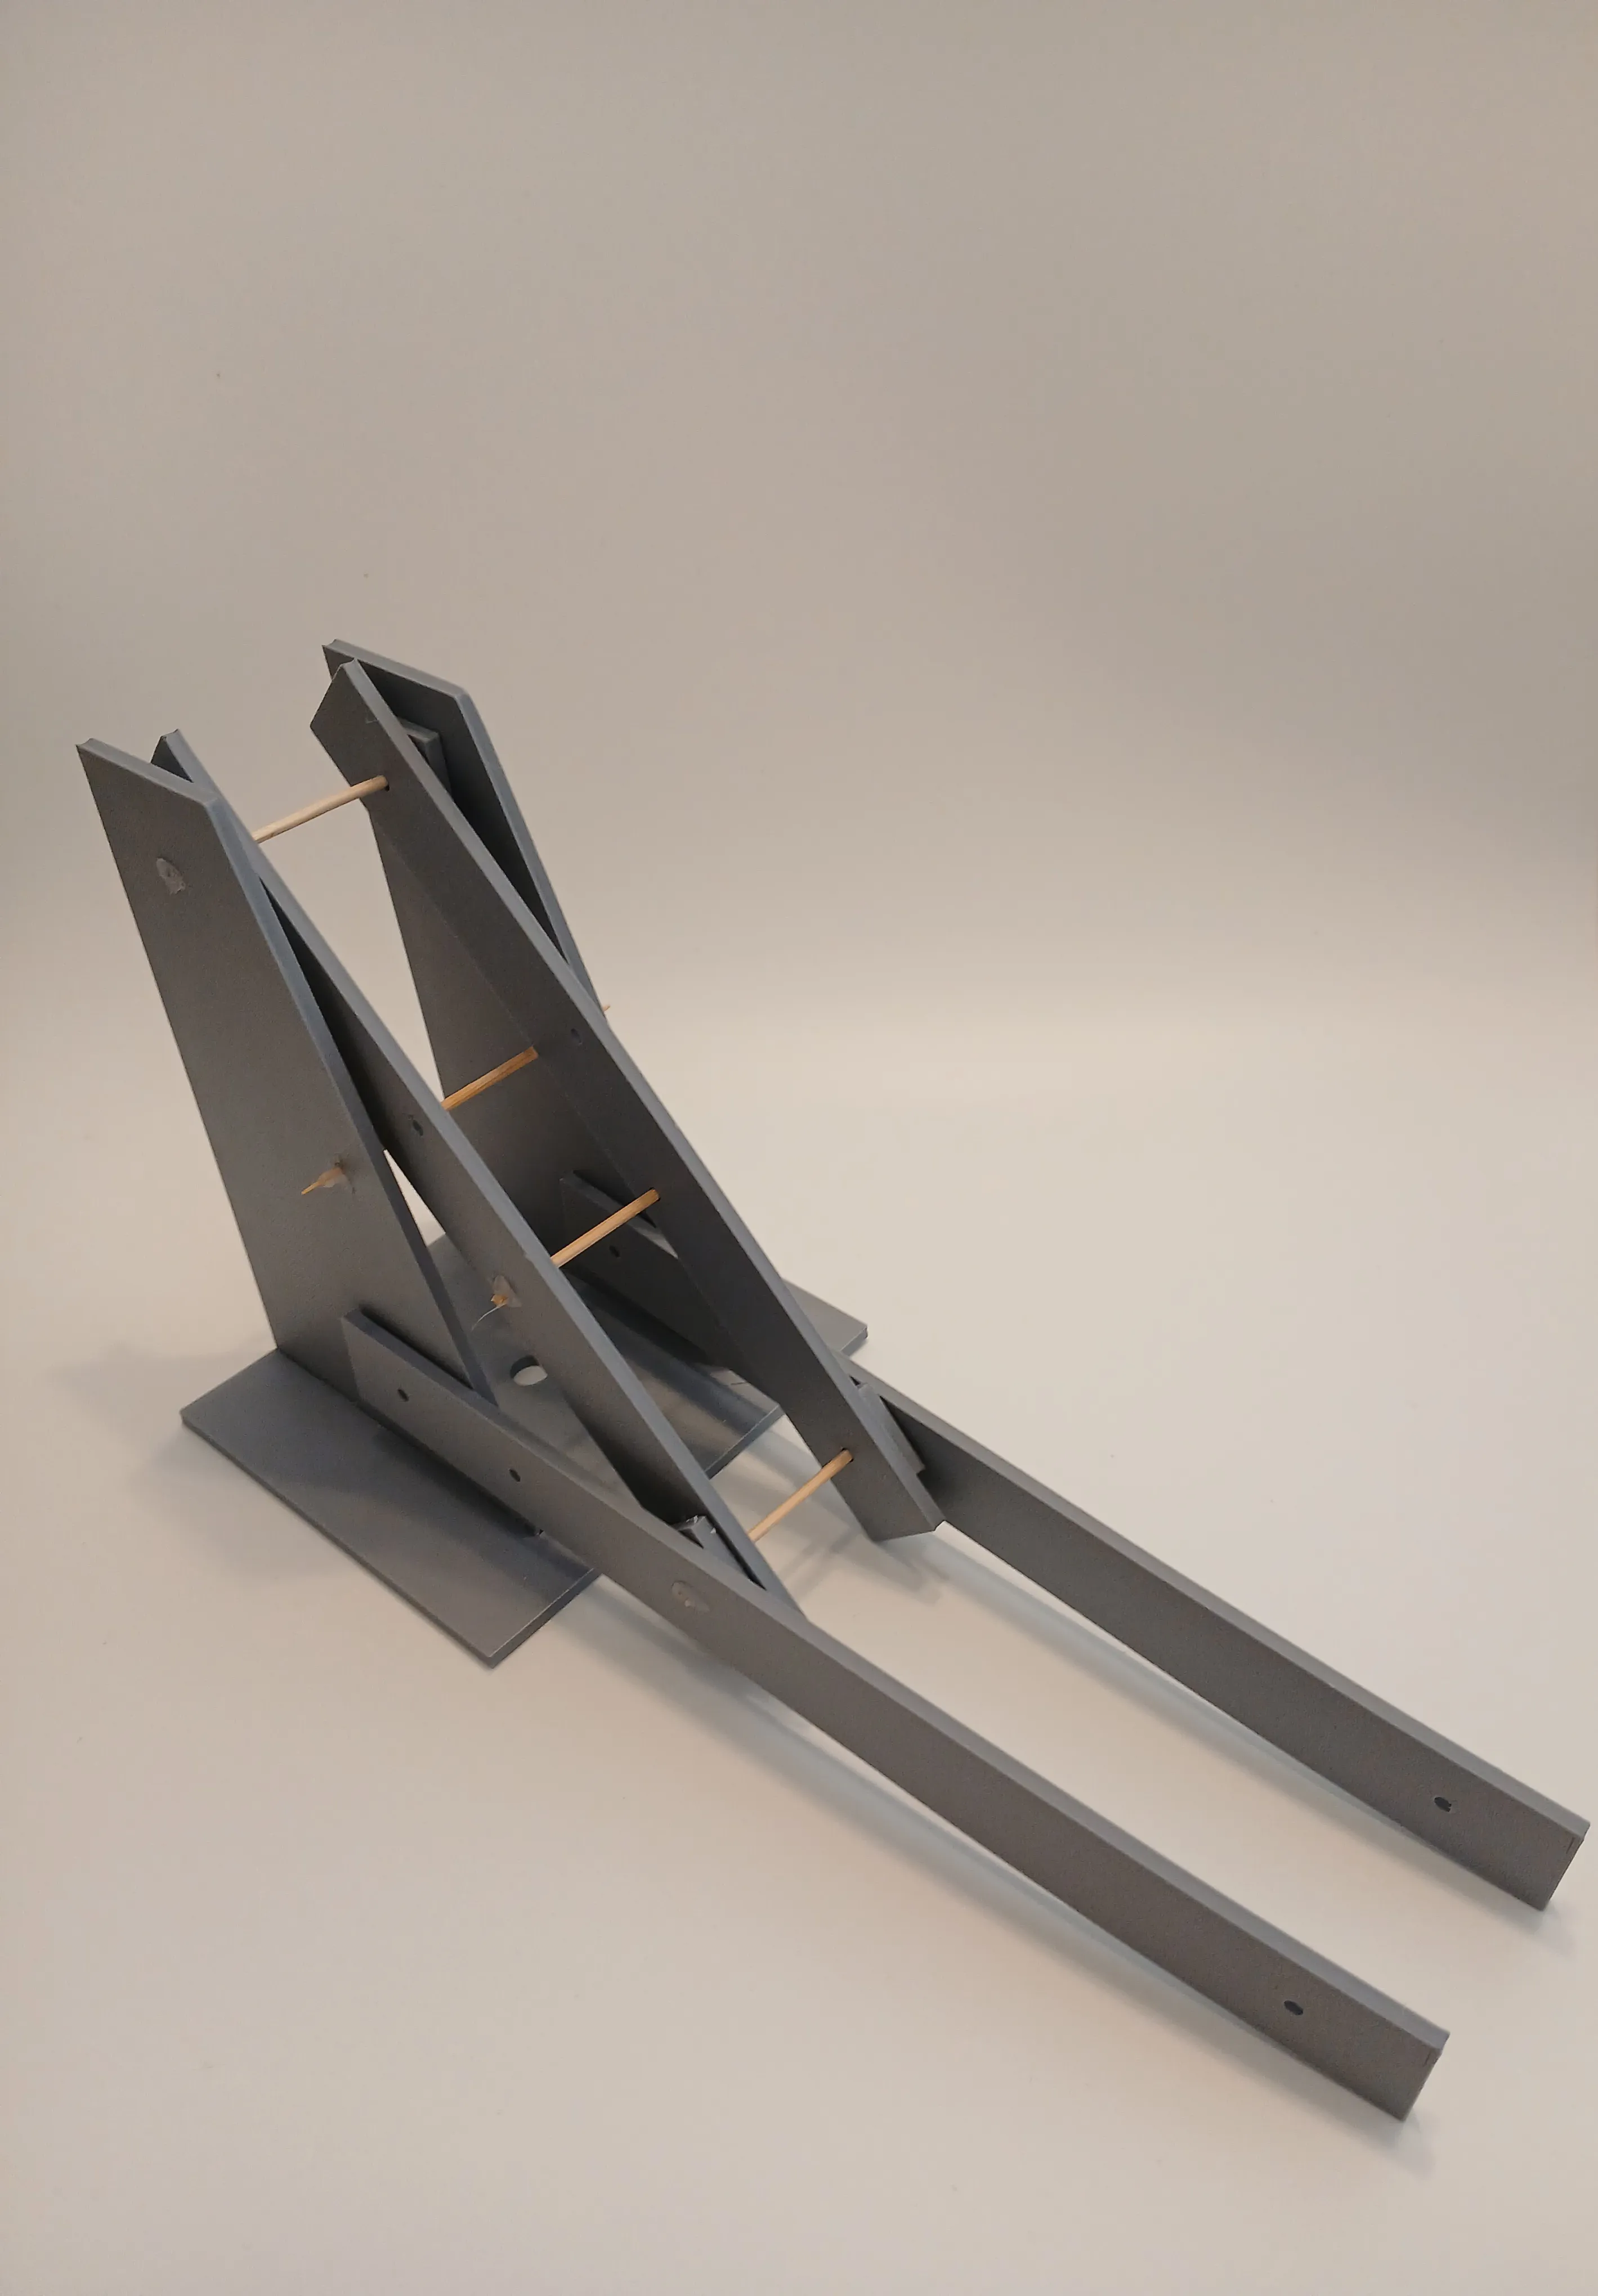
Step 4: Attach the first syringe from the base to the first arm. Make sure to test the movement of the syringe with the arm. Once it is in the right spot, hot glue it in place.
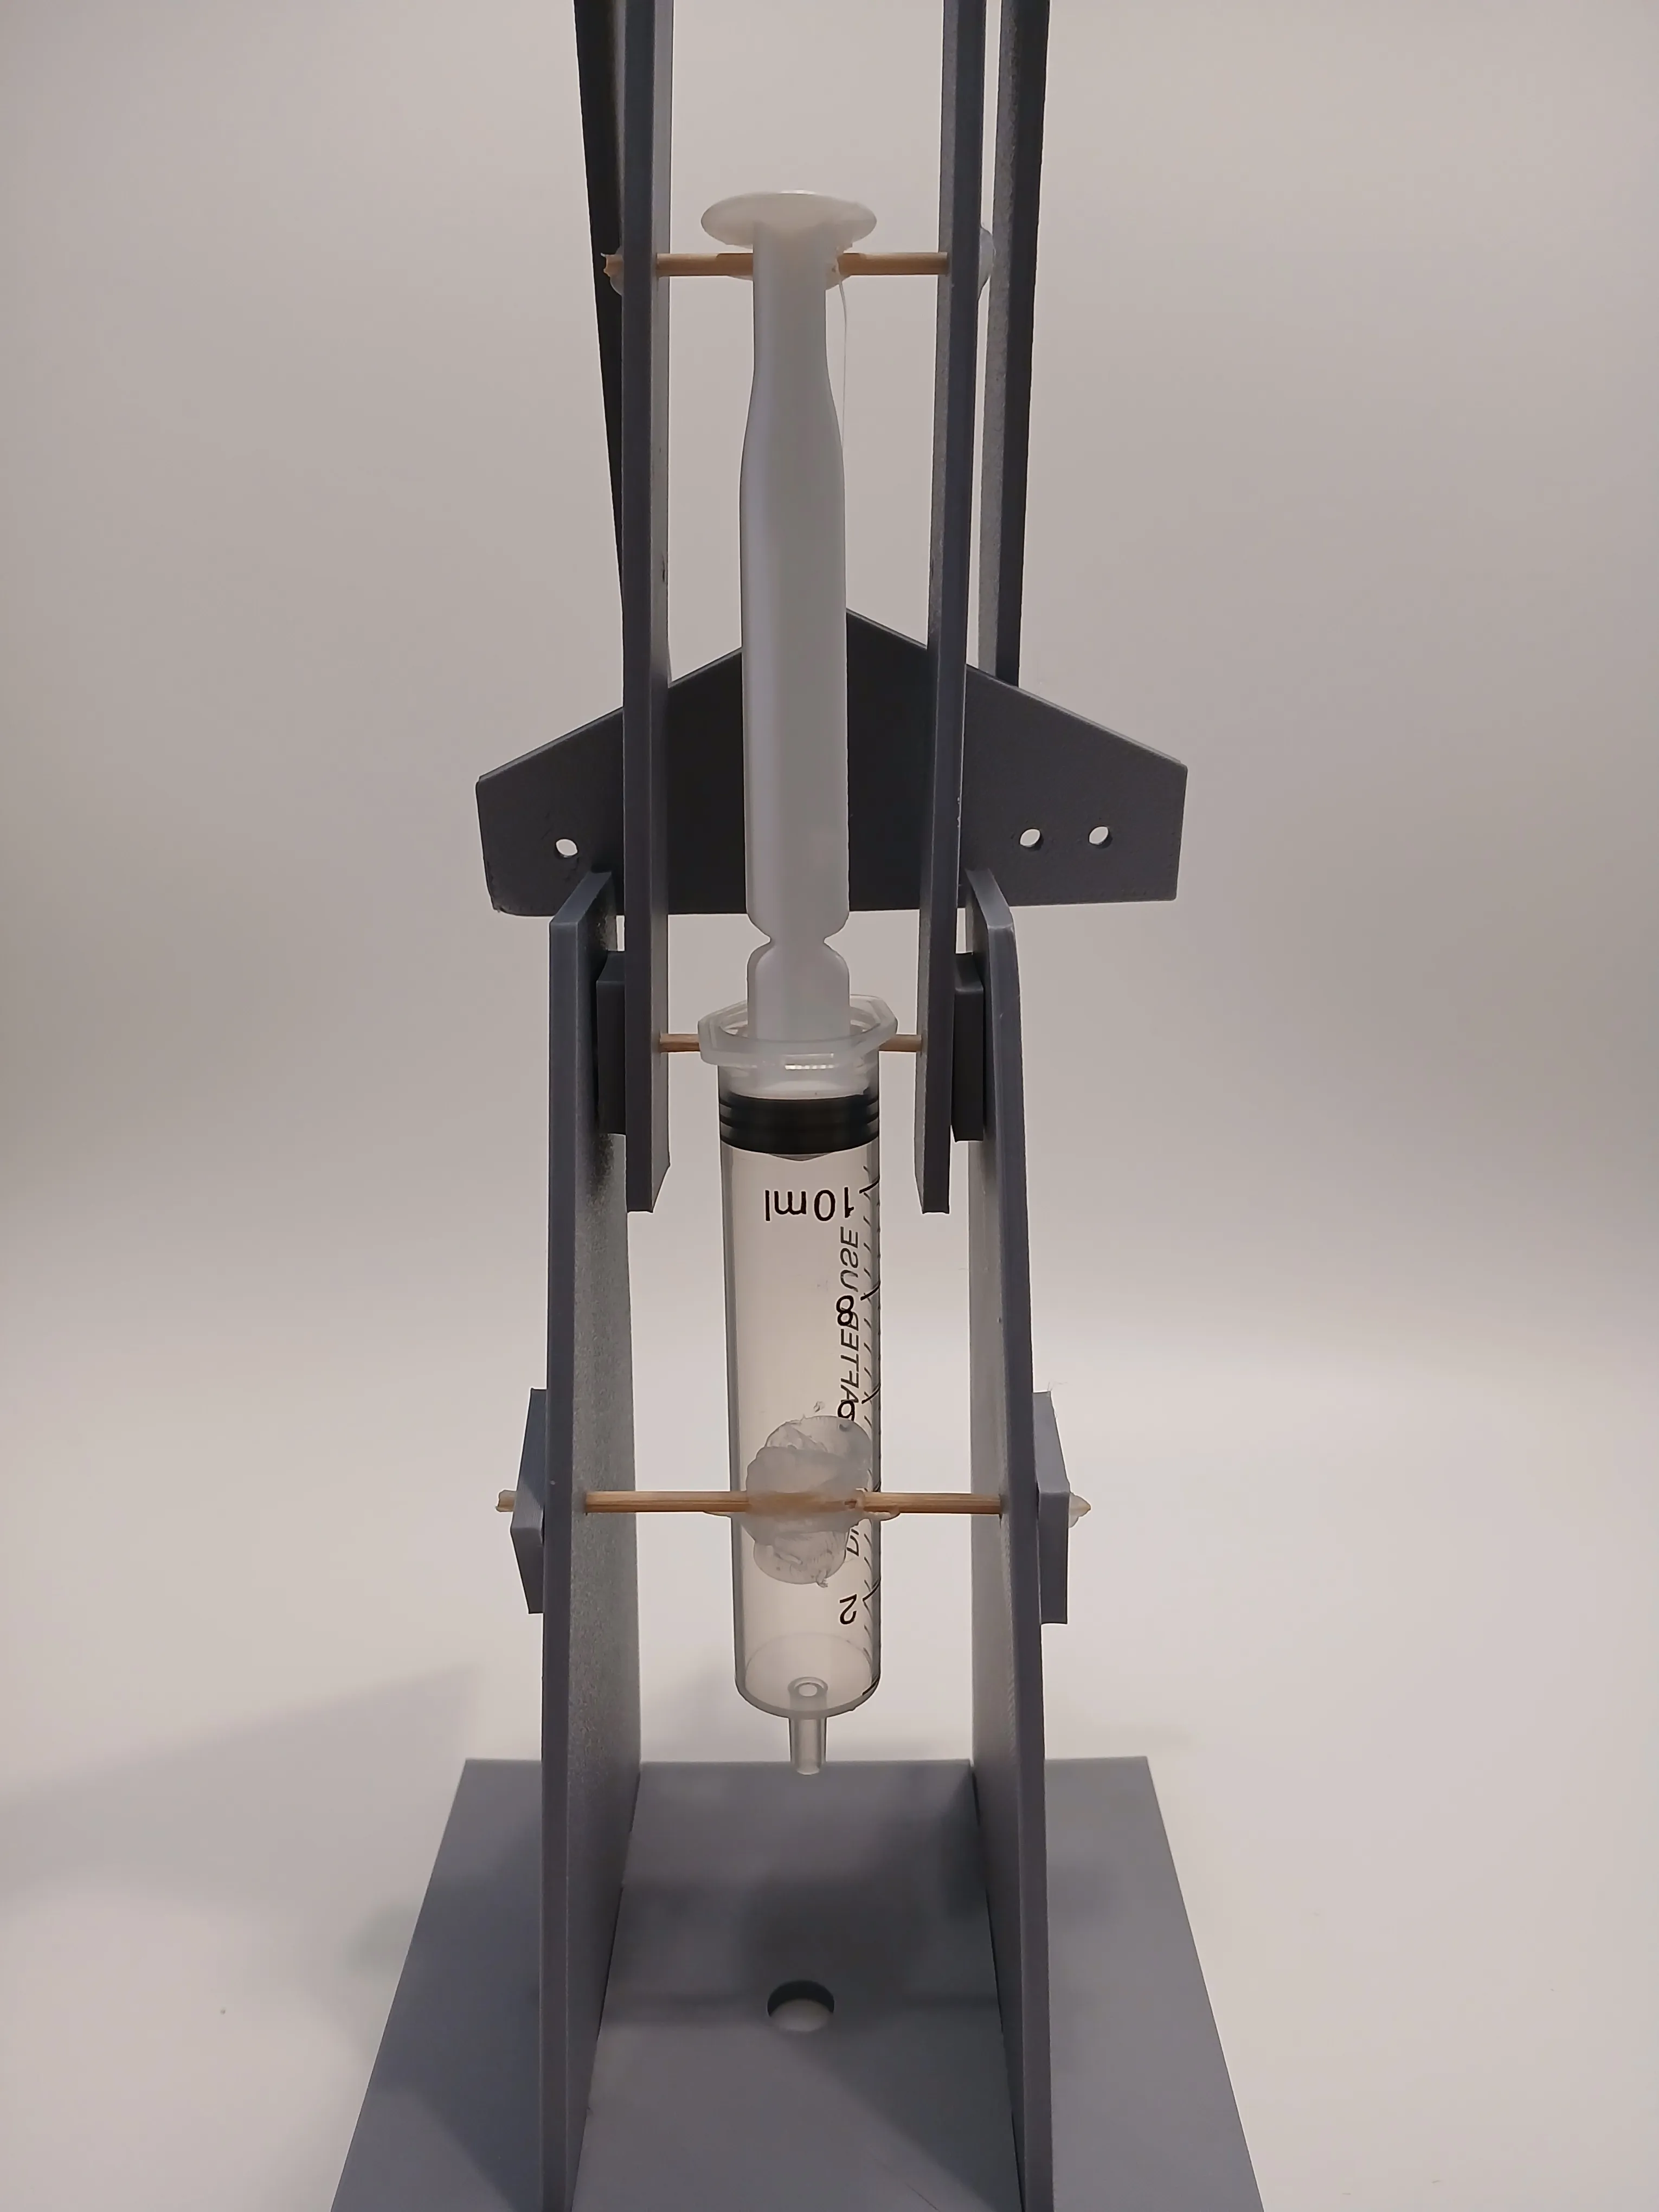
Step 5: Attach the second syringe in the same way, in the middle of the arm.
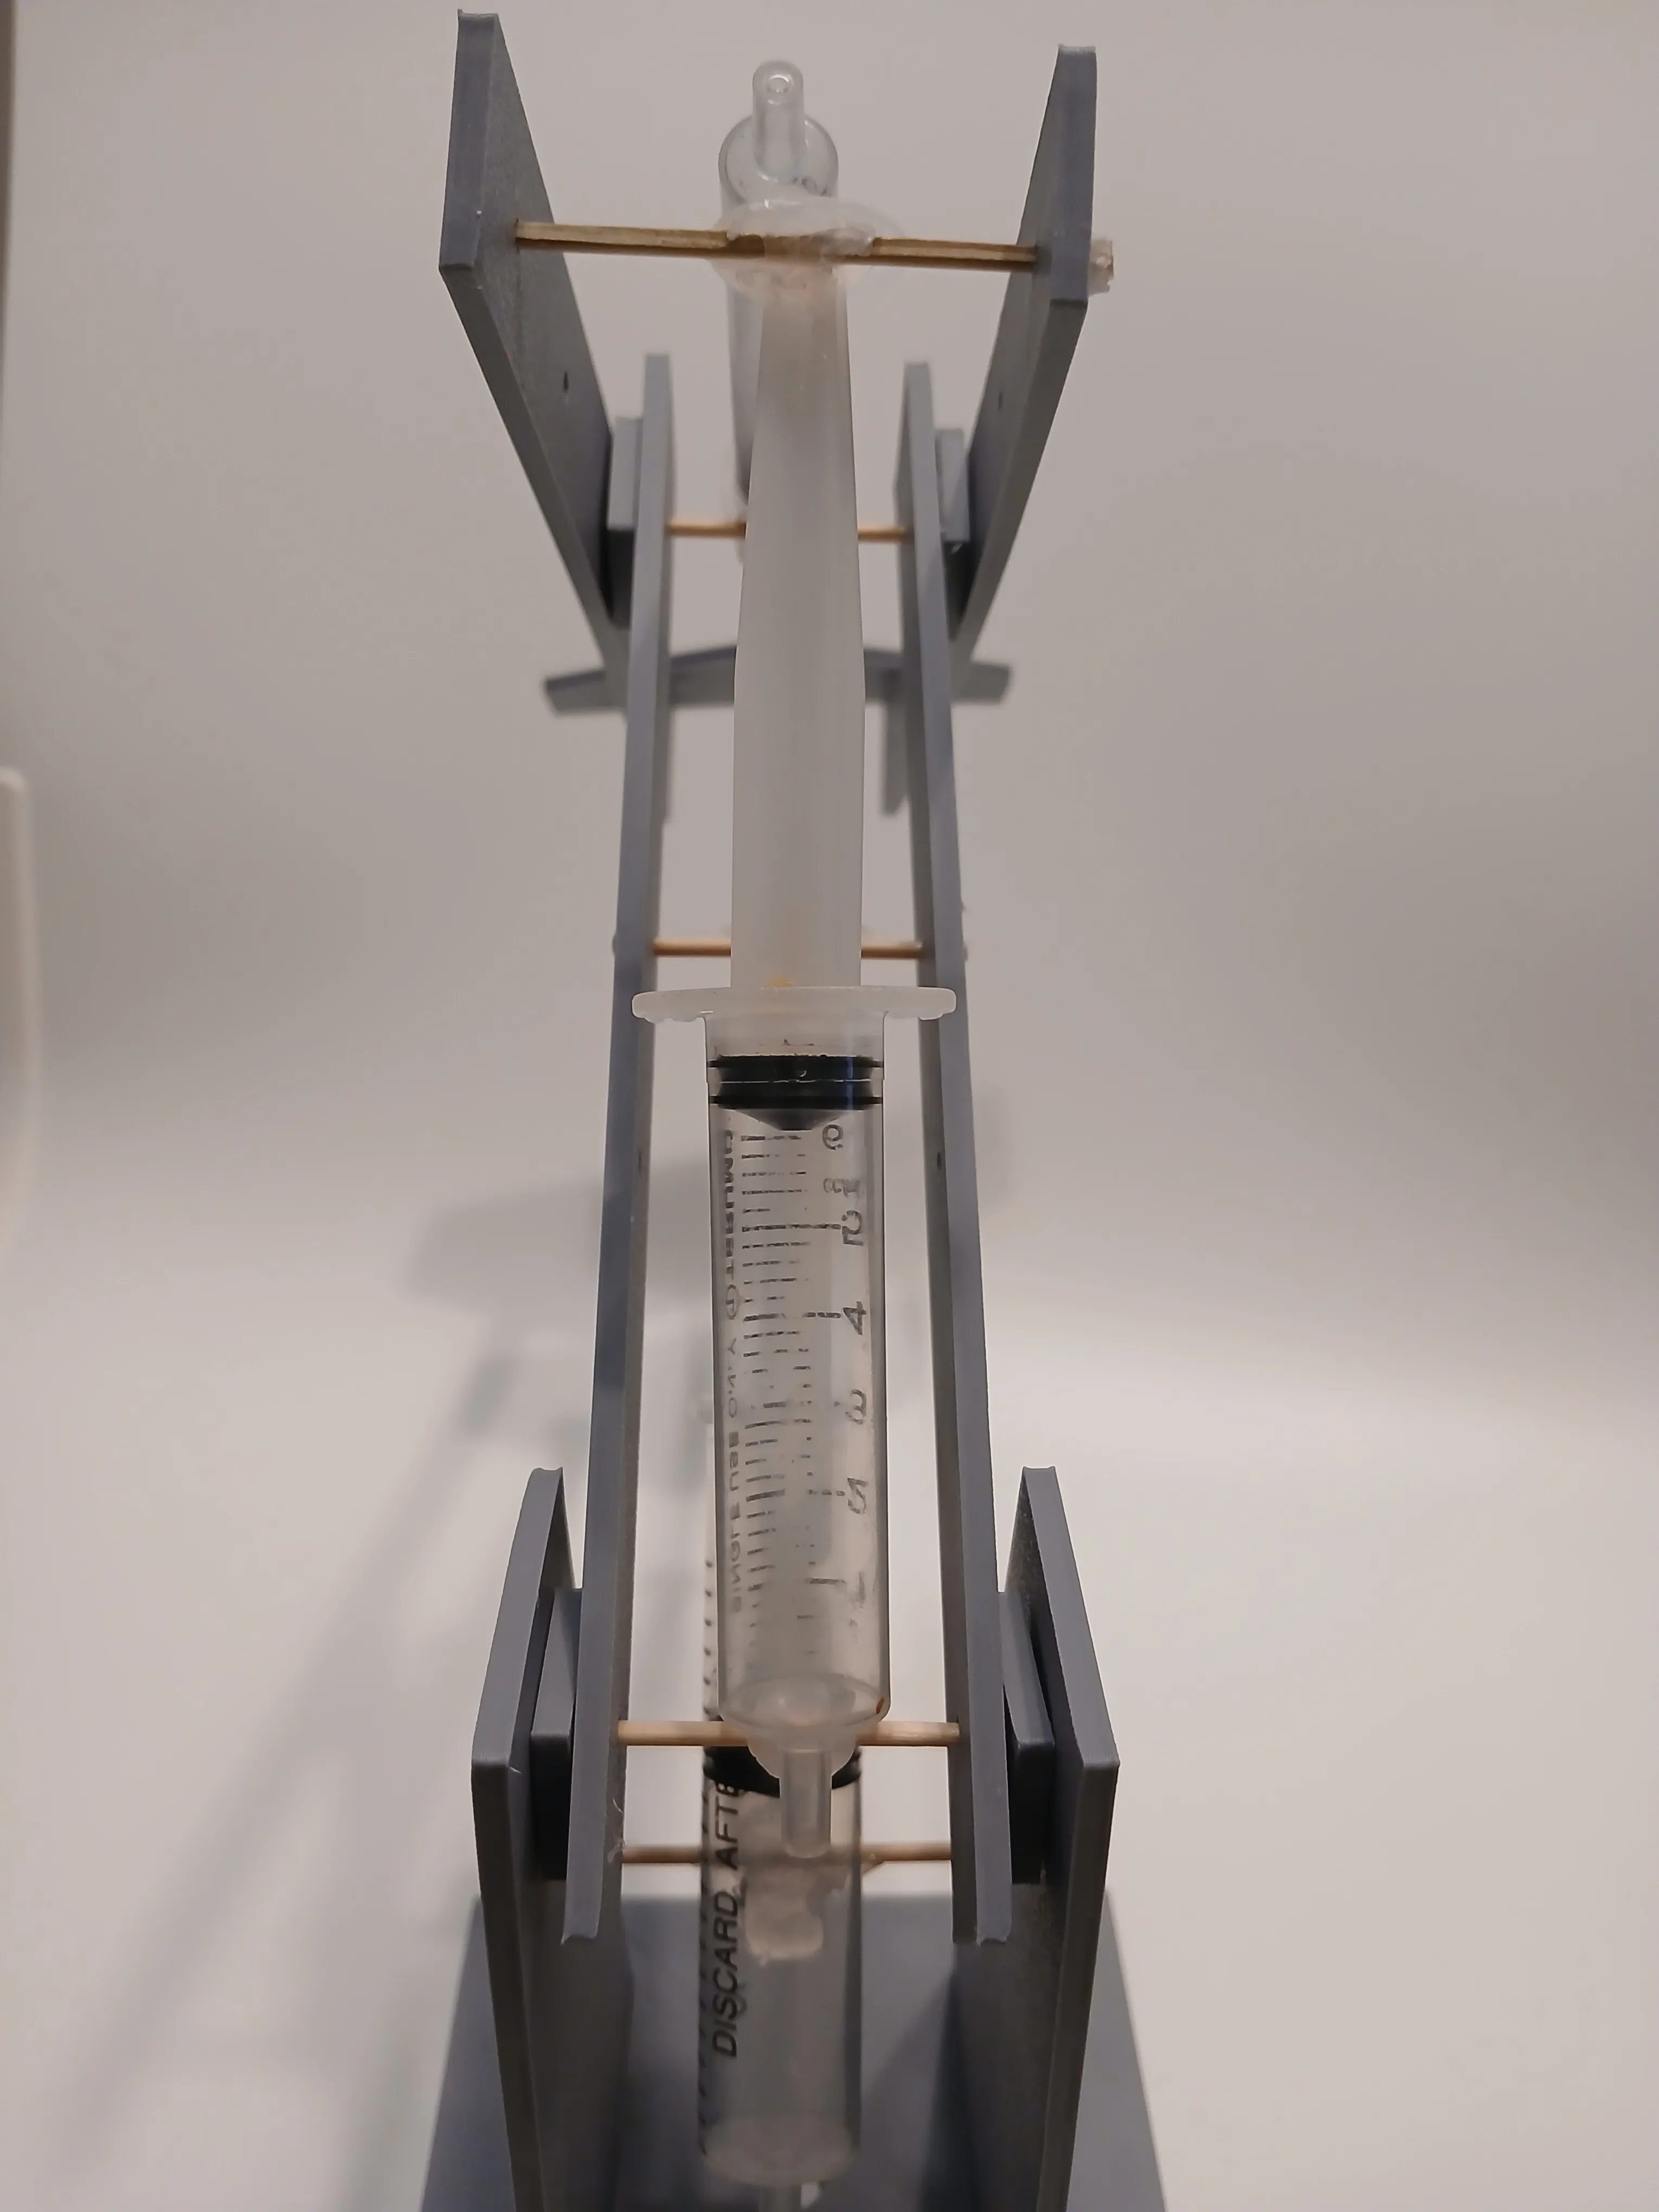
Step 6: To attach the claw, first attach part 7 to the arm with hot glue. Glue two spacers on top of part 7, centred on the outer holes and then place the dowel through the spacer, but only glue on the bottom. Place part 5 on top of the dowels temporarily.
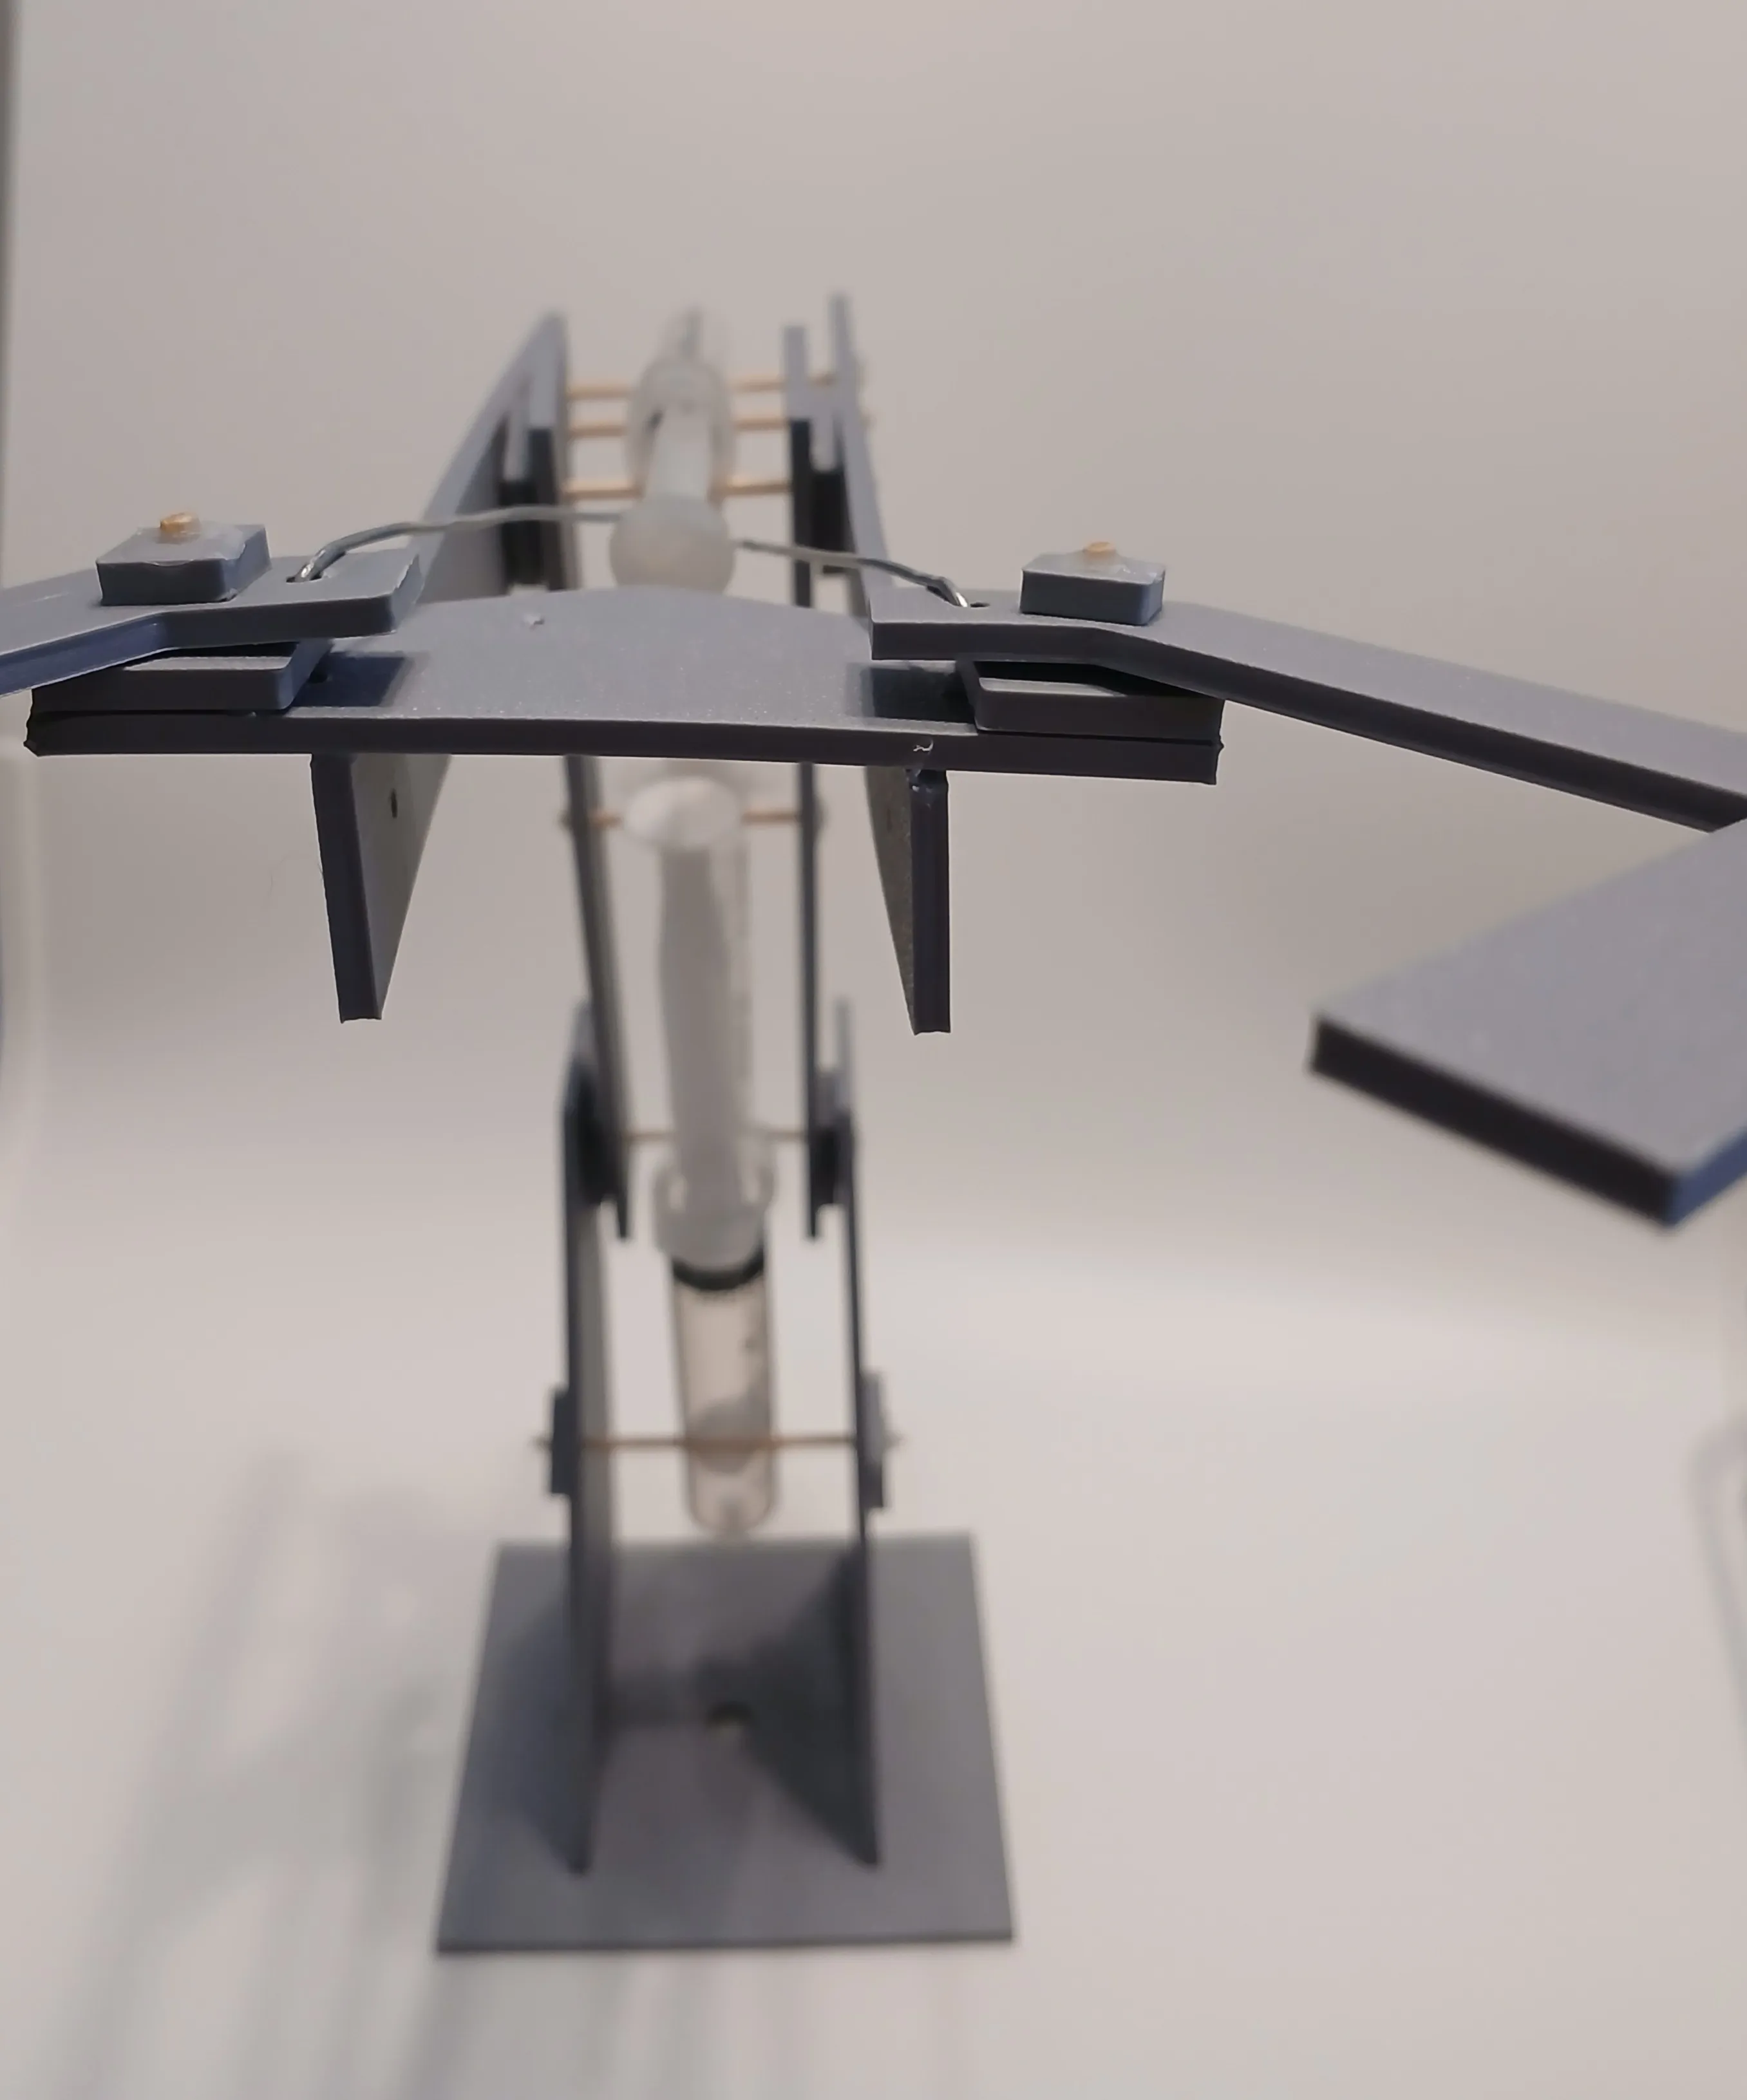
Step 7: Attach the final syringe to activate the claw. The wire needs to be glued to the syringe and then bent through the inner holes on the claw part 5. Once the syringe works and is able to work with the claw glue, part 10 spacers to the dowel only and not the rest of the claw.
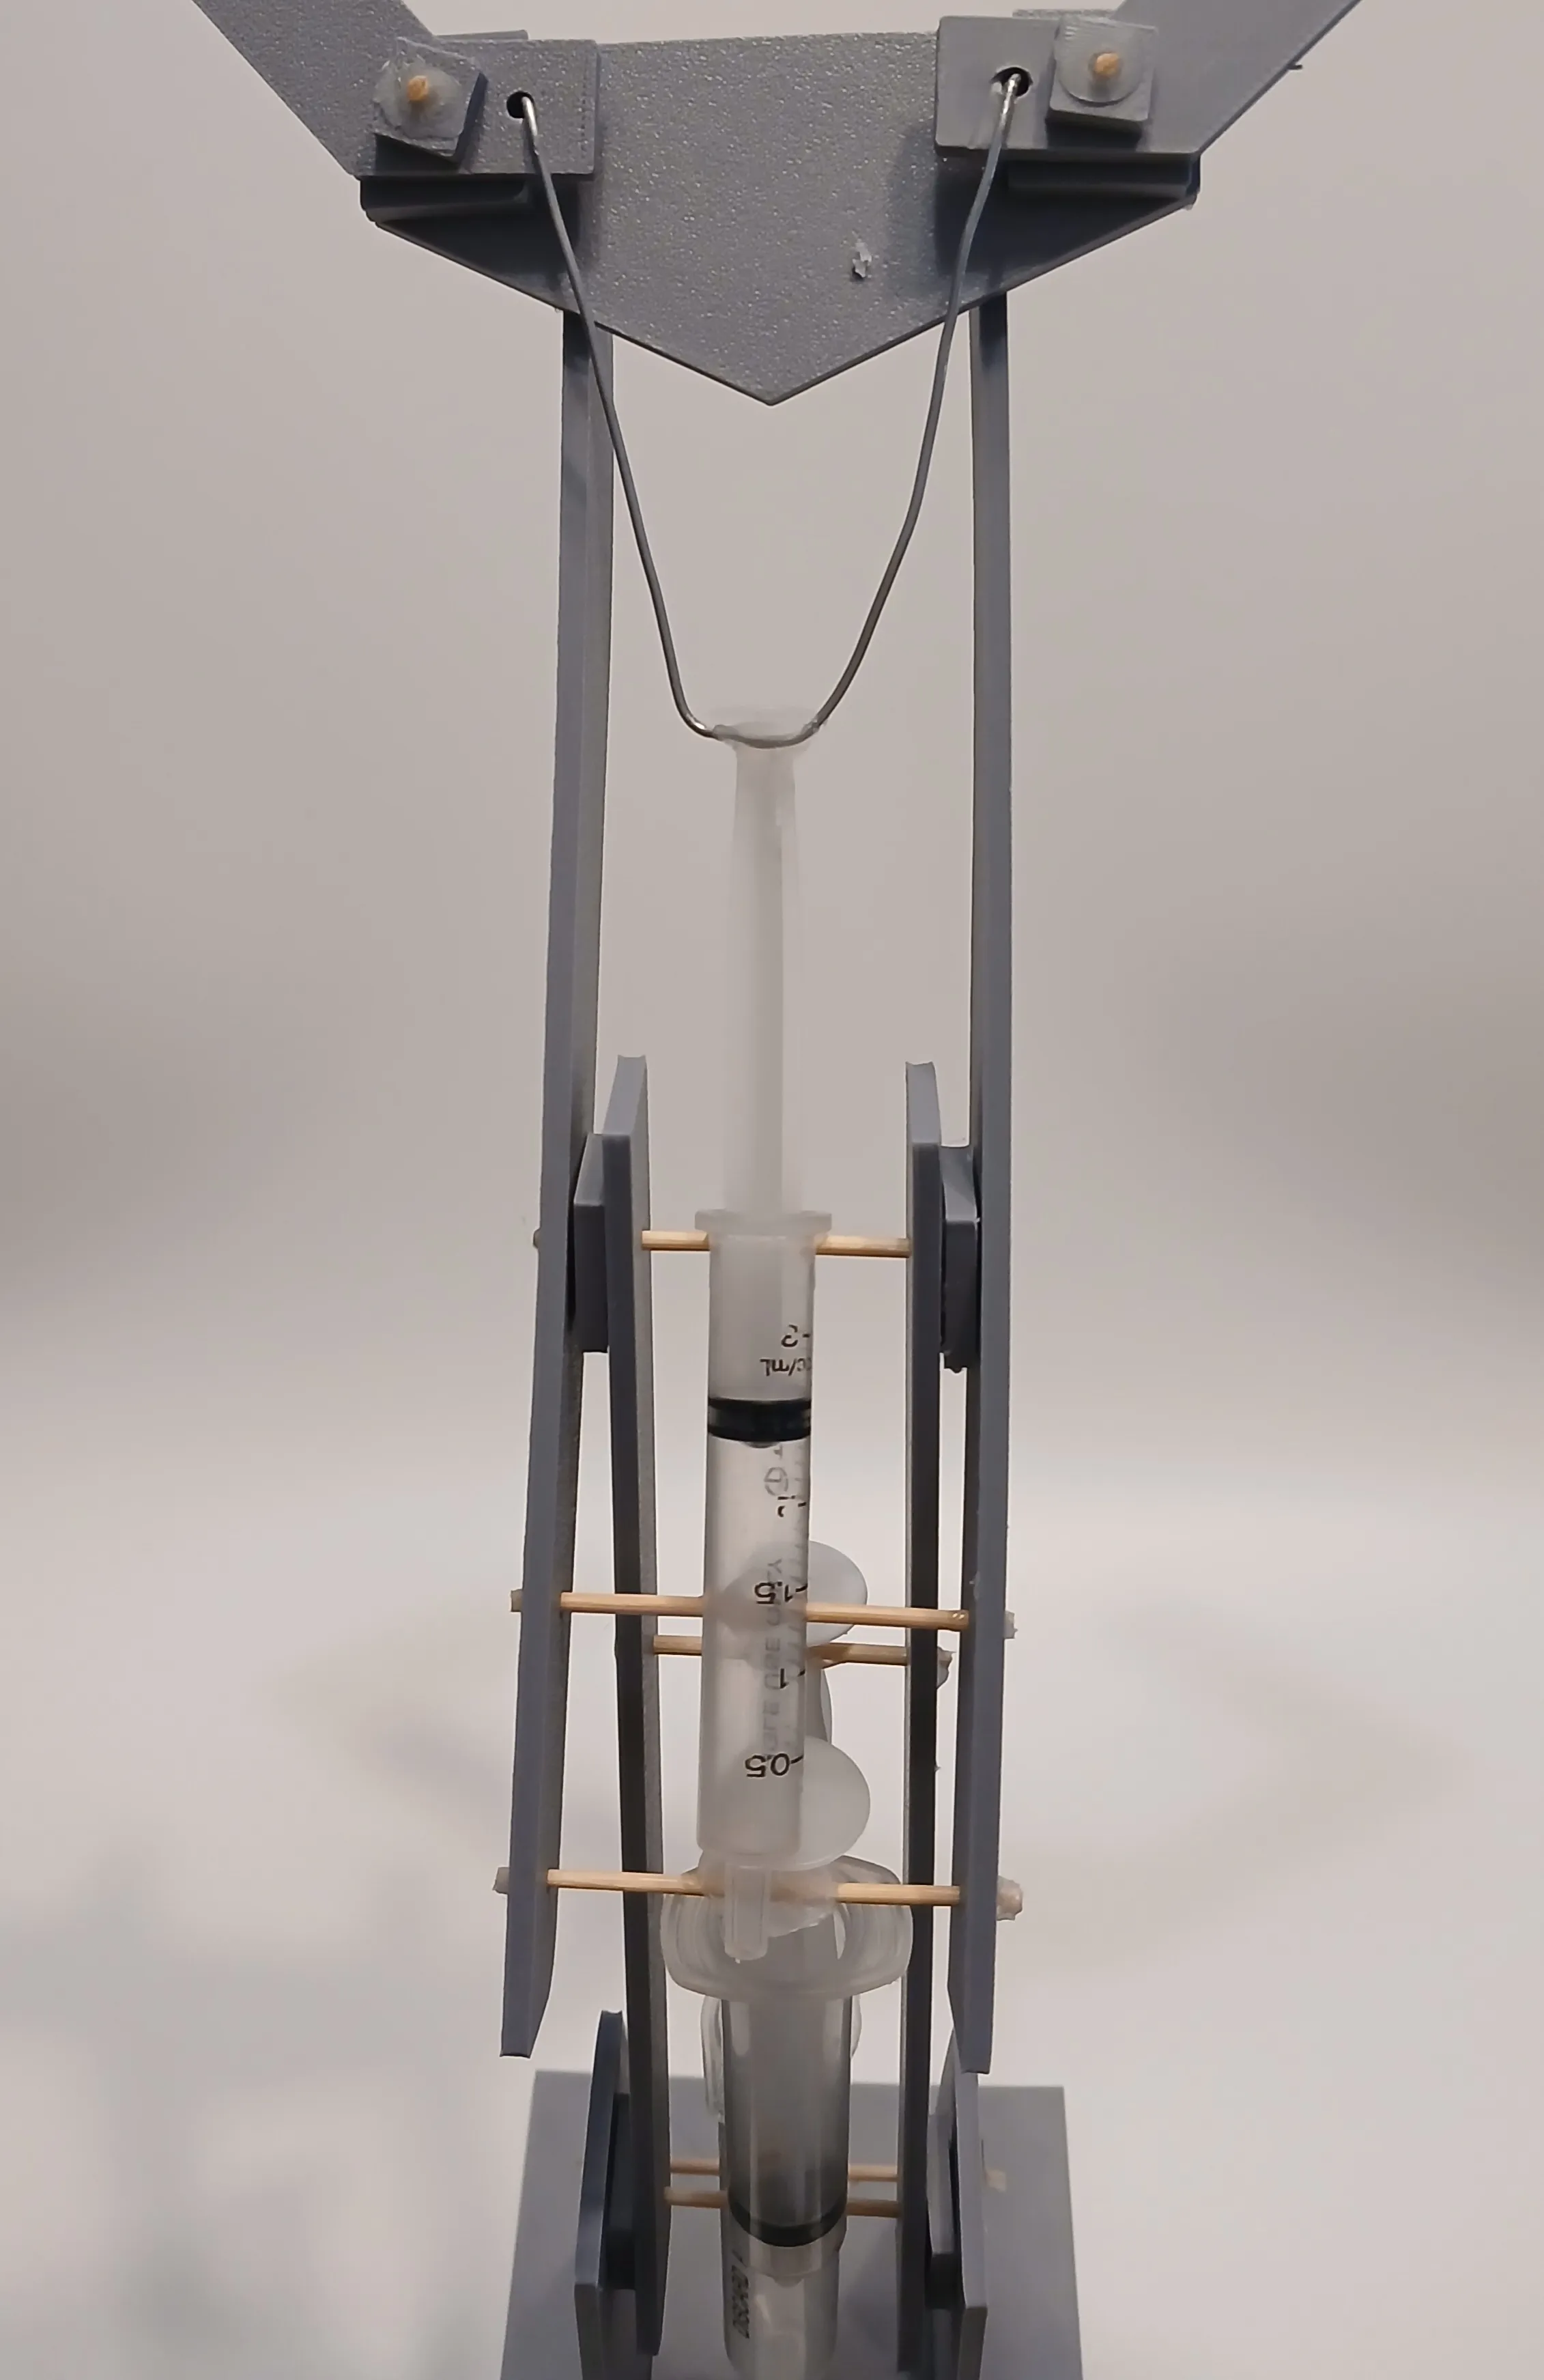
Step 8: Cut the three pieces of tube. Fill all 6 syringes and the 3 pieces of tubing with water and connect them all together.
License

You shall not share, sub-license, sell, rent, host, transfer, or distribute in any way the digital or 3D printed versions of this object, nor any other derivative work of this object in its digital or physical format (including - but not limited to - remixes of this object, and hosting on other digital platforms). The objects may not be used without permission in any way whatsoever in which you charge money, or collect fees.


Comment & Rating (5)