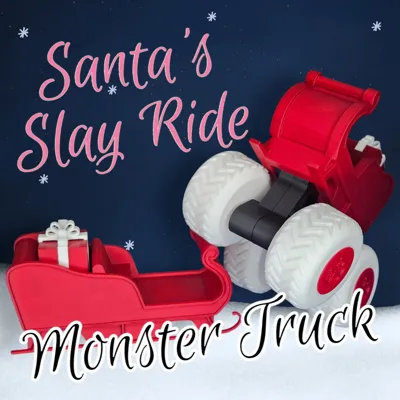
Monster Truck Big Santa's Slay Ride Sleigh


Print Profile(1)

Description
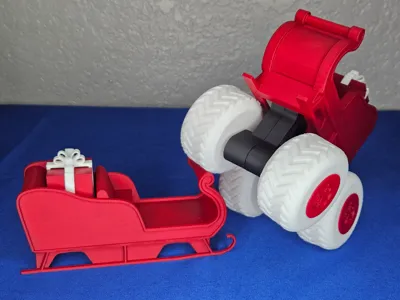
Big Santa's Slay Ride Sleigh Monster Truck. FUNDAY FUNDAY FUNDAY!
Santa's Sled "The Slay Ride" Monster Truck is here to roll over and crush all the little elf's cars. Plenty of room to add a Santa or another character on the front of the sleigh. This is not a hot wheels sized monster truck, this has been scaled up significantly.
Here are some details that you should take note on:
Make sure your printer plate is clean and sticks well for builds.
You should be able to size up and down this model, as long as you make sure all parts/plates are uniformly scaled perfectly equal in the precents. If parts are off 1% things wont fit.
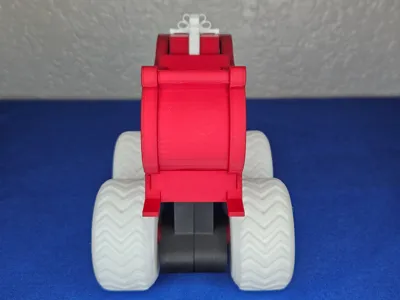
Plate 1: Slay Ride Sled Body: NO SUPPORTS NEEDED
Since I remade this sled rails, you no longer need supports turned on for this plate. Everything should print no problem.
File UPDATE: The sled rails that curled and extended out were very easy to break off. clipping the curls off was a fix, but a dirty one, so I extended the rails to be straight and thicker and prints without supports, current file is updated.
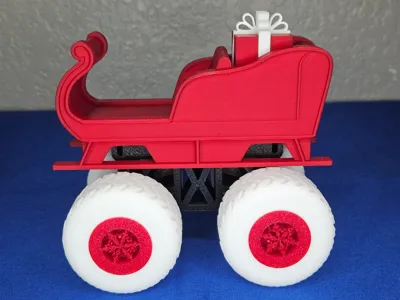
Plate 2: Snow-Flake Rims and Axels:
No supports or brim should be needed for either of these. I changed the rims to snowflakes and I made changes to the rims that allow them to slide in and then be popped into place on the tire real nice. This also allows you to stick a Phillips screwdriver in the other end and pop the rims right off without issue should you want to change them later.
Plate 3: Left & Right Tires:
No supports or brim needed with these. The original only had one direction tread for all four wheels making one side point in one direction and the other side in the reverse direction. Now all 4 wheel tread will point in the same direction, only if you decide put them on the right way of course. Print these in TPU but they work with PLA perfectly.
Plate 4: Suspension:
No supports or brim needed for these.
Plate 5: Ribbons:
Turn ON supports for these, There is a small tab in the center of the first one that goes into the package on the sled.
Pop the ribbon with the peg into the package first, then drop a dab of glue and set the second ribbon on top.
How to build:
It's easy to build, but will require some finesse and some muscle.
Put both suspension pieces together flat side, and squeeze it into the rectangle hole under the monster truck while keeping both pieces as evenly together as possible. push the left side corner all the way in first, then bring the right side corner up in and apply a lot of pressure to pop them in. If you just cant get it in(that's what she said), then pull the left side back out, and try putting the right side in first and then popping the left side in. Its a tight fit, but it will eventually pop all the way in.
Note: it is tight getting the suspension in, it will go in, and probably never come back out?
For the axles and tires you can push one into the little tire hole first and then try to wedge the second one in, or just man up and push both axle pieces into the tire at once. It works both ways. Now hold the axel tight, and spin the tire, it should spin pretty good.
Now, before you go and put on that second tire don't forget to thread the axel through the suspension hole on the monster truck. After you got that, now take the opposite side tire and gently, not so gently, but very firmly push that tire onto the axle until it pops on. Now both tires should spin very nice.
You can pop the tires on and off, but it aint fun, the weakest point is the ends of the axle. just print extra axles in case your break one installing or your kids enjoy stomping on them.
Now, just slide the rims in and pop them on. You can't remove them from the same side you put them in on, you will tear the outer rim, but you can take the tire off and stick something down the hole and easily pop it off that way.
That's it! You can paint it, toss on some lettering or numbers and it will look dope!
If you run into any problems or issues print file related let me know first before you rate bad, if given the opportunity I will try to help you figure out a solution.
Thanks and enjoy!
Boost Me (for free)
You aint gotta be Santa to SLAY that BOOST button a few times for me!
This remix is based on
 The model does not exist anymore
Comment & Rating (16)