Slicey - EDC Utility Blade / Box Cutter


Print Profile(2)


Bill of Materials

Description
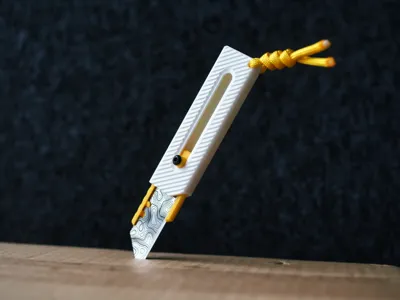
Meet Slicey, a practical, versatile, and good-looking utility blade for the EDC heads out there!
For a while, I've wanted to design a compact EDC utility blade and, after much prototyping and iterating, today is the day I share with all of you the first version of Slicey, I hope you enjoy it! Scroll below for assembly instructions (You will need an M3 machine screw).
| Important! This model is not a toy. It is designed for lighter work and should be handled with caution. Razor blades are sharp and can cause injury; please handle responsibly. By downloading this design, you assume all responsibility for safe use and handling. |

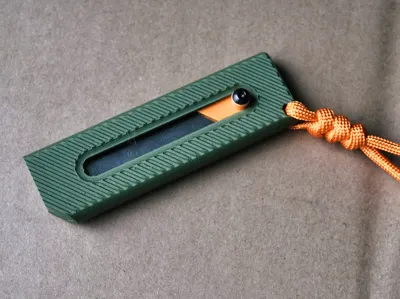
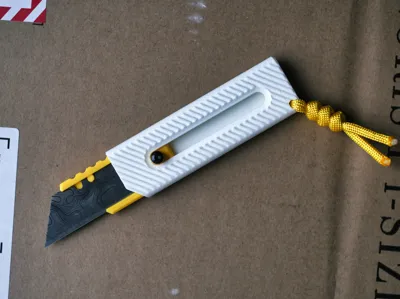
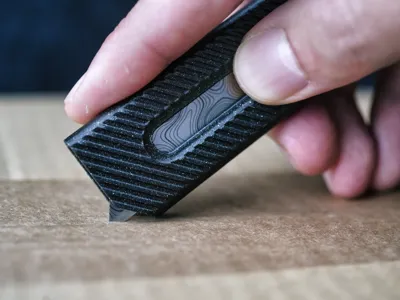
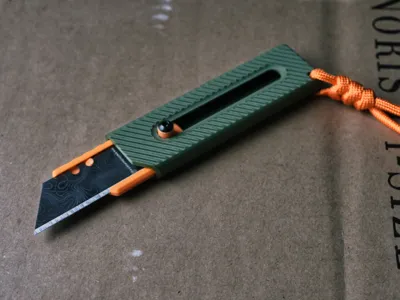
Under 90mm length closed, the Slicey knife feels awesome in the hand. The diagonal grooves provide lots of grip without getting in the way. The paracord passthrough at the end makes it perfect for effortlessly grabbing the knife from your pockets.

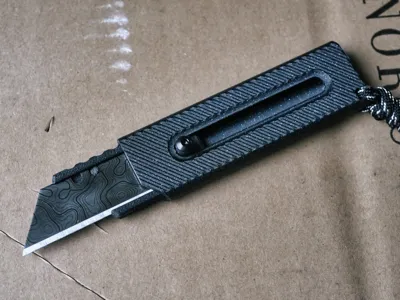
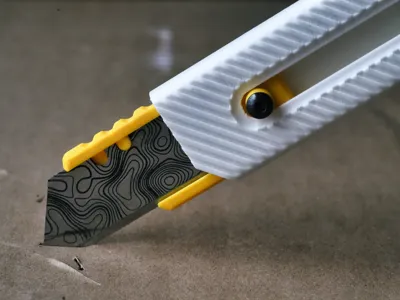
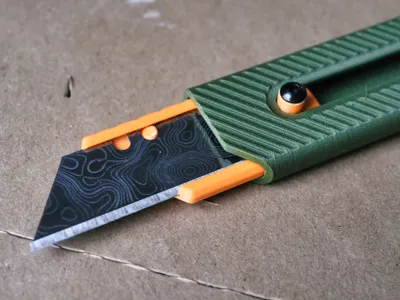
The blade snaps in 3 positions: Closed, Peek (Perfect for opening packages), and Full
How to print:
Filament choice: PLA worked without problems. The slider mechanisms worked best with normal PLA, Matte PLA also worked ok, just with a little more friction. I also tested with galaxy PLA (has some glitter in it) but the texture made it too difficult to open and close the blade. If you are doing multicolor I recommend using the same brand.
Printing orientation: My printing profiles for P1S and A1 mini are already calibrated. If you are not using a Bambulab printer, use the image below as a reference.

Bed adhesion is important here, so wash it and use a brim. I set the printing order as “per object” to decrease the chances that the handle would fall over. I also printed with a layer height of 0.12mm which I found to be the best result in terms of look and functionality. The handle has a tree support, while the blade holder has normal supports.
Please note that the screw spacer is optimized for an M3 screw of 8mm in length, if you want to use a longer screw, just scale the height accordingly before printing!
Credit where credit is due: The blade holder mechanism is inspired by the original designs from @dfreshkremer. Go check his profile!
How to assemble
Step 1: Remove all supports.
Step 2: Insert the blade holder into the handle and screw the M3 screw with the spacer. (do this step before putting the blade, it makes it safer than the way I did here)

Step 3: Insert the blade into the blade holder. This is how the locking mechanism works.

Step 4: Enjoy!
Comment & Rating (156)