
Filigree Masquerade Mask - Hueforge - prints flat

Print Profile(1)

Description
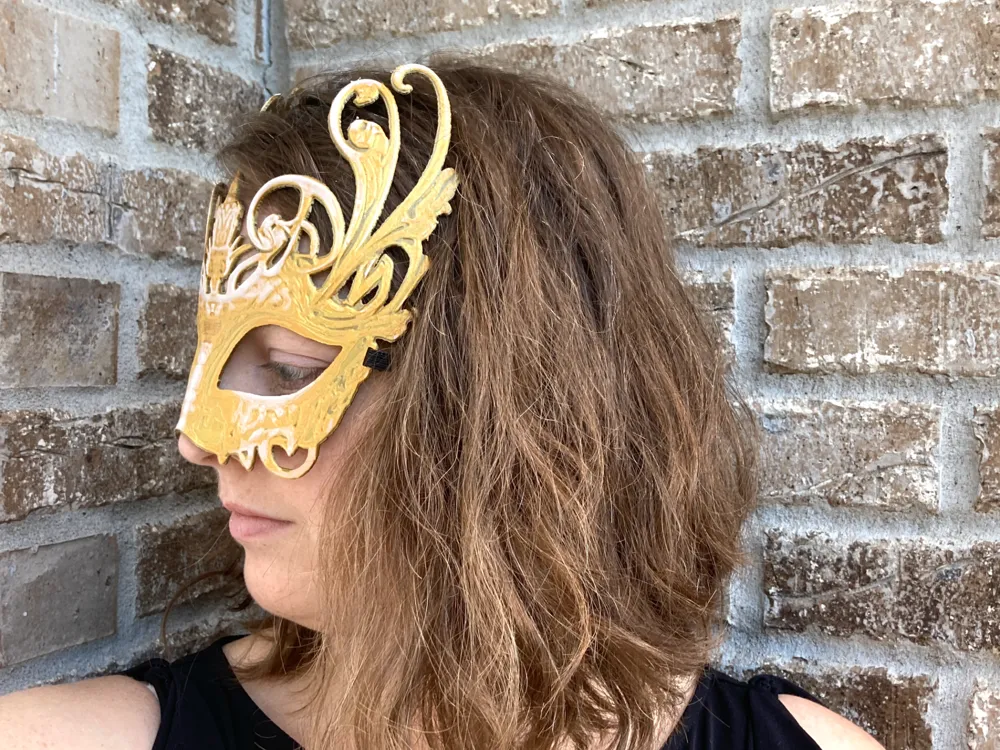
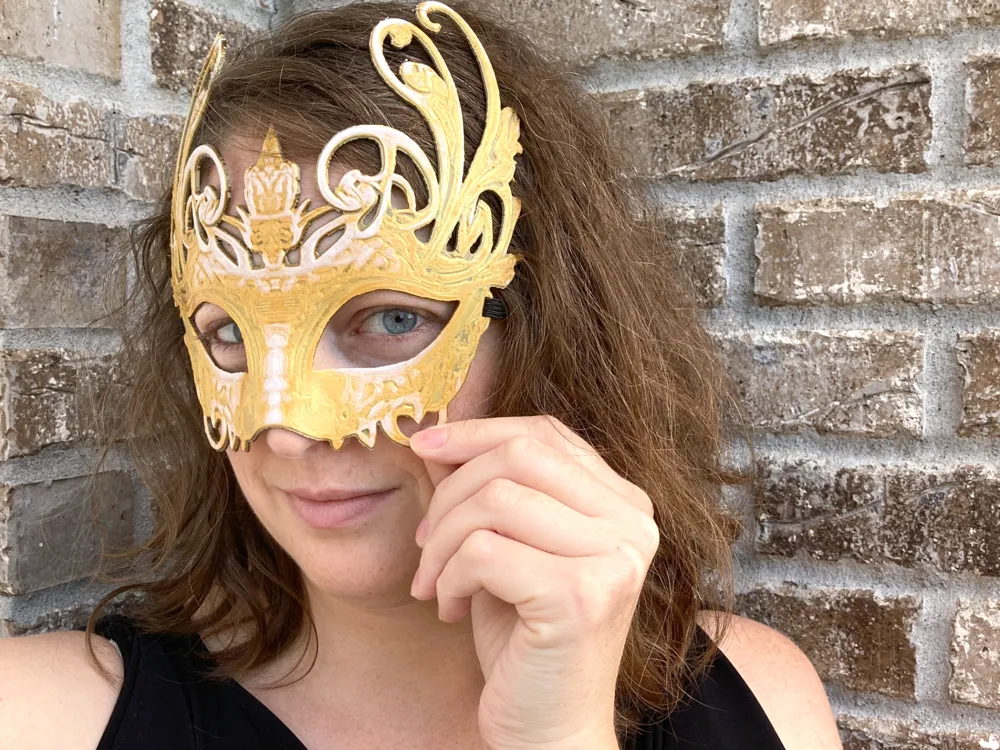
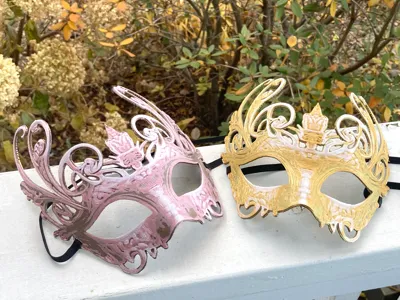
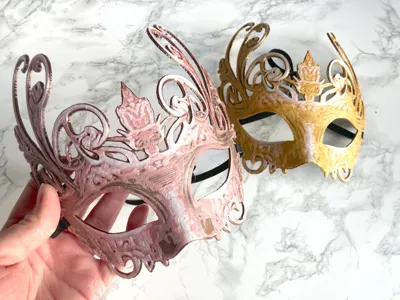
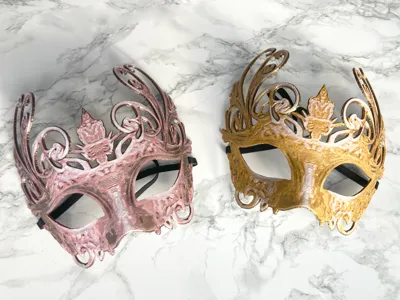
I was working on my elastic masquerade masks from a couple years ago where you would print it flat and then mold it and thought about how fun it would be to use Hueforge to make a mask! I went on over to Craiyon to generate a fun mask image (since I'm not very artistic) and after doing edits to clean it up in Photoshop, I ran it through Hueforge. I increased the base thickness so it wouldn't be too thin and played around with the colors. I decided to stick with just three: a dark base, a lighter highlight, and then a silky white to finish it off.
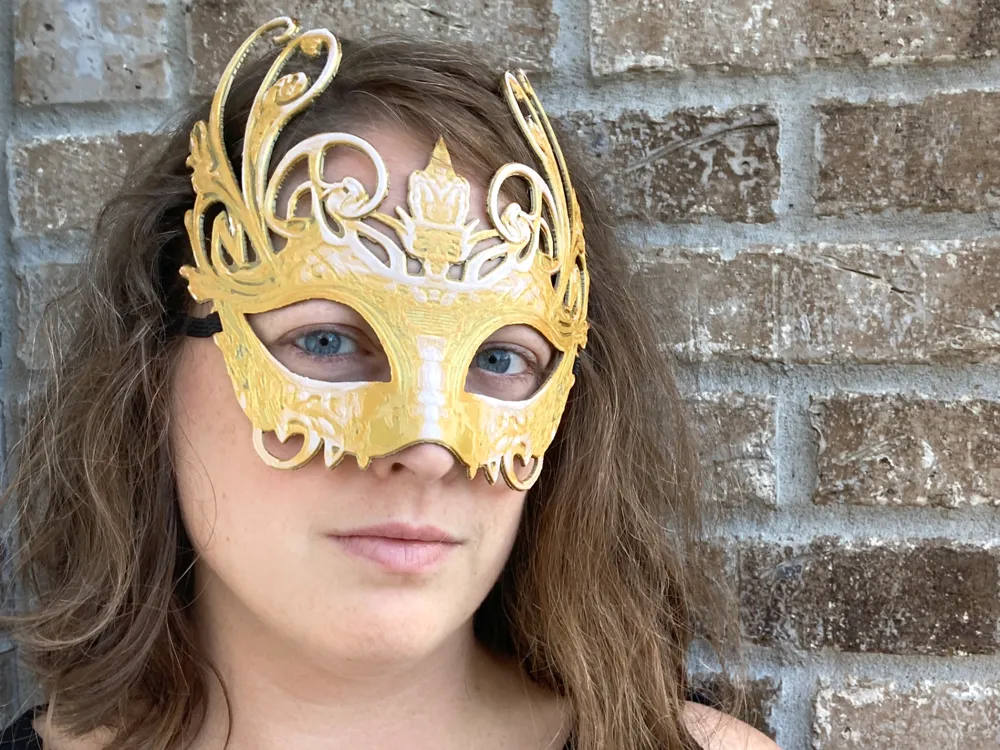
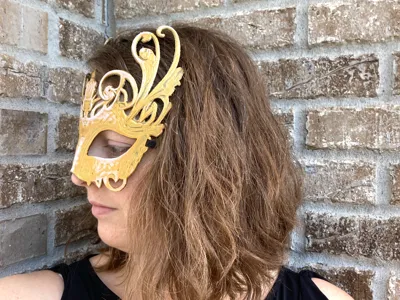
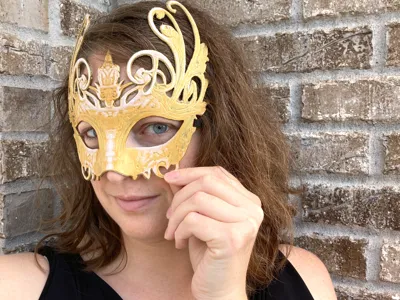
*After wearing this for an hour or so, I STRONGLY recommend you get that nose shaped away from your face so it doesn't dig into your nose, or put some felt on there to help cushion it.
I measured up the mask in the Bambu slicer against a basic mask I used previously and interestingly, the eye holes matched up pretty well! I thought I would have to do some altering to the size, but it worked out just as it was.
I used negative space cubes in the slicer to add slots for the elastic and I was set!
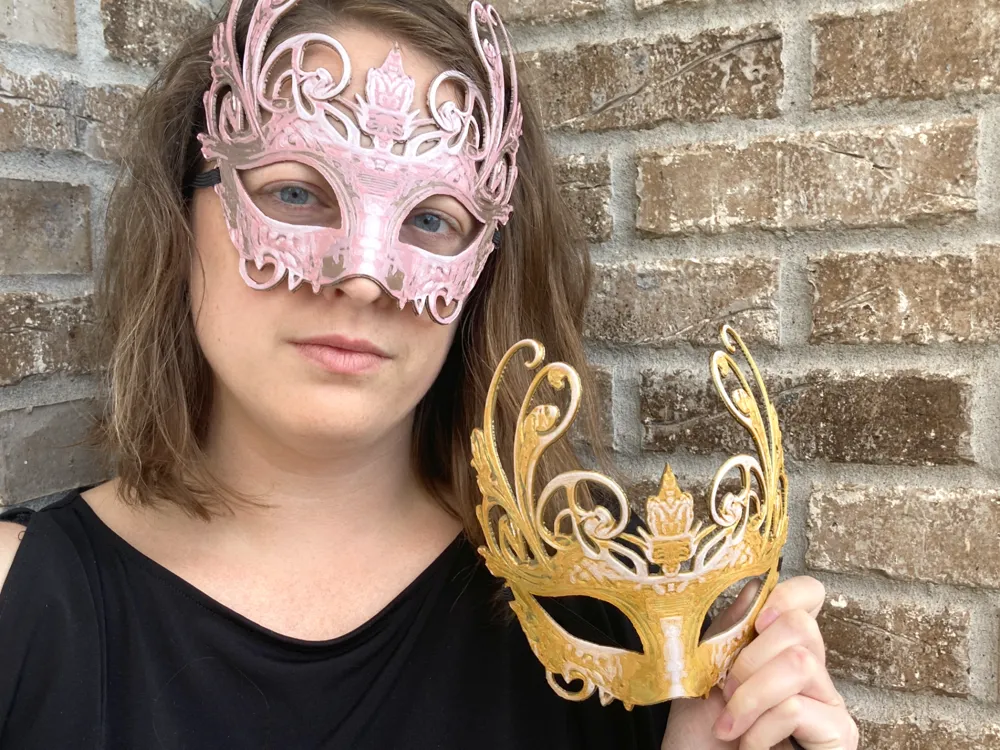
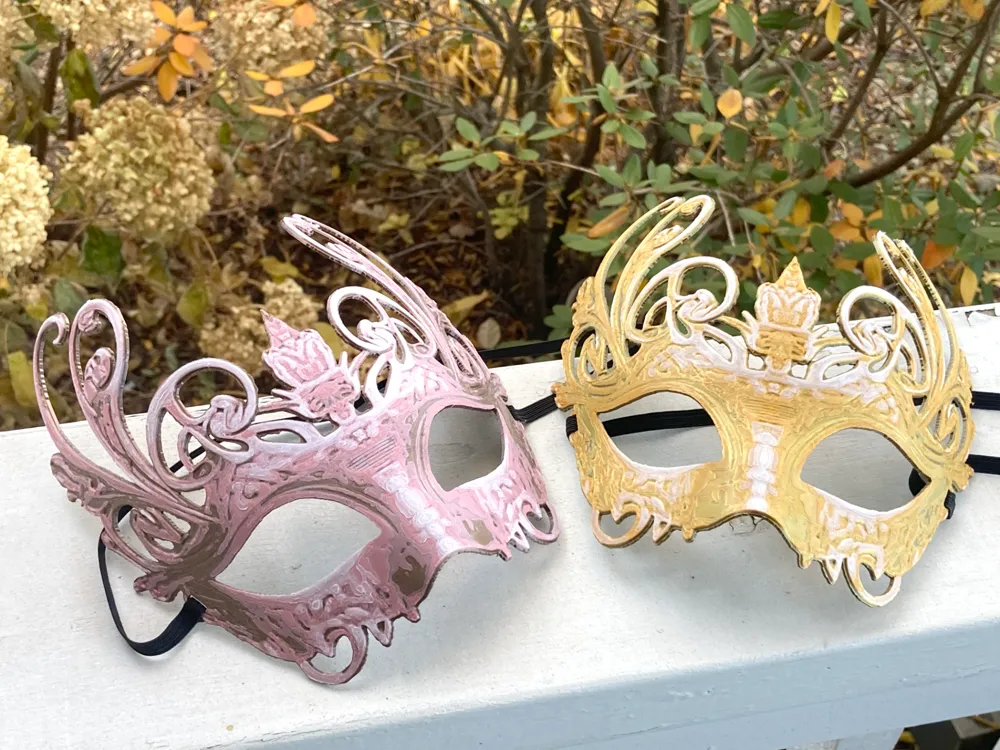
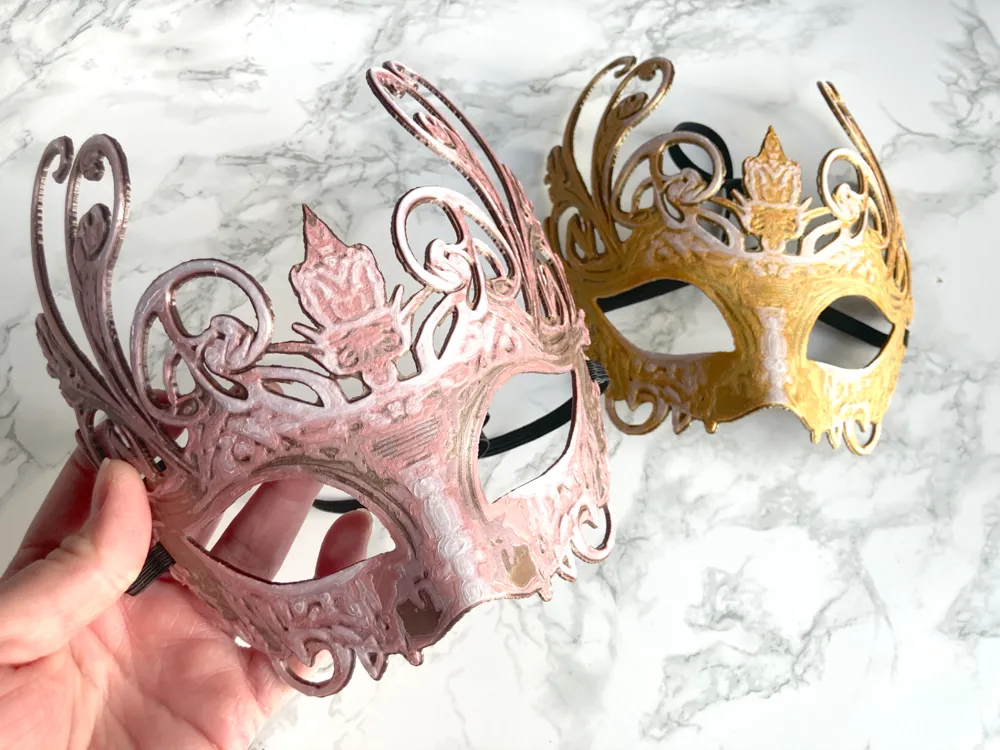
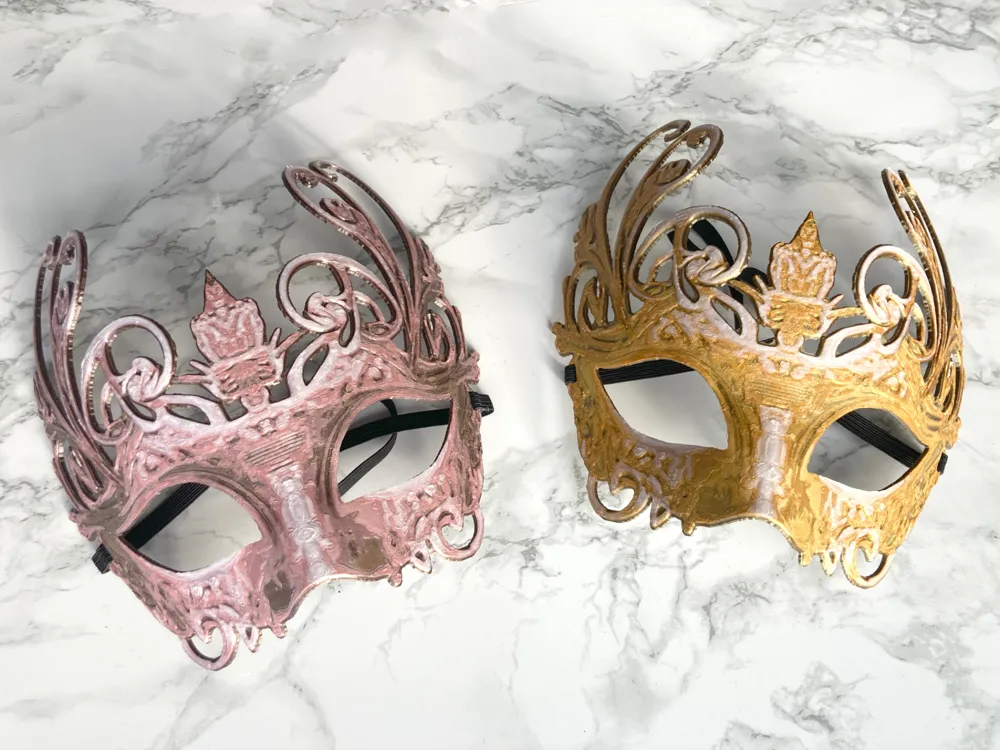
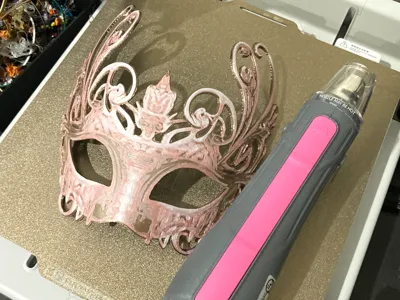
I experimented with two color layering versions and ended up liking the version better that showed more of the base layer (pink version).
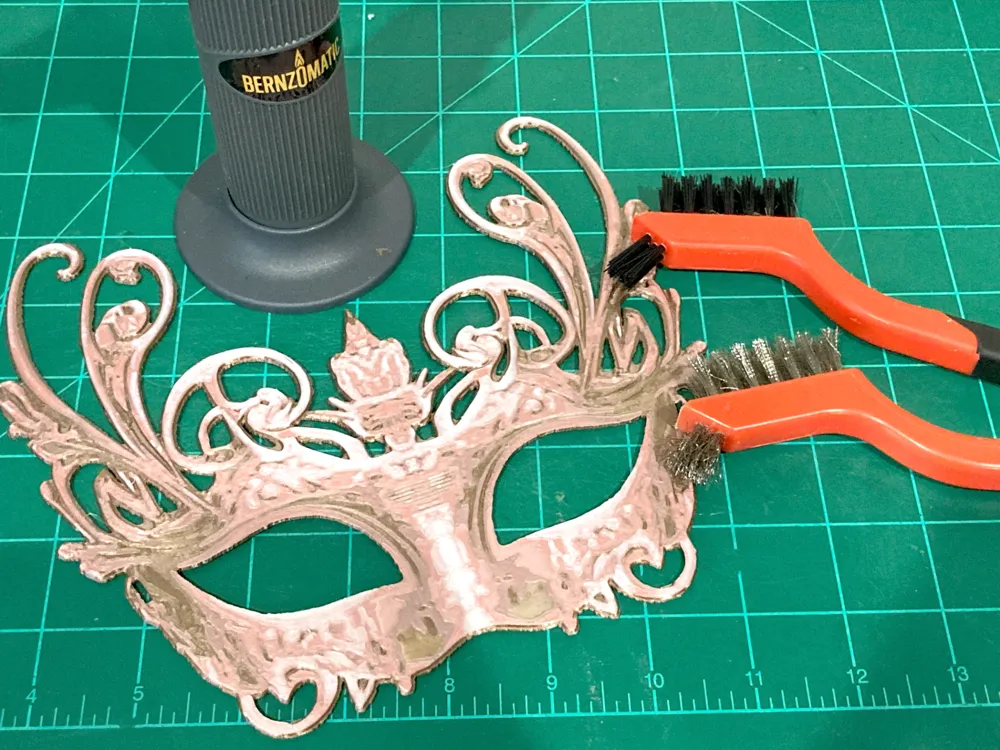
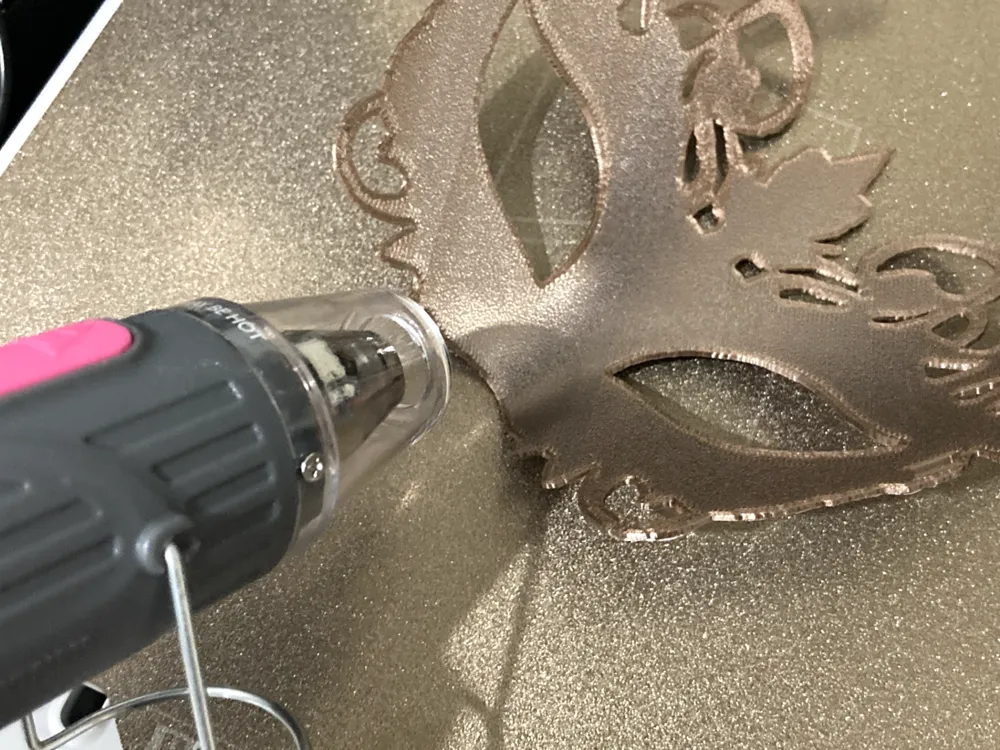
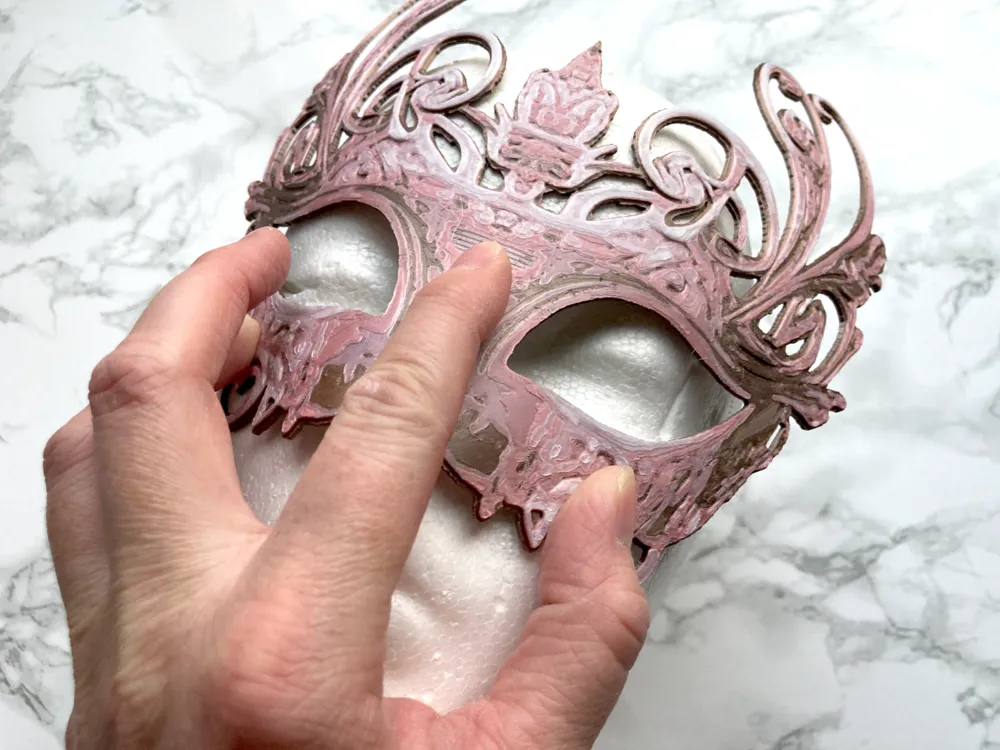
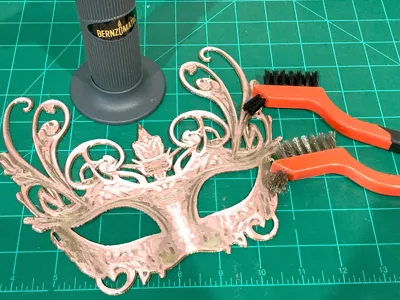
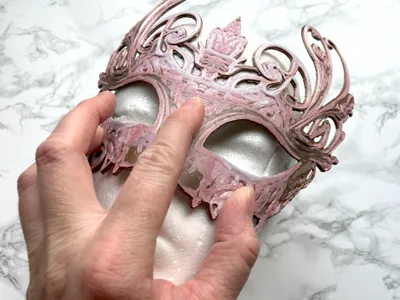
After the print was done, you need to mold it to fit a face. There are a couple ways to do this.
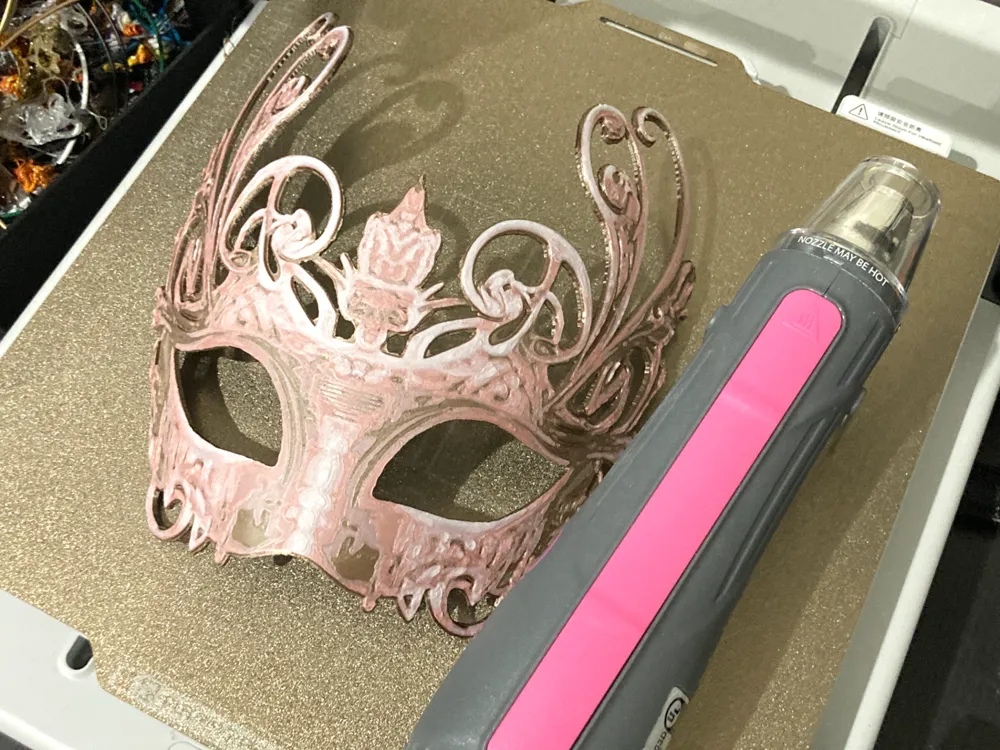
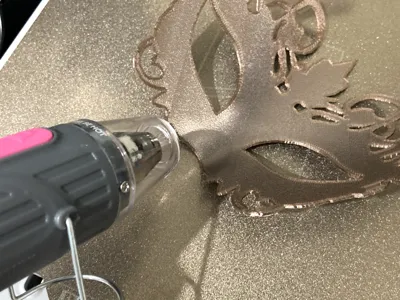
The version that avoids extra supplies would be using the build plate to heat it up to shape it. Just put it on the plate and heat it up to 80 to get it pliable (make sure it doesn't try to stick back to the plate). Then take it off and quickly mold it on a styrofoam head, if you can. You can use your own face, just be careful not to burn it. The downside to this version is that if you don't work fast enough and it hardens up too fast, you can't reheat it up because it has to be flat to heat up on the build plate.
I did the build plate, but then also used a heat gun to finish off the shaping, particularly by the nose. I like to make sure it doesn't squish my nose too much.
Lastly, cut and attach your elastic and you are good to go!
I used .08mm settings with ironing on all top layers.
Colors:
Pink Version:
Layers 1 - 18 : Dark Rose Gold CC3D
Layers 19 - 21 : Silk Rose Gold DO3D
Layers 22 - Top : Silky White OVERTURE
Gold Version:
Layers 1 - 16 : Antique Gold CC3D
Layers 17 - 21 : Silky Gold FF SUNSENKJ
Layers 22 - Top : Silky White OVERTURE
I've also shared a little tutorial for this mask on Instructables.
License

You shall not share, sub-license, sell, rent, host, transfer, or distribute in any way the digital or 3D printed versions of this object, nor any other derivative work of this object in its digital or physical format (including - but not limited to - remixes of this object, and hosting on other digital platforms). The objects may not be used without permission in any way whatsoever in which you charge money, or collect fees.


Comment & Rating (18)