
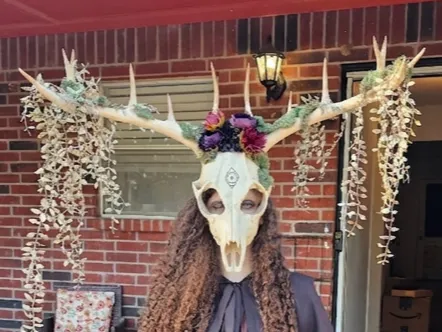
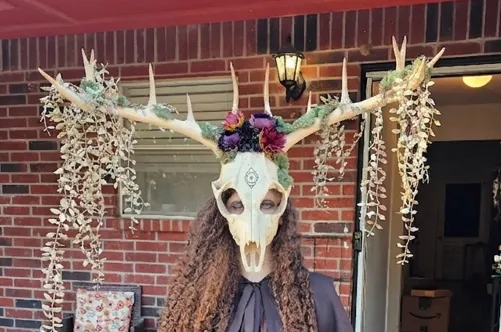
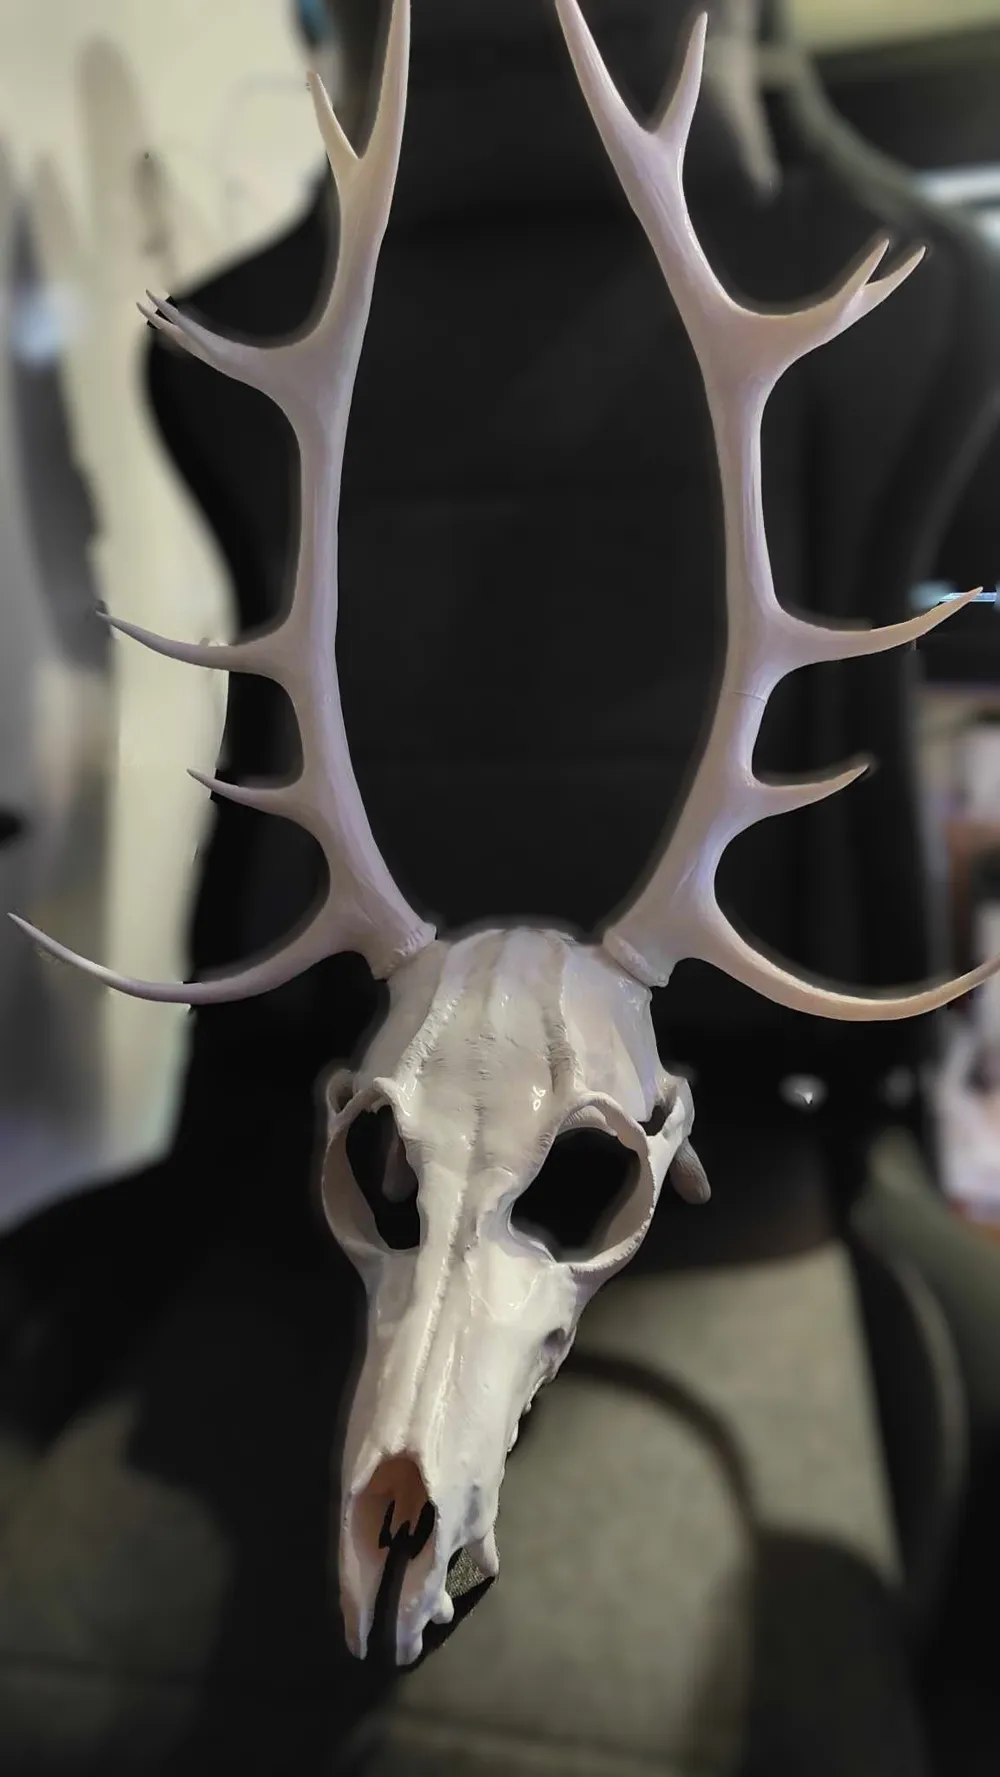
Wendigo/Krampus/Leshen Mask with CONNECTORS
Print Profile(3)


Bill of Materials
.jpg)
Description
Special thanks to @schtiewie for sharing original model with us.
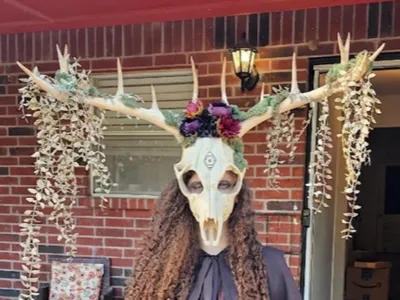
Main photo by Millstone, thank you <3
UPDATE: 04.05.2026 - mask_up_2_connected.stl was not sitting fully on the buildplate, part of it was mid air at 1st layer.
Fixed the part, reoriented it on the bed to reduce supports and made it a bit thicker on sides as it was very thin.
Also made mask_up_3_L a bit thicker on the sides.
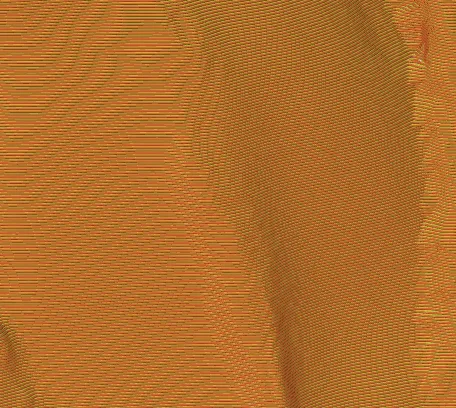
UPDATE: 12.02.2026 - I have made changes to mask_up_2_connected.stl because one part of it was too thin and this caused the model to have holes on some printers.
Before: After: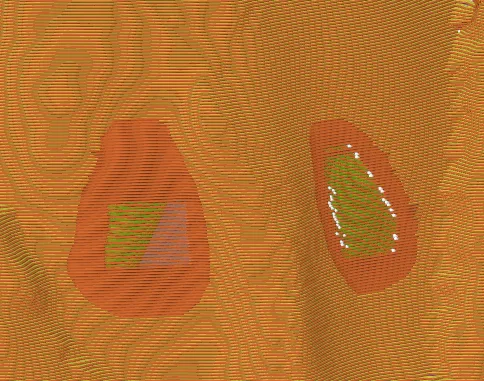
UPDATE: 29.09.2025 - I have added bottom jaw in one piece together with splited parts and connectors.
You will also find .3mf file with all plates of bottom jaw included.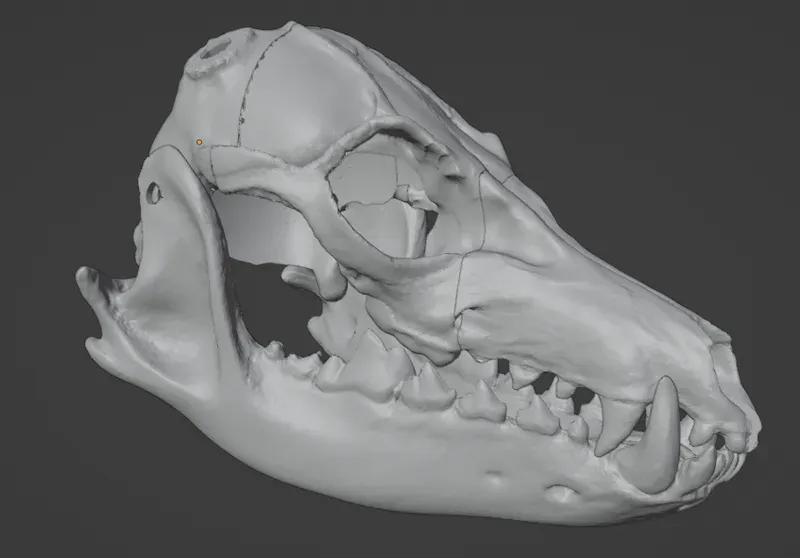
The lower jaw is supposed to be screwed together with upper part with m12 screws or any similar.
For this purpose I uploaded screw, cap and washer to be printed.
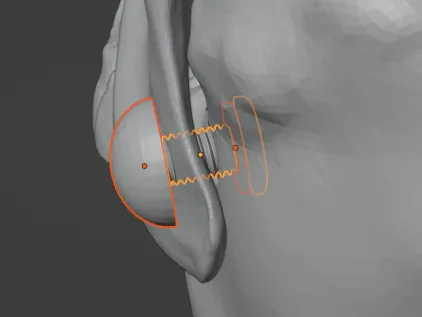
Holes are made in lower part, and also the upper back parts are reuploaded in the folder.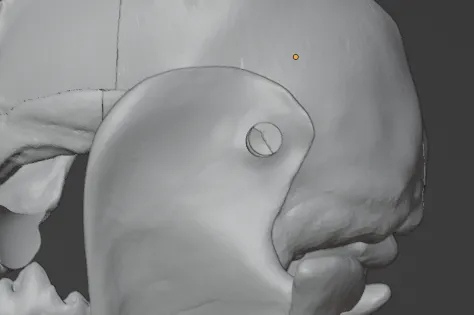
HINT: In case you want to add this to previously made mask - drill the holes.
Have a good Halloween !
UPDATE: 31.12.2024 - added print profile with my settings
UPDATE: 30.10.2024 - I added separate models for the right antler to avoid having to use the "mirror" option in the slicer.
I also updated the "all connectors" stl file.
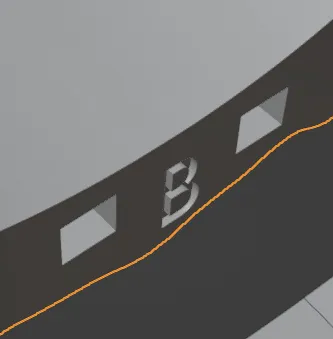
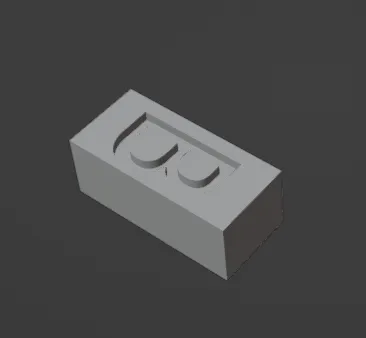
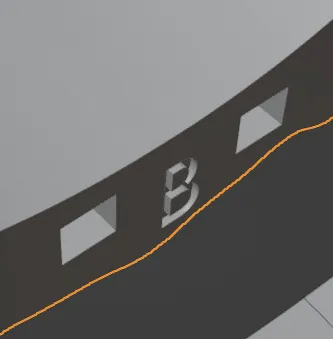
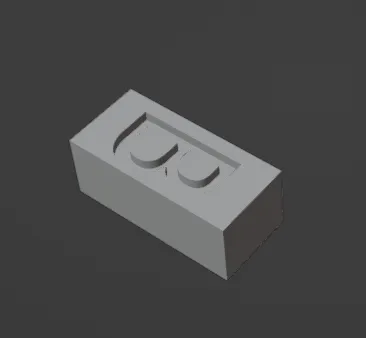
It was pretty hard to connect the parts together so they will fit exactly on the spots, so I have made holes in each of the elements, marked them with ABCD's and created connectors for them to be printed along with model.
Also I rotated the model pieces correctly so they will now be in BEST possible position to be printed.
From the original description:
Scale it properly!
For 57cm head circumference 103% scale up gives a snug fit, 104-105% should work better
For 58cm head circumference 107% scale up should work well
For 59cm head circumference 110% reported to fit well over a head
Remember to scale the connectors the same!
Hope this will help you guys and happy cosplaying!
If you would like to support me - you can buy me a coffee :)
Please try to share photo of your print <3
Check out my other models HERE
Any feedback will be highly appreciated!
Enjoy and have a great day!
This remix is based on

License



Comment & Rating (238)