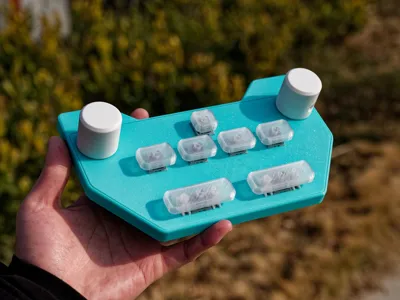
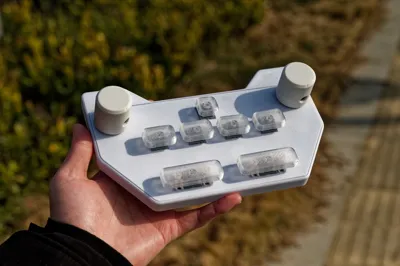
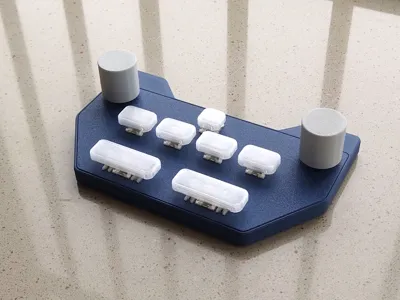
PH-AC Rhythm Game Controller Kit SDVX Small Hand Platform


Print Profile(1)

Bill of Materials


- PH-AC main PCB|PH-AC主板 x 1: Purchase from Taobao link above or using .gerber file in corresponded GitHub repository and finding manufacture and produce. | 可以从详情页的淘宝链接购买,或是使用列出的GitHub仓库中的Gerber文件自行寻找制造商打板
- M3*8*5mm Heat set insert|热熔螺母 x 2: -
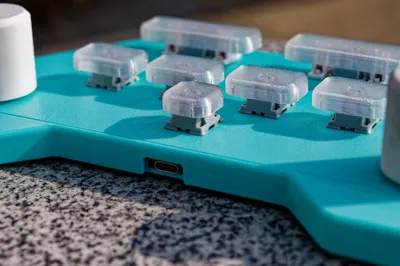
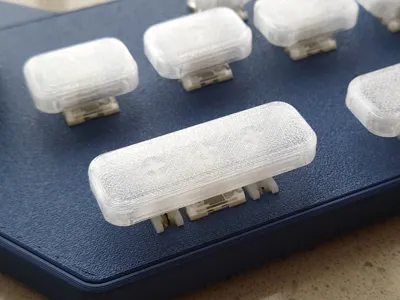
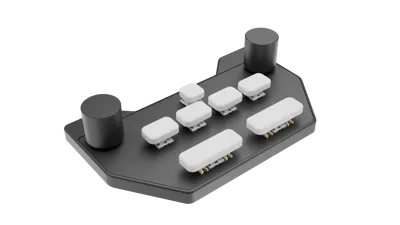
- Cherry MX switch|MX键轴 x 7: -
- 2u Plate-mounted stabilizer|2u钢板卫星轴 x 2: -
- 10*30mm Silicone pad|硅胶脚垫 x 4: -
- M3*10mm Bolt|螺栓 x 8: Case
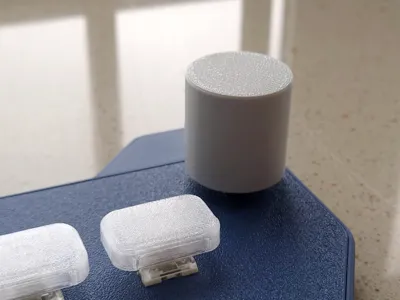
- M4*8mm Bolt|螺栓 x 2: Knob
Description

Introduction
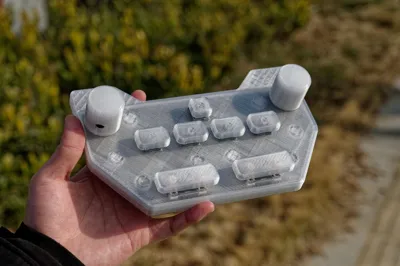
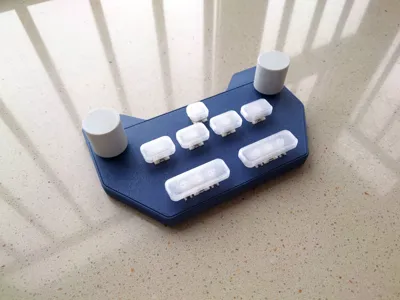
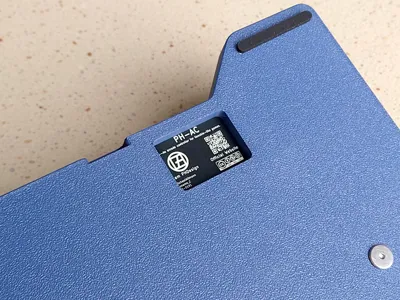
PH-AC is an open-source seven-button, two-encoder game controller kit. It comprises 3D-printed enclosures, mounting plates, keycaps, and knobs, along with an original circuit design based on the Raspberry Pi RP2040 microcontroller.
This project provides the printable components of PH-AC, including the casing, encoder knobs, and keycaps. Print replacement parts for PH-AC using your preferred filament, or purchase the PCB from our Taobao store and assemble your own personalized handheld controller.
- Follow our Bilibili account for project updates
- Pre-assembled PCBs are available for purchase here
- The project repository will be open-sourced on GitHub shortly
Boost Me (for free)
If you enjoy our project, please boost me! It means a lot to us 👀
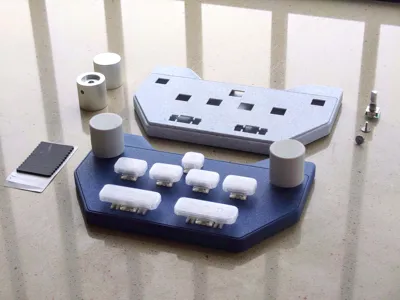
Assembly
You will need:
- M3 & M4 Hex Screwdriver x1
- 3D-printed/metal knobs x2
- Top casing x1
- Bottom casing x1
- Fully assembled PCB x1
- M3x8x5mm Heat-set nuts x2
- M3x8mm Hex screws x2
- Mechanical switches x7
- 2u satellite switches x2
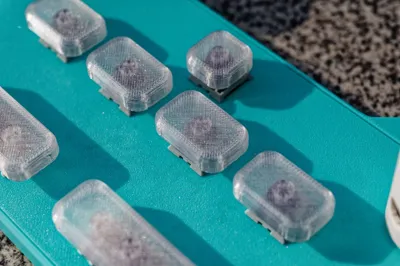
- 1u keycap x1
- 1.5u keycaps x4
- 2.75u keycaps x2
- Anti-slip pads x4
Refer to the documentation for assembly instructions.
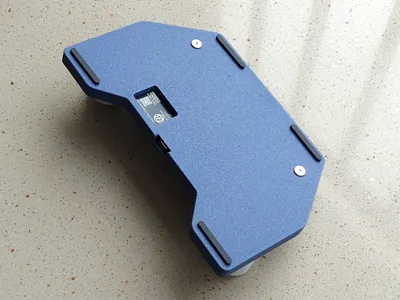
Installation and Notes
Please note that some installation methods may no longer be applicable to the latest version of the casing due to model iterations.
2024.10.22 Update: In the current Rev 2 version, the number of heat-set inserts has been reduced to two. During installation, first press the heat-set nuts into the two raised protrusions on the top casing. Then, insert the PCB into the bottom casing. Finally, attach the top casing by engaging the front and rear clips and tightening the screws.
Comment & Rating (0)