
Build Plate Alignment Guide & Cap for P/X Series

Print Profile(2)


Description

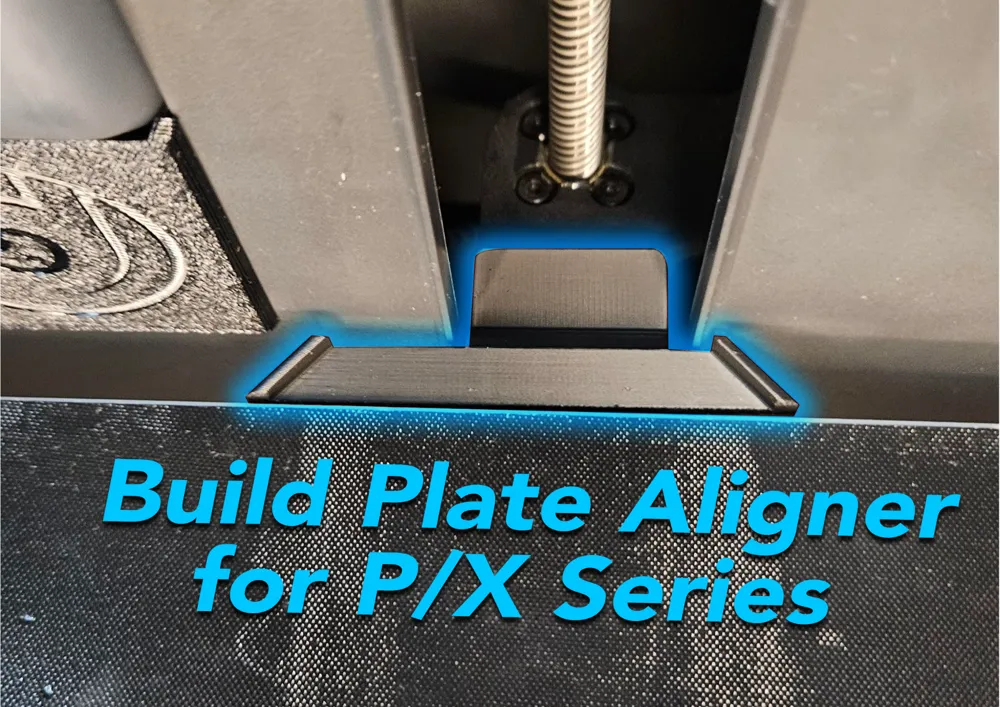
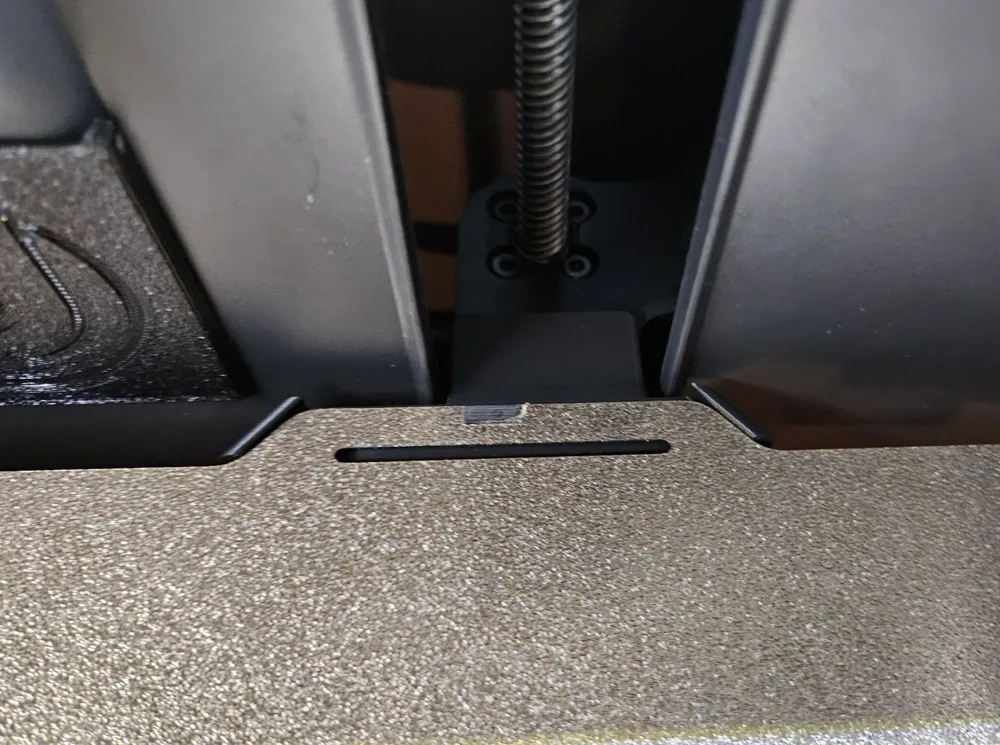
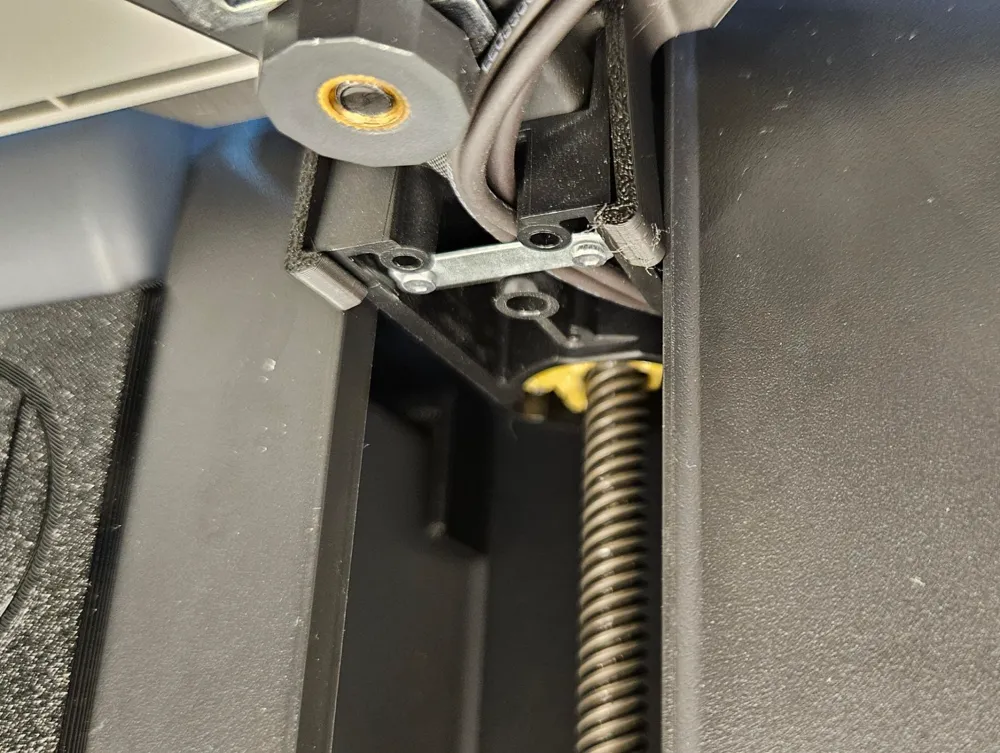

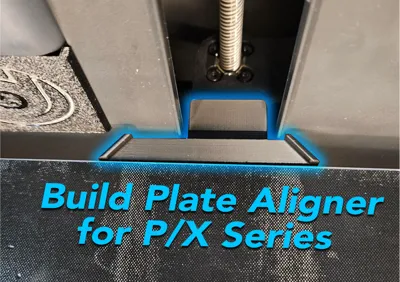
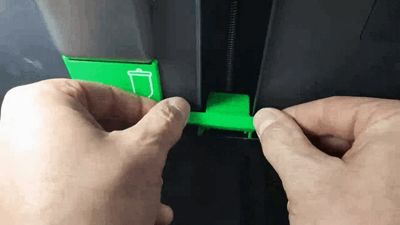
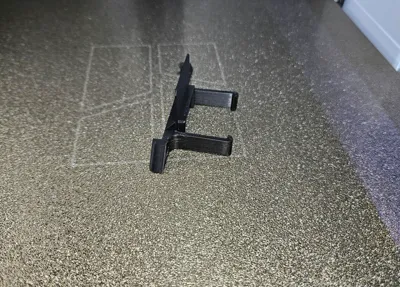
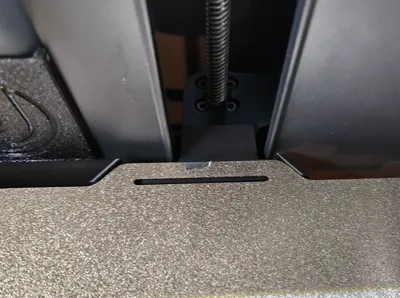
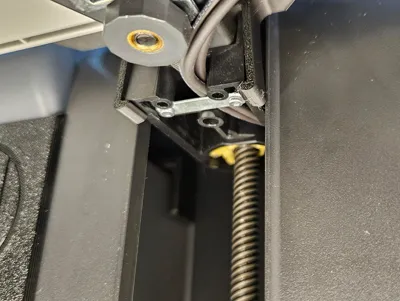
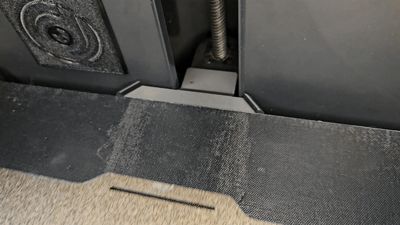
I made this build plate alignment guide for my P series printer (I'd think also work for X series) that snaps in to place with a dust cap extension to keep filament from getting stuck back in there. This model fits snug in place the same way my standalone dust caps does so the mount wont be able to shift around if you are a little rough sliding the build plate in. I kept it low pro as I could while still offering enough lip to brace against when reinstalling the build plate.
For this model use PETG or better. Given the heat inside the machine PLA will not last over time and most likely warp.
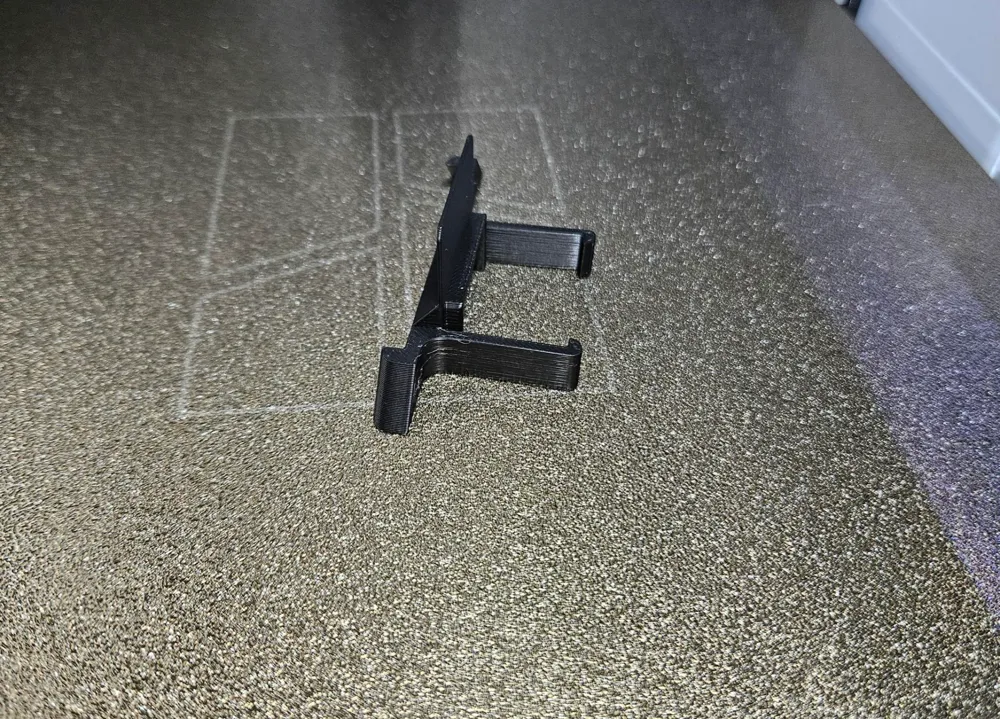
Each is less than 4grams, no supports needed. If it doesn't snap on easy try scaling to 101%. There seems to be variances in some printers, not sure what the causing factor is so if these don't work, shoot me a message with some details needed to adjust it so it will.
UPDATES
1/25/25 - Thanks to deadgonzi I've added a fourth variation “Plate_Aligner_v2_Ext_Trim” which remedies any printers getting a homing error because of possible higher bed riser legs making the gap between the bed and plastic housing to small for the dust cover to fit without causing a homing issue. I've trimmed that dust cover completely off and put it on the same place as the other extended version. So now there are four versions in the profile.
1/2/25 - With the help of PacMan I've identified and remedied another variant for those with an X1C (or others) where the legs weren't long enough to clip on and/or the other versions are a hair over the print bed surface. I've extended the legs for on the "_v2" by 3mm and lowered the mid section between the “posts” 1mm to accommodate these variances. Its in the STL Download List as “Plate_Aligner_v2_Extended” but I've also added it to the profile on its own plate, so now There are three versions to try in the profile. Use this one if the legs are too short to clip on with the other two.
10/25/24 - Seems there might a variances across printers. There are two versions in the profile. The one towards rear is the original (fit perfectly on my P1P) and the one in front has the bracket shifted left 1mm, which seems to work better with the P1S / X1C (not sure why lol.) Its a quick print so print both and see which one gives you a better result.

STEP 1: Slide the mount on….thats it.
I noticed when the nozzle wipes the plate during start up procedure there is a very minor flex in the build surface from the pressure. I don't know if it matters but I didnt want to impede that motion so the mounts surface is 1mm under the build plate just to be safe in allowing that. This thing is solid in place with only sliding it on.
You can find my DUST CAPS HERE if you havent covered the left and right side Z rods
Boost Me (for free)
Boost me for more useful models
License

You shall not share, sub-license, sell, rent, host, transfer, or distribute in any way the digital or 3D printed versions of this object, nor any other derivative work of this object in its digital or physical format (including - but not limited to - remixes of this object, and hosting on other digital platforms). The objects may not be used without permission in any way whatsoever in which you charge money, or collect fees.


Comment & Rating (866)