
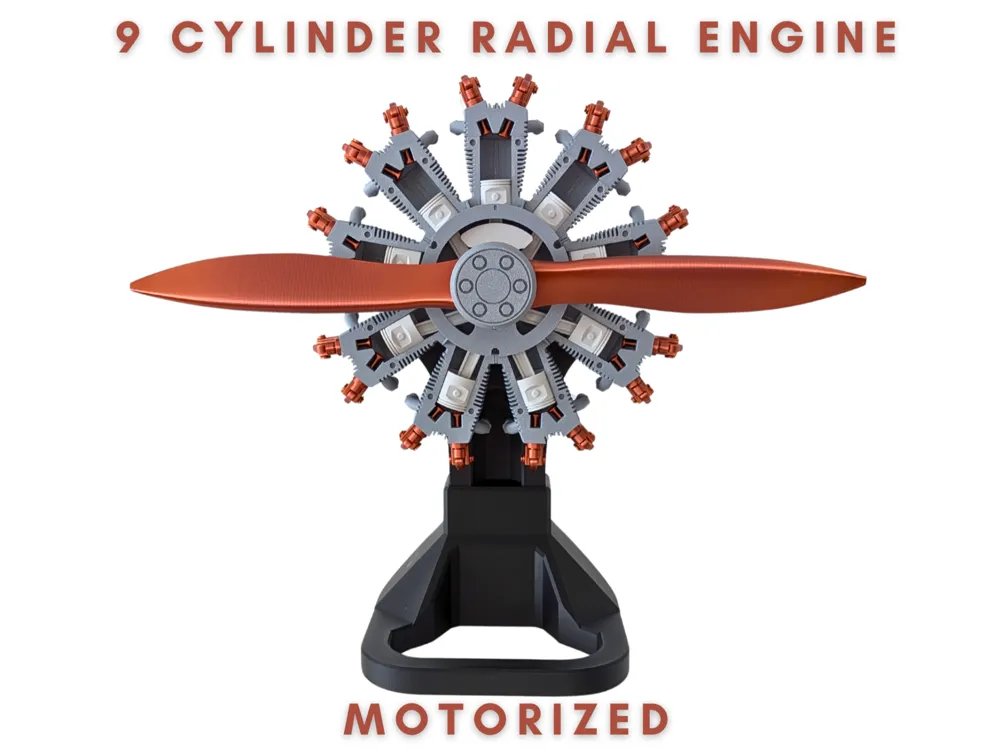
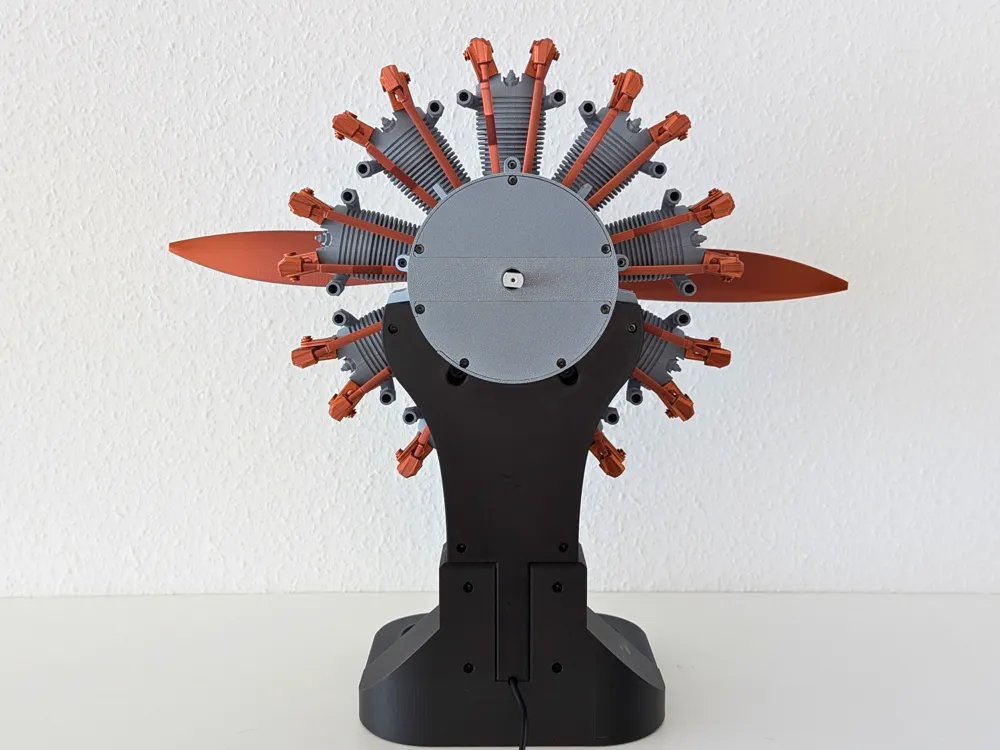
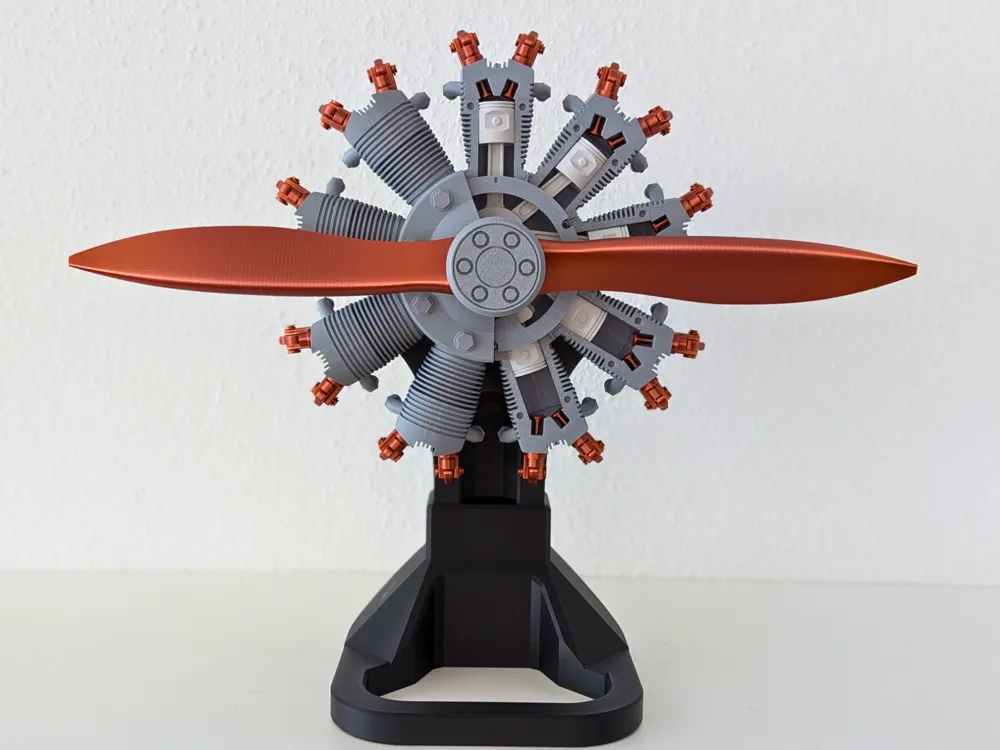
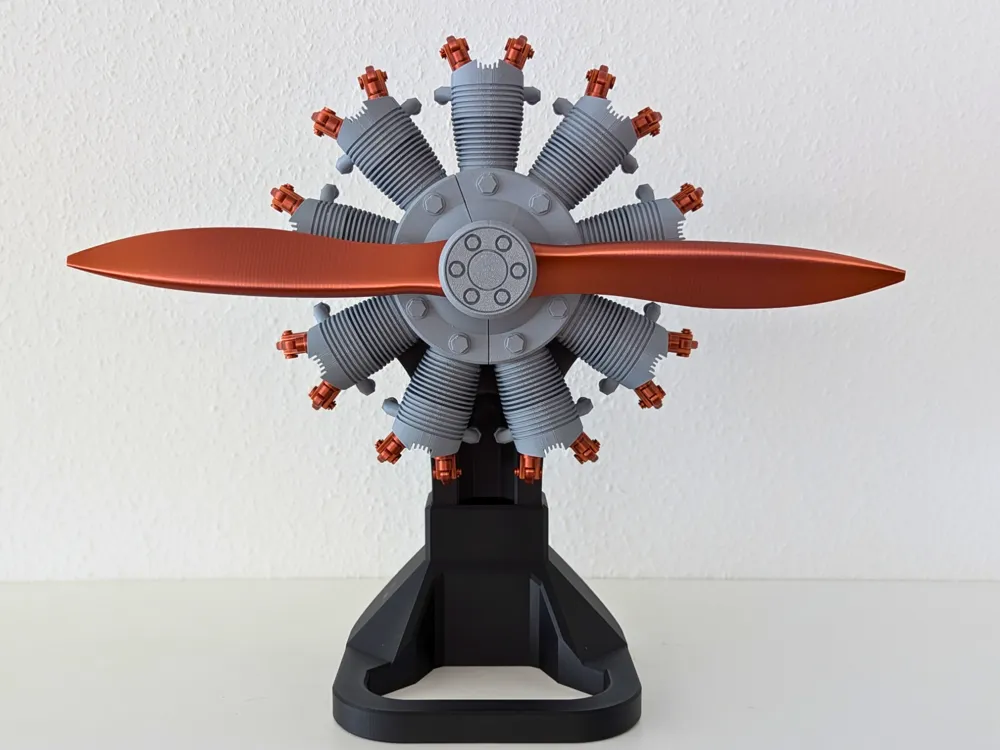
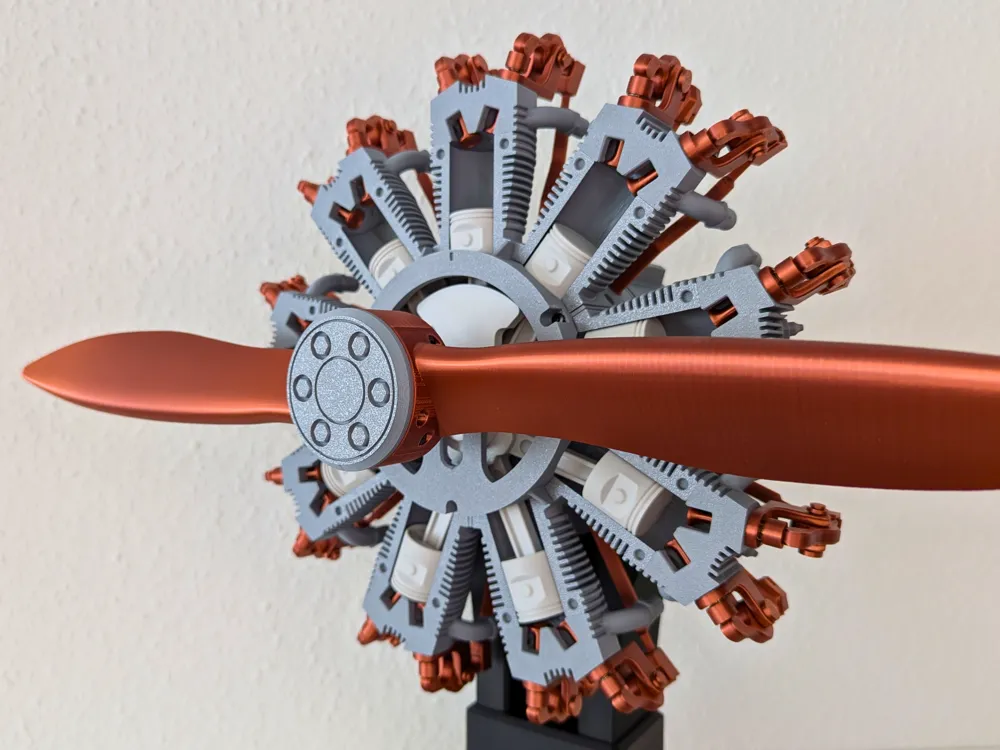
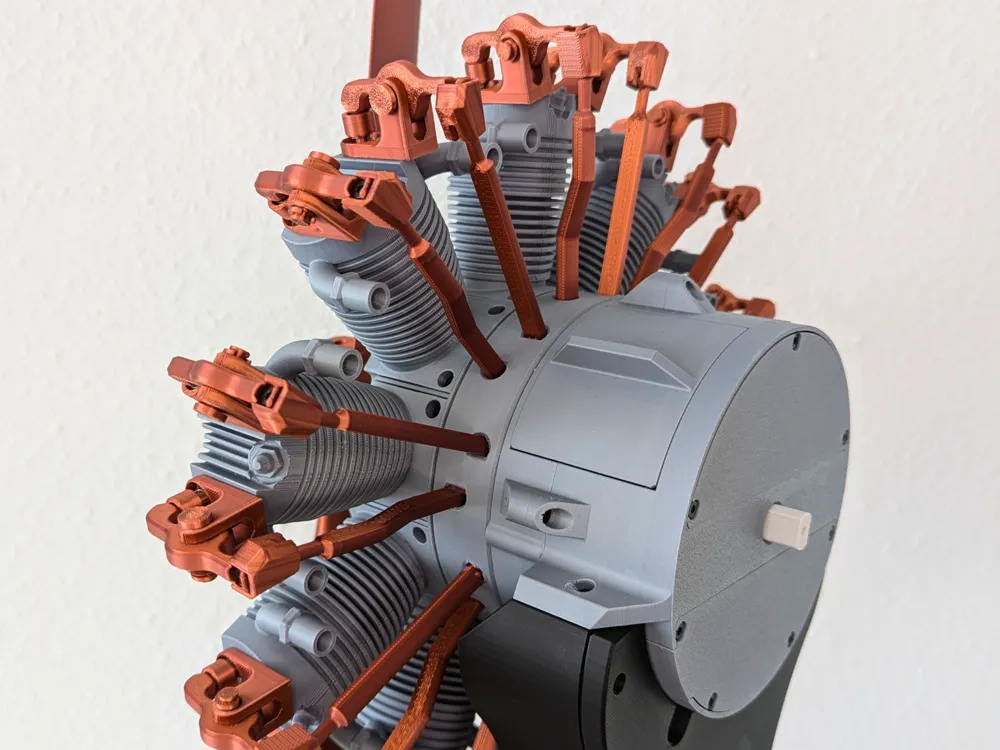
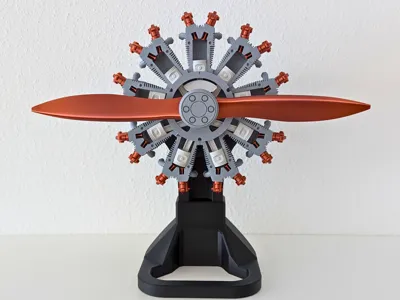
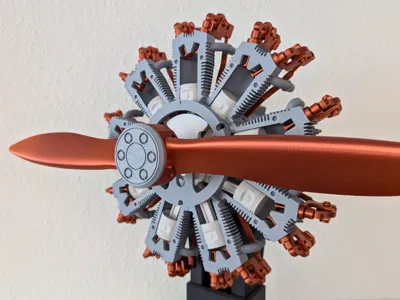
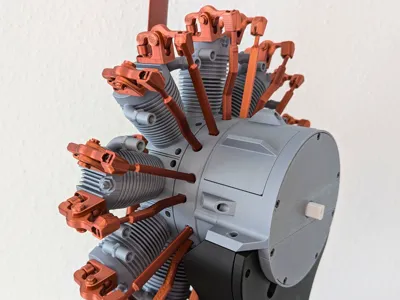
motorized 9 cylinder radial engine

Print Profile(3)


Bill of Materials



- grease x 1: Standard transparent grease, like the one from BambuLab or, for example, Multi-Purpose Synthetic Grease from Super Lube.
- super glue x 1: Optional, if you want to glue in magnets.
Description
Update:
Hello dear community,
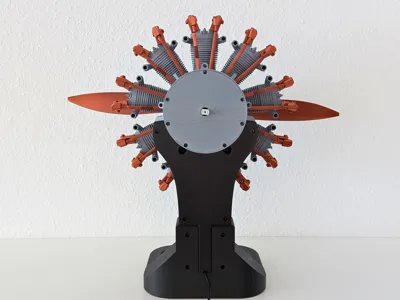
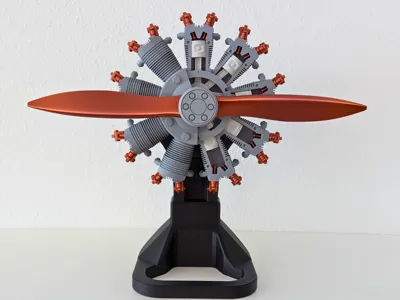
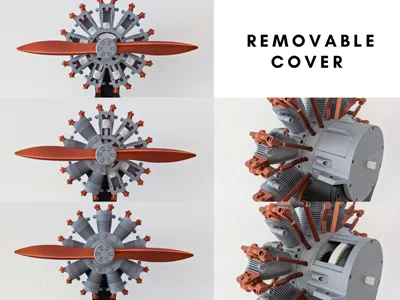
After numerous requests regarding my model ‘motorized 9 cylinder radial engine’, here is the “3-blade mod”.
There are two variants:
- Classic: a similar design to the original, but with 3 blades
- Cone: a new design with 3 blades
Please note: for this mod you will need three additional ‘BT2.6×8 SHCS self-tapping screws’ compared to the original model!
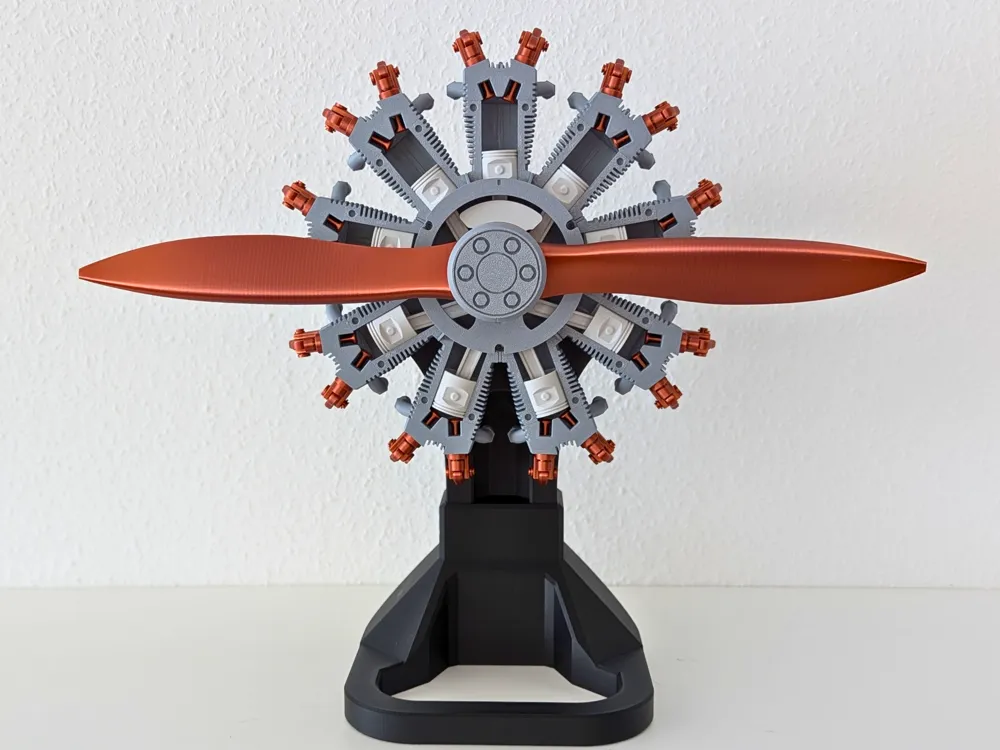
Hello, my name is Blubdiwub, and this is my 9-cylinder radial engine.
I designed this model for the “Engine Model Design Contest” by MakerWorld.
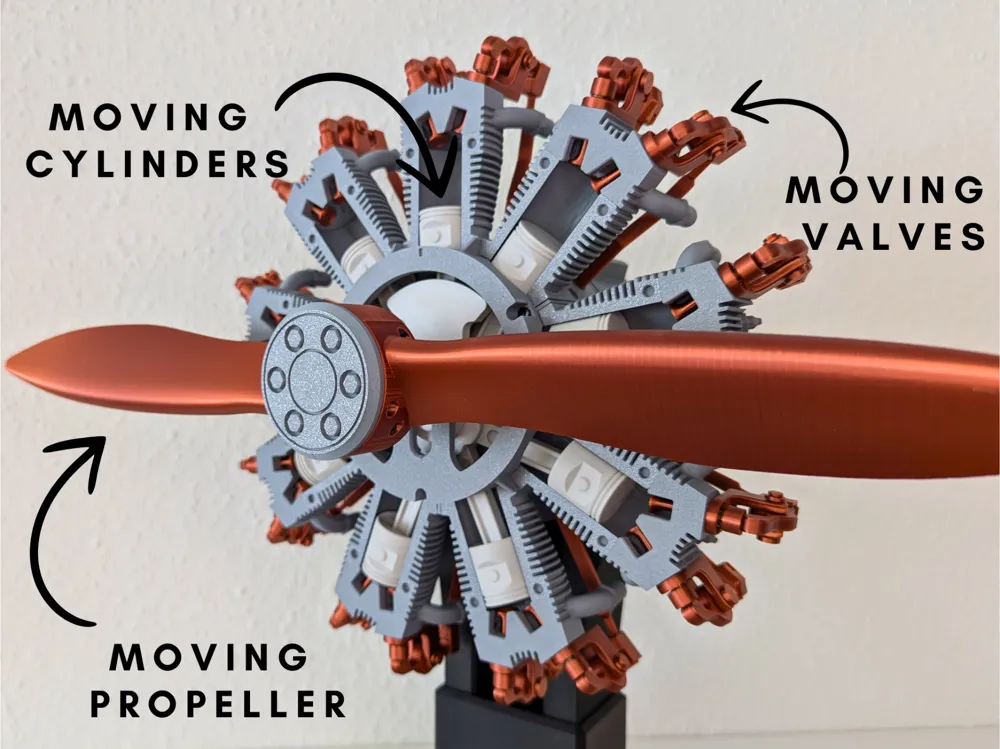
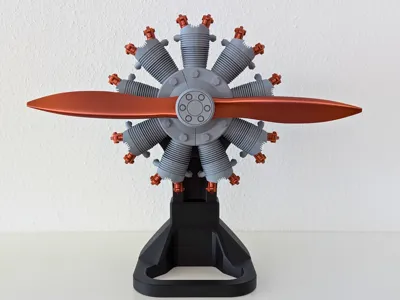
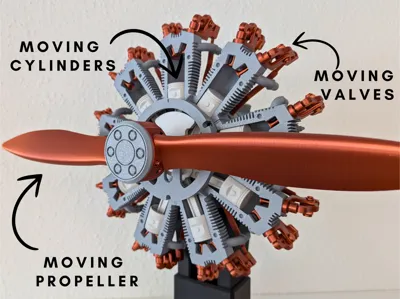
I wanted to design a functional model of a radial engine that is visually appealing and illustrates the mechanics of the engine.
A radial engine was often used in old airplanes. My model is not based on any specific engine type but is my own variation of it.
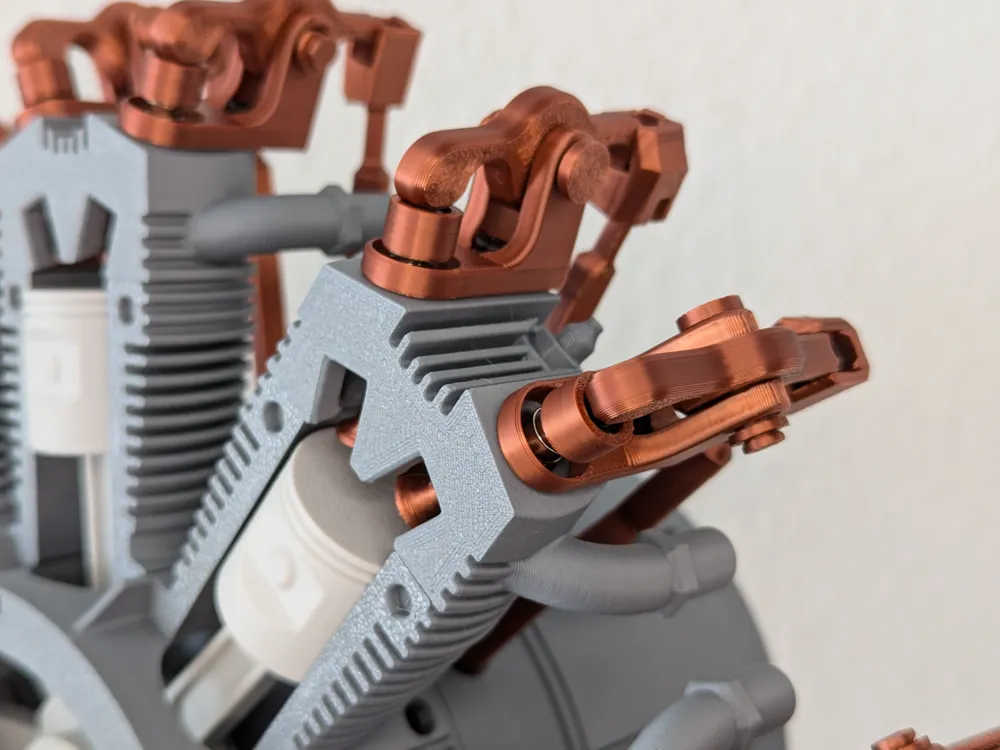
I aimed to combine various printing techniques, mechanical components, and working principles, along with a functional, illustrative model.

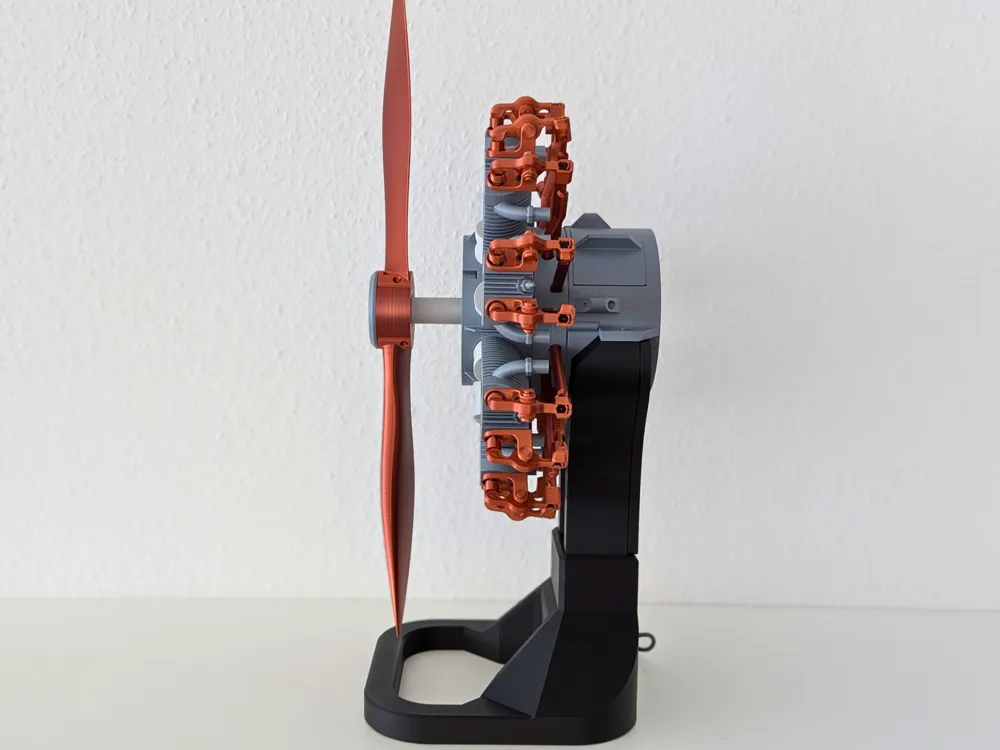
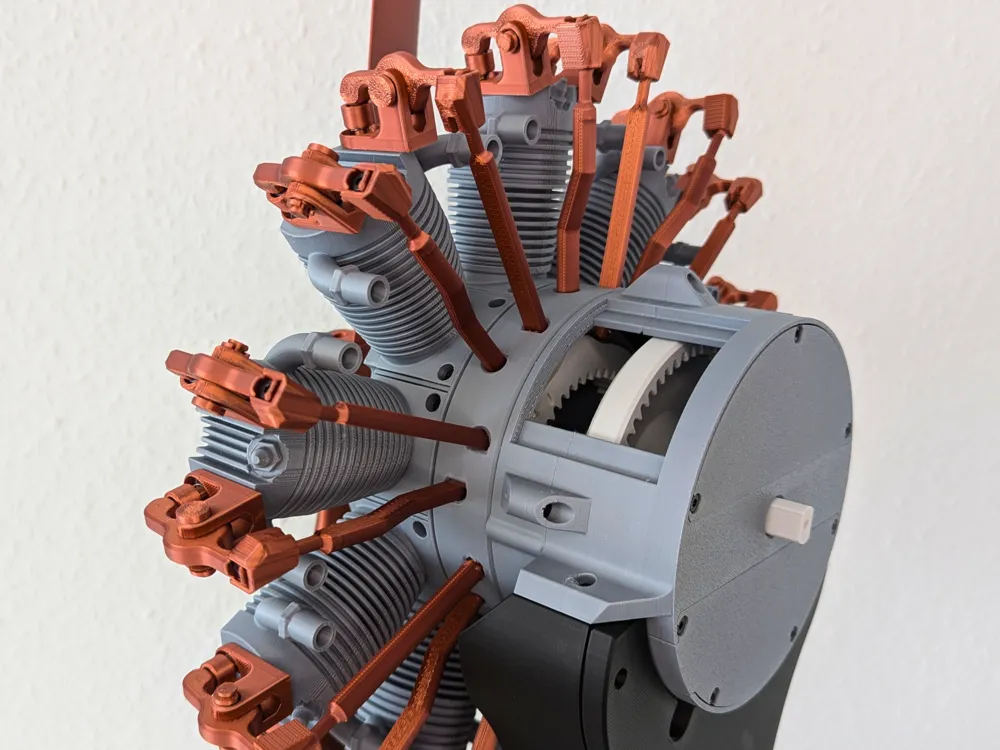
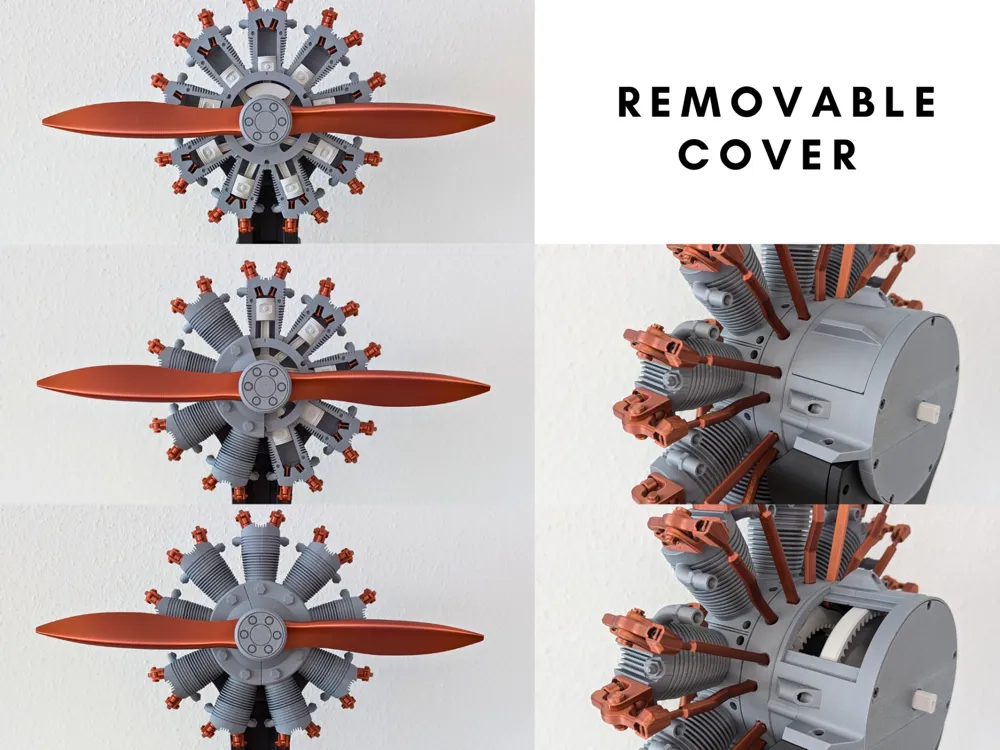
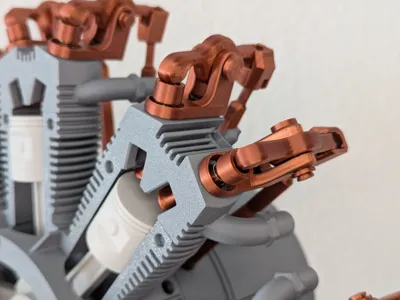
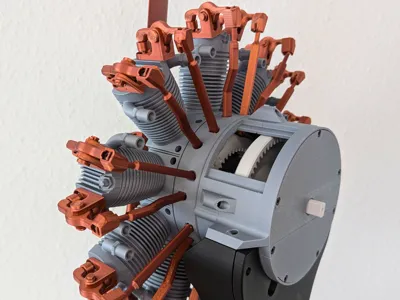
The model illustrates, for example, the functioning of pistons, valves, different types of gears, and the cam ring.
You can open various parts of the engine at any time to observe the mechanics.
The assembly requires time and some technical understanding.
Please carefully follow the building instructions, which you can find as a PDF below.
Also, note that some parts need to be purchased in order to build the model.
The parts you need to purchase, such as screws, motor, etc., can be found as a link further down on this page or in the building instructions.
The model can be powered by either a motor or a crank, and you can switch between these drive methods at any time.
Only needle-nose pliers, and a 2mm Allen key are needed as tools.
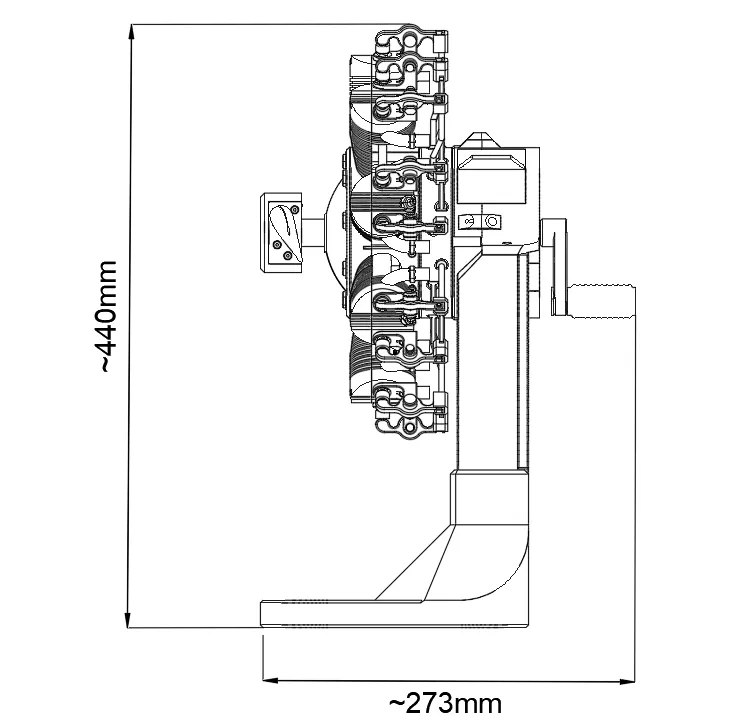
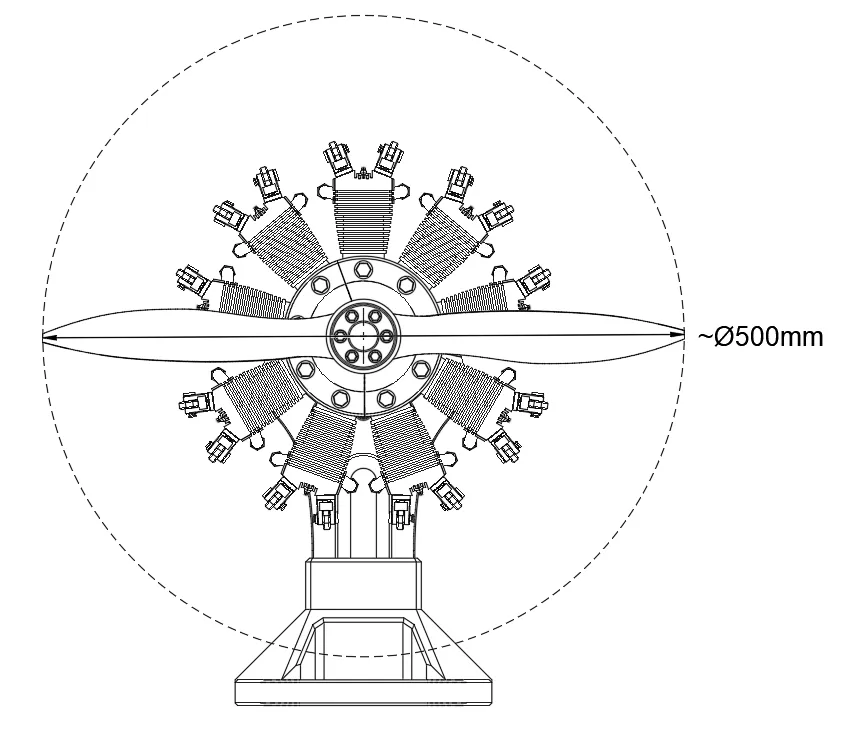
Here are the dimensions of the finished model:
Filaments that were used:
- Bambu Filament Ash Gray Matte PLA
- Bambu Filament Light Gray PLA
- Geeetech Silk Copper PLA
- Sunlu Black PLA+
Important tips:
- It is absolutely essential that your printer and filament are well-calibrated.
- Most parts are designed with a 0.4mm tolerance, although some parts require even tighter tolerances.
- Allow the parts to cool completely before removing them from the print bed to avoid warping.
- After printing the first part, test whether the self-tapping screws hold securely when screwed in.
- If the dimensions of the holes are too large or too small, please follow the instructions in the BambuLab wiki on Precision, X-Y hole compensation, and X-Y contour compensation.
- Make sure to remove the supports completely.
- I recommend disabling auxiliary cooling.
- Note that silk filament often has poorer layer adhesion and cannot handle mechanical stress as well.
- If you encounter issues with bed adhesion and warping, use glue on the print bed
Boost Me (for free)
If you like my model, I would really appreciate a boost, comment, and like!
Have fun!
Documentation (1)
License

You shall not share, sub-license, sell, rent, host, transfer, or distribute in any way the digital or 3D printed versions of this object, nor any other derivative work of this object in its digital or physical format (including - but not limited to - remixes of this object, and hosting on other digital platforms). The objects may not be used without permission in any way whatsoever in which you charge money, or collect fees.


Comment & Rating (485)