
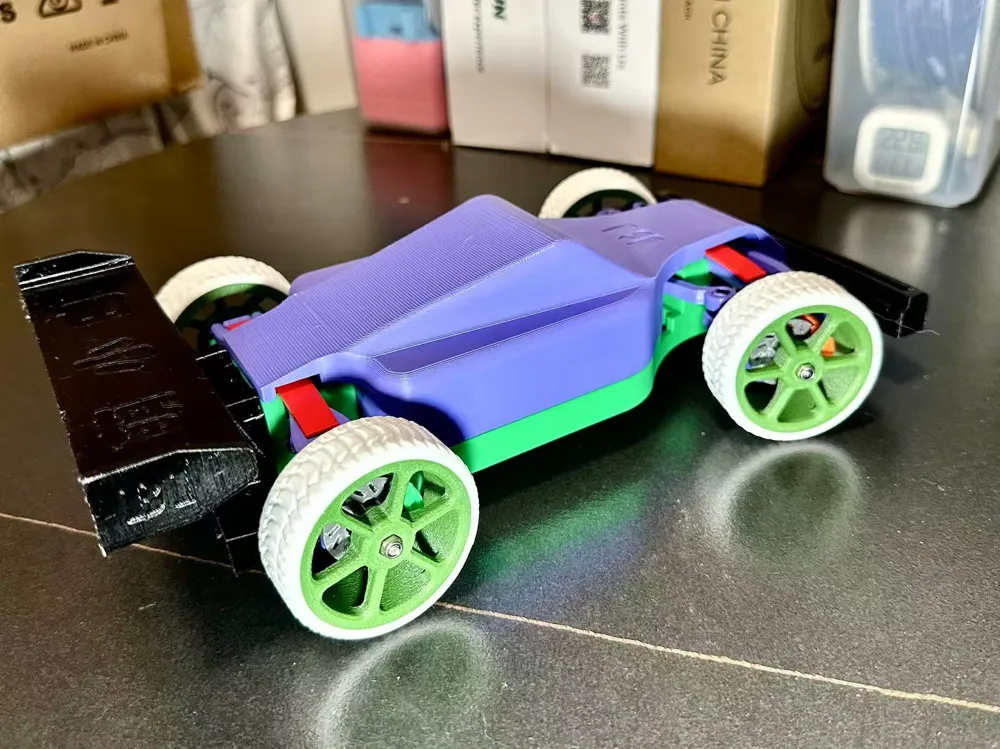
Meng Xiaobai RC car Hardware Version Reinforcement Components
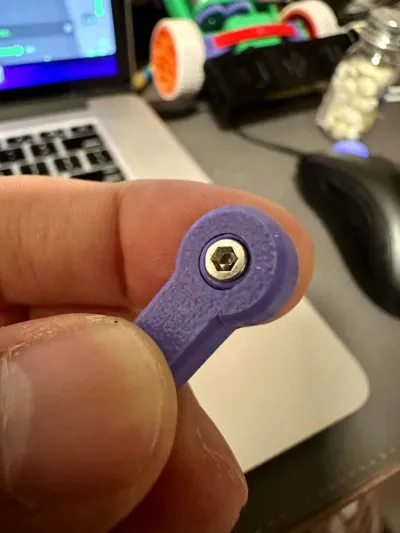
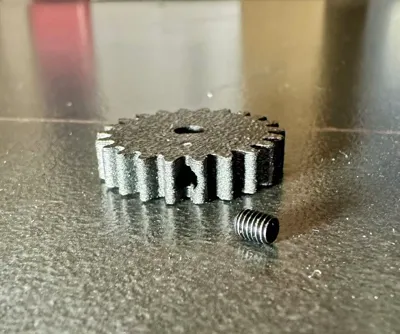
Print Profile(1)

Bill of Materials

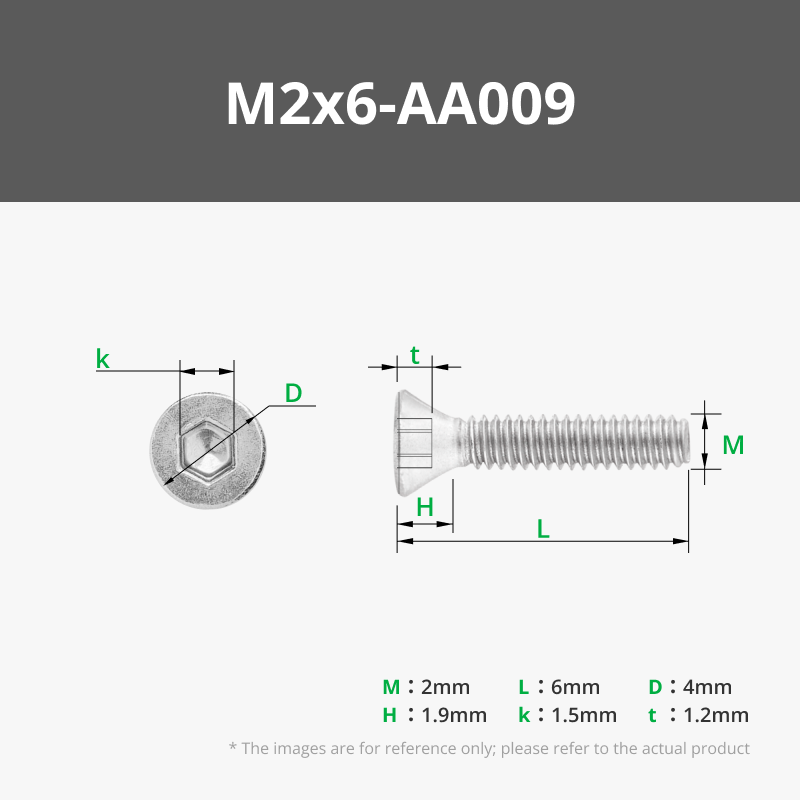
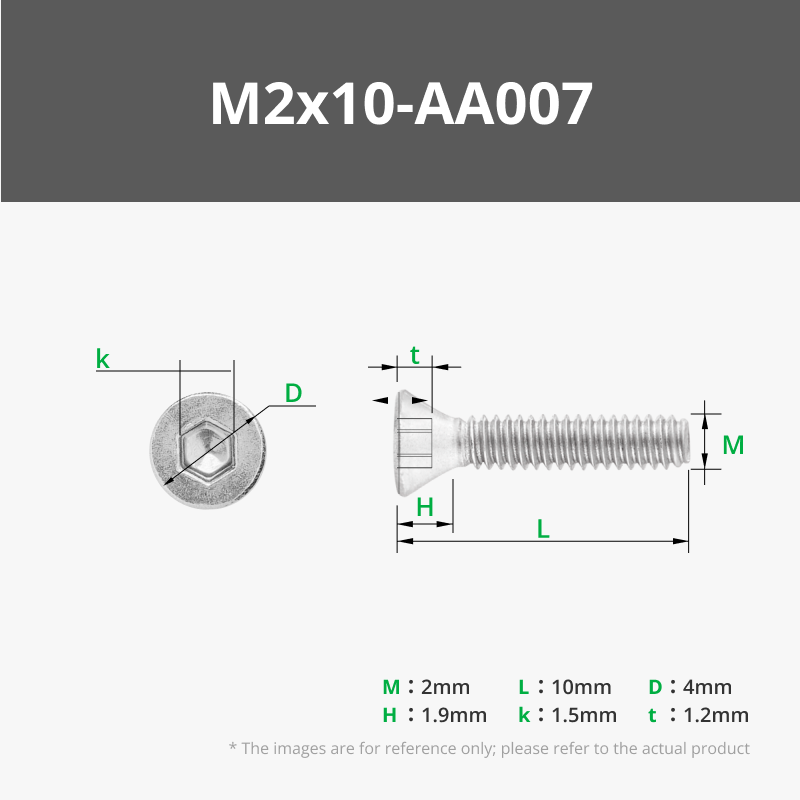

- M3 x 6机米螺丝(Set Screw) x 1:
Description
Updated on October 26th: The universal joint has been improved for greater precision and reduced backlash. Reinforced models for the wheel axles, wheels, and gears have been added.
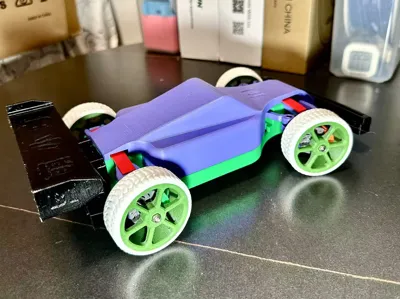
This RC car model is recommended for beginners. The peripherals are very affordable (servos, ESCs, and 370 gear motors can all be purchased for under ¥10), making it the perfect choice for entry-level enthusiasts.
A series of components that were prone to breakage in the original design have been reinforced, effectively eliminating the hassle of spending five minutes driving and two hours repairing.
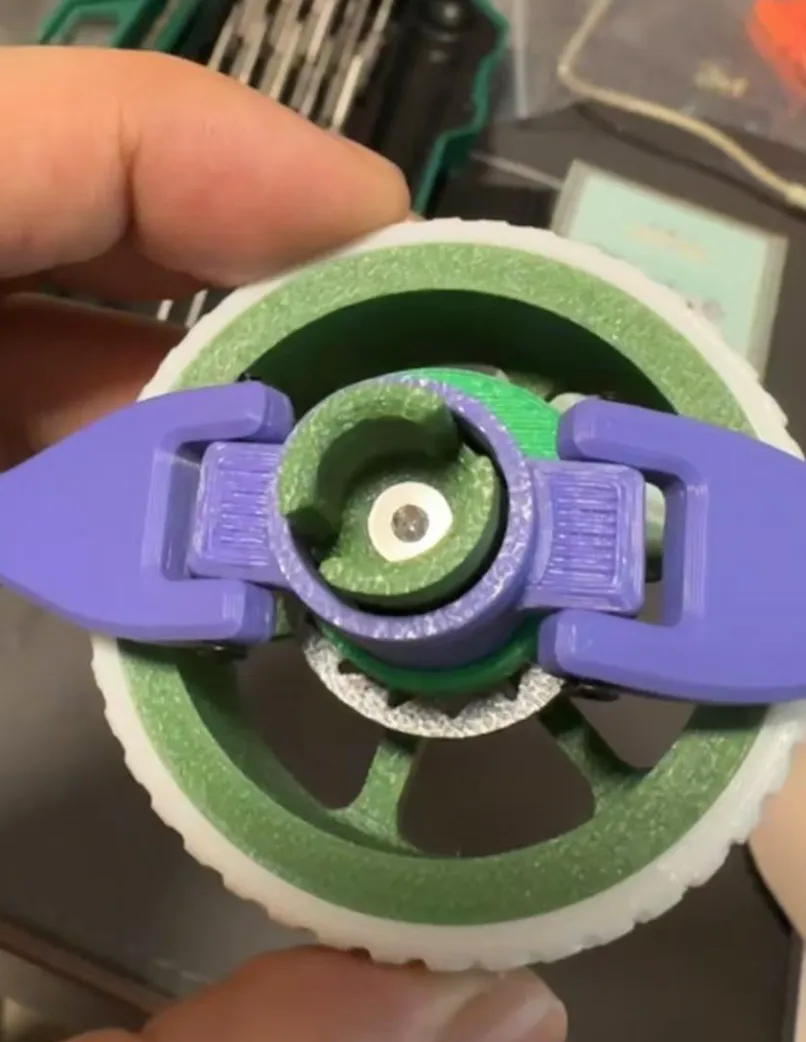
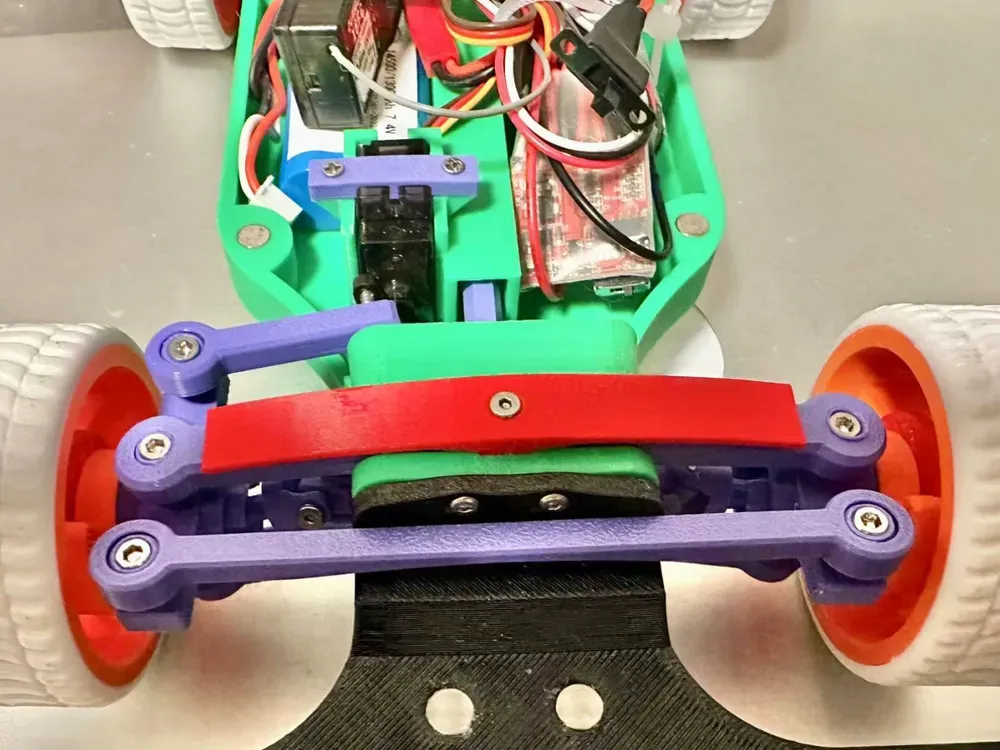
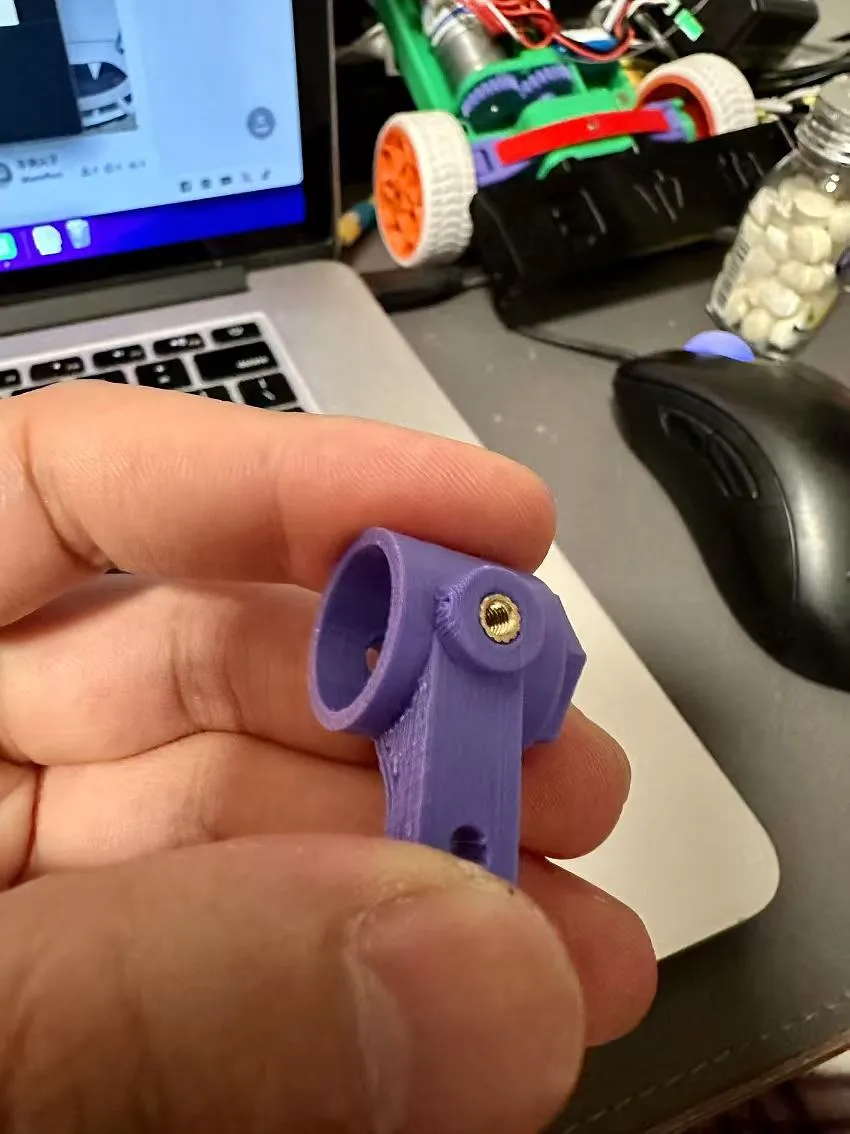
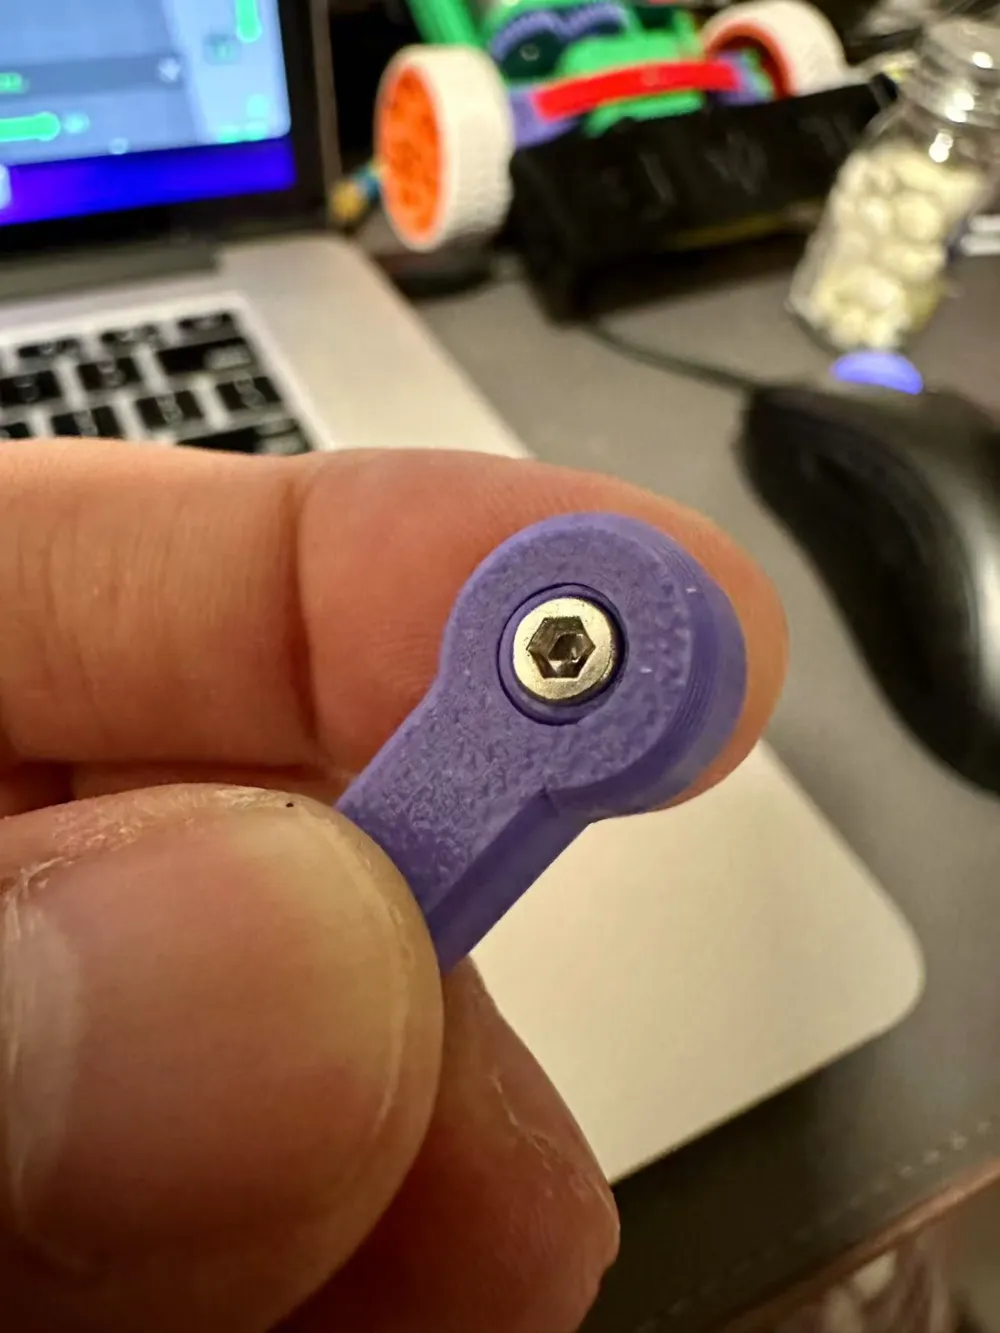
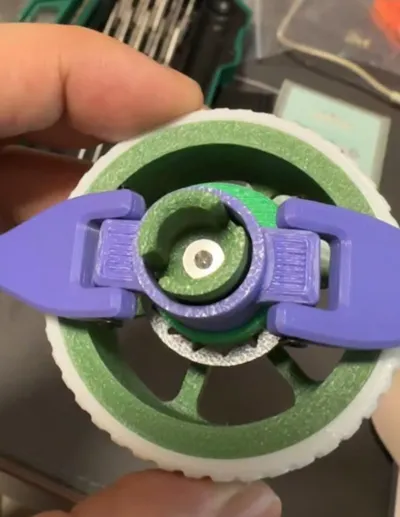
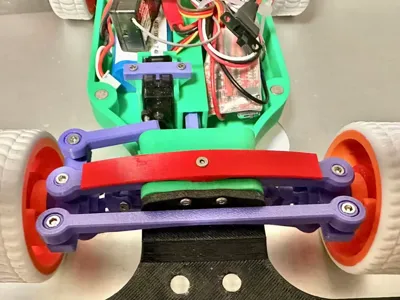
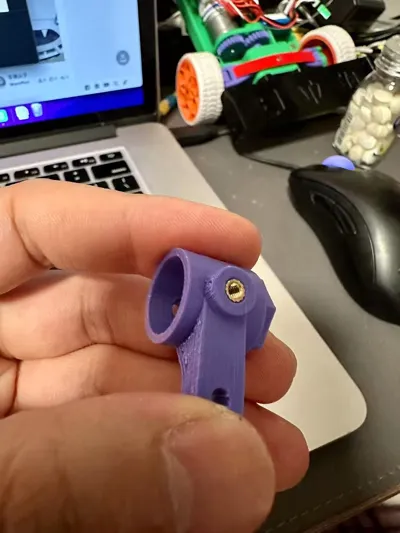
Front Suspension: The original front suspension used a printed universal ball structure, which was connected to the wheel bearings using glue. This design often broke upon impact. A single screw now runs through the universal joint and a heat-set nut is pressed into the bearing sleeve. Additionally, the steering rod angle design in the original car had a slight issue, and when TPU crash protection was installed, it interfered with the TPU, resulting in insufficient steering angle. This has been repaired.
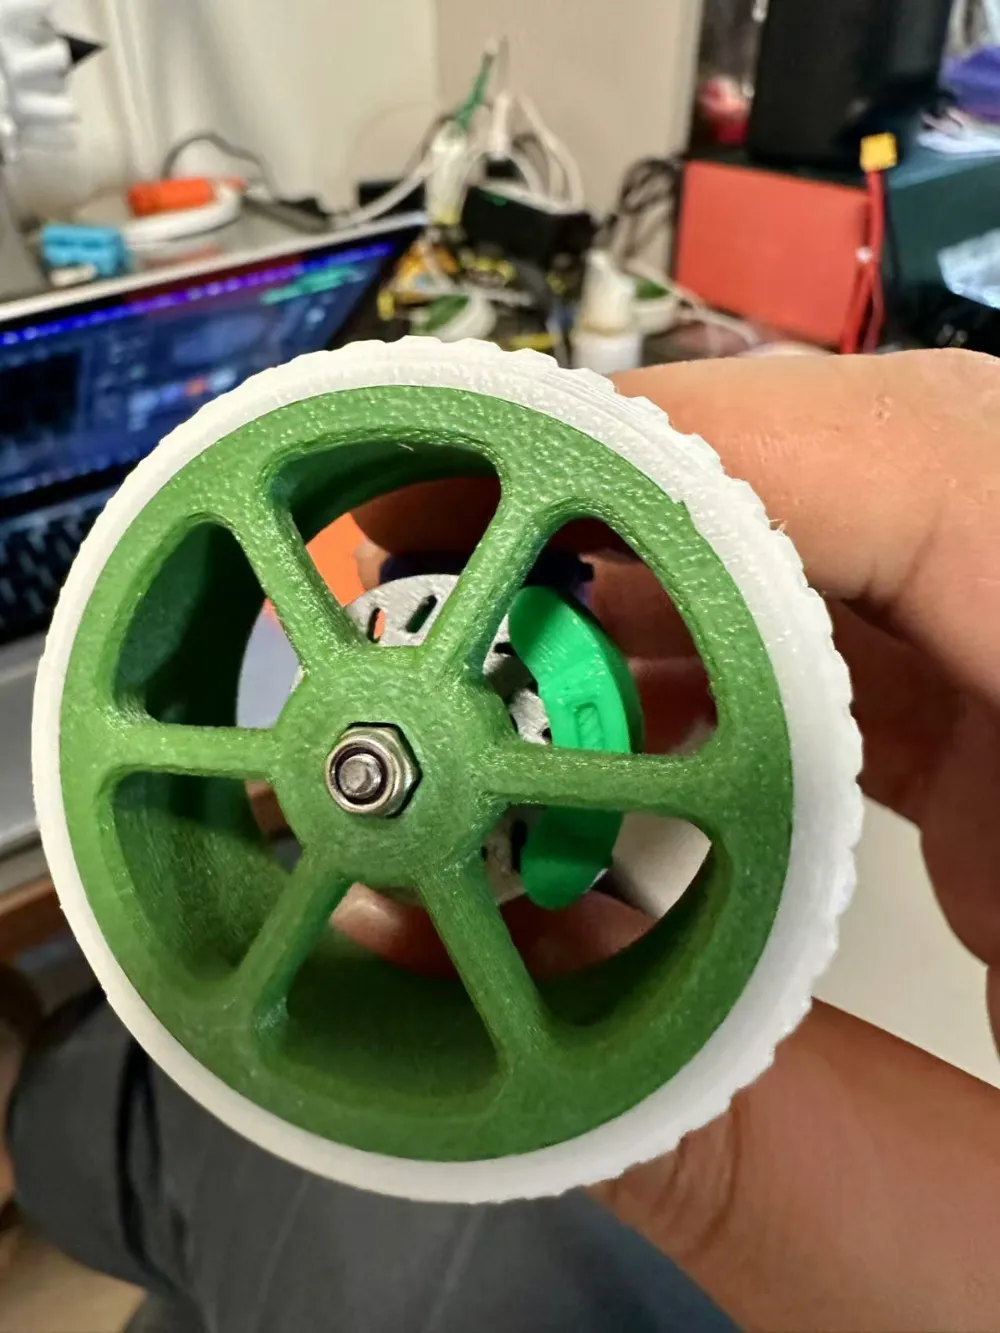
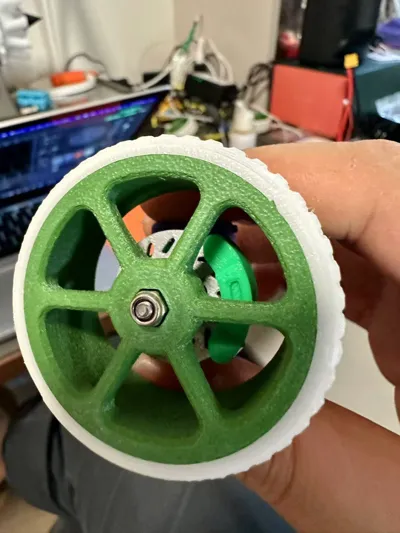
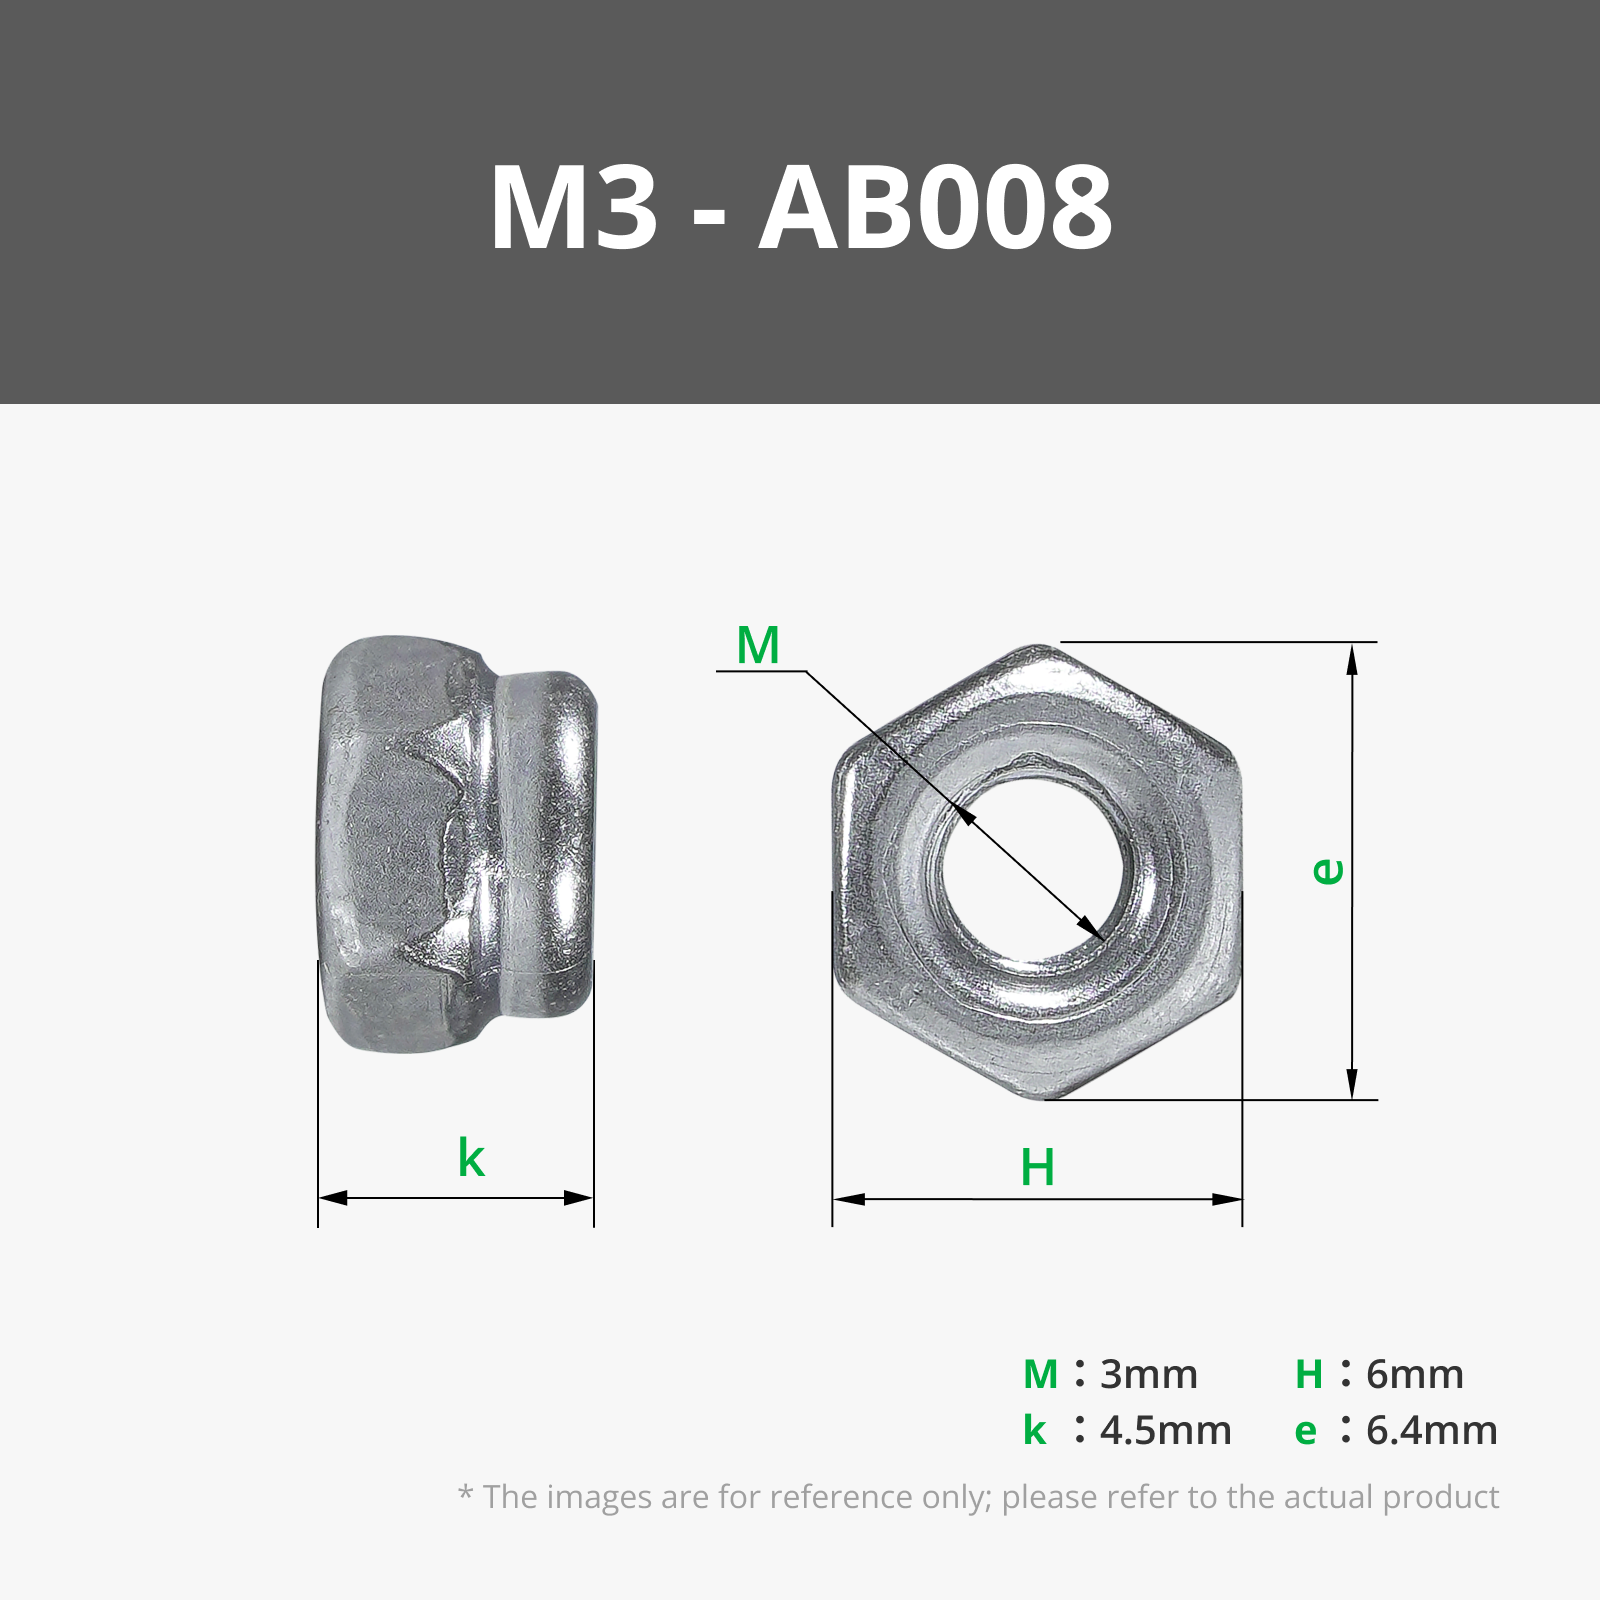
Internal Wheel Drive Shaft: The original design utilized a printed structure, which relied entirely on the strength of the Z-axis. I experimented with various materials, but they all broke. Ultimately, an M3 * 30 screw was used to run through the drive shaft, and an M3 locking nut was used on the wheel.
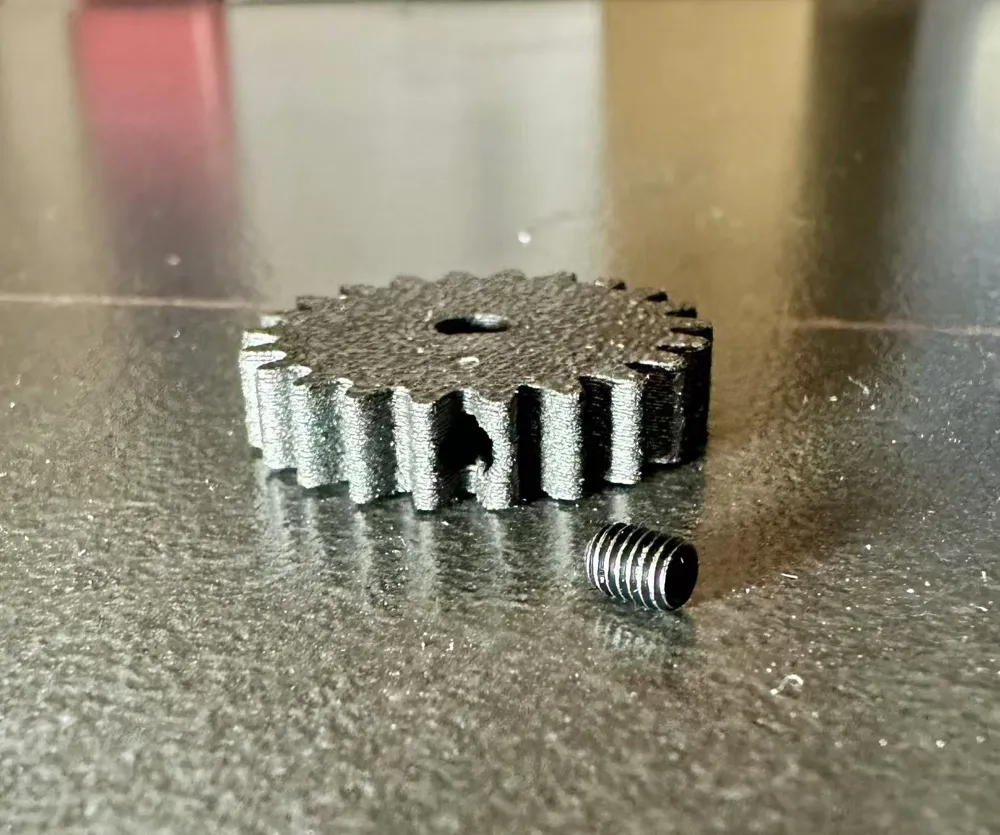
Gears: The gears in the original design melted very easily. Modifications have been made to increase the size of the holes, allowing an M3 * 6 set screw to be used for fixing, resulting in greater stability. You will need to print with ABS, ASA, or PA, which are high-temperature resistant materials.
Important: Please be sure to print directly using the configuration file and clean the print plate with dish soap and a steel brush before printing!! Strongly recommended to apply glue to the print plate!!
BOM:
M2x3.5(D)x4(L) heat-set nuts x 7
M2x6 countersunk screws x 4 (for connecting the suspension)
M2x10 countersunk screws x 3 (for connecting the steering rod)
M3x30 countersunk screws x 4 (for the wheel drive shaft)
M3 locking nuts x 4 (for the wheels. You can also use ordinary M3 nuts, but they won't look as good)
M3x6 set screws x 1 (for fixing the gear)
This remix is based on


License

You shall not share, sub-license, sell, rent, host, transfer, or distribute in any way the digital or 3D printed versions of this object, nor any other derivative work of this object in its digital or physical format (including - but not limited to - remixes of this object, and hosting on other digital platforms). The objects may not be used without permission in any way whatsoever in which you charge money, or collect fees.


Comment & Rating (1)