Ultimate game cartridge storage chest.


Print Profile(14)


Bill of Materials

Description
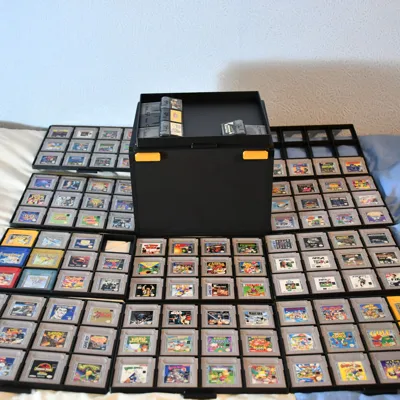
I needed an All-In-One solution for my spiralling Gameboy cartridge collection so came up with this handy chest. It's currently compatible with GB, GBC, GBA, DS and 3DS cartridges. Switch and GB rumble cart support will follow shortly. I might make it compatible with playing cards if there is enough demand. If you have any suggestions for consoles that I may have missed or modifications to the existing design, do let me know in the comments. This will be a fluid, evolving design over time with criticisms and recommendations taken on board for future iterations/ upgrades. I do plan to add different top logo designs such as the console type and possibly game logo's, (Pokémon, Zelda) etc. Be prepared for a long print, I estimate it took me around 25-30 hours to produce one full chest + trays. Please follow the information below as it will help you assemble and print this design as it was intended. To finish, I hope you find this storage chest as useful as I am (already printing a second). Happy printing and don't hesitate to get in touch if you have any questions :)
*Not printable on an A1 mini*
25x25cm+ build plate required and recommended.
To bring out the Gameboy logo and future logo's, use the paint tool in Bambu studio to colour it with an AMS.

Boost Me (for free)
Any and all boosts are really appreciated. Thanks for all your support :)
Update 1.1
Switch cartridge tray now available. 60 carts per tray, max capacity 600.
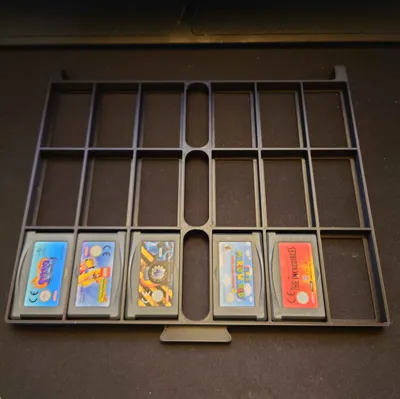
Added a horizontal version to the GBA tray. It sacrifices 3 carts per tray (15 total) in order to display the carts front facing.
Update 1.2
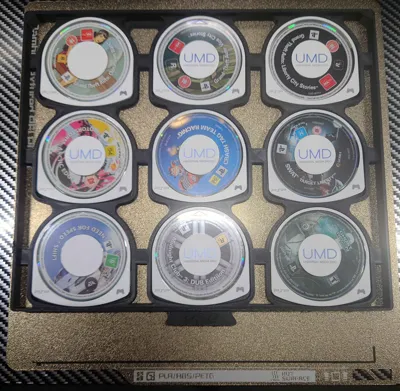
PSP tray - 9 PSP UMD's per tray, max capacity 90 UMD's.
Door now has an optional Gameboy Logo variant, for those that want the logo at the front rather than the top.
Features
- 10 cartridge trays.
- 1 larger Accessory tray on the bottom for manuals/ cables etc.
- Mix and match cartridge trays. Do you have multiple handheld game collections? No problem! The cartridge trays are interchangeable so you can hold games for different systems in one chest.
- Latching front door (not locking).
- Stackable, space saving design. Store more than one storage chest on top of each other. There are recesses in the side plates to avoid the chests slipping off when stacked.
- Flush sides with no protrusions (apart from the front handles). Handy for storing multiple chests next to each other.
Compatibility
CONSOLE | CARTRIDGES PER TRAY | MAX CAPACITY |
Gameboy | 12 | 120 |
Gameboy Colour | 12 | 120 |
Gameboy Advance | 18 | 180 |
Gameboy Advance (vertical tray) | 15 | 150 |
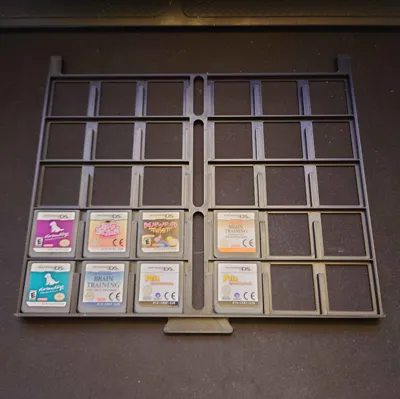
DS | 30 | 300 |
3DS | 30 | 300 |
SWITCH | 60 | 600 |
Gameboy Rumble carts | coming soon | |
PSP | 9 | 90 |
PS VITA | Coming soon. |
Assembly
There are 12 printed parts in total required to print the empty chest, listed below. The recommended infill's are what I used to print my example chest and have worked great so far. If you want to speed up print times a little, try lowering your top and bottom layers to 2. This shaved off up to 30 minutes on some of the larger parts for me, whilst retaining print quality and strength. In order to assemble each chest you will require 38 countersunk machine screws. These are available in the MakerWorld store which I have linked. Please use the recommended screws as stated. Using longer or shorter screws may result in the chest not functioning properly in terms of strength and tray insertion/ removal.
- 36 M3x8mm countersunk screws are required to assemble the chest
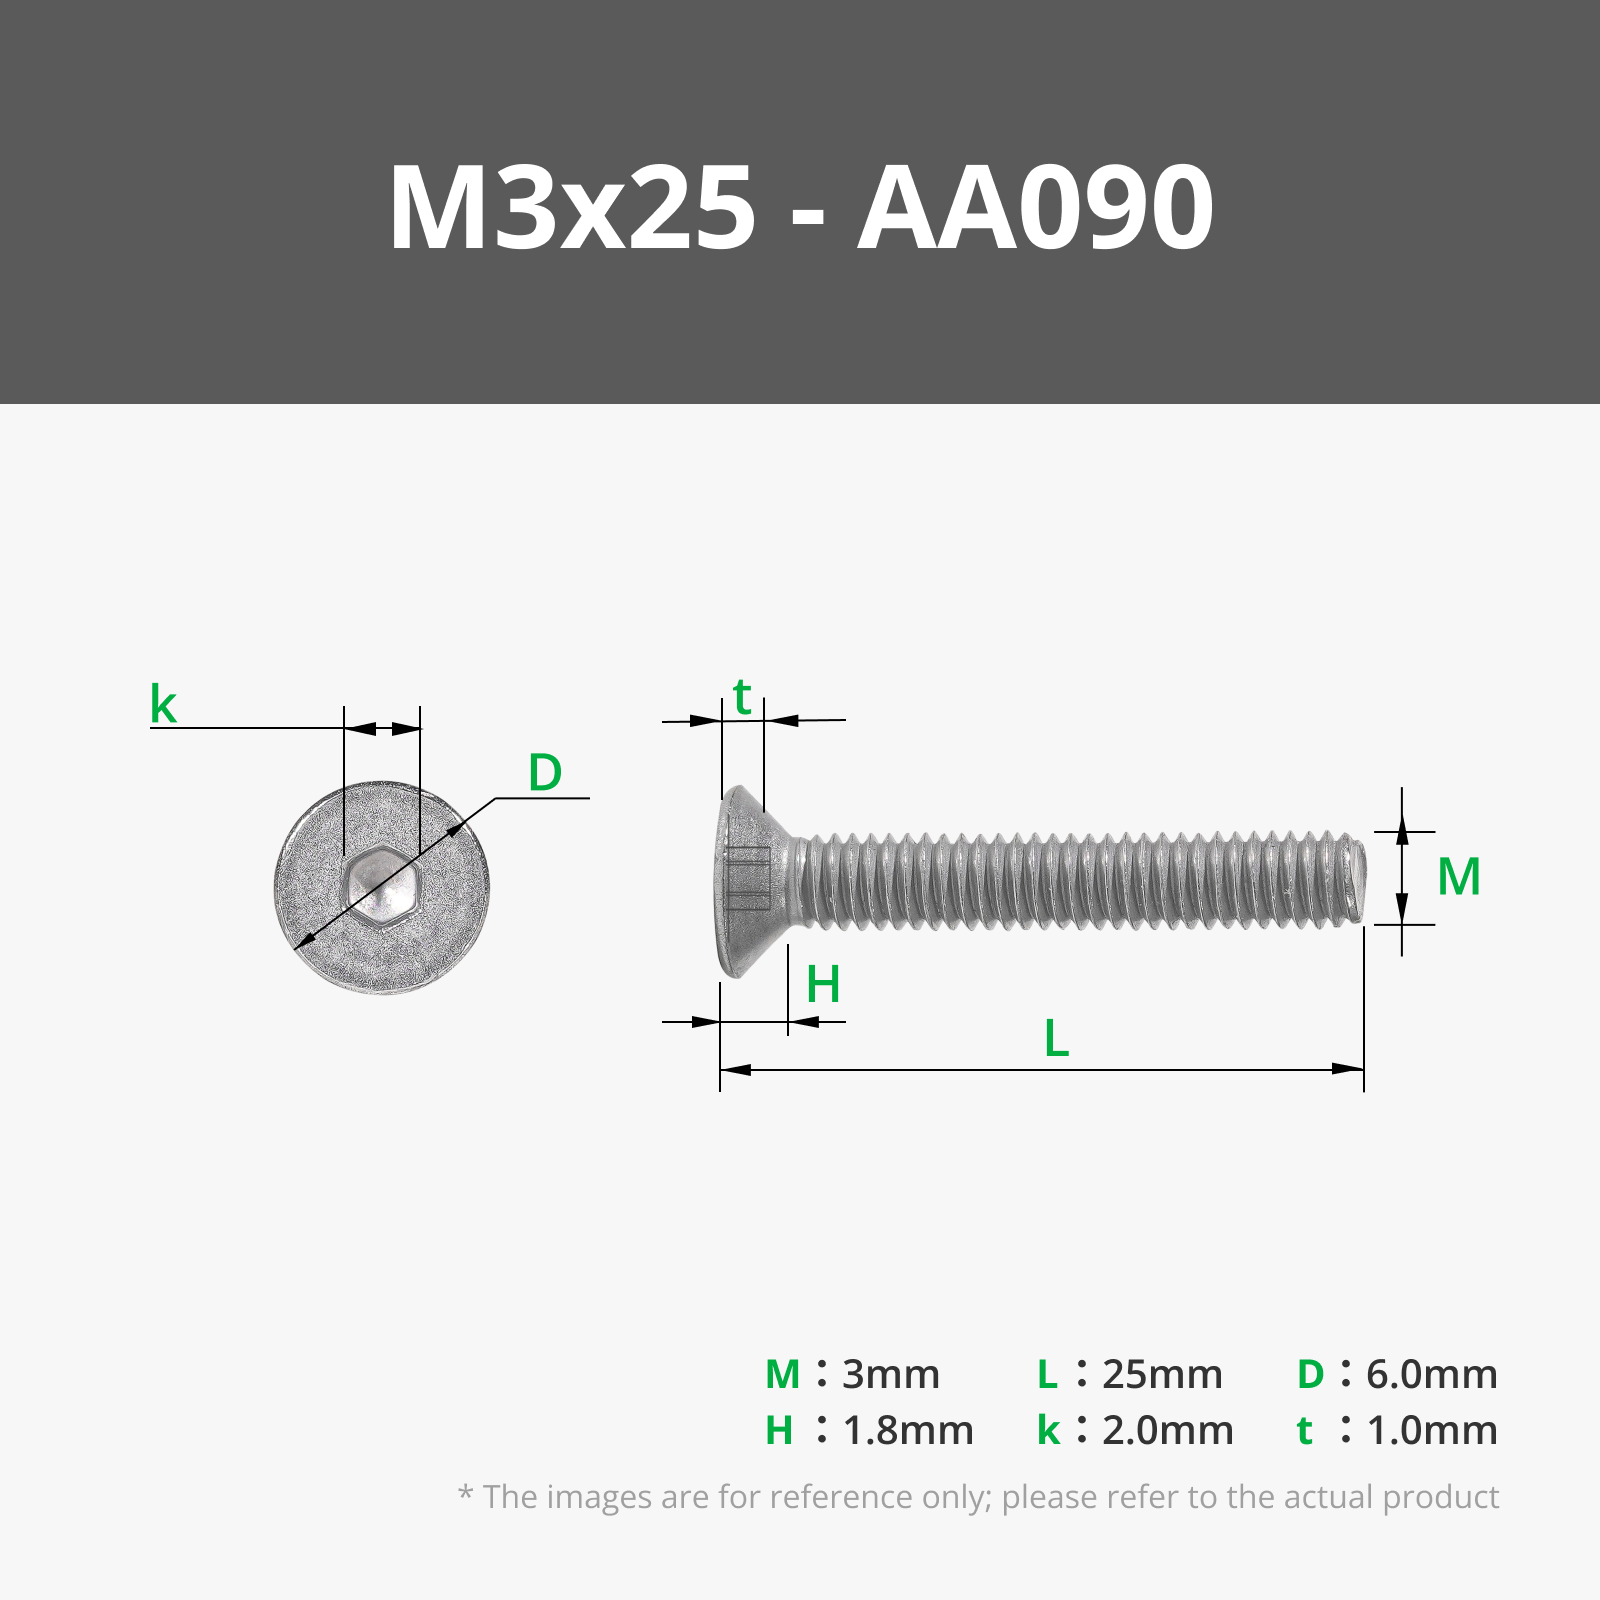
- 2 M3x25mm countersunk screws are required to attach the front door.
PARTS LIST | RECOMMENDED INFIL | RECOMMENDED INFIL TYPE | QTY |
Latch part A | 40% | Gyroid | 2 |
Latch part B | 40% | Gyroid | 2 |
Box top | 20% | Honeycomb | 1 |
Box bottom | 20% | Honeycomb | 1 |
Box side left | 20% | Honeycomb | 1 |
Box side right | 20% | Honeycomb | 1 |
Box rear | 20% | Honeycomb | 1 |
Box Door | 20% | Honeycomb | 1 |
Door Handle | 40% | Gyroid | 2 |
Accessory tray | 20% | Gyroid | 1 |
Misc. Cartridge trays | 20% | Gyroid | 10 |
Tips/ useful info
- When carrying/ transporting the chest, make sure that the door is level and not angled towards the ground. The weight of the cartridges pressing up against the door could force it open as the latches are not designed to be a locking mechanism.
- Do not overtighten the screws when assembling. The chest is designed in such a way that the screws “self tap” into the various parts. Overtightening could result in the assembly holes losing material and as a result, not forming a secure bond. As soon as you feel resistance when tightening and the screws are flush with the parts, no longer tighten.
- If printing a top with an Inlay using an AMS, you won't be able to use a prime tower as there isn't enough room on an X1C/ P1S Build plate. Failure to disable the prime tower in the slicer will result in it being printed directly into the top plate (see my example storage chest in the pictures).
- Inlays are selectable in Bambu studio if applicable.
Documentation (1)
License
You shall not share, sub-license, sell, rent, host, transfer, or distribute in any way the digital or 3D printed versions of this object, nor any other derivative work of this object in its digital or physical format (including - but not limited to - remixes of this object, and hosting on other digital platforms). The objects may not be used without permission in any way whatsoever in which you charge money, or collect fees.
Comment & Rating (578)