
【Print-in-Place Storage Box】
Print Profile(2)
Bill of Materials

Description
Membership
Support my work, thank you~!
Print-in-Place Storage Box
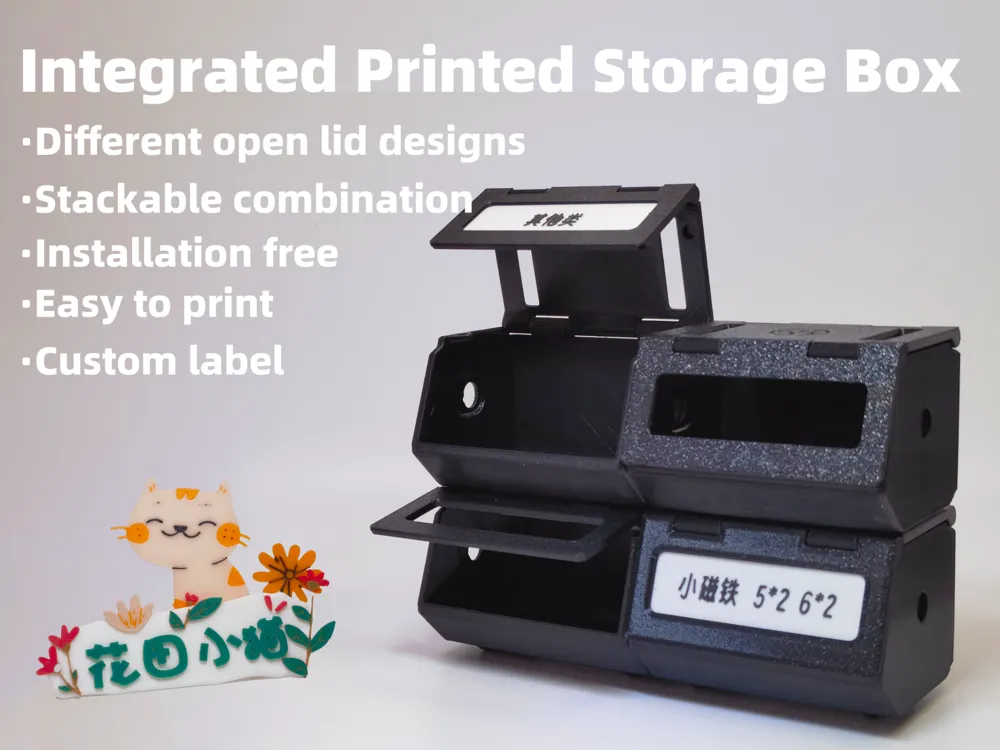
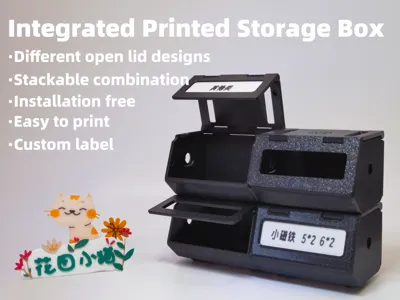
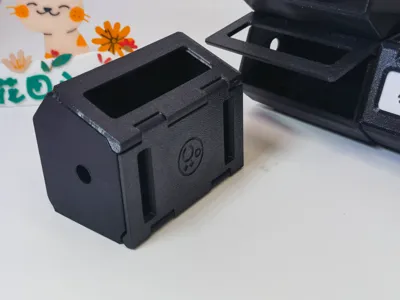
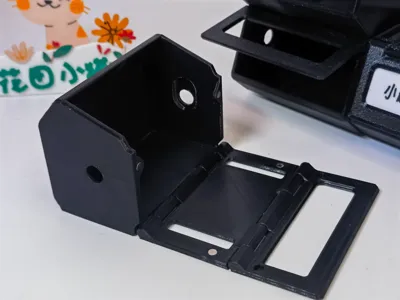
Imagine a desk that is always tidy, with all your little things in their place. Finding what you need is no longer a treasure hunt. Wouldn’t that be a relief? I designed a Print-in-Place storage box that requires no assembly and is ready to use as soon as it’s printed.
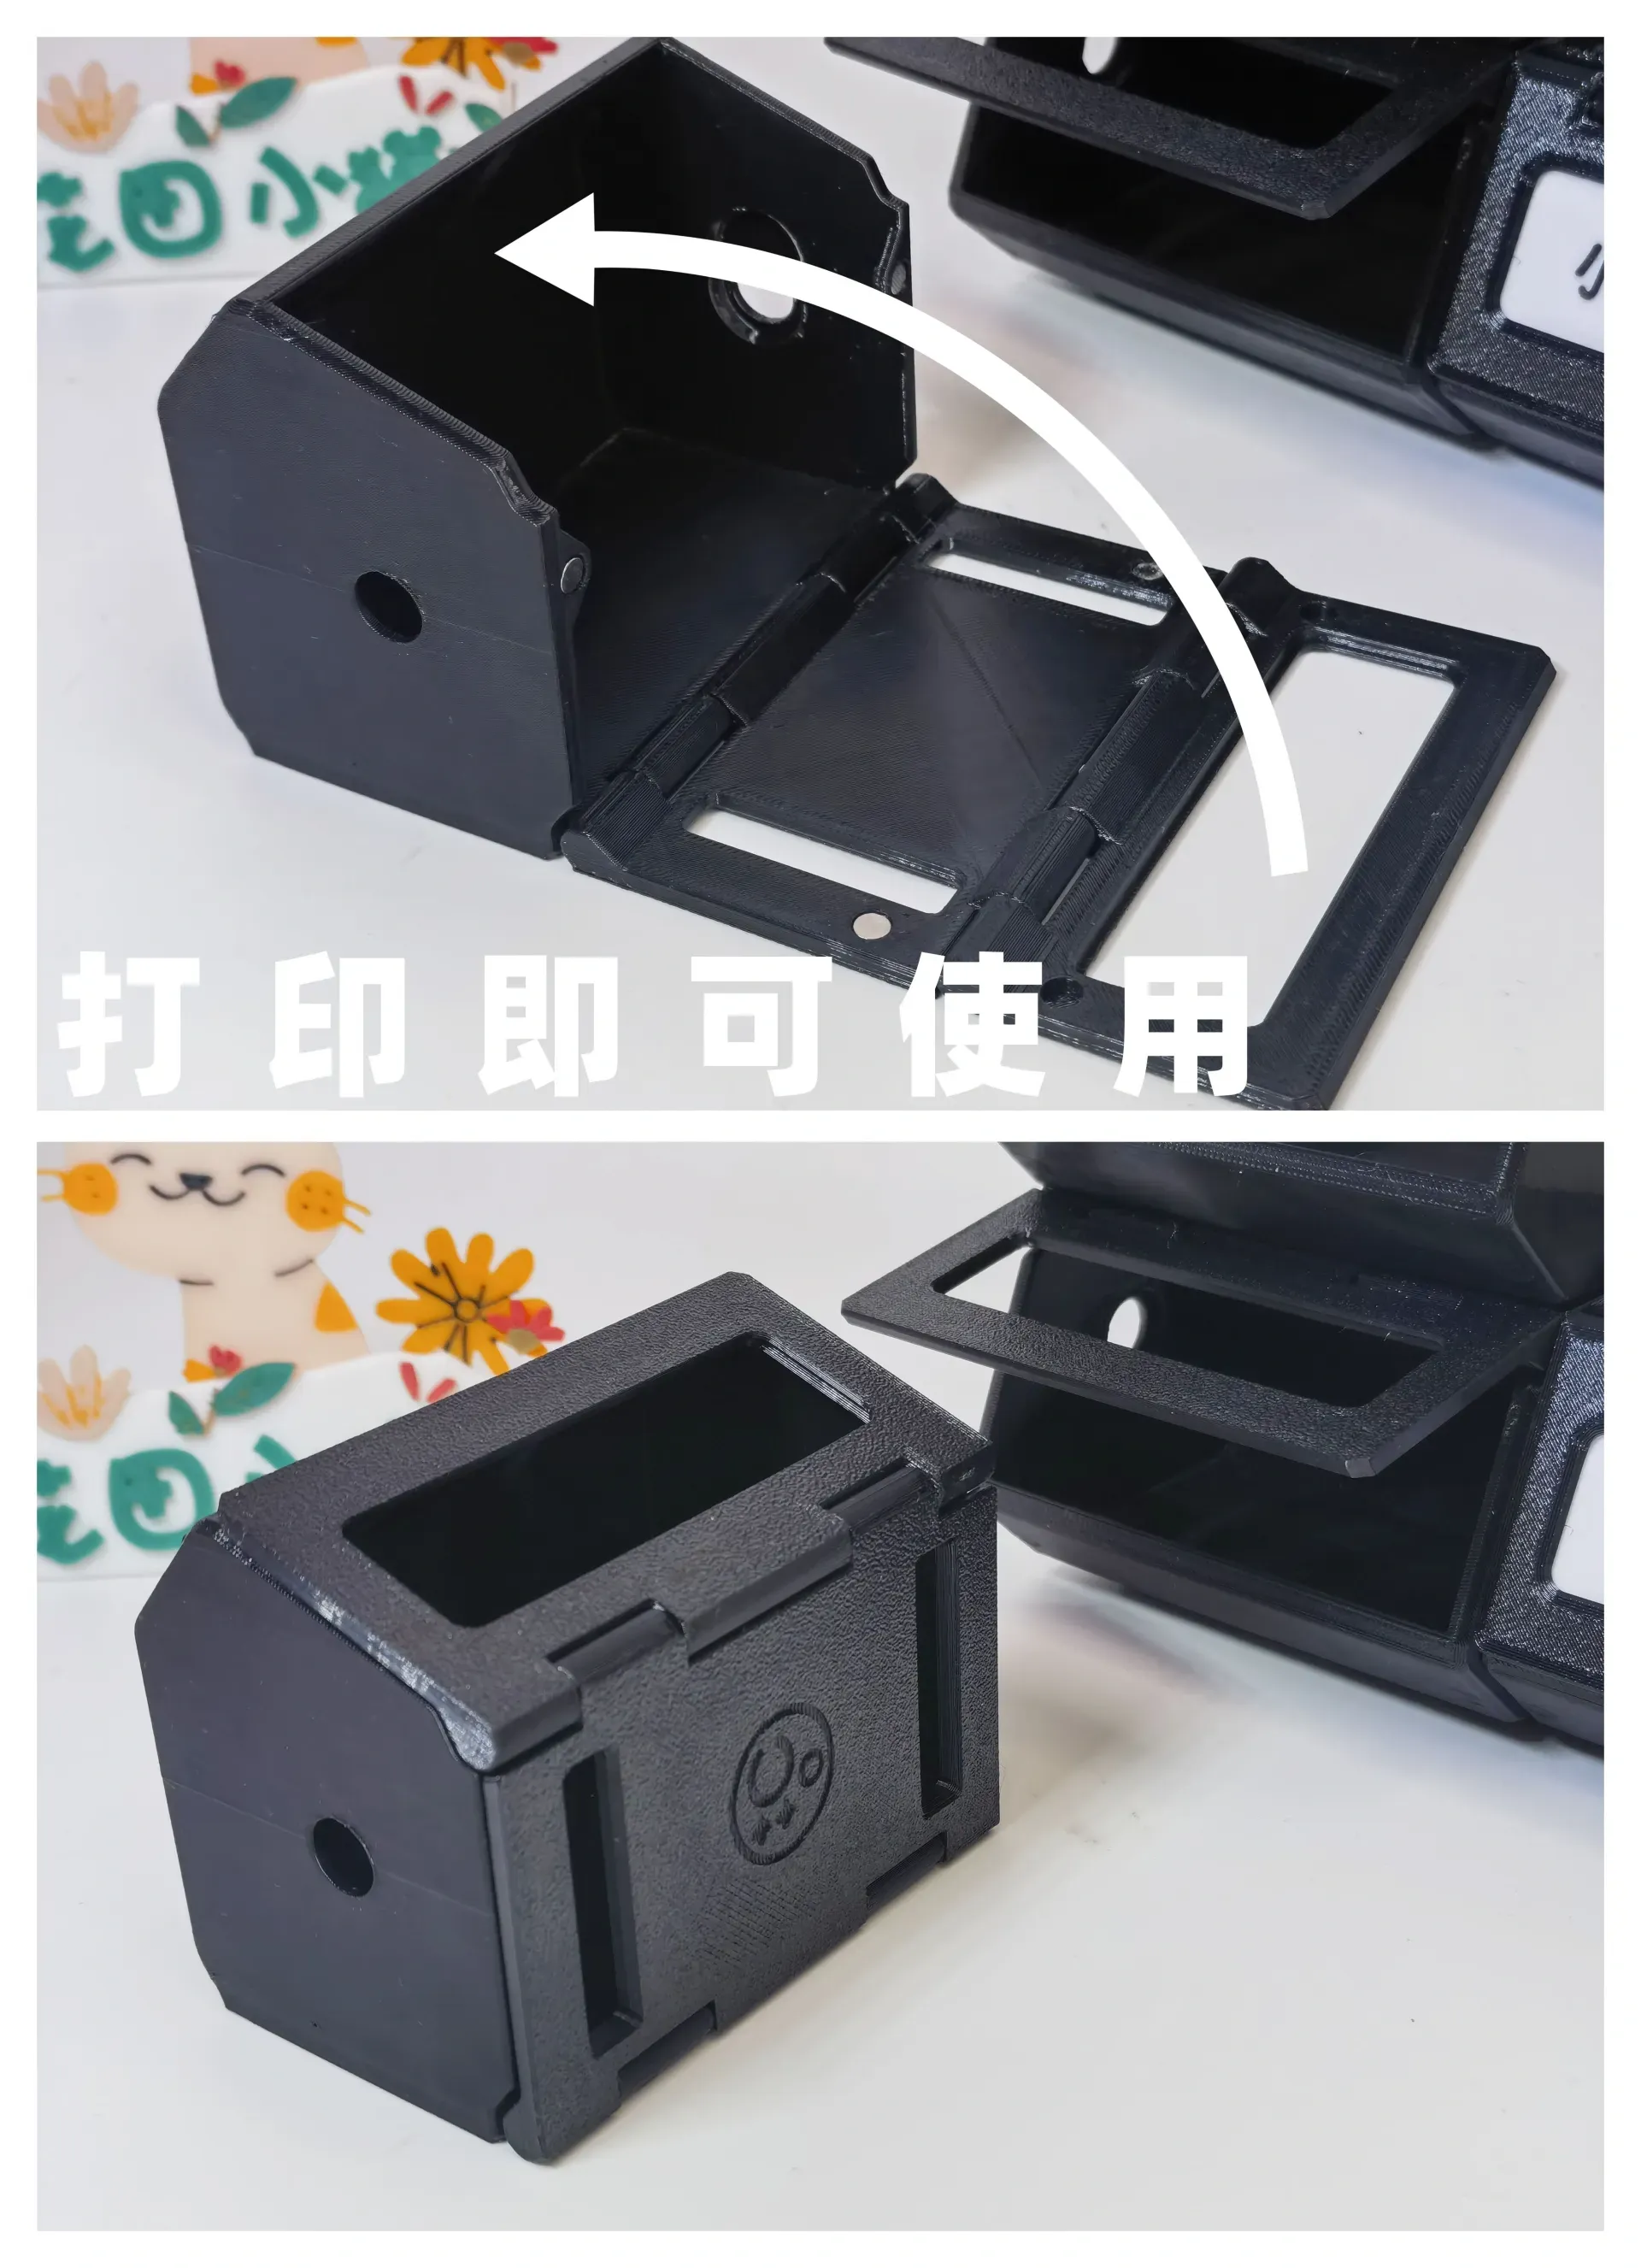
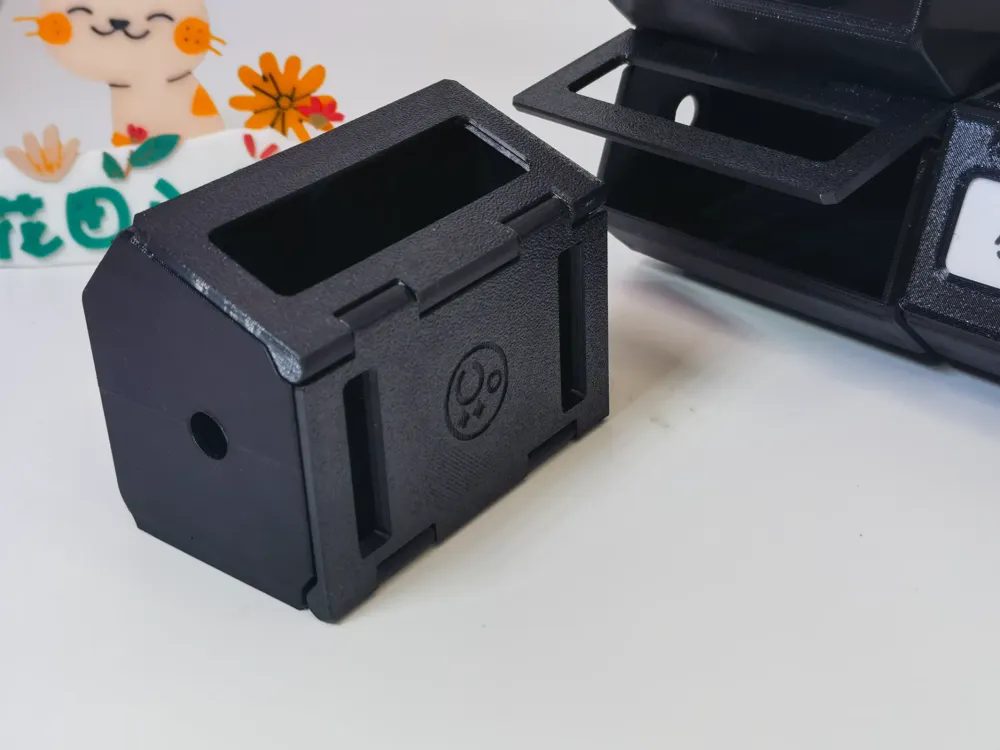
It is small and compact, measuring 10cm*5cm*7.5cm, taking up little space. It’s perfect for placing on your office or study desk to hold those little odds and ends – screws, key chains, electronic components, and other small objects.
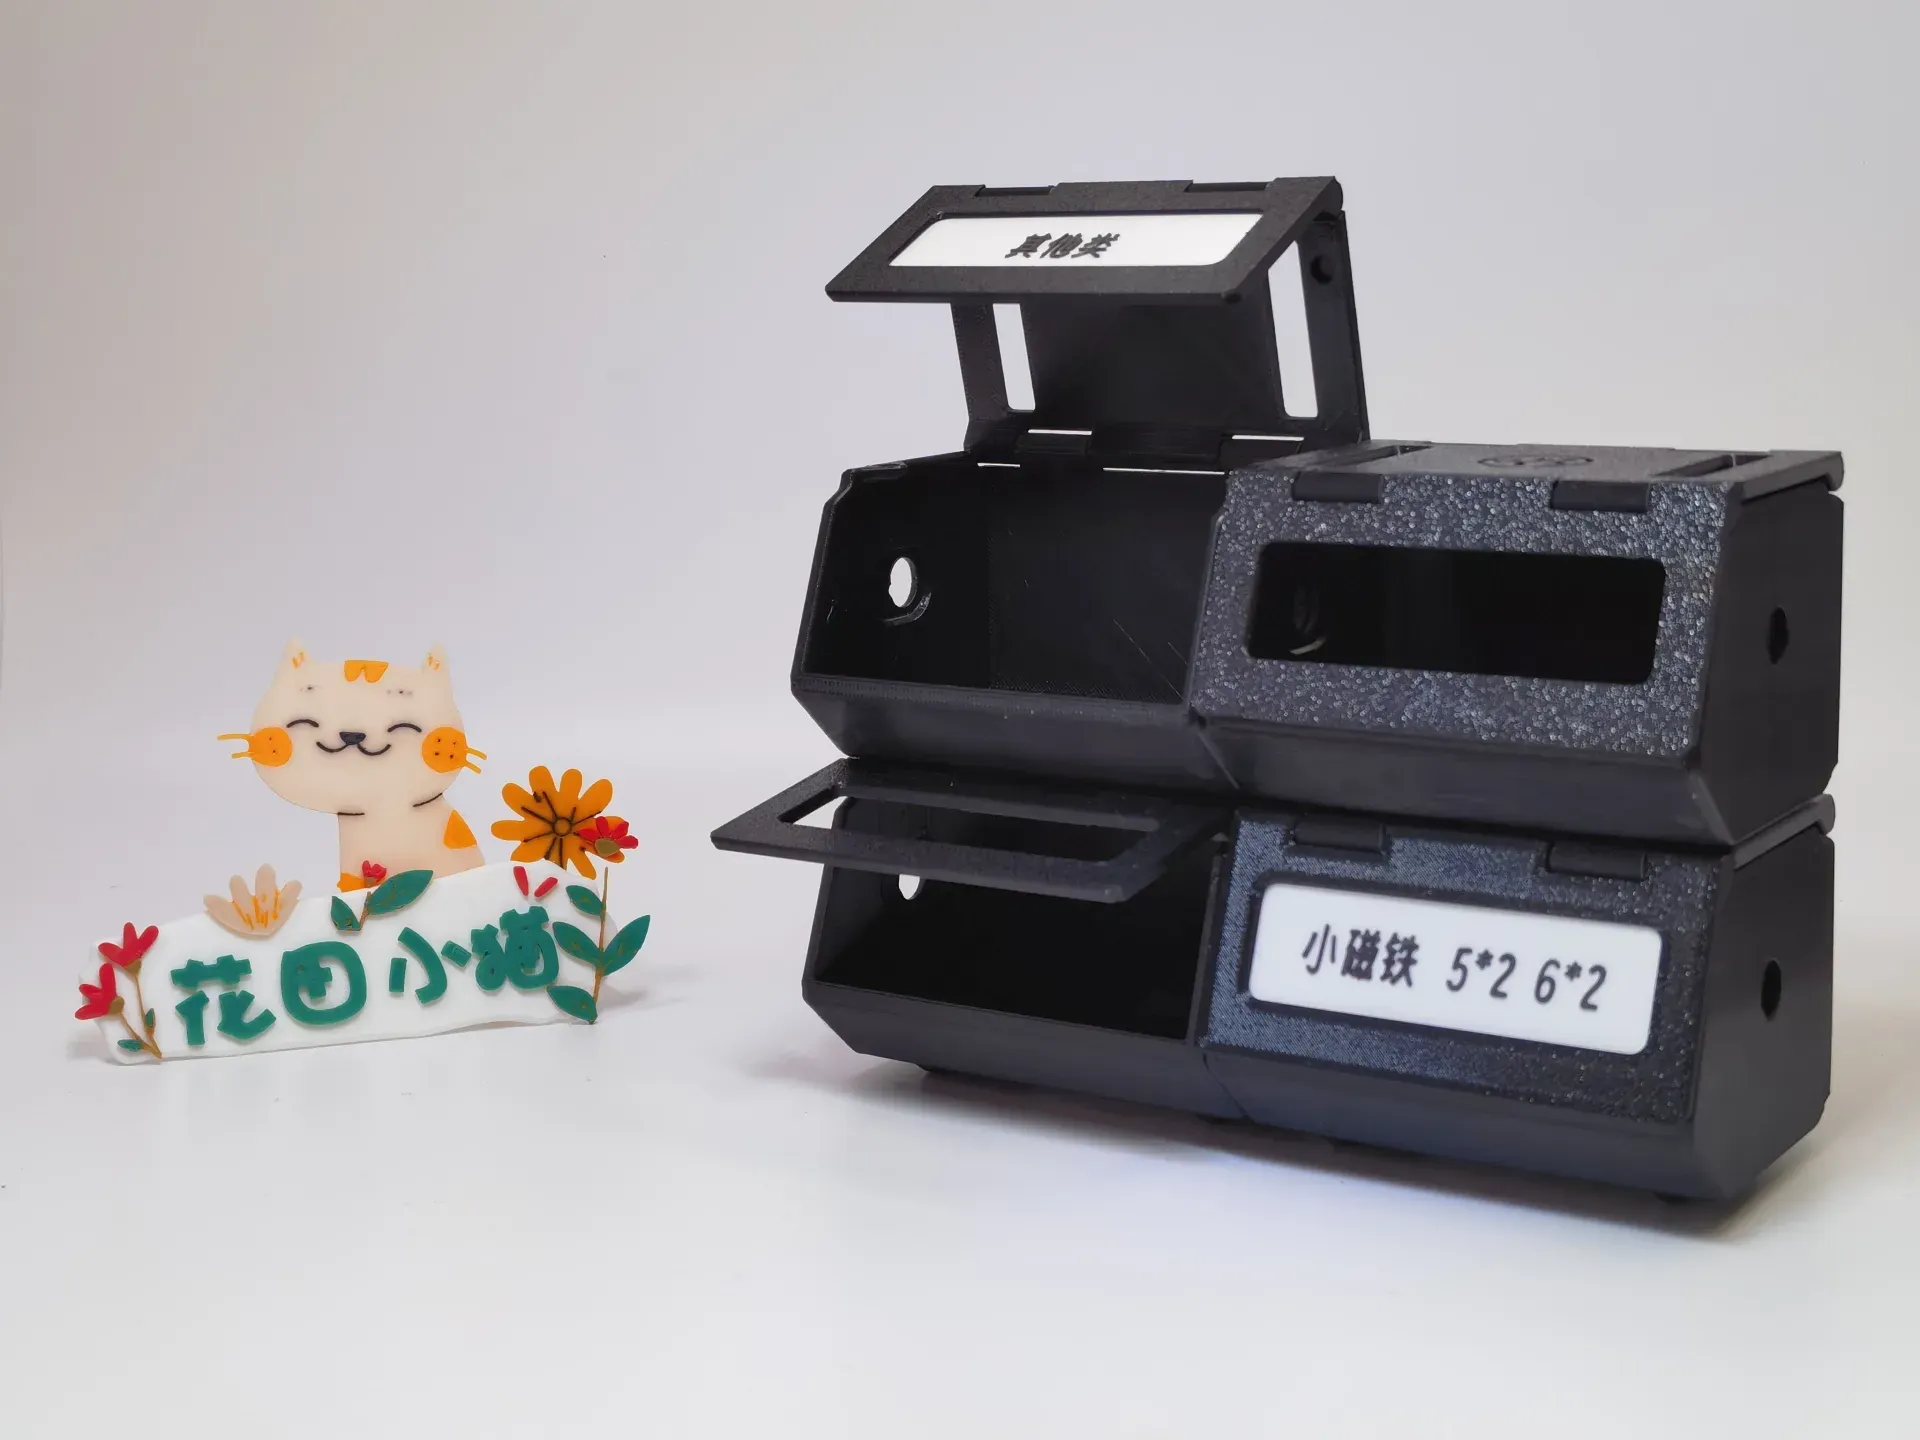
Design Features:
Unlimited stacking, endless space:
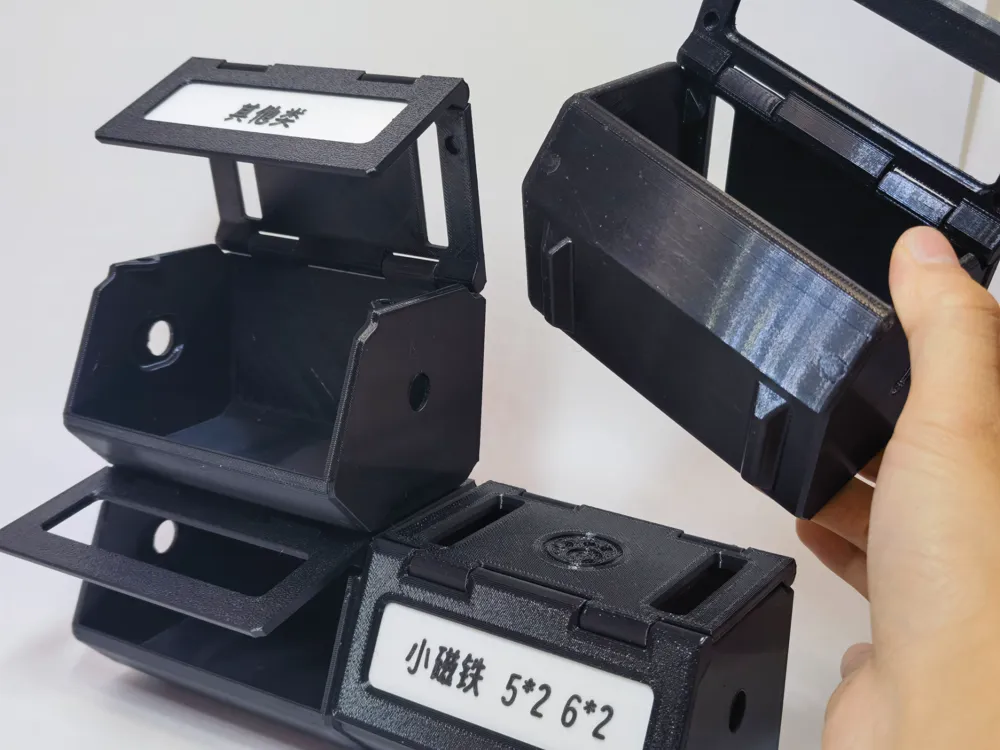
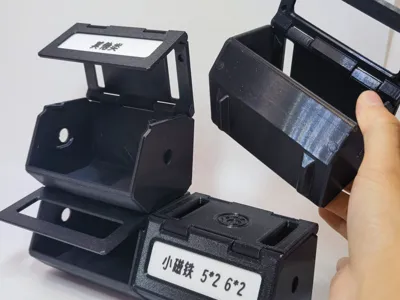
Worried about not having enough space? The storage boxes can be stacked infinitely left and right, up and down, as easily as building with blocks. This allows you to expand your storage space as needed.
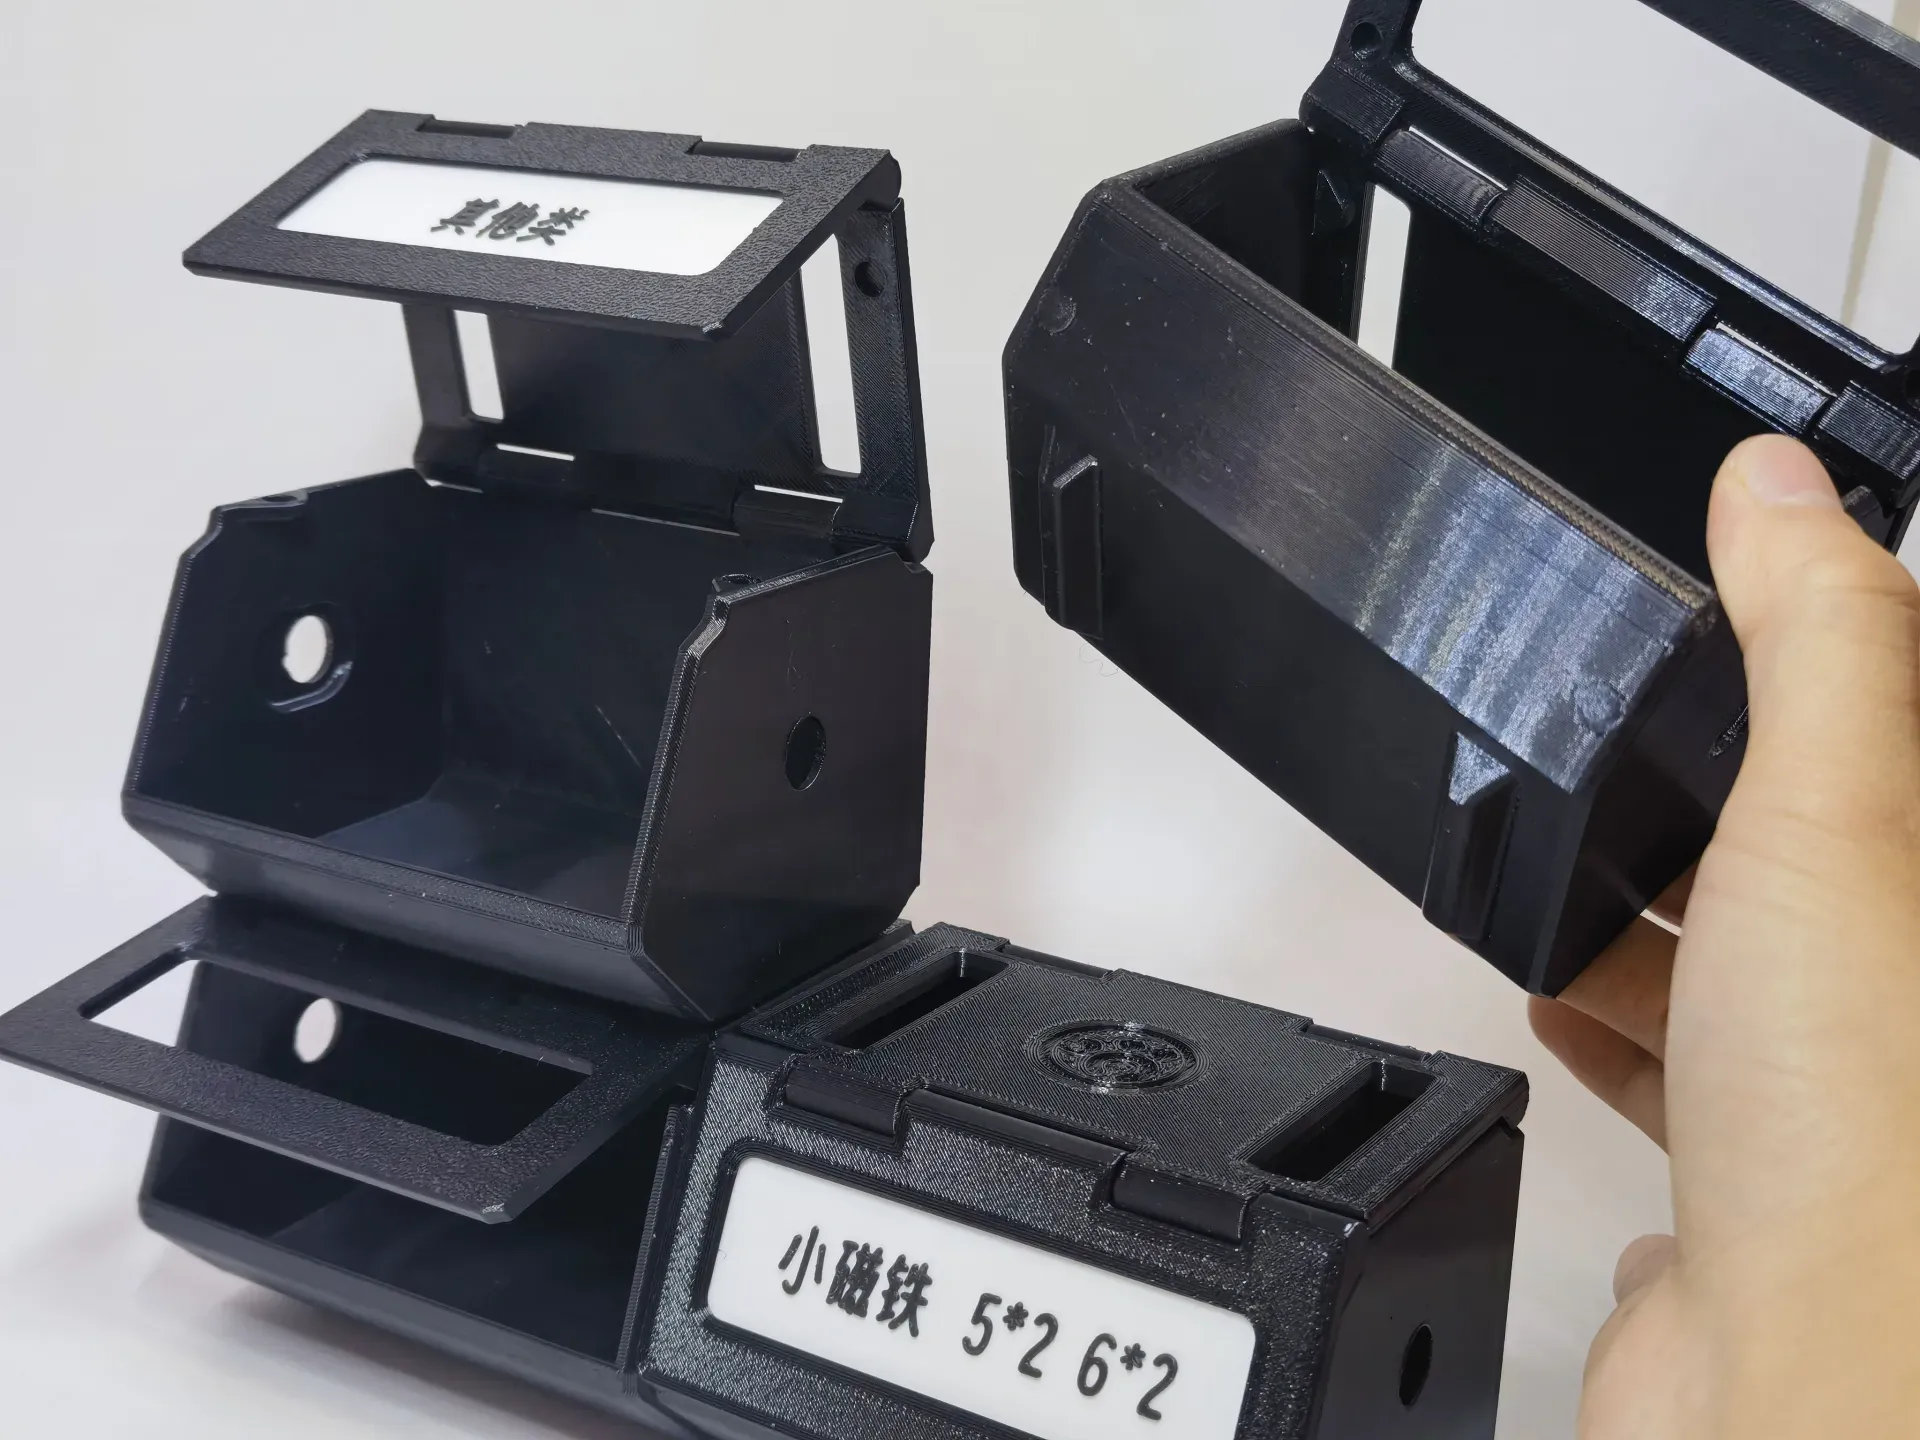
Personalized categorization, clear at a glance:
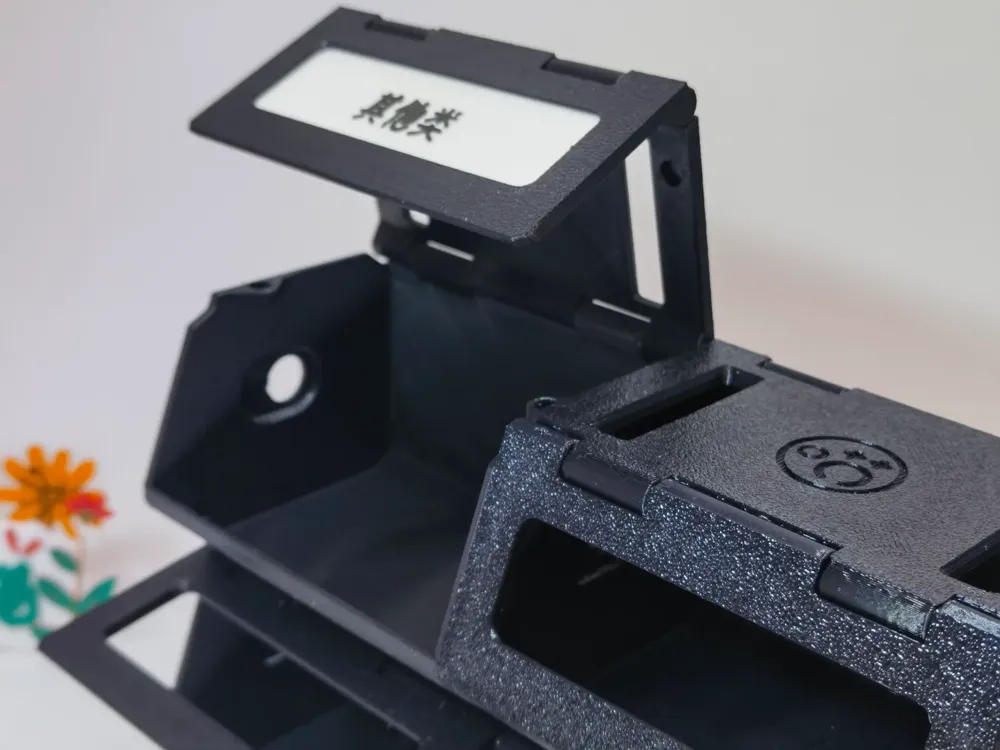
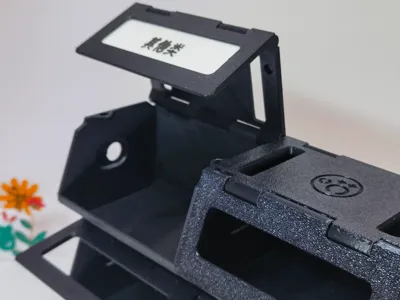
The storage boxes can be customized with category labels. You can label each box according to your preferences and needs. This ensures your belongings are clearly categorized and easy to find.
(To customize labels, click the 【Customize】 button to customize the label content. Do not change the size. Then download and print.)
These storage boxes are like little assistants for our desks, helping us say goodbye to clutter and embrace order. Come and experience it for yourself! Let your desk and your mood be refreshed!
----------------------------------------------------------------------------------------------------------------------------------
Stacking Assembly Instructions:
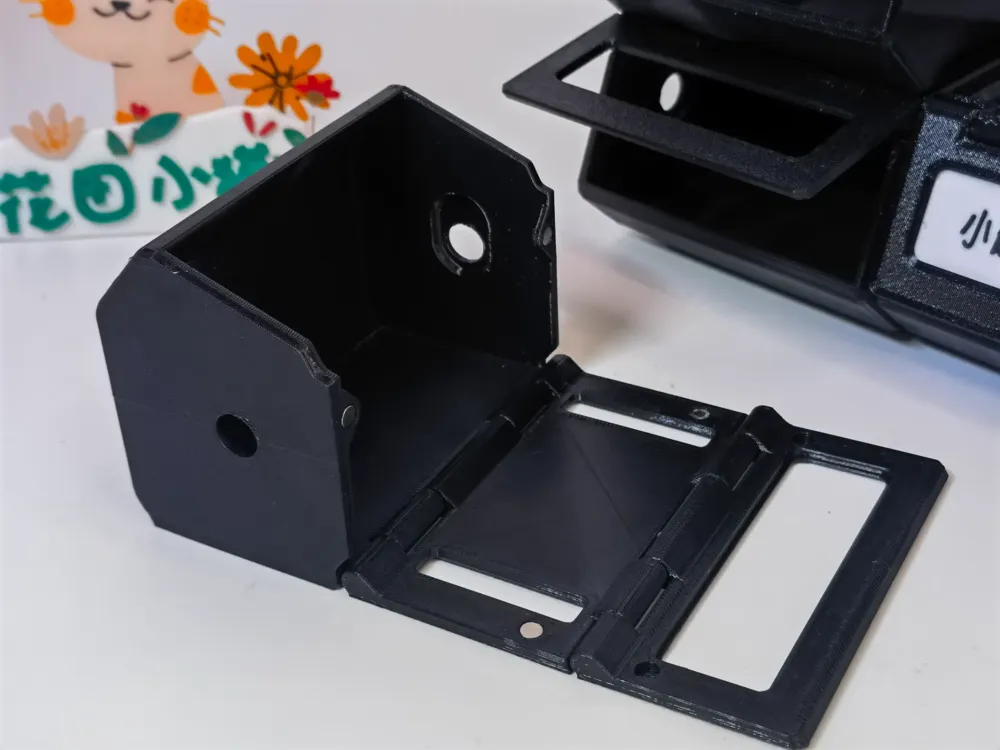
1. For stacking left and right, we need a C-shaped buckle to connect and secure them.
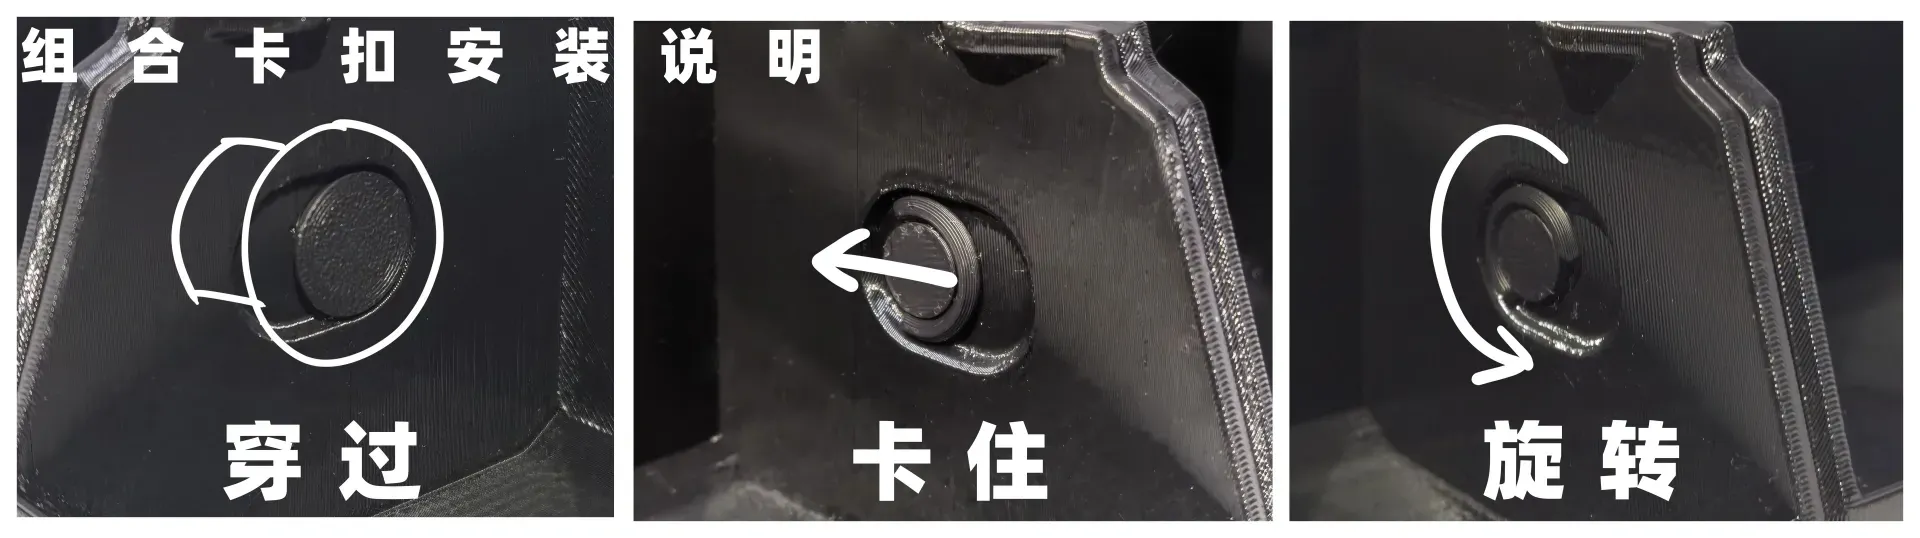
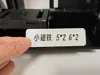
2. If you find the tightness suitable, you can choose not to install magnets. The magnet holes are compatible with 5*2mm magnets. Install as needed.
Boost Me (for free)
Every boost will be a motivation for my creation.
Membership
Support my work, thank you~!
License

You shall not share, sub-license, sell, rent, host, transfer, or distribute in any way the digital or 3D printed versions of this object, nor any other derivative work of this object in its digital or physical format (including - but not limited to - remixes of this object, and hosting on other digital platforms). The objects may not be used without permission in any way whatsoever in which you charge money, or collect fees.


Comment & Rating (2)