
V8 Engine with functioning pistons and valves


Print Profile(1)

Bill of Materials






Description
Introduction
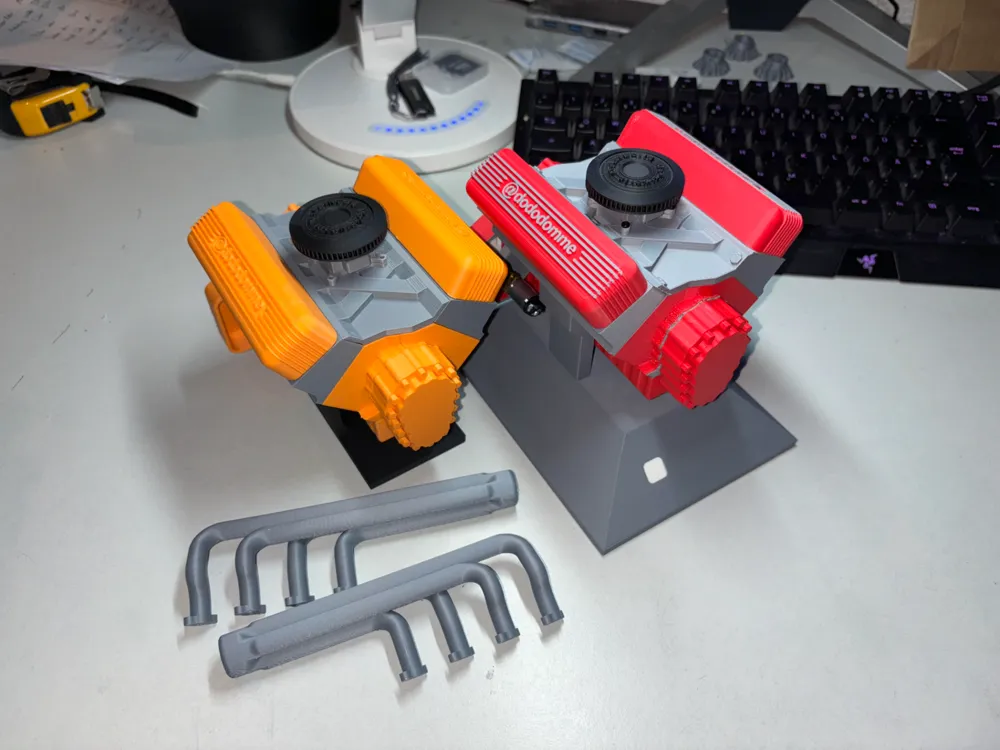
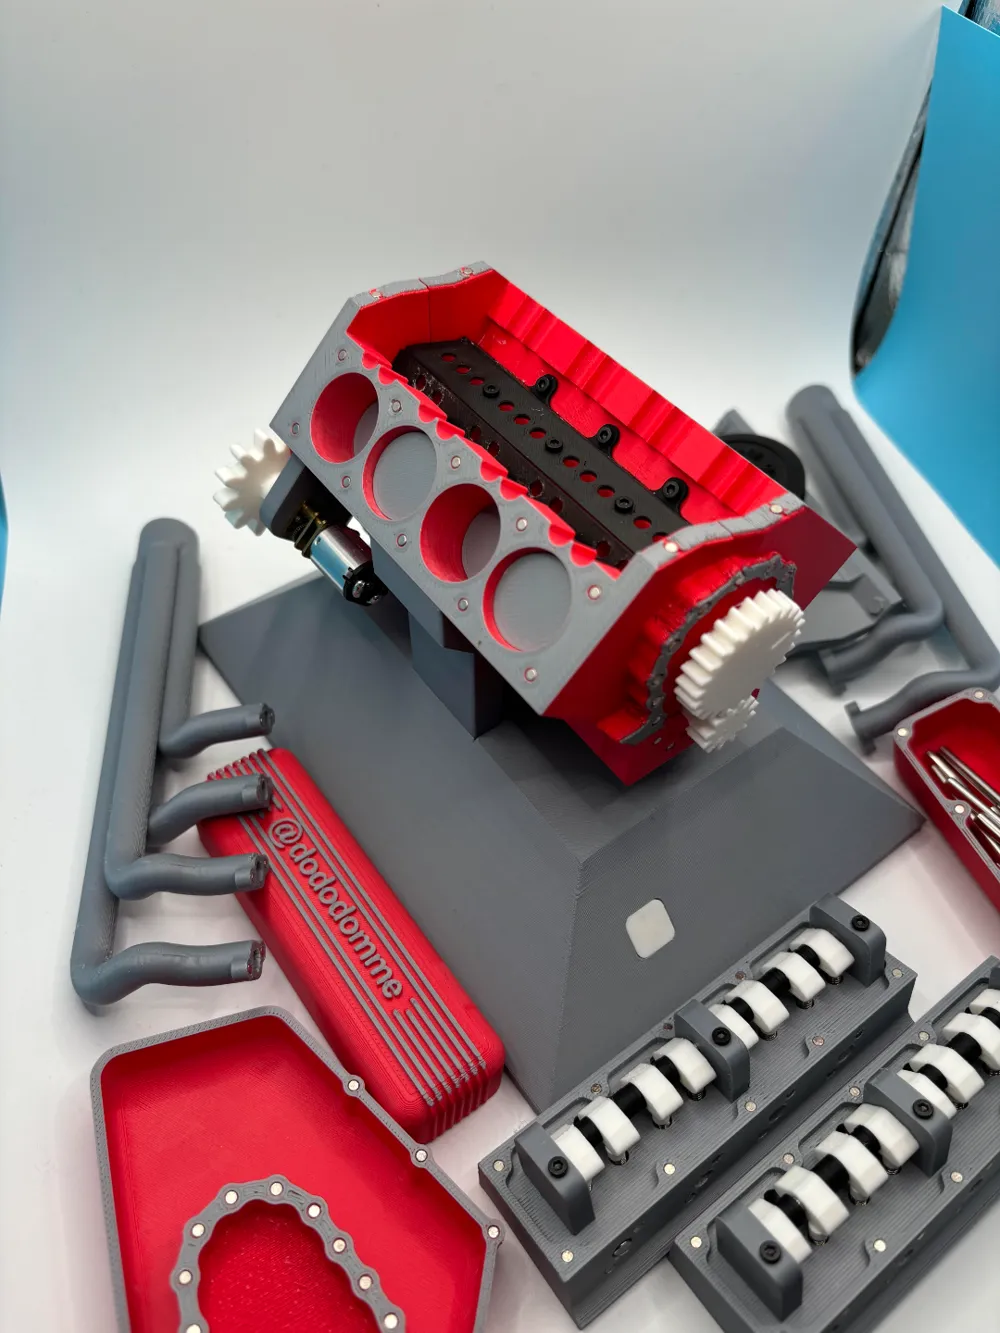
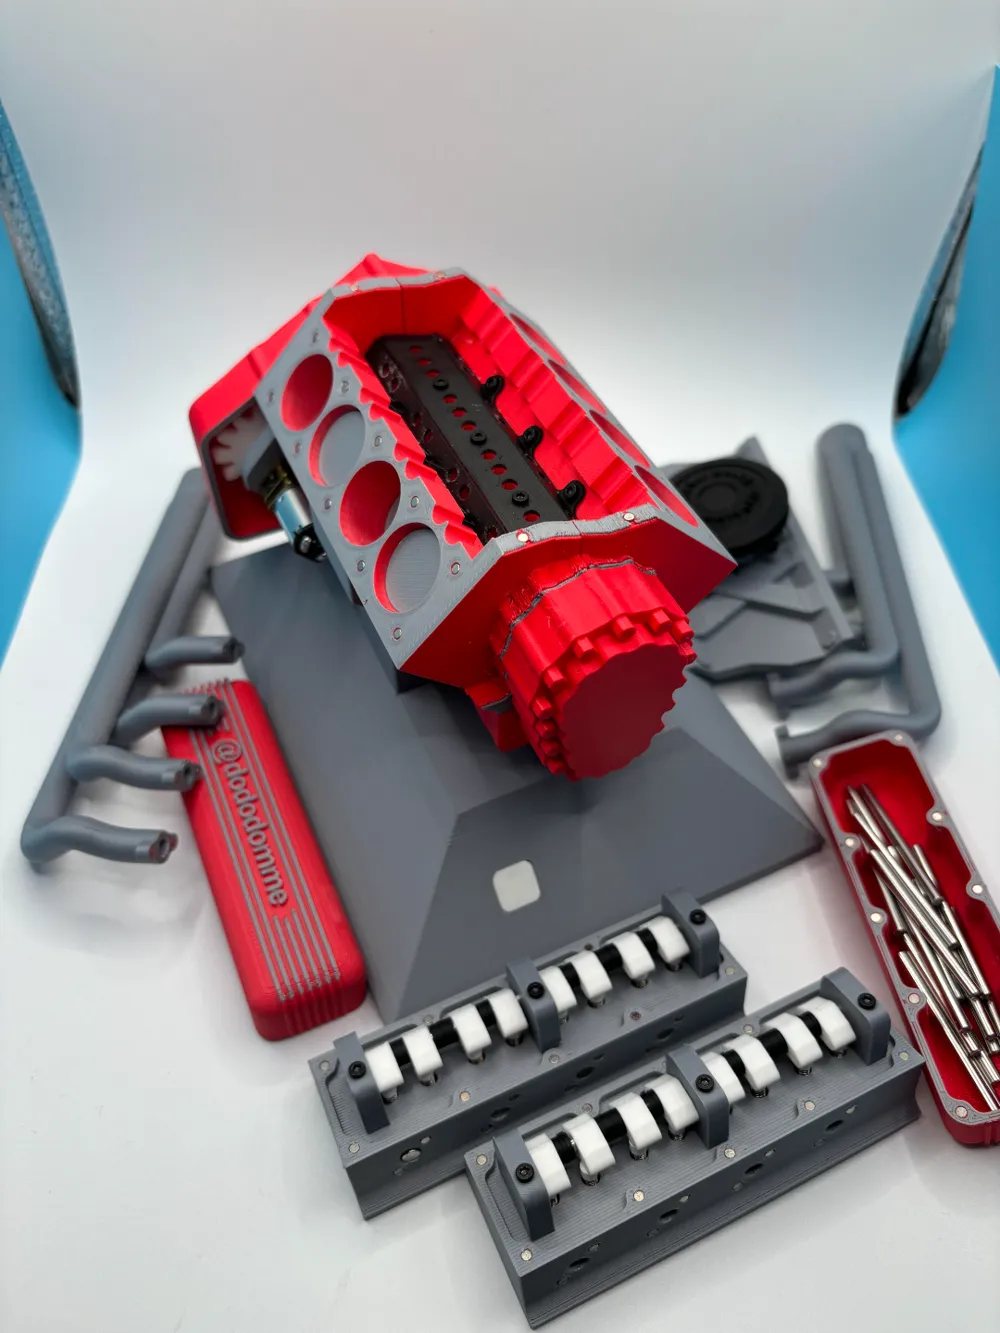
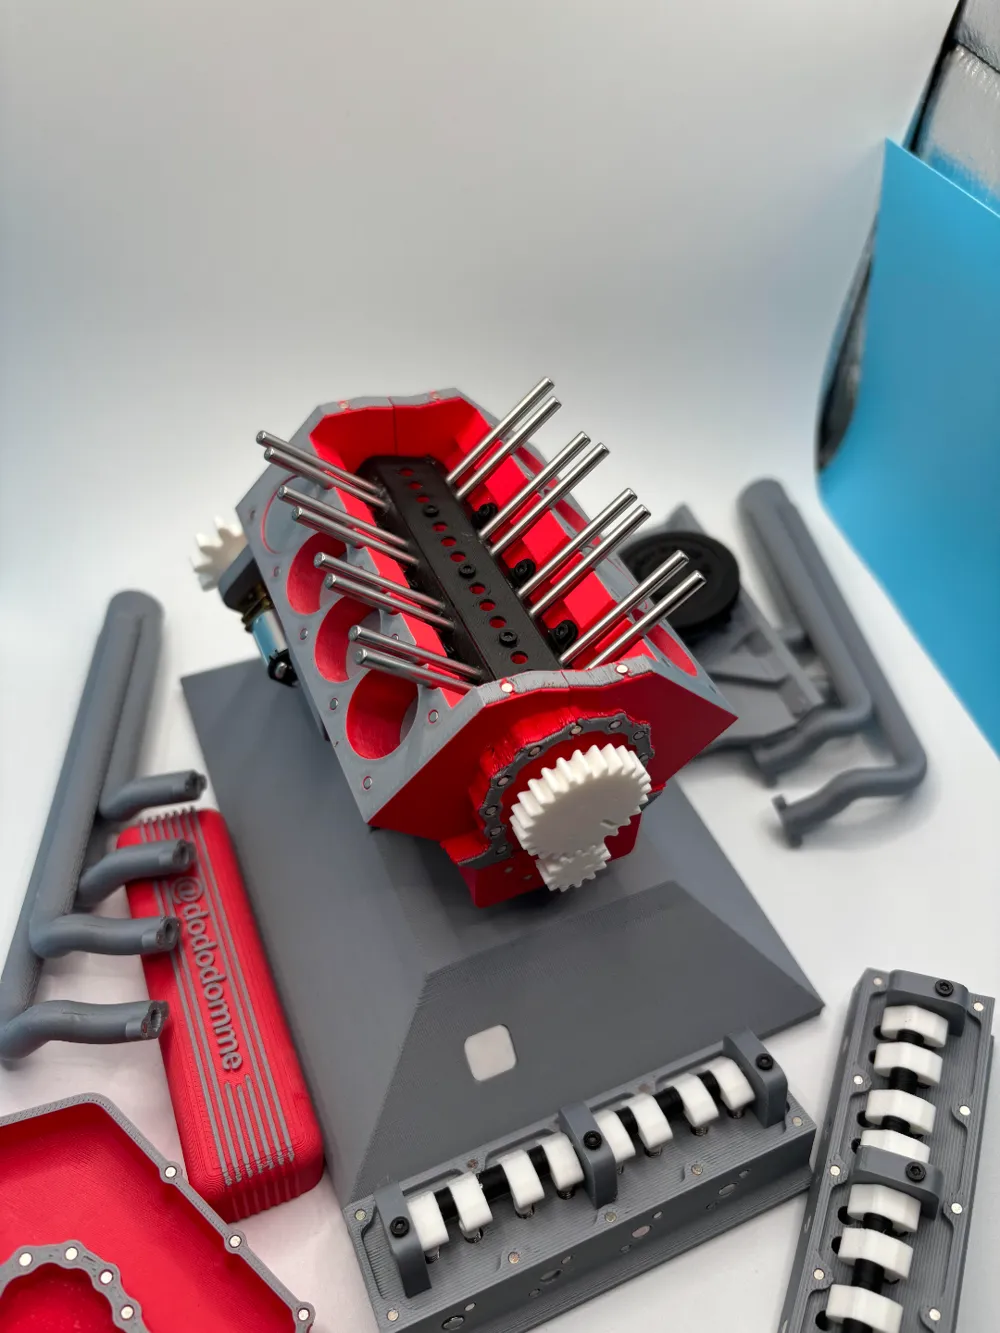
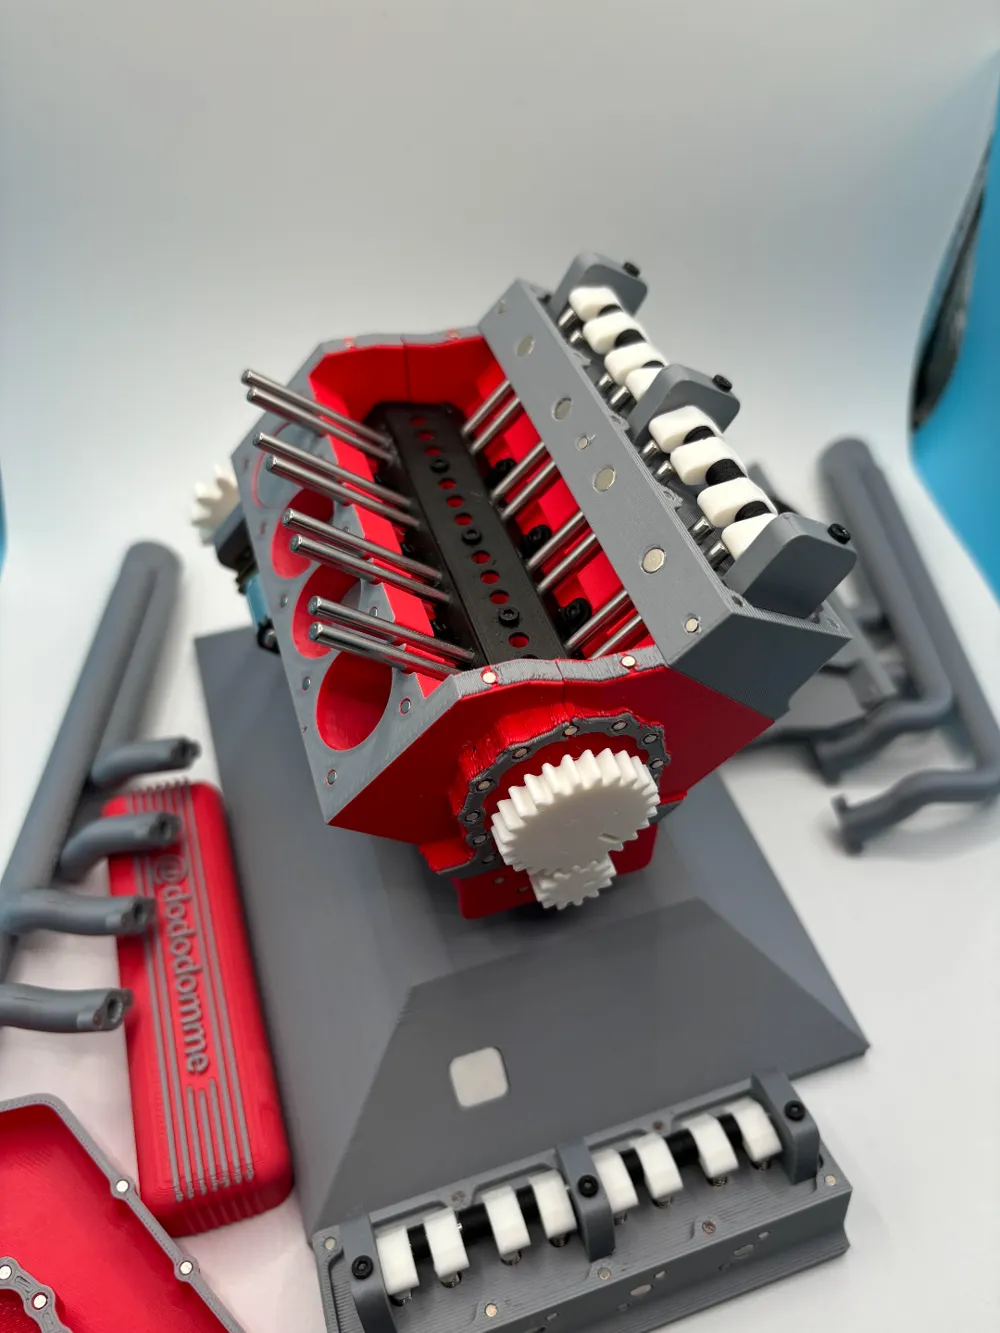
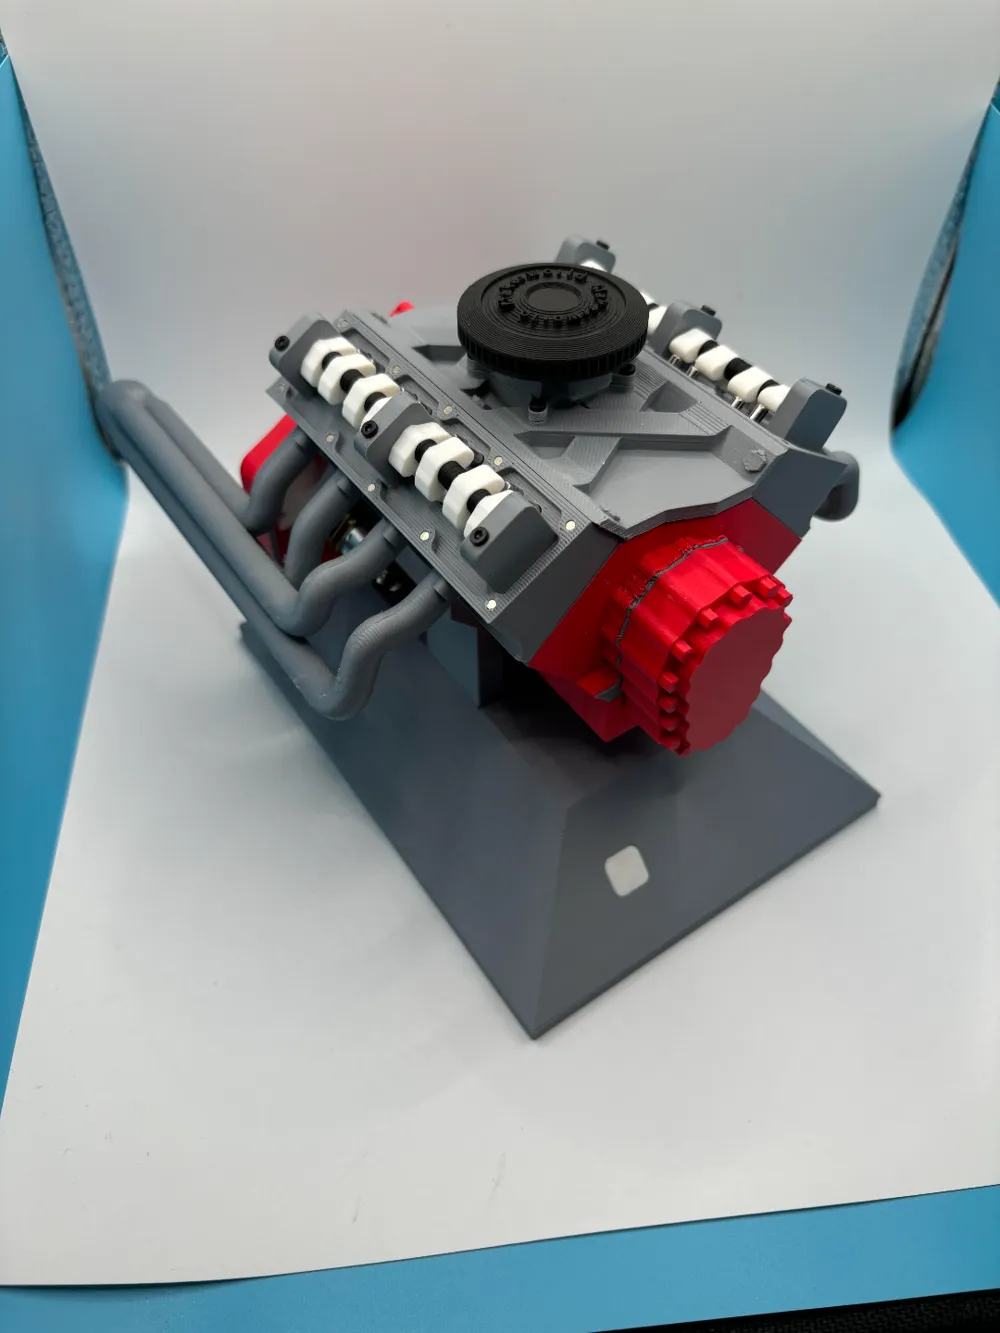


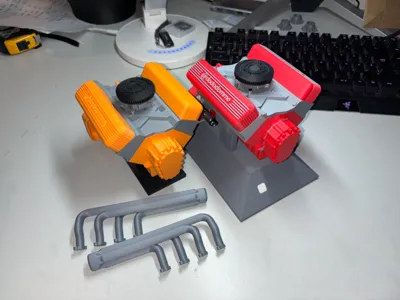
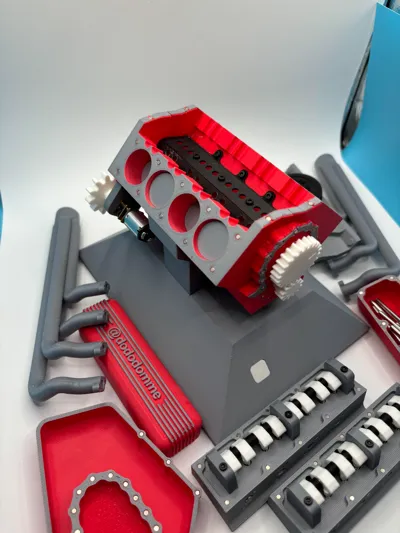
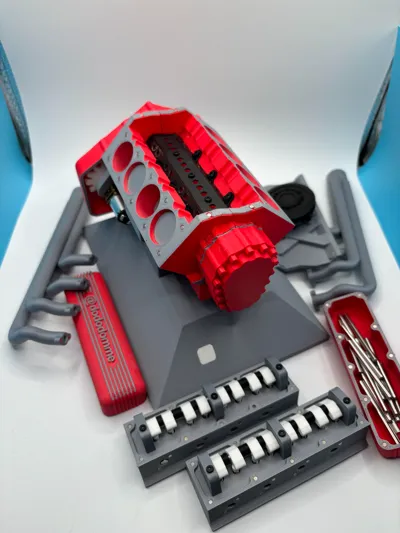
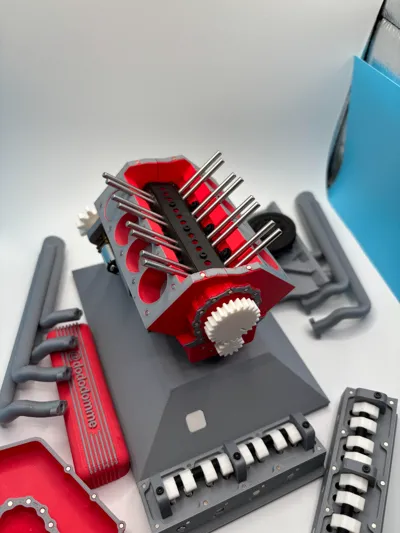
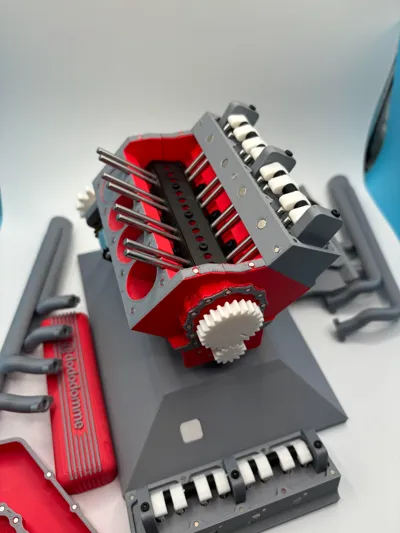
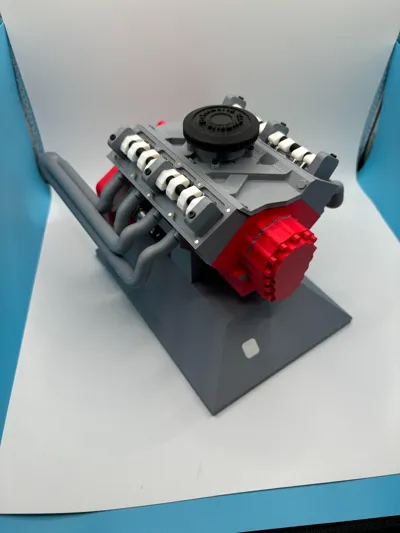
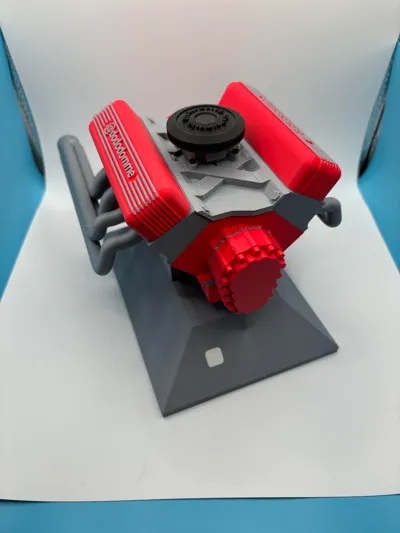
I proudly present a fully functional V8 engine
I invested nearly 150 hours in this project

It comprises 45 individual parts and 404 3D-printed components.
In total, including the hardware components, we have 778 parts.
Assembly took approximately 2 hours
The holes accommodating the pistons must be sanded later!
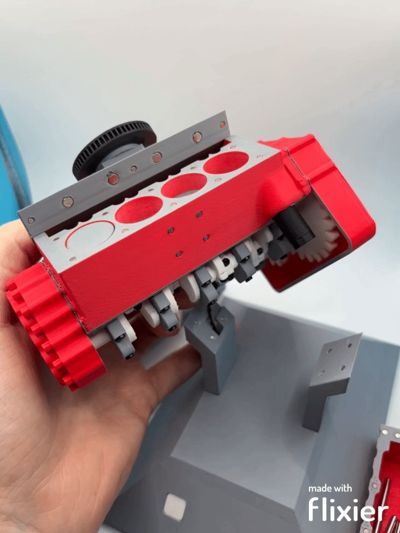
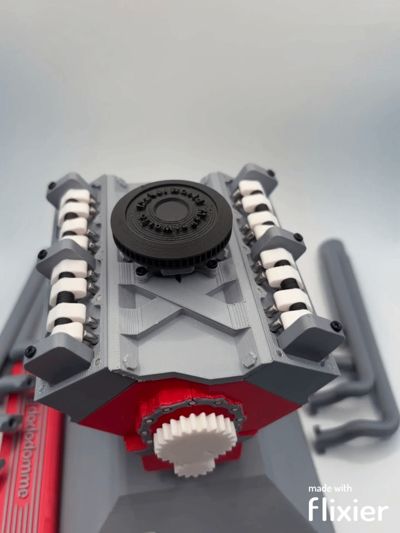
It features eight pistons and sixteen intake and exhaust valves
The pistons move in the correct sequence, mirroring a real engine
The intake and exhaust valves also switch at precisely the right moment. After one rotation of the camshaft, the connecting rod has already completed two
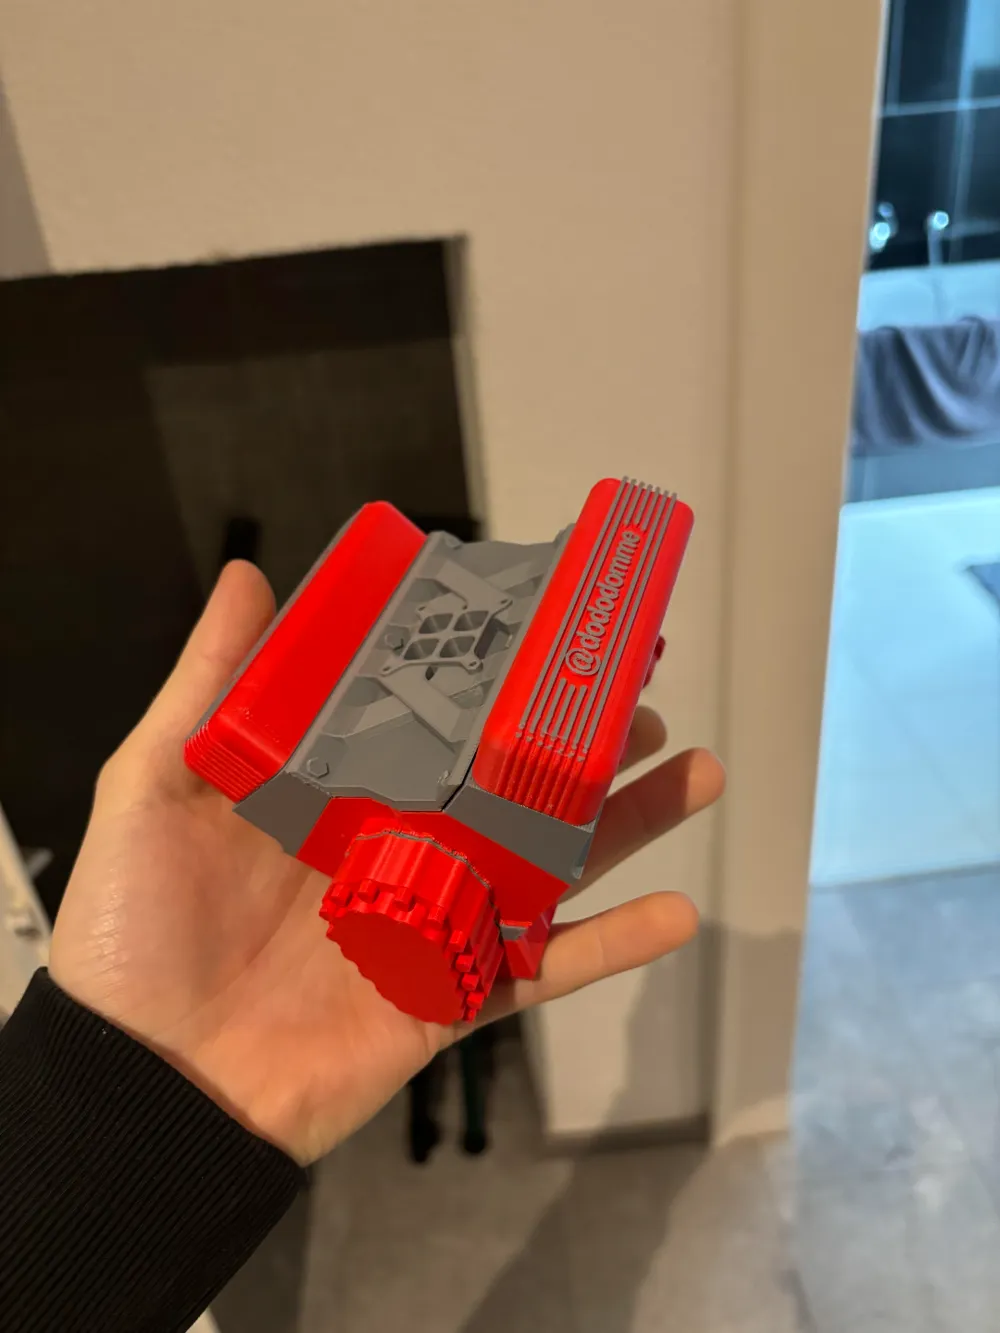
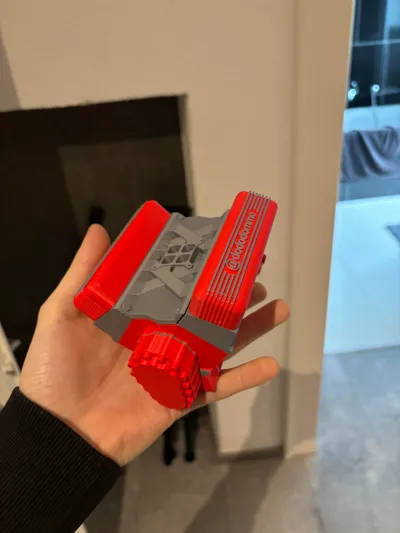
I meticulously crafted the engine to be compact and easily manageable, ensuring it fits comfortably on any shelf or table
It cannot burn real gasoline, lacks a spark plug, and serves solely as a miniature model
The magnets are affixed in a way that prevents swapping left and right, as the magnets would then repel each other. This, for instance, prevents attaching a cover from right to left. I demonstrate the precise method in the video
This project is not suitable for 3D printing beginners
The engine is exceptionally complex and intricate!
Assembly tutorial below
Boost Me (for free)
A boost for my work would be greatly appreciated and I thank you profusely
Engine Description
The function of the pistons and intake/exhaust valves is as follows: When the piston is at top dead center, the intake valve opens. Theoretically, when the piston moves downward, gasoline is drawn in. When the piston moves back up, both valves are closed, and the gasoline is compressed. At top dead center, the gasoline is highly compressed, and the spark plug ignites it (in a real engine). This process releases energy that forcefully pushes the piston downward. During the upward stroke, the remaining exhaust gas is expelled through the exhaust valve, and the entire process repeats
Materials and Personal Effort
You will need for assembly
- All 3D-printed parts
- A 1.5 and 2 mm Allen wrench
- A small craft knife
- Large and small pliers, ideally
- Super glue
- Soldering iron
- The Bambu Lab components listed below
The components requiring purchase from Bambu Lab and their functions are detailed below
You can purchase all components with a single click below. This is merely a detailed listing!
M2x6 screw (AA093): 35 required. Mounts on the connecting rod (16x), engine mount, inner right mount (3x),
inner left mount (3x), for the central inner mount (3x), engine mount (2x), rear cover mount for the camshaft (4x), upper air intake (4x)
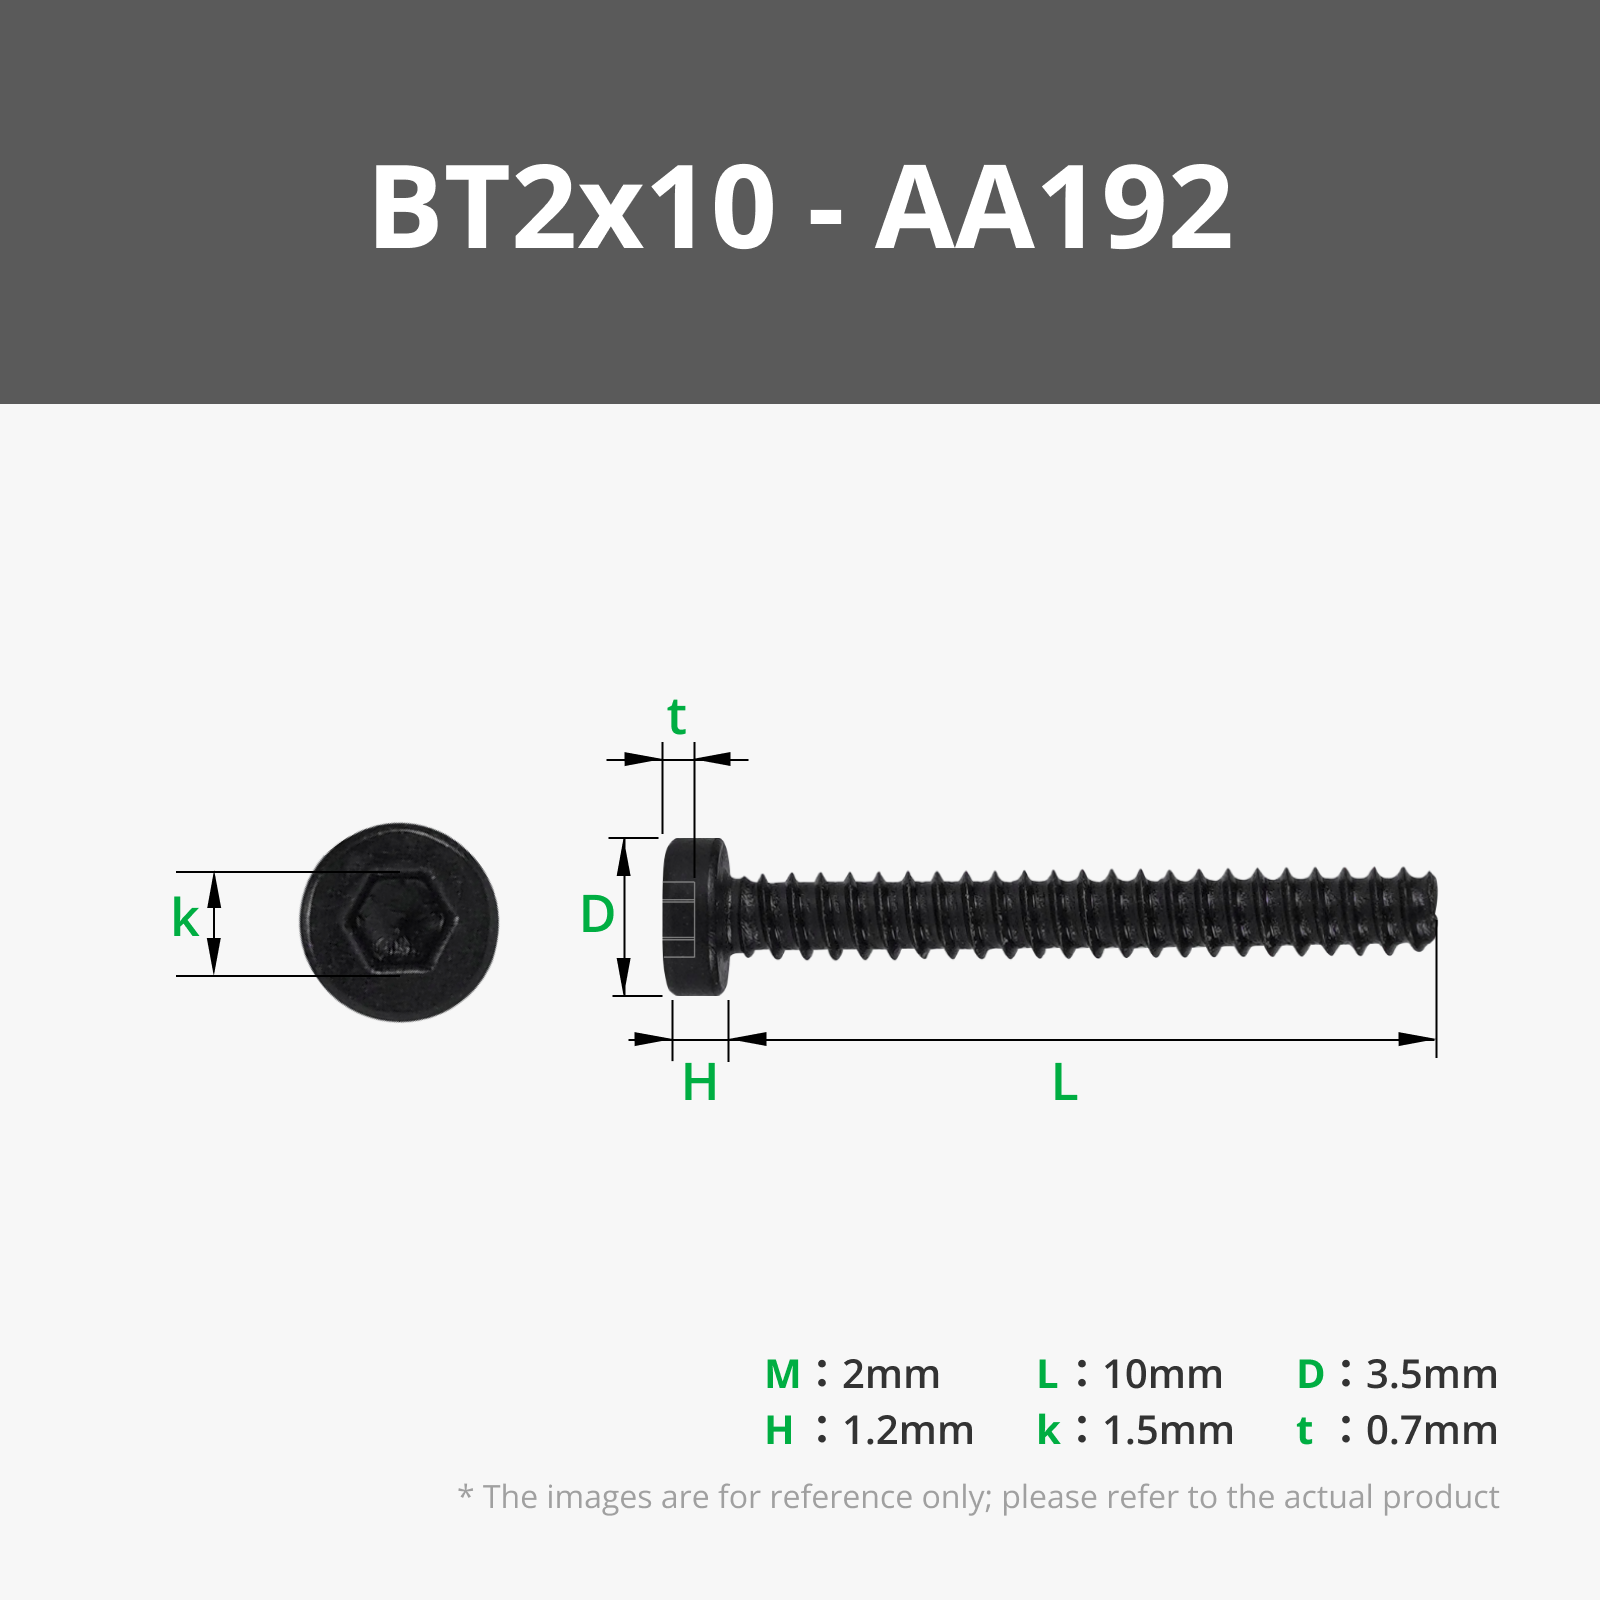
- M2x10 screw (AA192): 19 required. Lower camshaft mount (15x), complete V8 engine mount (4x)
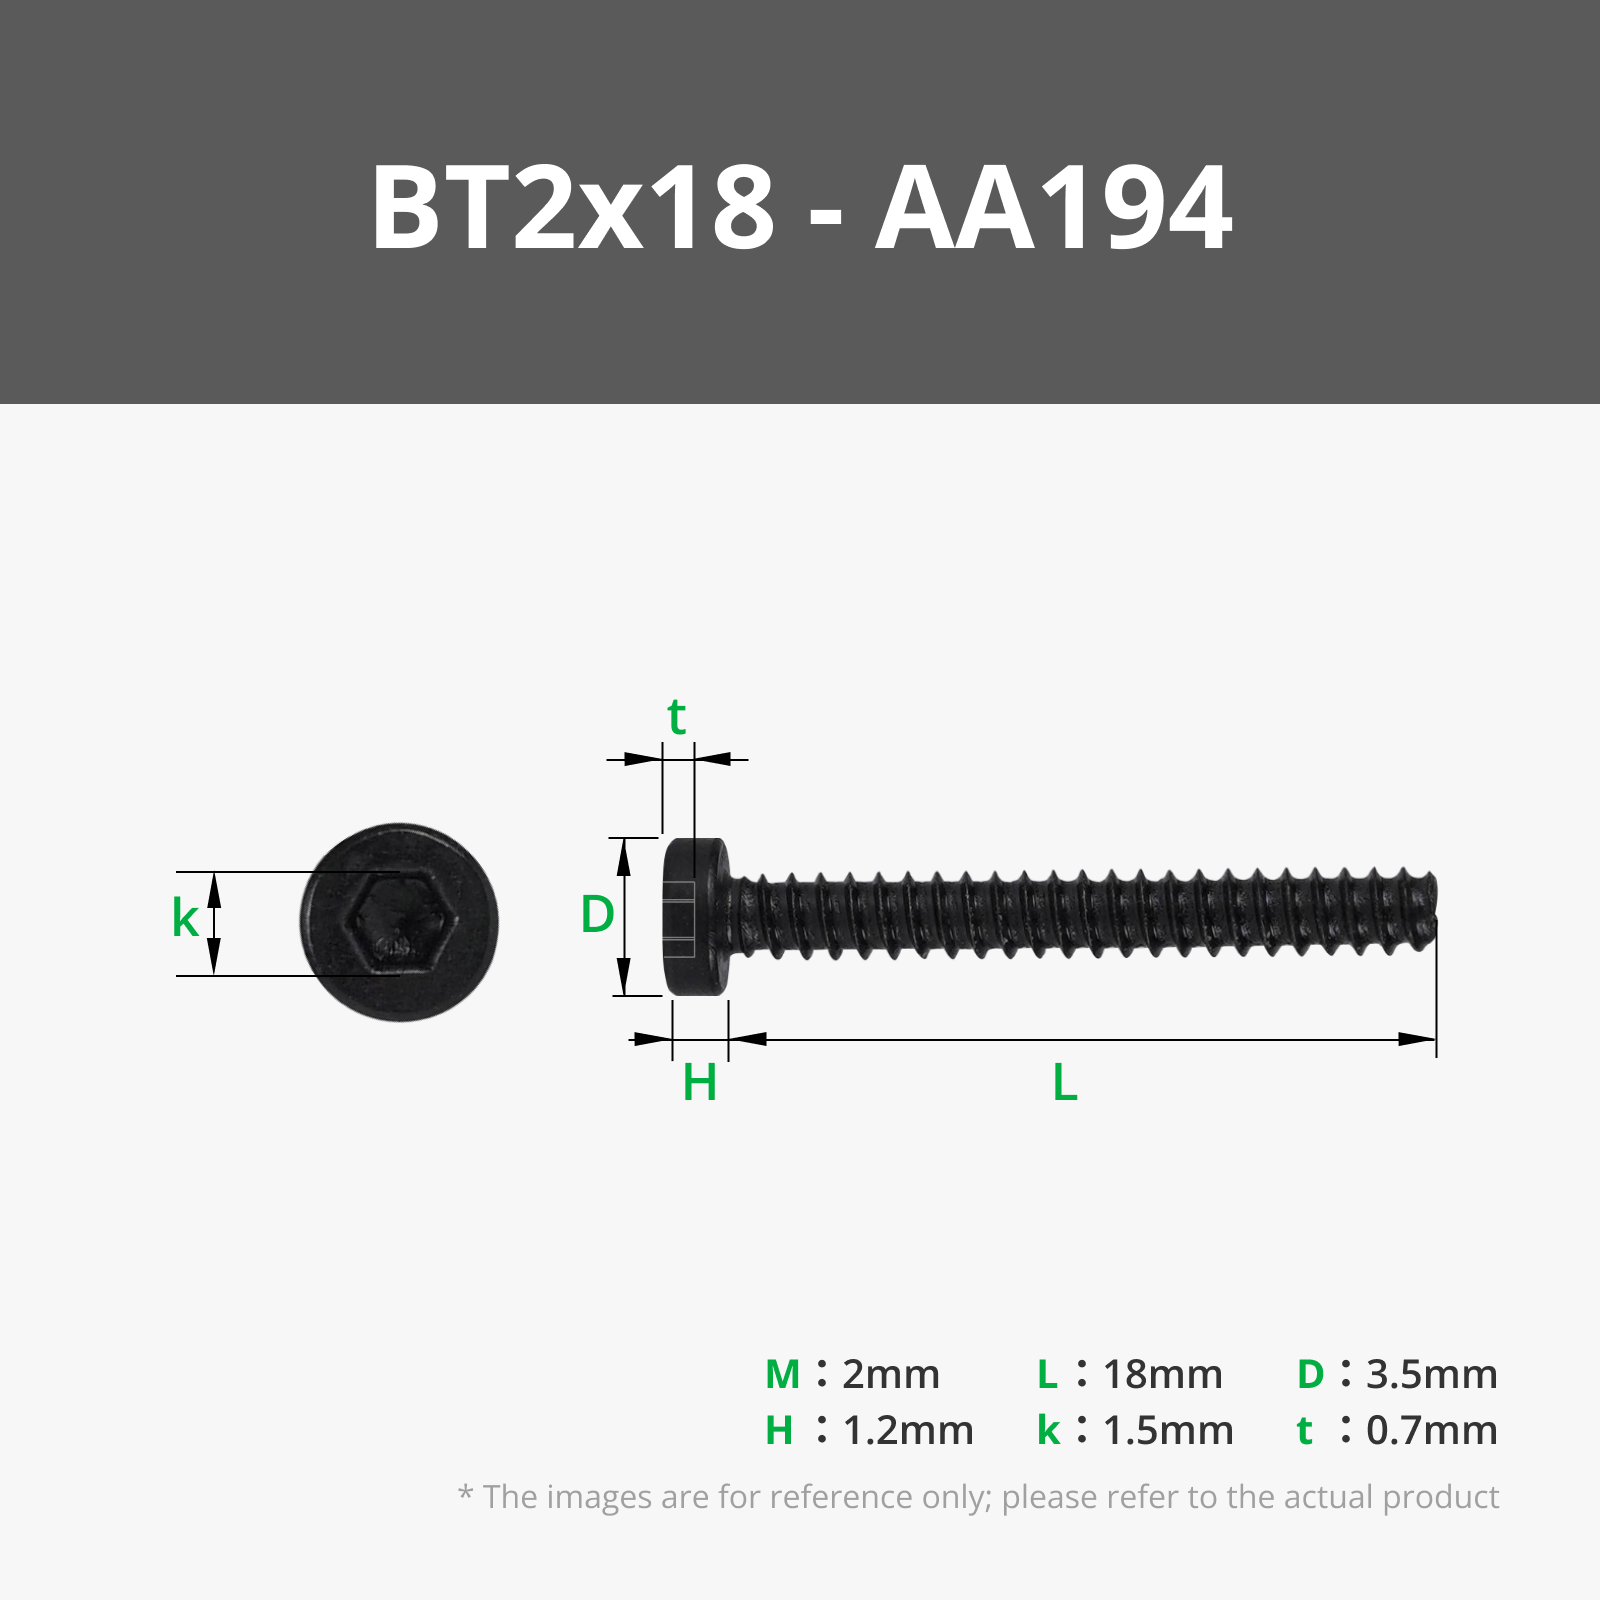
- M2x18 screw (AA194): 6 required. Right dowel pin mount (3x), left dowel pin mount (3x)
- M3x6 screw (AA107): 1 required for the drain screw at the bottom of the sump
- M1.6x4 screw (AA021): 2 required for mounting the engine to the bracket
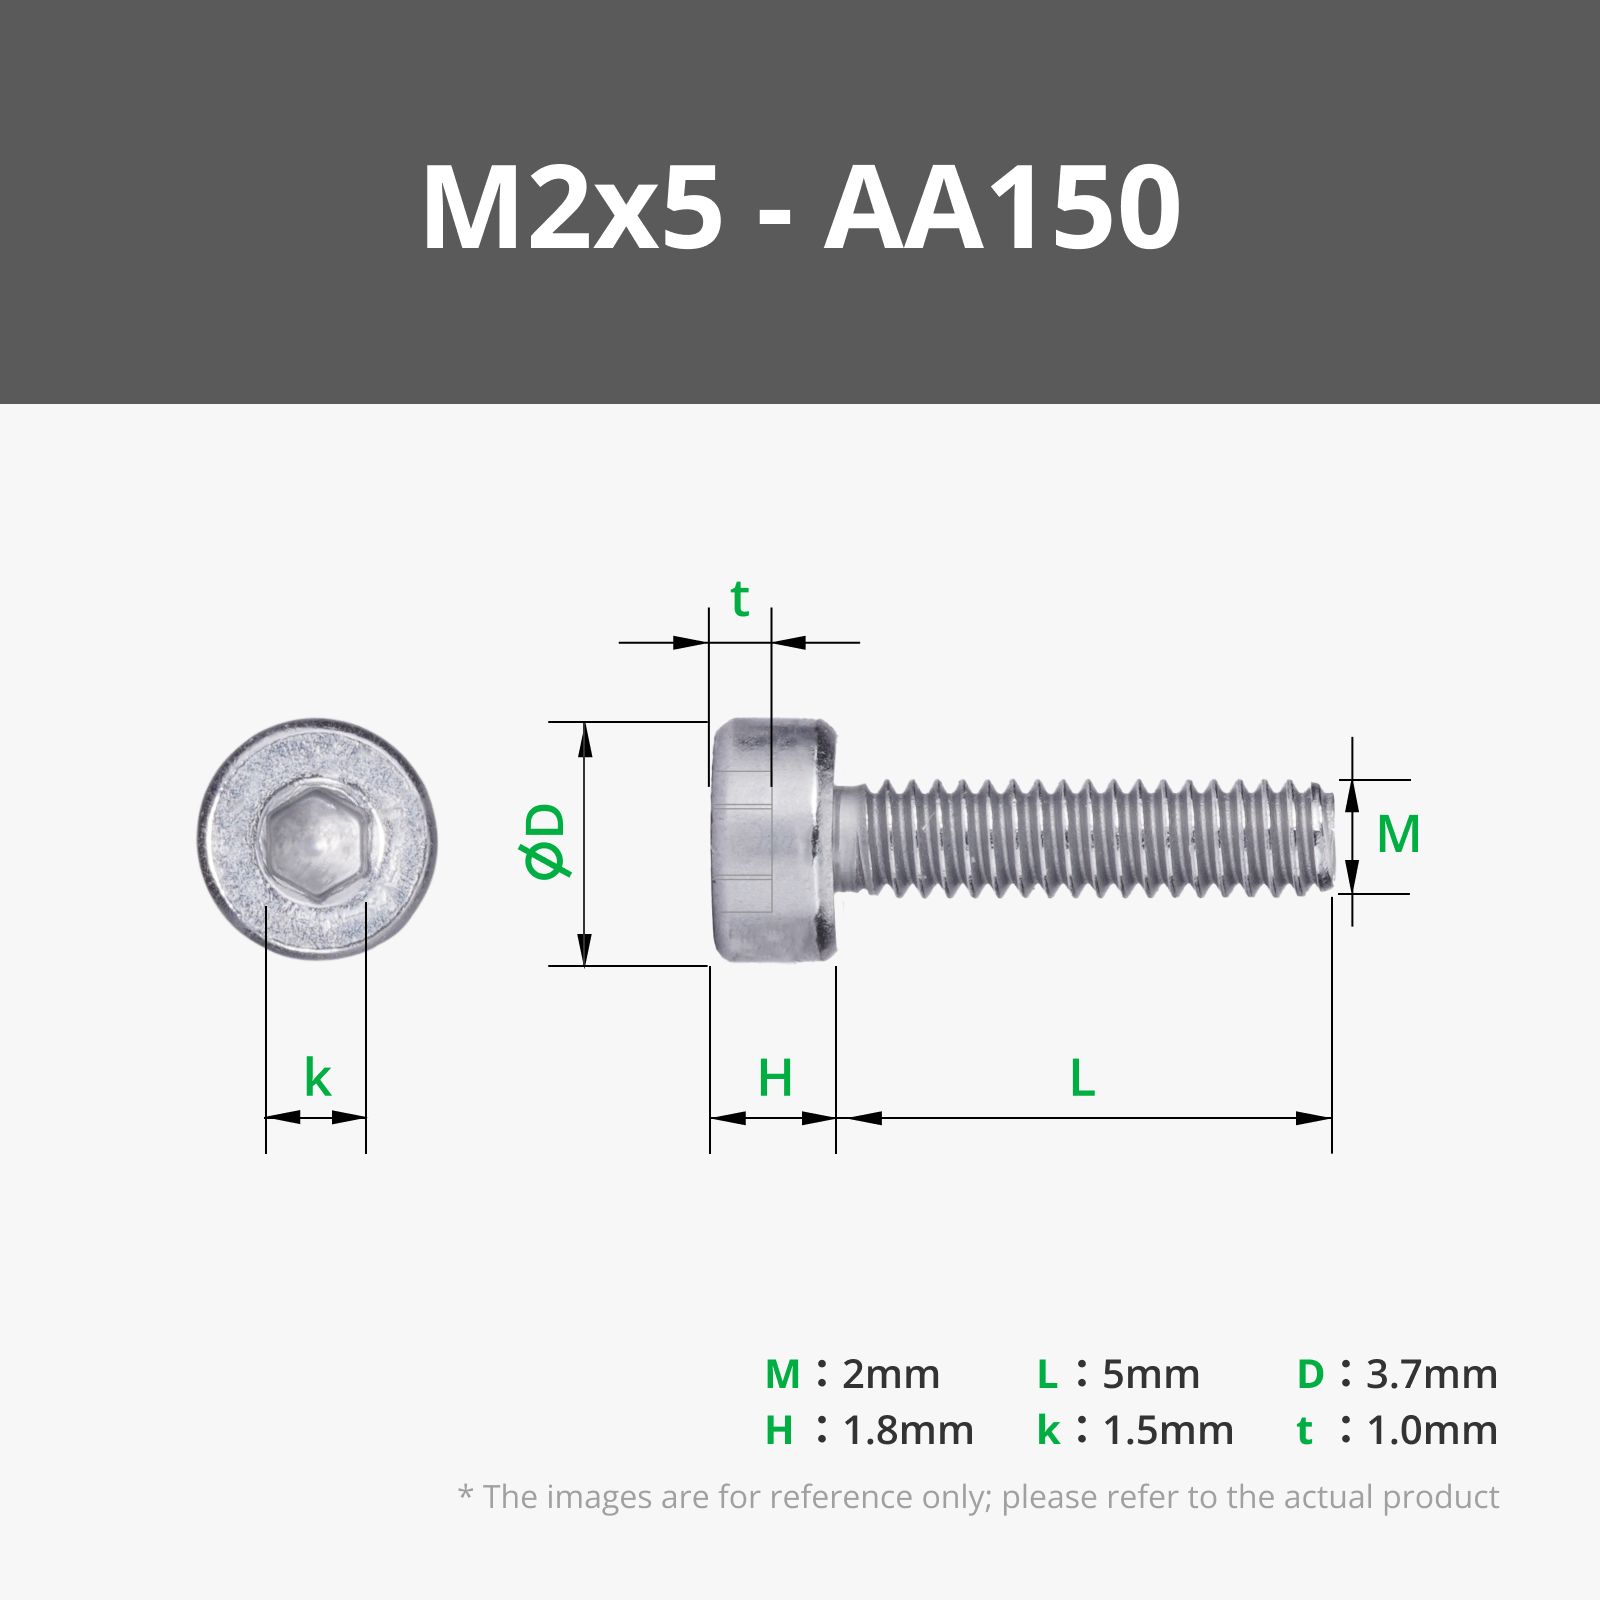
- M2x5 screw (AA150): 4 required. Self-locking push button switch mounting (2x), power distribution mounting (2x)
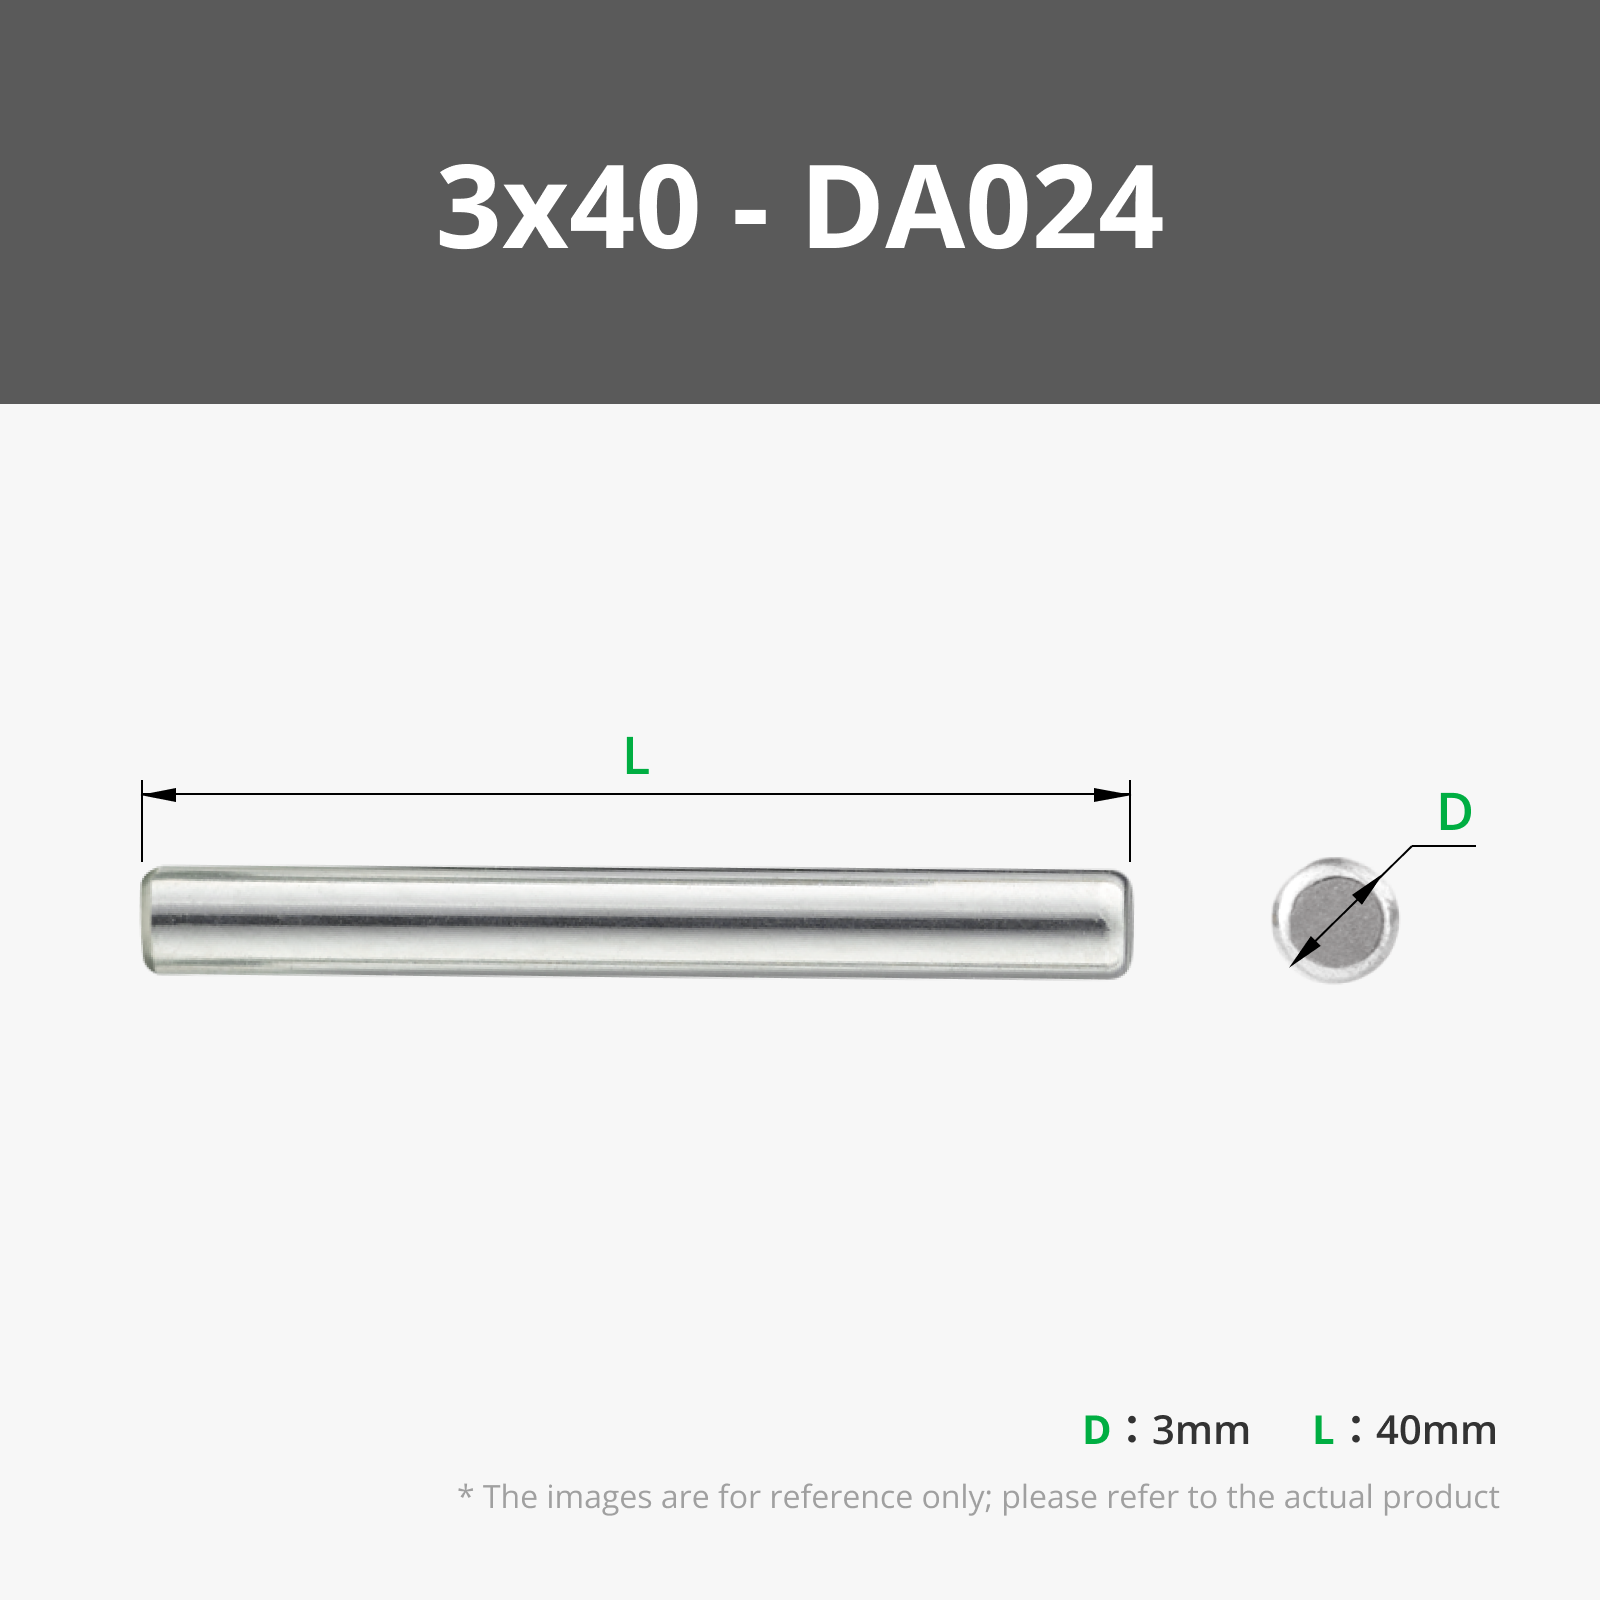
D3 x40 dowel pin (DA024): 20 required. Right intake and exhaust valves (8x), left intake and exhaust valves (8x), mount for the
intake/exhaust valve mechanism left (2x), mount for the intake/exhaust valve mechanism right (2x)
- N20 150rpm motor (LA002): 1 required to drive the connecting rod
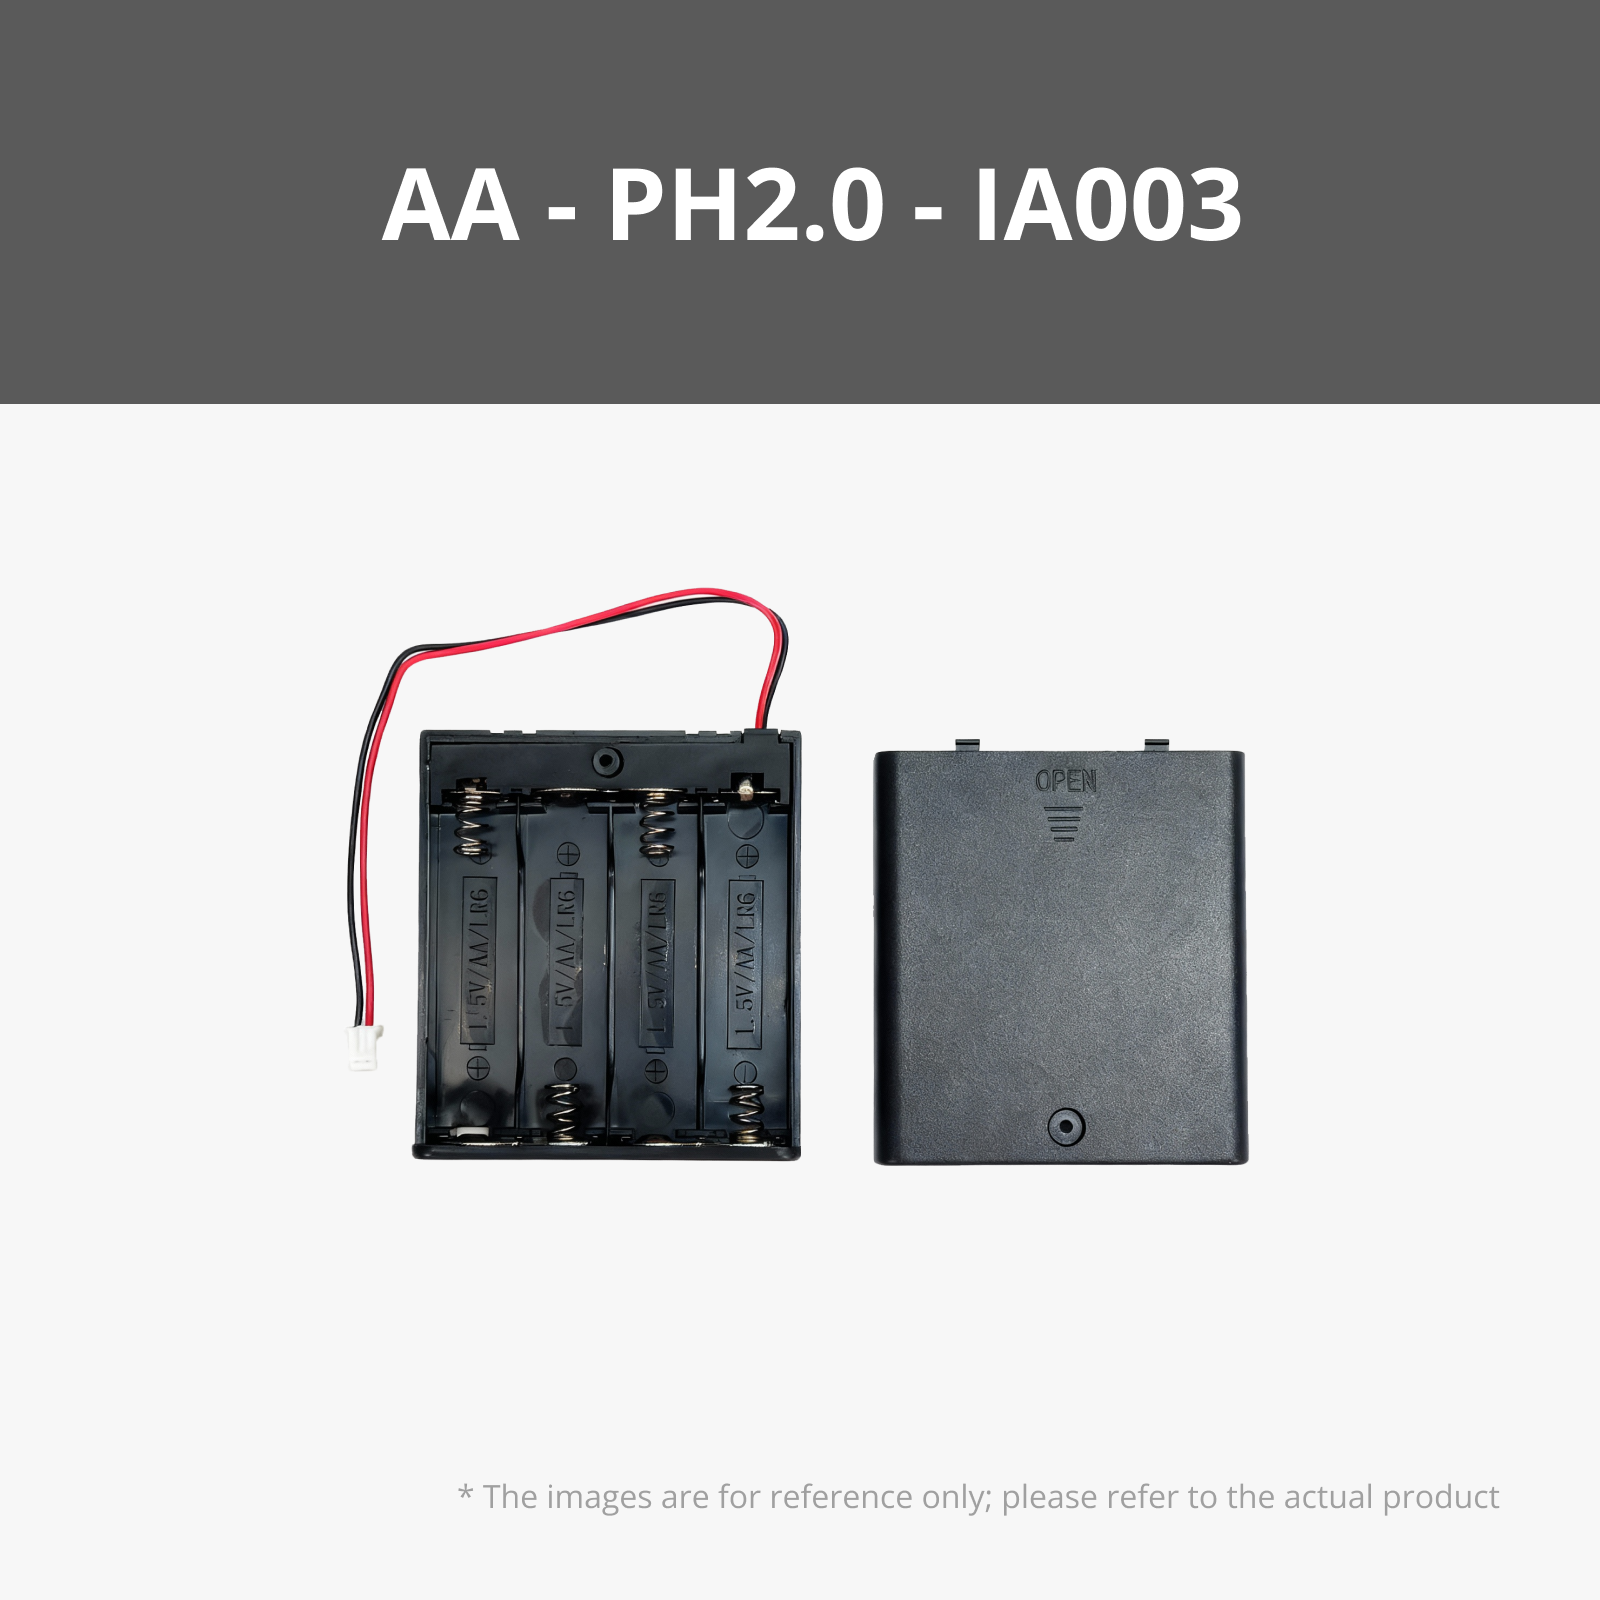
- Battery housing (IA003): 1 required to power the electronics
- Power distribution board (IA005): 1 required for the entire control system
- Self-locking push button switch (IA006): 1 required for switching the engine on and off
- Extension cable (IC004): 2 required for connections
- 0.3x3x10 compression spring (BB003): 16 required. Right intake and exhaust valves (8x), left intake and exhaust valves (8x)
Round brass threaded nut with heating element M2x3.5x4 (AB009): 4 required. Self-locking push button switch mounting (2x), power distribution mounting (2x)
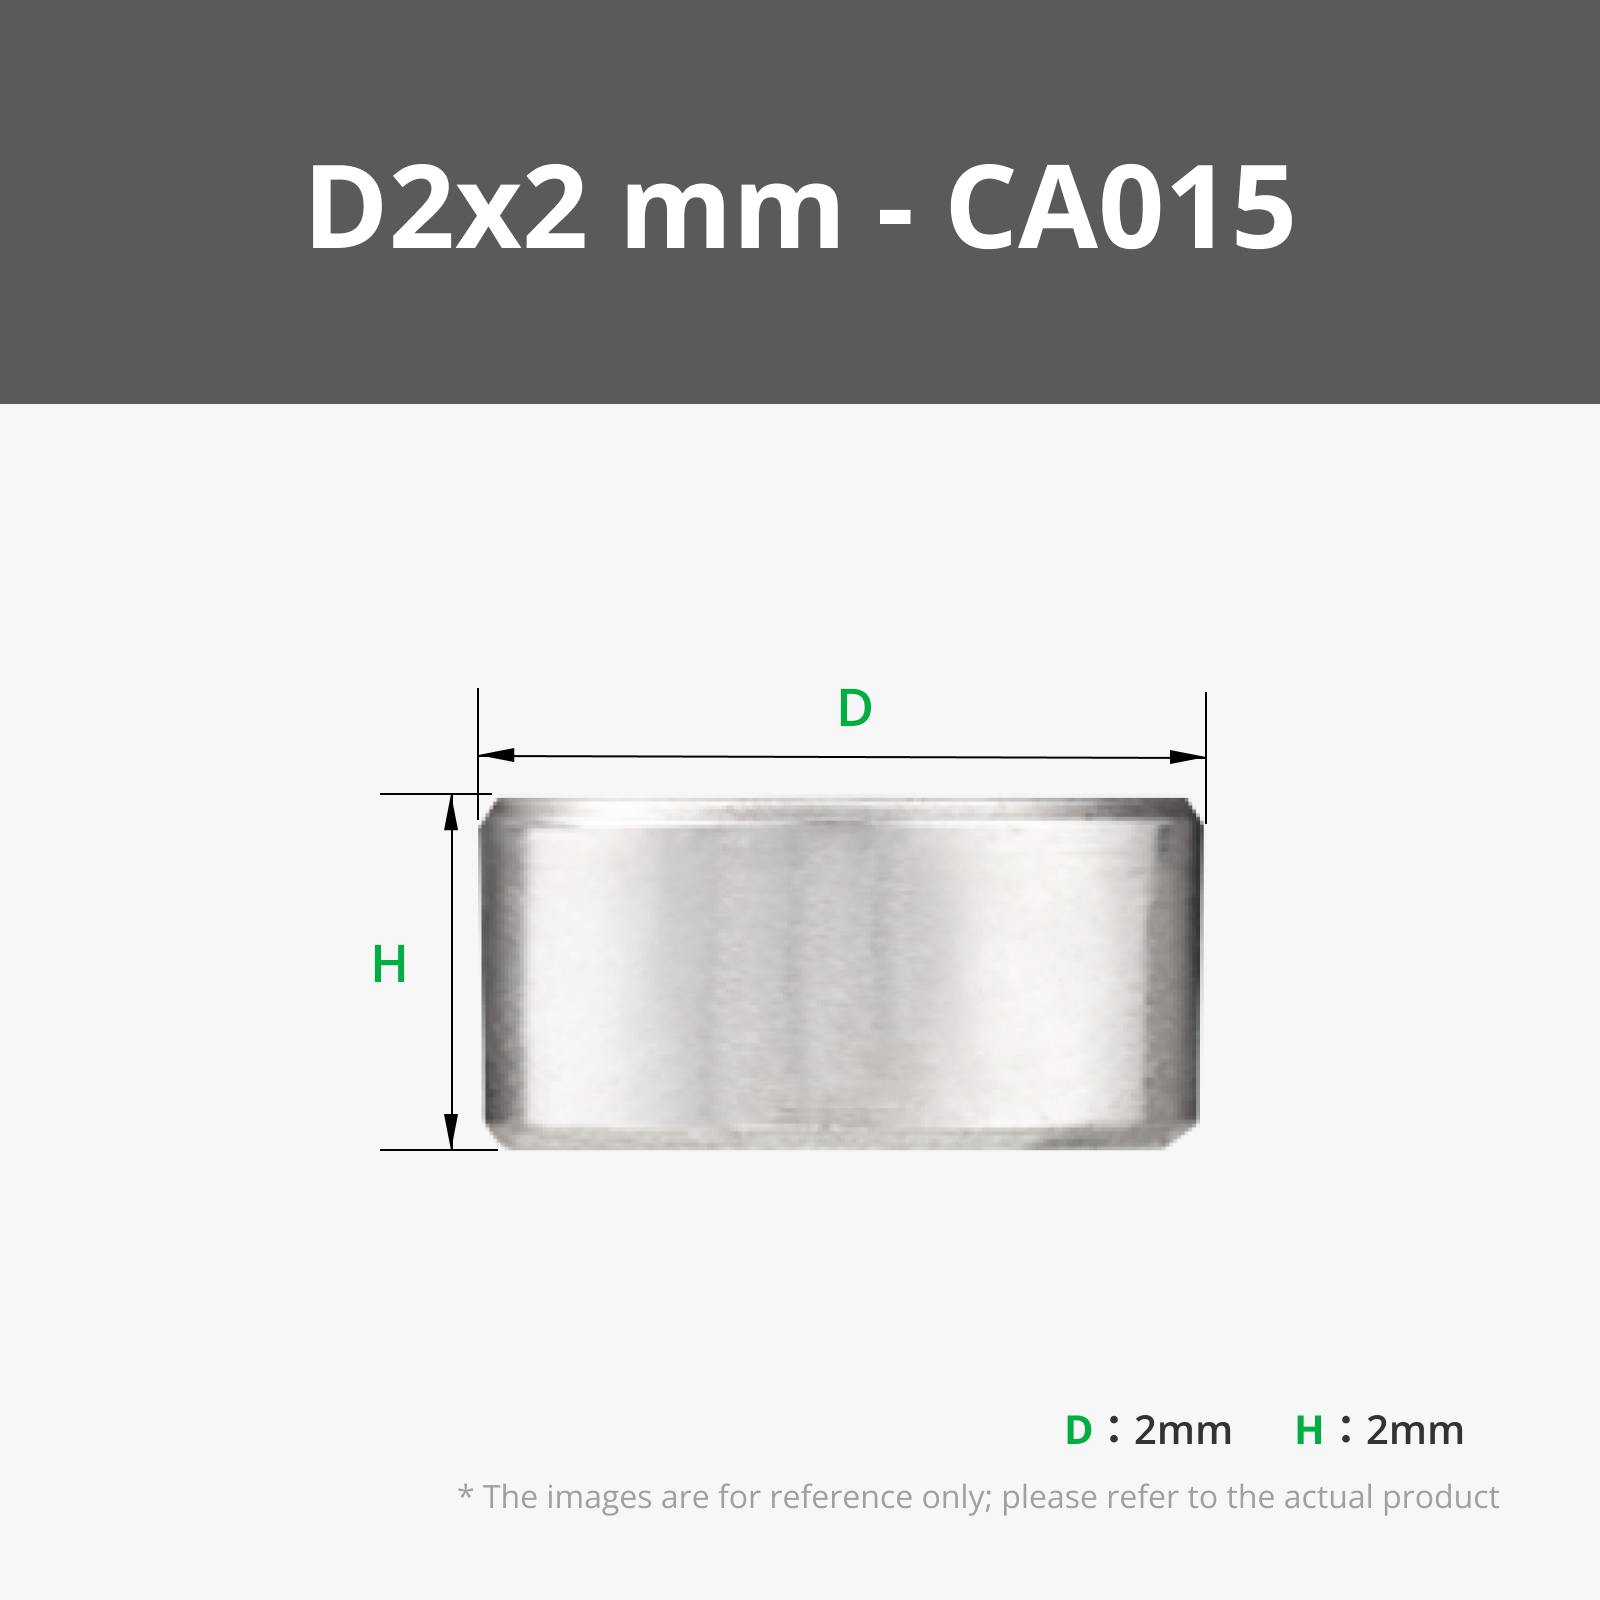
2x2 magnet (CA015): 244 required. For all parts that can be attached and detached.
- Complete V8 engine mount 16x
- Battery compartment mount 16x
- Left cover 20x
- Right cover 20x
- Rear cover 12x
- Front cover 32x
- Top cover 20x
- Left exhaust 16x
- Right exhaust 16x
- Top filter 8x
- Right intake and exhaust valve mount 20x
- Left intake and exhaust valve mount 20x
- Sump 28x
- 4x2 magnet (CA001): 16 required. Top cover on the right side (8x), top cover on the left side (8x)
Brief assembly instructions for the engine:
1. Preparing the Magnets and Cover
- First, adhere all magnets to their designated holes
- Then, attach the small camshaft cover to the rear of the engine using M2x6 screws
2. Piston Assembly
- Preparing the Pistons:
- Invert the engine block
- Each piston requires two small seals and one larger seal. Slide the seals onto the connecting rod
- Insert the rod through the designated hole and attach the connecting rod to it
- Secure the rod to the piston on both sides with adhesive to prevent it from slipping out later. This prevents snagging in the piston hole
- Repetition:
- Repeat this step for all eight pistons
3. Crankshaft Installation
- Preparation:
- Place the small black half-rings into their designated recesses in the lower part of the engine block
- Insert the crankshaft the entire length of the block
- Attaching the Mounts:
- Also equip the crankshaft mounts with the black half-rings
- Use M2x10 screws to secure the half-rings to the mounts
- Mounting the Mounts:
- Attach the five mounts to their designated locations on the engine block. Initially, screw them loosely
- While doing so, carefully rotate the crankshaft to the right and left to remove any potential pressure errors or protrusions
- Then, gradually tighten the mounts until they are securely in place
4. Inserting the Pistons
- Mounting the Pistons:
- Insert the pistons from below with the connecting rod
- Secure them with the counter mount and M2x6 screws
- Ensure that the piston holes are slightly offset on the right and left and follow a specific pattern (left first, then right)
- Inspection:
- Carefully rotate the connecting rods to remove small protrusions. Repeat for all eight pistons
5. Final Engine Assembly
- Attaching the Bottom Cover:
- Attach the bottom cover and secure it with M2x6 and M1.6x4 screws
- Route the engine cable through a mount and connect it to the power distribution (e.g., channel CH4). Insert a jumper in the black connector at SW4
- Mounting the Electronics:
- Use a soldering iron to melt the round brass threaded nuts into the designated holes
- Attach the self-locking push button switch and the power distribution with M2x5 screws
- Connect the push button switch to SW0 and the battery housing to the IN input
6. Valve Installation
- Installing the Valves:
- Use the small white rods and place a compression spring on the smaller end
- Insert the rods through the designated holes and secure them with adhesive and the appropriate washers (small for intake valves, large for exhaust valves)
- Repetition:
- Repeat this process for all sixteen valves
7. Positioning the Mounts
- Attach the three central mounts. Note that the left and right mounts differ. Test the alignment of the holes before tightening them
- Use M2x6 screws to connect each mount to the engine block
8. Pushrod Mechanism
- Installing the Pushrods:
- Insert the pins (D3x40) through the mounts and place the parts in the following order:
- White pushrod (with a slightly slanted top)
- 3 small black rings
- Next pushrod and 5 black rings
- White pushrod and again 3 rings
- Insert the pins (D3x40) through the mounts and place the parts in the following order:
- Completion:
- Repeat the process for all four mechanisms
9. Completion
- Close the engine, attach the housing, and connect all cables. Start the engine and marvel at the synchronized up-and-down motion of the pistons
Note
If you have any questions or the description is unclear, please refer to the accompanying video. It provides a visual assembly guide
Boost Me (for free)
I am grateful for every boost
Documentation (1)
License

You shall not share, sub-license, sell, rent, host, transfer, or distribute in any way the digital or 3D printed versions of this object, nor any other derivative work of this object in its digital or physical format (including - but not limited to - remixes of this object, and hosting on other digital platforms). The objects may not be used without permission in any way whatsoever in which you charge money, or collect fees.


Comment & Rating (52)