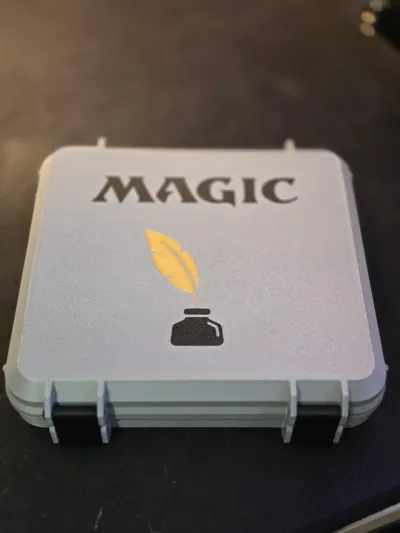
Magic the Gathering Dry Erase Token and Marker Box


Print Profile(1)

Bill of Materials
Description
DETAILS
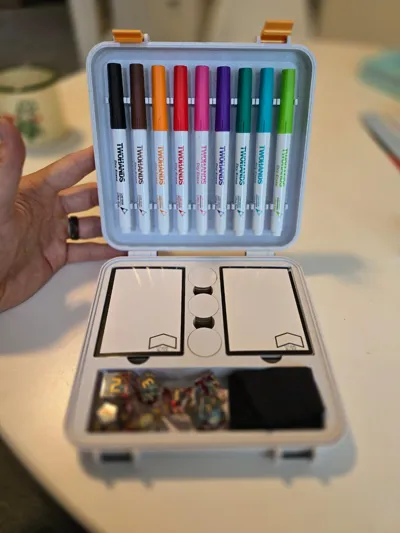
Custom token box remixed from a parametric box on Thingiverse. Holds at lease 50 standard size dry erase tokens, and 18 dry erase ability counters. Compartment for dice or other accessories. Lid holds 9 small dry erase markers, around 10.5mm-11.5mm in diameter. Ribs have been slightly modified from box pictured — I removed where the side ribs hit the buildplate, as it makes for more consistent printing.
I have redesigned a new and improved version with larger, more robust marker clips, larger token holes (still not Infinitoken large), deeper accessory compartment, and larger, more usable thumbholes. Unfortunately I won't be offering the files for this never version here, but please feel free to remix and add any improvements to this original version that you see fit! If anyone is interested in purchasing the new model, it can be done here.
PRINTING
Print as aligned in file, no need for any supports. Most of my filaments printed fine without a brim, but my marble filament did need a brim, so I've added it to the profile to be safe, feel free to turn that off. Pictured model is printed at .16 High Quality preset, 10% infill.
CONSTRUCTION
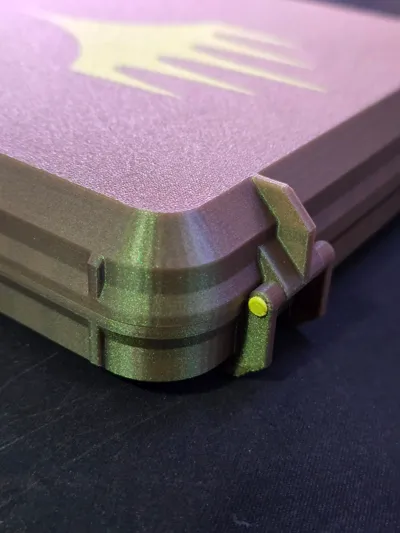
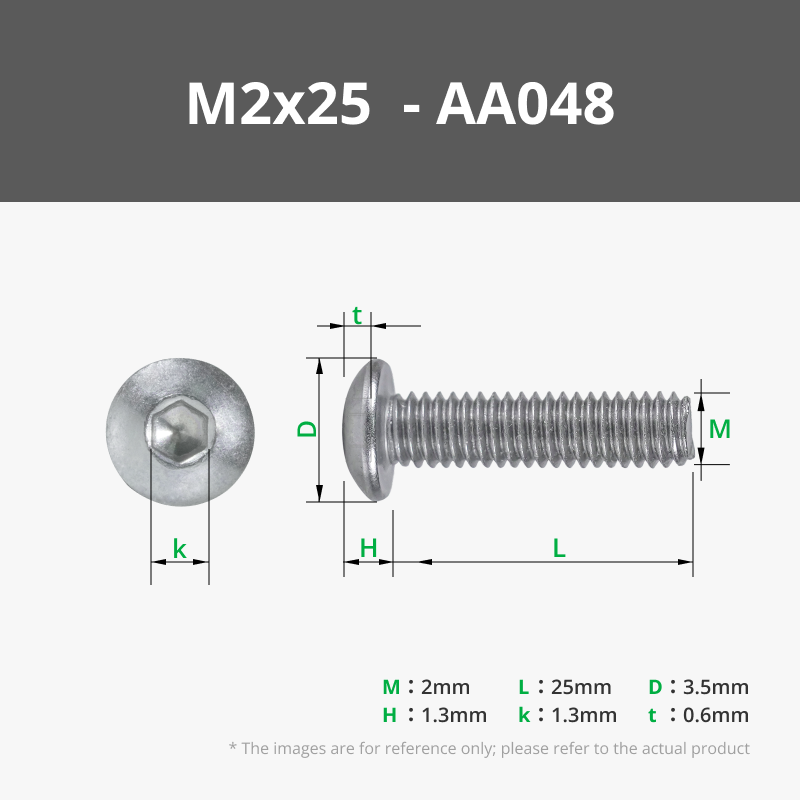
Hinge can pinned with a piece of filament, melted on each end, recommend PETG or stronger. I used a soldering iron with a flat tip, but a lighter works, just be careful! You can use M3 bolts, bolts, but the holes will need to be widened slightly.
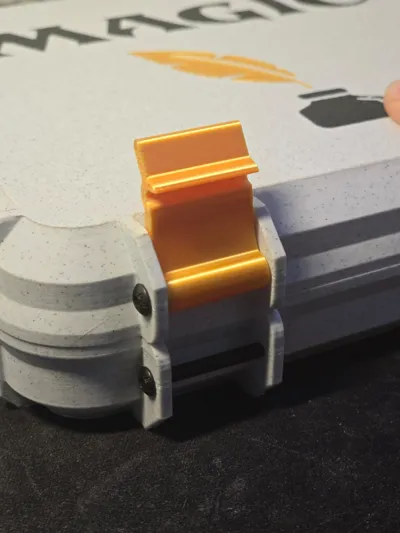
Front latch uses M3 bolts, can thread through and nut the end, heat insert one side, or screw directly into the part. Some drilling or filing of the holes may be necessary depending on your printer's tolerances.
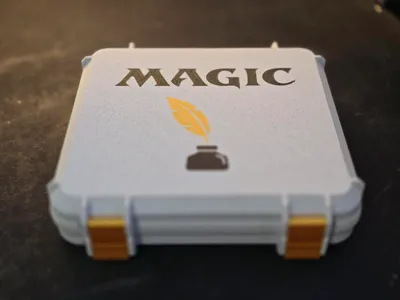
NOTE: Sorry, I can't upload the 3MF with the Magic logo, as it's protected. To add that, find any SVG file you want to use > Right Click > Add Modifier > Load > select your SVG > size and position as you wish, then right click > Change Filament > select the filament you want each piece to be.

Comment & Rating (59)