
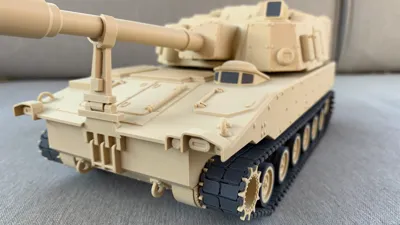
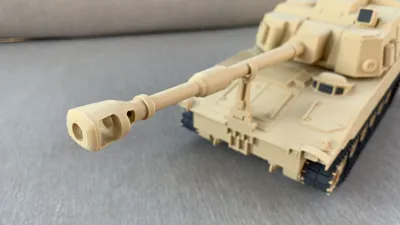
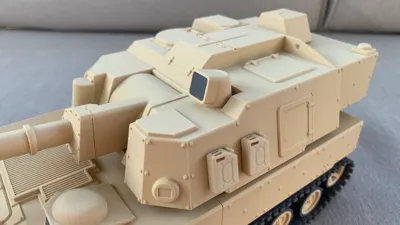
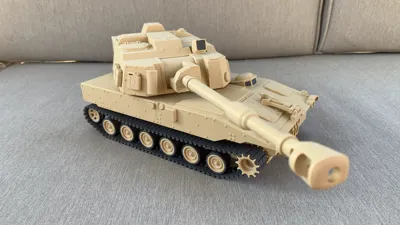
M109A7 Paladin Self-Propelled Howitzer

Print Profile(5)


Description
Boost Me (for free)
If you enjoyed this print, help a Jarhead out by dropping a boost! -SF
Please make sure you are printing the tracks at 0.08 mm layer height.
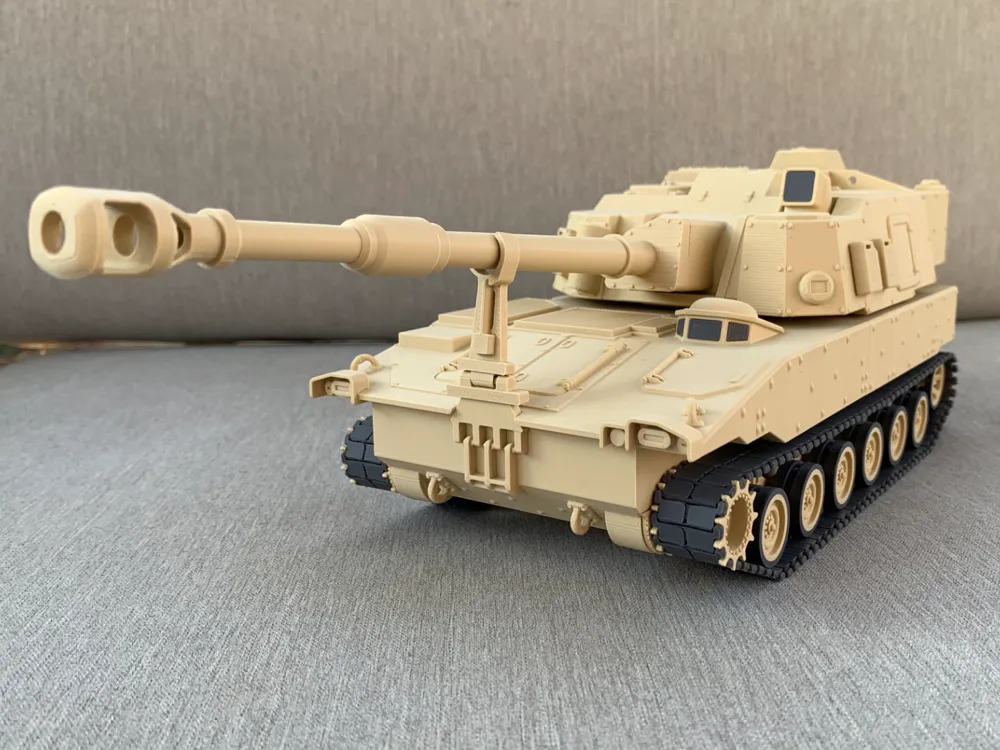
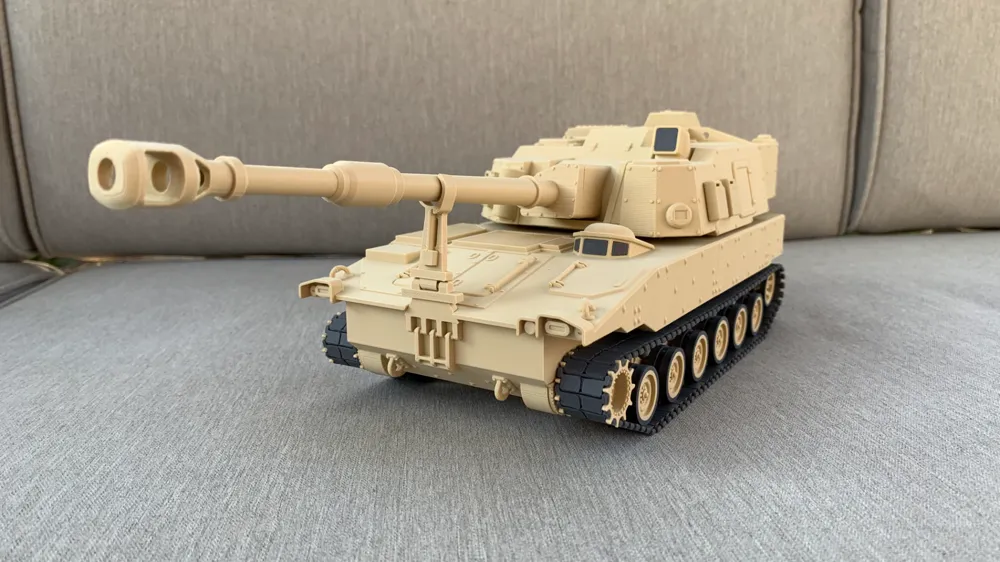
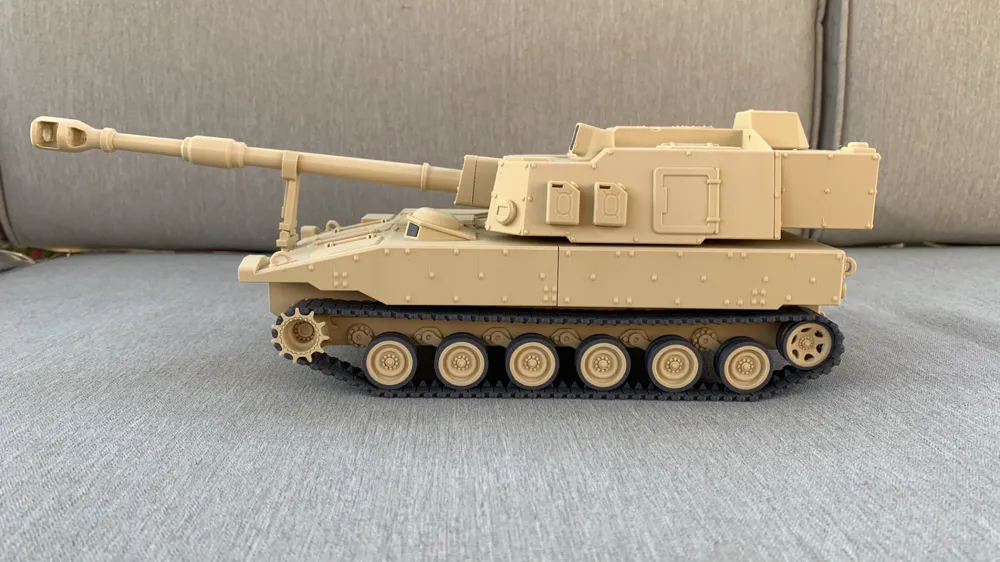
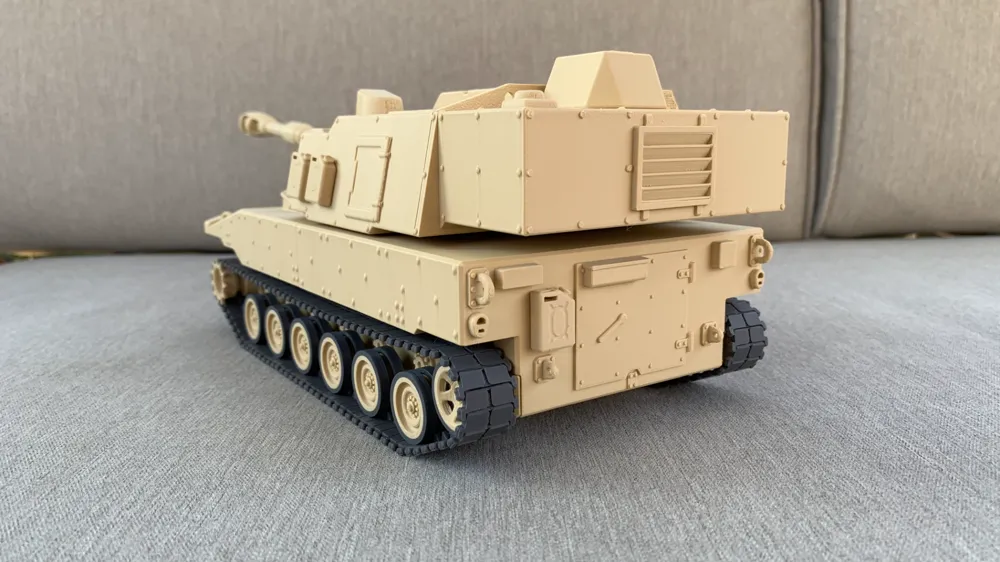
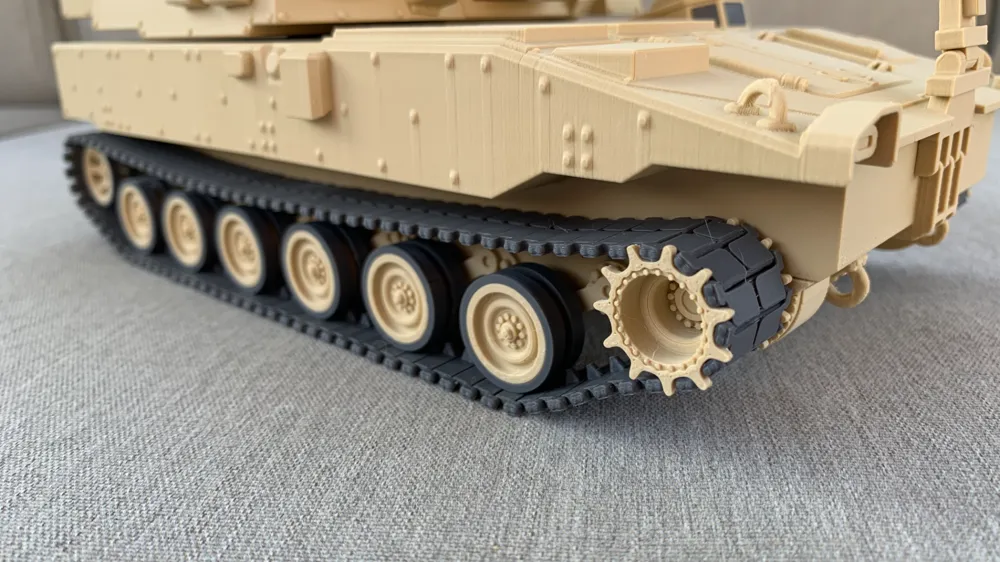
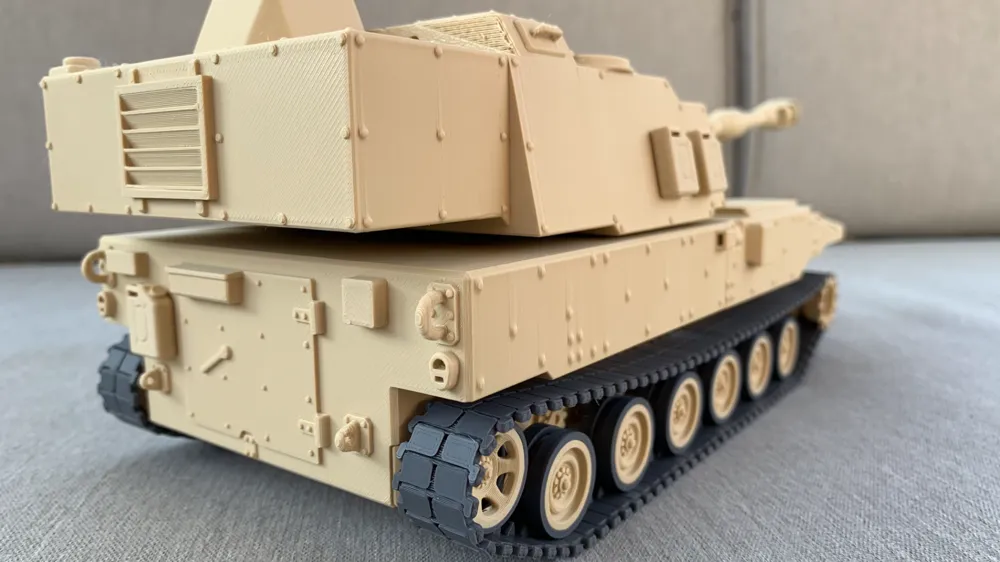
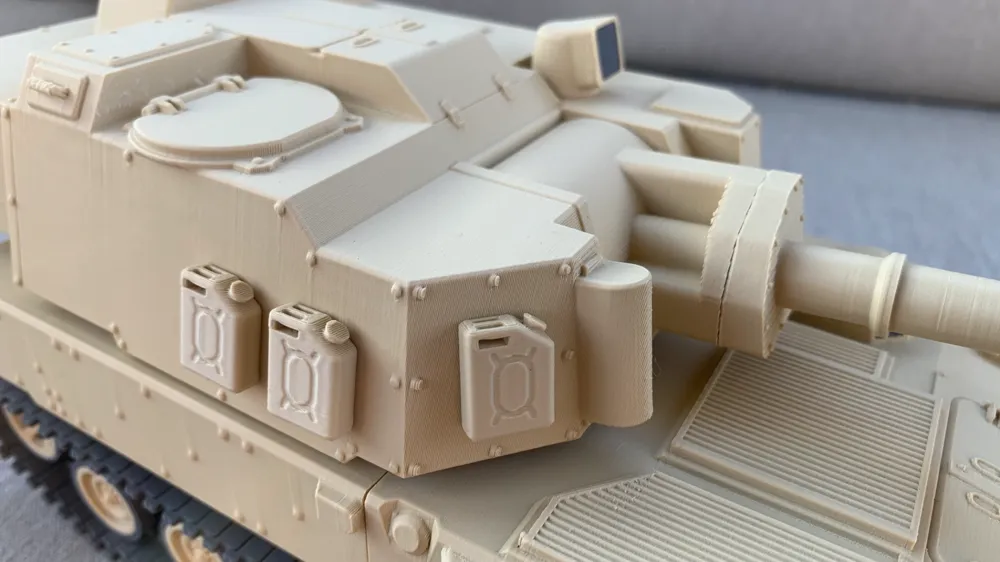
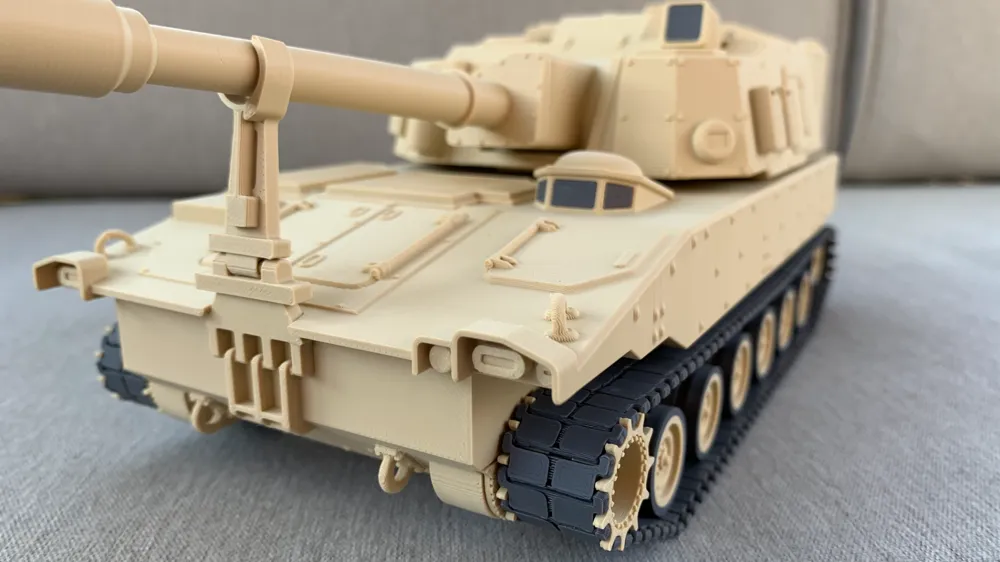
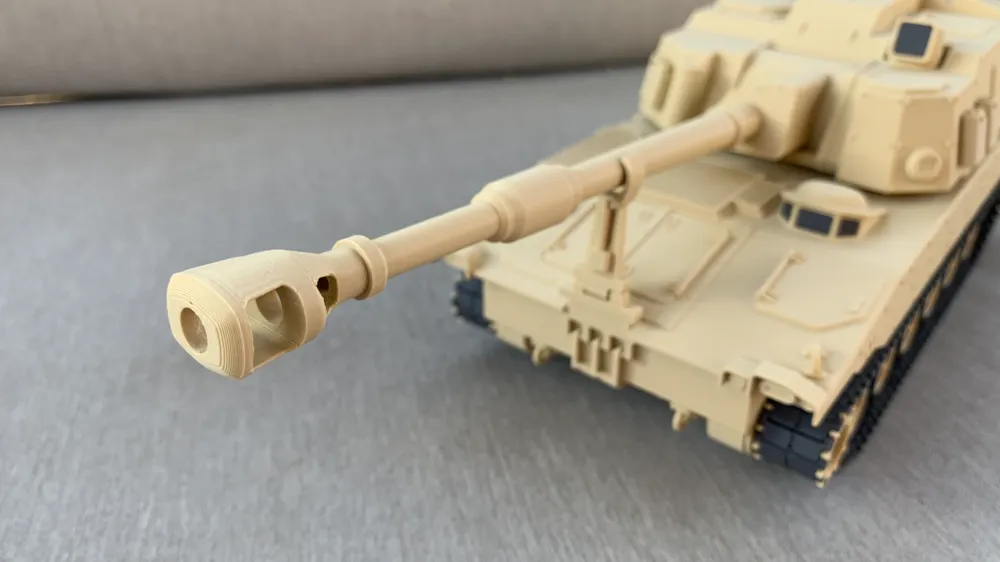
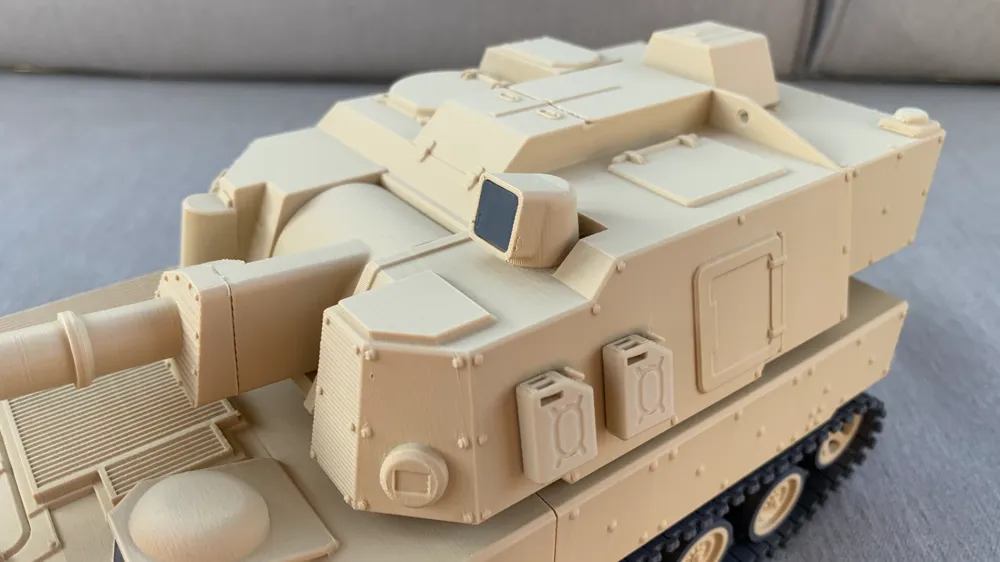
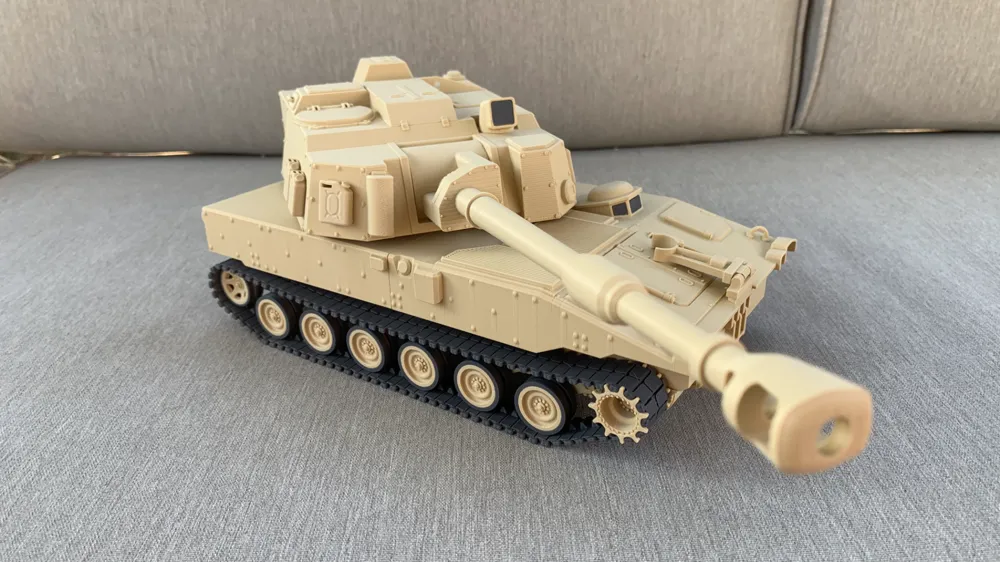
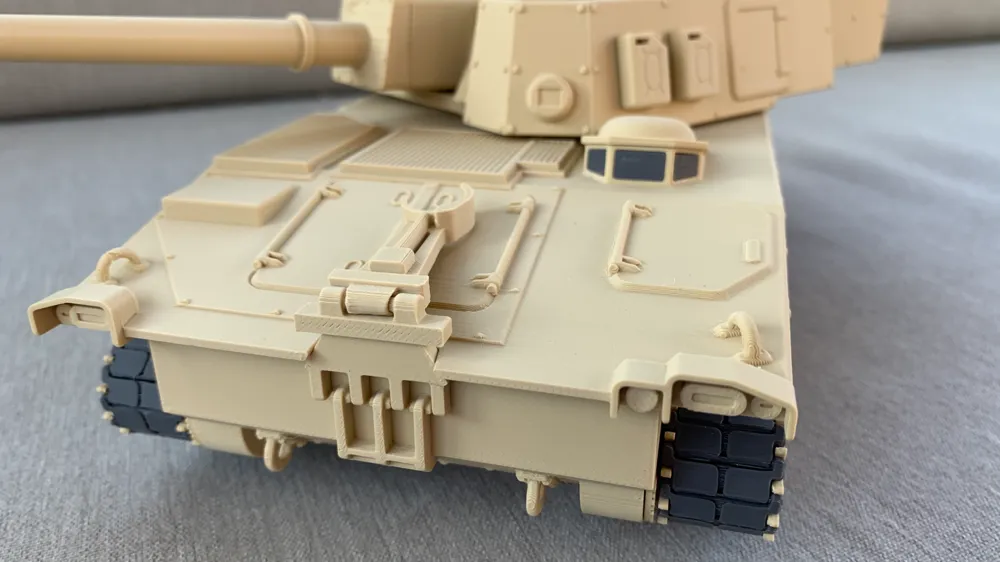
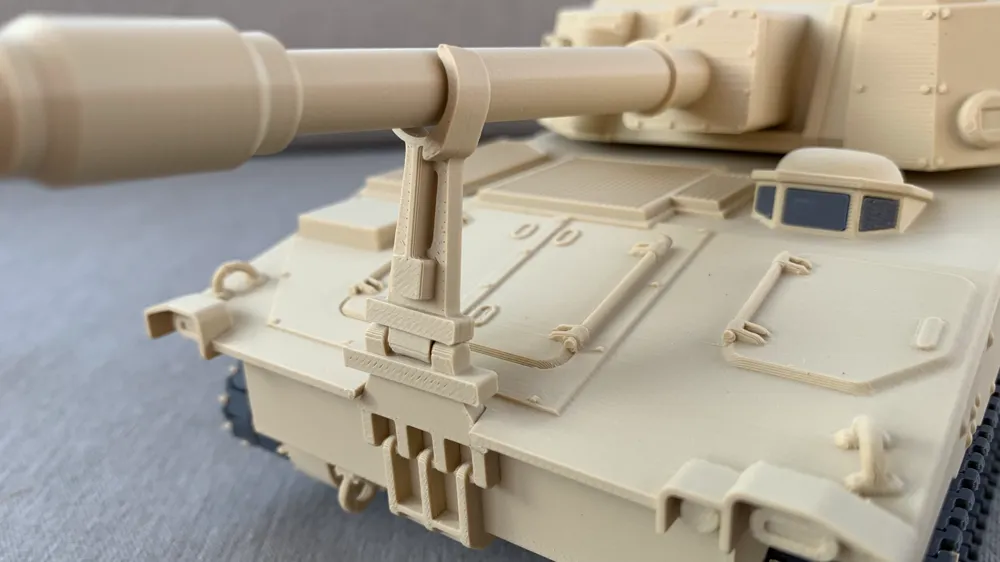
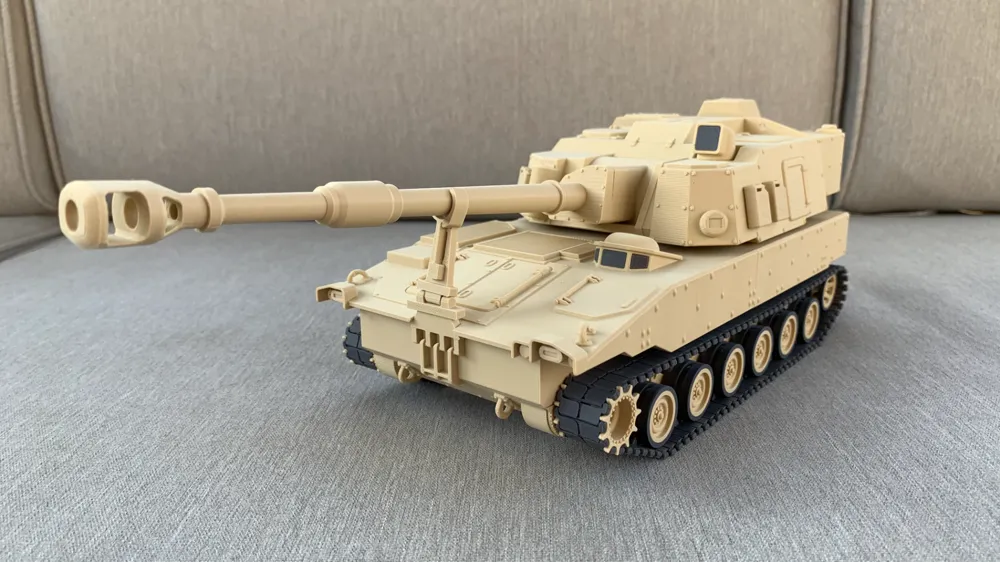
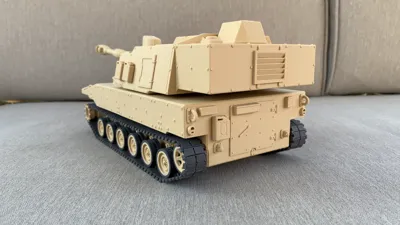
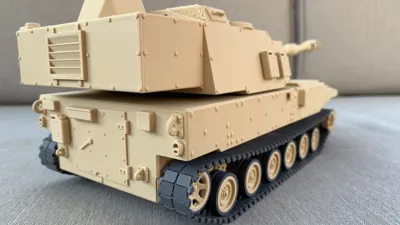
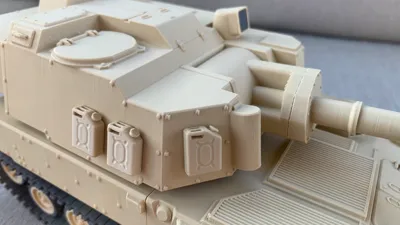
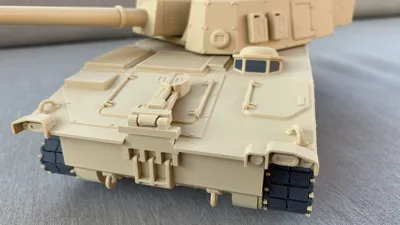
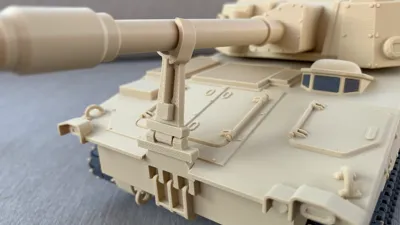
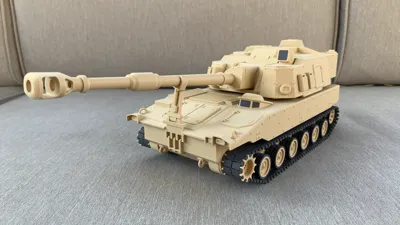
This is a detailed and fully printable M109A7 Paladin Self-Propelled Howitzer modeled from scratch with Autodesk Fusion. This vehicle is currently operated by the U.S. Army and can fire 155mm barrages of Freedom and Democracy. This 1:27 scaled model is meant to be a static desktop display that's fun to put together and nice to look at. Currently, neither the gun nor the tracks can move around, but that could change later on. This model does not require an AMS.
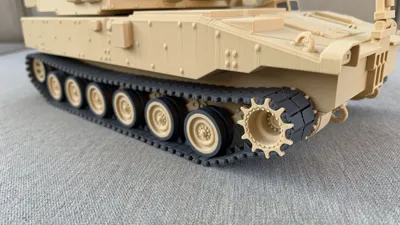
Although many of the main components can be press-fitted together, it will require a little bit of plastic glue and a lot patience as all 182 track links (91 on each side) have to be clipped together one at a time. Have some fun with it, I welcome any positive feedback.
Here's a banana for scale so you know what you're getting into:
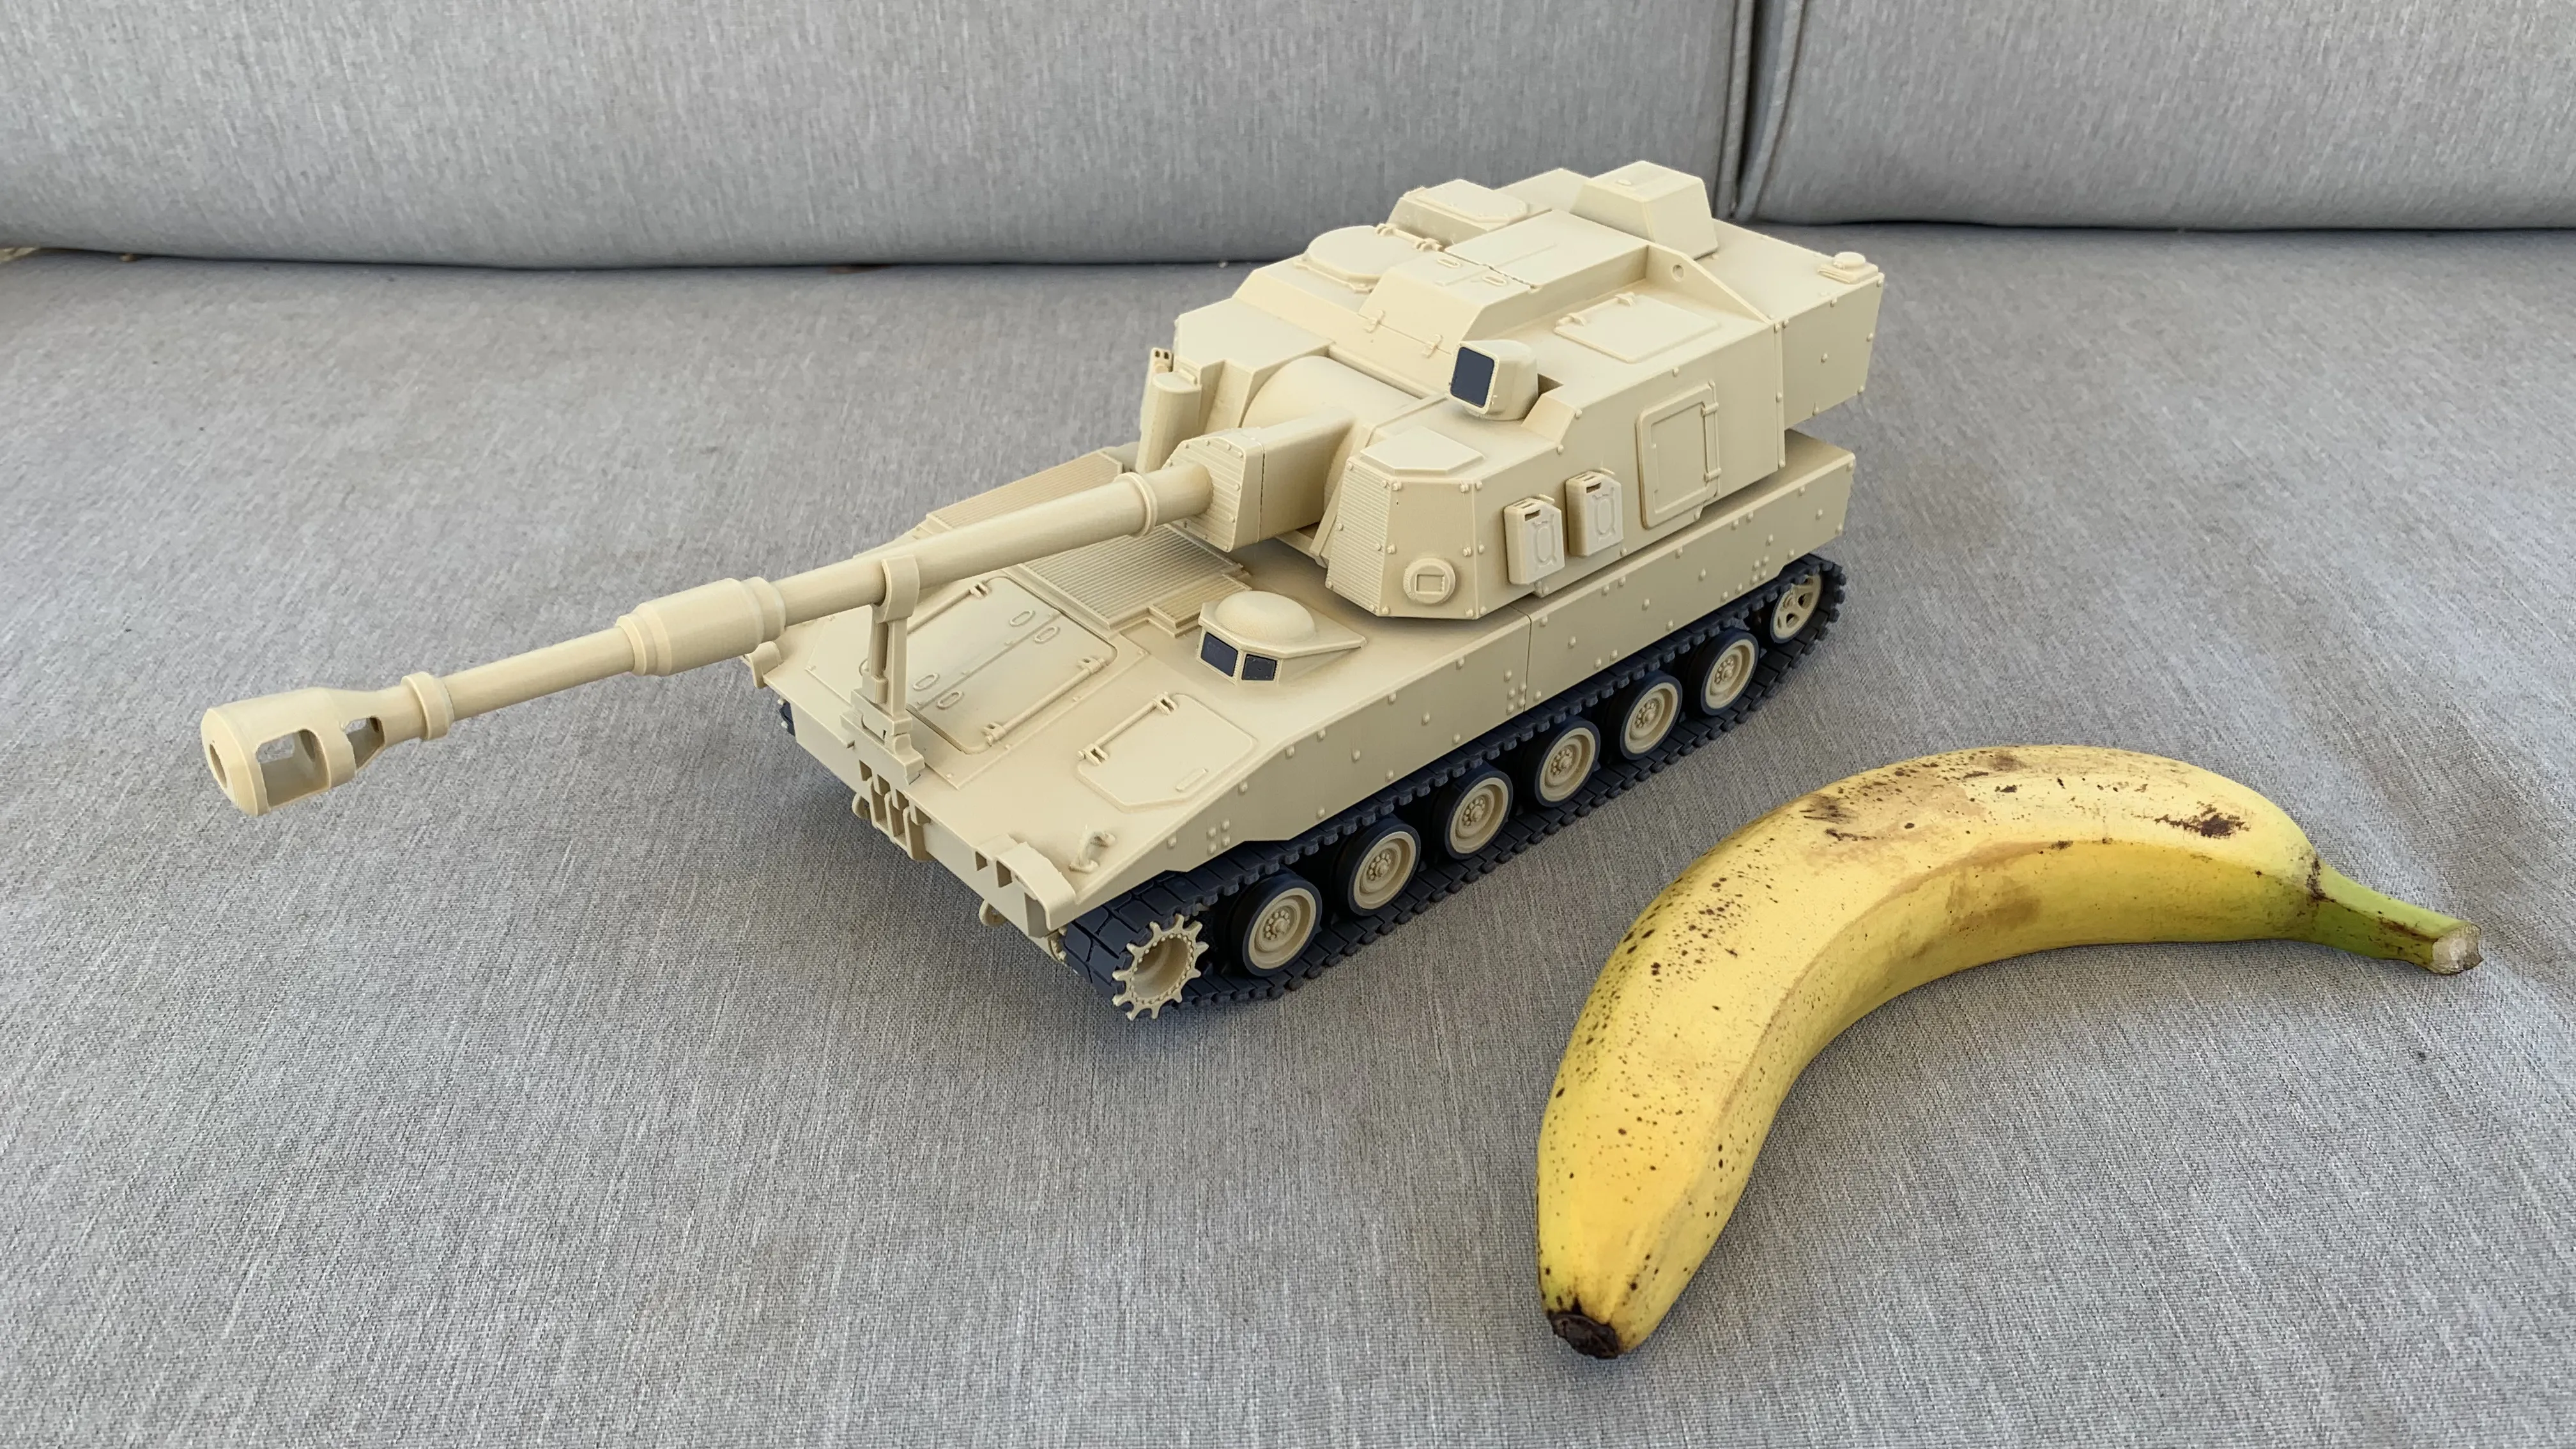
Filaments used: Bambu PLA Basic Dark Grey (10105) + Bambu PLA Matte Desert Tan (11401)
Brief assembly instructions
Assembling the components for this model is pretty straight forward. But if you don't know where to start, simply follow the steps below:
Hull/turret assembly
- Use the provided dowel pins to join the sections together, those are there so you don't spend too much time with alignment. Those parts could also be press-fitted, but a little bit of glue is recommended.
Track system assembly
- Fit the circular tires onto the roadwheels and the rear idler, note that there are two different types of tires, there are 4 tires that are slightly thinner than the rest, those will go onto the rear idler. The thicker ones goes onto the roadwheels. Glue is required if the parts are slightly lose.
- Place the drive sprocket, roadwheels, and the rear idler onto the wheel housing plate, glue is required to keep the components attached.
- Attach your assembled wheel housing to the hull you previously assembled. Glue required.
- Assemble the track links, 91 links on each side. Use a flat surface to press the track links into each other. Highly recommend doing sets of 10 links do you don't lose count.
- Wrap your assembled tracks around and enclosing all the wheel components.
Membership
Want commercial license? You just found it!
License

You shall not share, sub-license, sell, rent, host, transfer, or distribute in any way the digital or 3D printed versions of this object, nor any other derivative work of this object in its digital or physical format (including - but not limited to - remixes of this object, and hosting on other digital platforms). The objects may not be used without permission in any way whatsoever in which you charge money, or collect fees.


Comment & Rating (463)