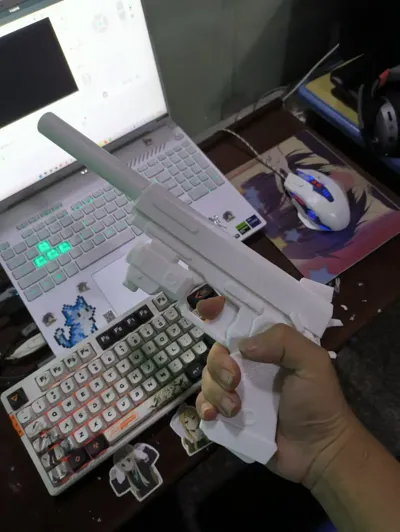
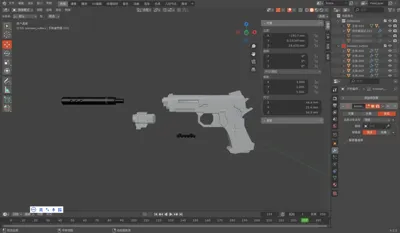
Azur Lane Kaga 2011 Launcher


Print Profile(1)
Description
Printing Guide
Recommended to use single-color printing, manual coloring. The silencer can use multicolor printing 【optimized multicolor printing for the silencer】
Filament used: R3D-PETG
Infill: 15%
- If you need to modify the configuration without using my 3mf file, you need to add supports here manually

2. The yellow square is to modify the infill to 100% to increase the strength of the connection

Installation Guide
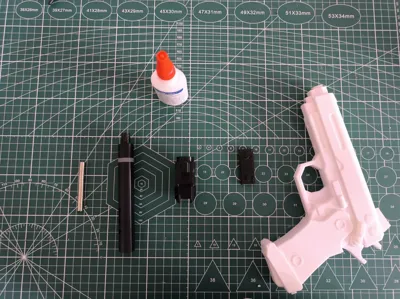
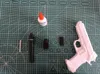
I. Preparation:
- Any glue
Diameter 7mm - thickness 1.5mm or diameter 8mm - thickness 2mm (1.5mm) magnets, any choice can be accommodated

Prepare the following models:
Silencer (optional)
Tactical flashlight
Slide
Gun body

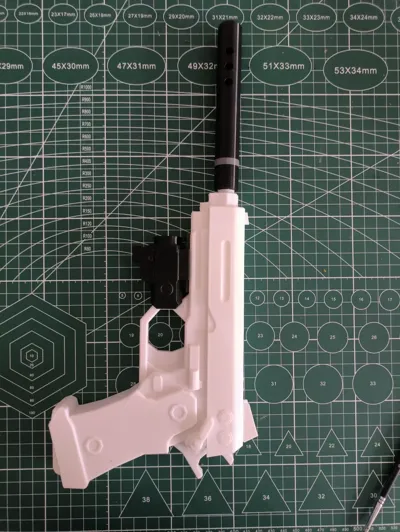
II. Installation
Install the corresponding magnets into the corresponding holes [you can add a little glue] 【Pay attention to the magnetic pole direction】


2. Install the slide, any direction, press it firmly
Note: The connection of this slide is relatively tight, you can add glue or not, depending on your preference

3. Install the silencer (optional), threaded structure, tighten it

4. Precautions:
If the magnets of the tactical flashlight and the gun body are too weak, you can add another magnet

5. Installation complete

Color Schemes


Boost Me (for free)
This is my first model, please point out any shortcomings and please understand. If you like it, please boost me!
Comment & Rating (0)