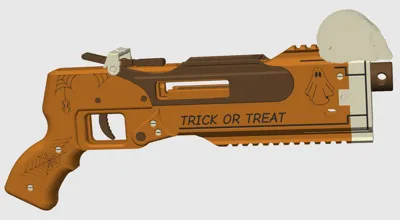
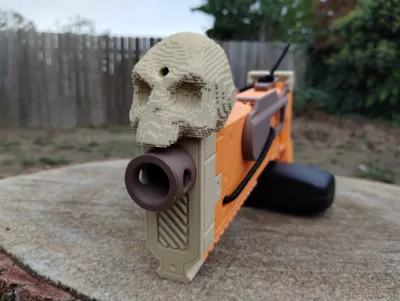
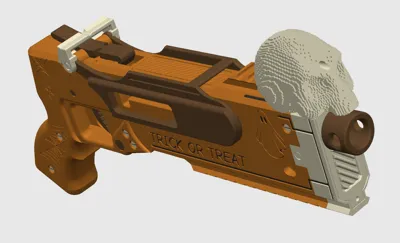
Break Action Halloween Toy Blaster w/ Skull Sight


Print Profile(2)


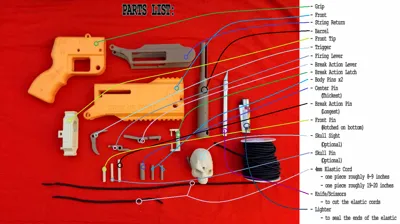
Bill of Materials
- 1-2ft of 4mm elastic cord x 1: Generally sold in bundles of 10-50ft, can be found on amazon and other equivalents
Description
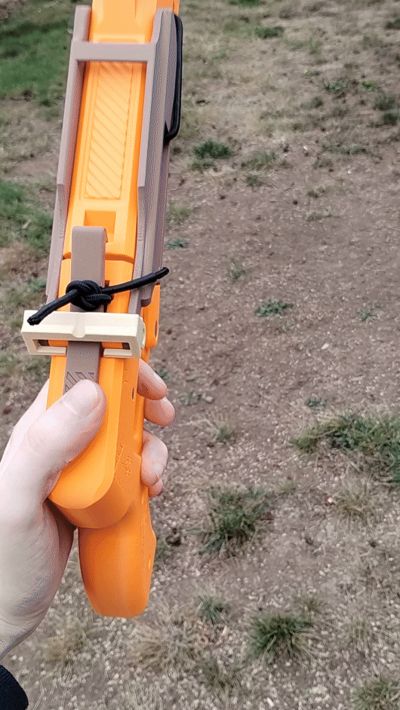
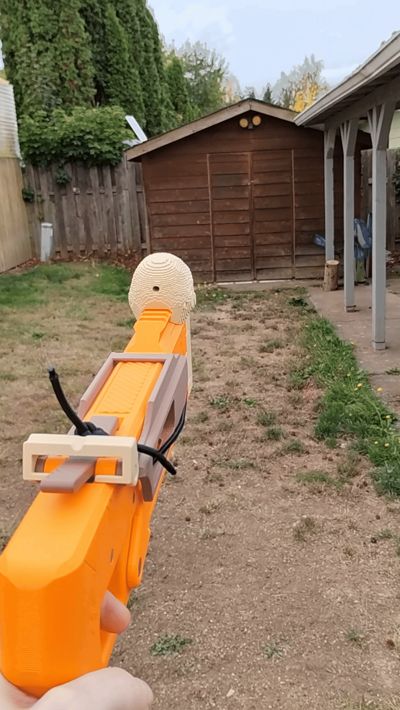
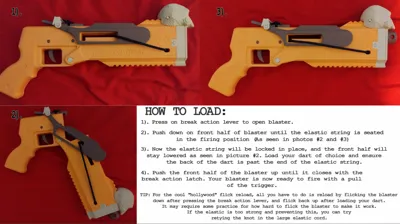
A Halloween themed toy blaster I designed. Fully functional with a working break action. To arm it just open the break action and pull it all the way down to seat the string in the firing position, load your dart and close it up and it is ready to fire. You can even do the classic “Hollywood” flick reload with it. Accepts standard foam darts of any length or use the included files to print your own!
My design here is inspired by the works of LeedleDynamics, so if you enjoy my design please check out his work as he has some amazing models for sale! I took inspiration for the internal mechanisms and their overall function, as well as the use of elastic cord rather than a plunger/spring system that all traditional blasters use, but created everything from scratch to better suit my own personal tastes. I do not know who first came up with these ideas, but it was his work that inspired me to give it a try and his models are truly awesome. This project was so much fun for me to work on that it's even inspired me to make even more so I can't wait to share my other blasters I am currently designing with everyone!
-Only hardware required is some 4mm elastic cord which can be found on amazon or similar online marketplaces, usually sold in 10-50ft increments, and comes in many colors. This design uses a bit more than 2ft.
(example from Amazon: https://www.amazon.com/Elastic-Replacement-Stretchy-Crafts-Pants-Clothing-Outdoor-Supplies/dp/B0C6XR7TFT)
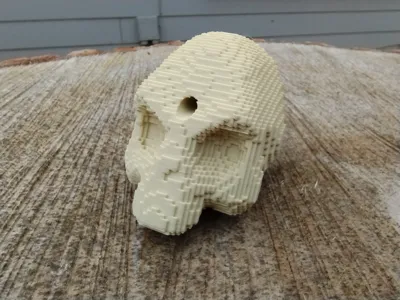
File also contains 3D printable darts (use CAUTION when using the printed darts, as they are much harder than normal foam darts)
ALWAYS use eye protection.
The blaster fires fairly well and is comparable to a somewhat weak store bought name brand version. Even when firing outside with wind it is decently impressive.
Profile is verified and tested to need no clean up or post processing, the only piece that may need it is the grip on its underside if your supports don't break off clean. But once all the excess support material is removed it is remarkably smooth. All other parts that may warp or droop have been designed to not get in the way.
If you decide to print and make your own, please rate my profile and post a picture of your make! It would be a huge help as this is my first published design. Any and all feedback would be appreciated.
Boost Me (for free)
If you enjoy it consider giving me a boost! This is my very first published design and I hope you enjoy it as much as I do!
Colors used in my build are: Bambu Lab matte PLA dark brown, Bambu Lab matte PLA desert tan, Bambu Lab matte mandarin orange
ASSEMBLY GUIDE:
TIPS: The pins work best when they are a tight fit, but not requiring much force to insert them. This can vary somewhat based on your filament settings and brand, so if you find yours too loose try scaling them up by .5-1%. If you find them too tight (more common) you can try the included looser pins which give an extra .1mm clearance or try scaling either down in the same fashion. Current pins are tested with Bambu lab PLA and the looser pins were just right for a generic Anycubic PLA I have. If you run into fitting issues it is worth reprinting the pins rather than attempting to force them in and breaking a larger piece, better to reprint 10g than 100g+.
-The whole design has been made so that only the clearances on the pins are tight, so even if your settings are not the best you can print the model without worry, and you should not need to reprint anything other than the pins. And in most cases one of the two included sets of pins will work perfectly.
-It can be useful to have a long thin tool to use to help push out any pins in the case of a mistake or needing to disassemble in the future. Anything will work for this if its diameter is thin enough. Tweezers, paintbrush handle, even the allen wrench included with your printer works great for this. This is also why it is best not to force any pins in, it may be nearly impossible to remove them after.
-If you would like a more permanent seal on the pins you can use a small dab of super glue on the outside of the pin on each side once it is fully in position. Do not place the glue on the pin and then insert as this may cause other moving pieces to get glued together.


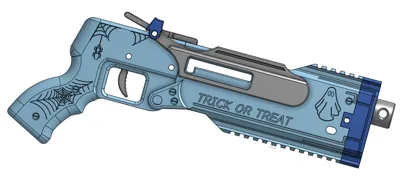
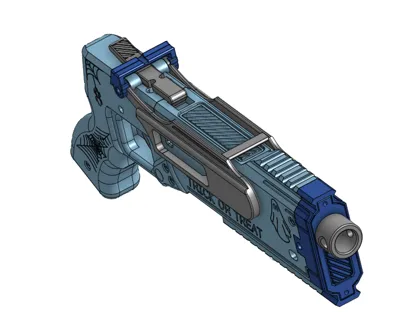
Will post an AMS version soon
License
You shall not share, sub-license, sell, rent, host, transfer, or distribute in any way the digital or 3D printed versions of this object, nor any other derivative work of this object in its digital or physical format (including - but not limited to - remixes of this object, and hosting on other digital platforms). The objects may not be used without permission in any way whatsoever in which you charge money, or collect fees.
Comment & Rating (65)