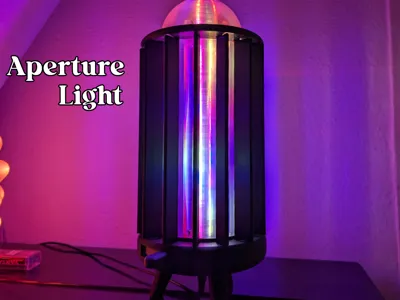
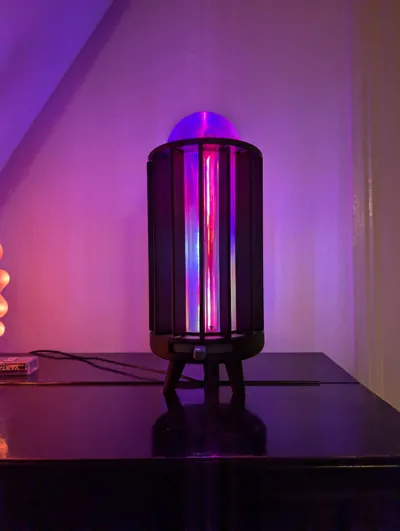
Aperture Light


Print Profile(1)

Bill of Materials

Description
This 3D Printed Aperture Light is easy to build and will come in different versions. For now there is just the version with bearings.
I will upload a version without bearings and threaded inserts as soon as possible!
You can also use the Bambu Lab LED kit instead of the NodeMCU, just keep the input connector accessable so you can attach the bambu controller. Did not try it myself though.
Preperation:
- Flash a NodeMCU Lolin V3 Module ESP8266 with WLED, you can find how to this here.
- Screw the upper part of the LED profile to the lower part with a 20mm M3 screw.
- Cut a LED strip to the length of the 3D printed LED profile.
- Solder short wires on the first stripe glue it in place and then solder the second one when cables go through their holes.
- Crimp the signal wire to connect it to the NodeMCU, connect 5V and GND cable to the
How to assemble:
- Put the base in front of you and insert the threaded inserts into the 7 holes
- Put a power input in the middle whole, its made for 9mm sockets but you can also use other connectors.
- Screw on the NodeMCU and connect the power input
- Clip the bearings in place
- Put in the 14 gears the number 1 comes to opening of the outer core, the rest should be put in clockwise. (picture from below)

Make sure the bearings are alligned as shown in the picture.

- Put on the big gear with the handle to the front, doublecheck the smaller gears orientation.
- Put the lower cover on top.
- Connect the LEDs to power and signal pin of the NodeMCU and bring the LED profile in position. Allready check if the LEDs work before you close the lamp.
- Put on the diffusor.
- Screw it place to get a rigid connection to the base allready.
- Clip the apertures into the gears, this takes quite a bit of force, for me it was usefull to use clamps.
- Put the Upper cover in place. Its easy but takes some seconds to get the apertures in.
- Put the top diffusor on and screw it in place, your light is now finished!
If you had any problems or something was unclear let me know so i can update the guide. Have fun building!
License
You shall not share, sub-license, sell, rent, host, transfer, or distribute in any way the digital or 3D printed versions of this object, nor any other derivative work of this object in its digital or physical format (including - but not limited to - remixes of this object, and hosting on other digital platforms). The objects may not be used without permission in any way whatsoever in which you charge money, or collect fees.
Comment & Rating (5)